F5 BIG-IQ Centralized Management Lab > BIG-IQ All Labs > Class 4: BIG-IQ Platform > Module 2: Role Base Access Control (RBAC) Source | Edit on
Lab 2.4: Add a user to a custom role
Note
Estimated time to complete: 5 minutes
Lab environment access
If you have not yet visited the page Getting Started, please do so.
Tasks
Add a user to a custom role to give them specific permissions to a resource group.

- On the left navigation area, click USER MANAGEMENT > Users.
- Click the Add button.
- From the Auth Provider list, select the authentication method you want to use for this user. For this lab, we will leave the default selection local (Local) unchanged.
Important: A user must belong to a group or have an assigned role, or authentication will fail.
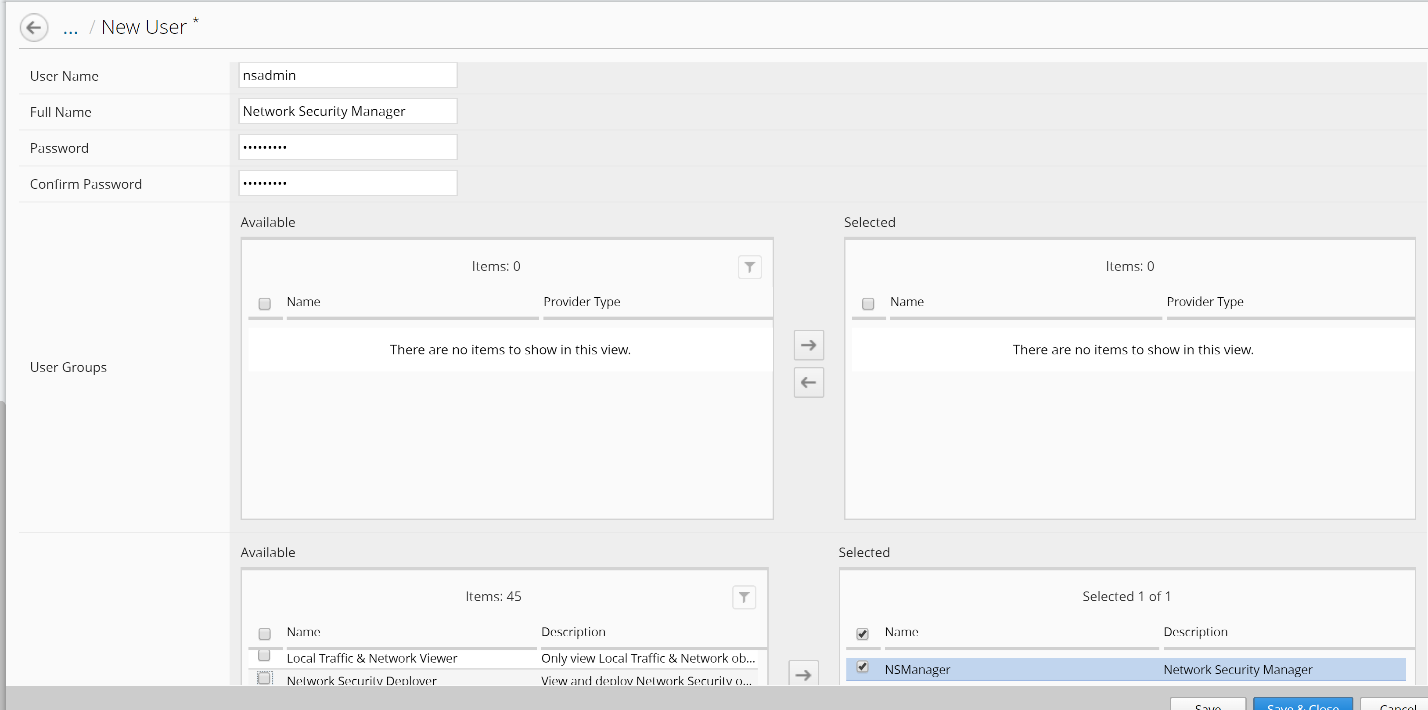
In the User Name field, type the user name for this new user. In the Full Name field, type a name to identify this user.
Name: nsadminFull Name: Network Security ManagerIn the Password and Confirm Password fields, type the password for this new locally-authenticated user.
Password: nsadmin Confirm Password: nsadmin
Scroll down the screen and select NSManager from the Available box of the Roles list and move it to the right in Selected box.
Roles: NSManager
- You aren’t required to associate a user group at this point; you can do that later if you want.
Note
User’s access to certain parts of the BIG-IQ user interface depends on which role they are assigned.
- Click the Save & Close button.
These users now have the privileges associated with the role(s) you selected.
Next, we will test the access privileges for the new user with the custom role.