F5 BIG-IQ Centralized Management Lab > BIG-IQ All Labs > Class 9: BIG-IQ Access Policy Manager > Module 1: APM access and per-request policies Source | Edit on
Lab 1.3: Create a new VPN Access profile
Note
Estimated time to complete: 25 minutes
Lab environment access
If you have not yet visited the page Getting Started, please do so.
Tasks
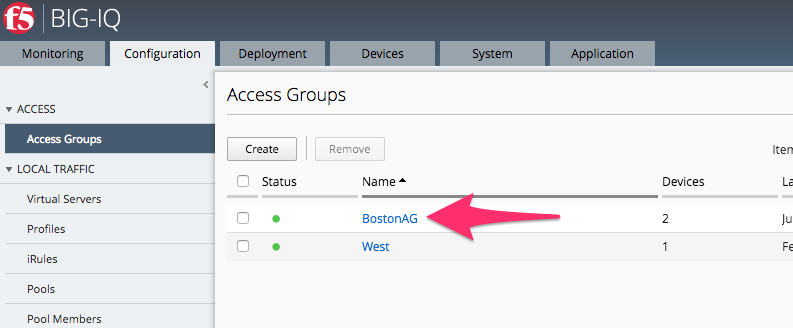
- Navigate to ConfigurationAccessAccess Groups
- Select BostonAG
You can see all of the access policies listed in the Per Session Policies:
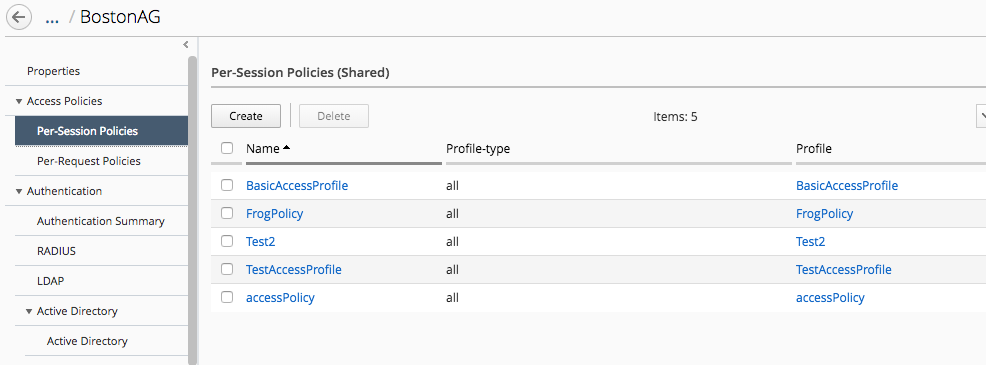
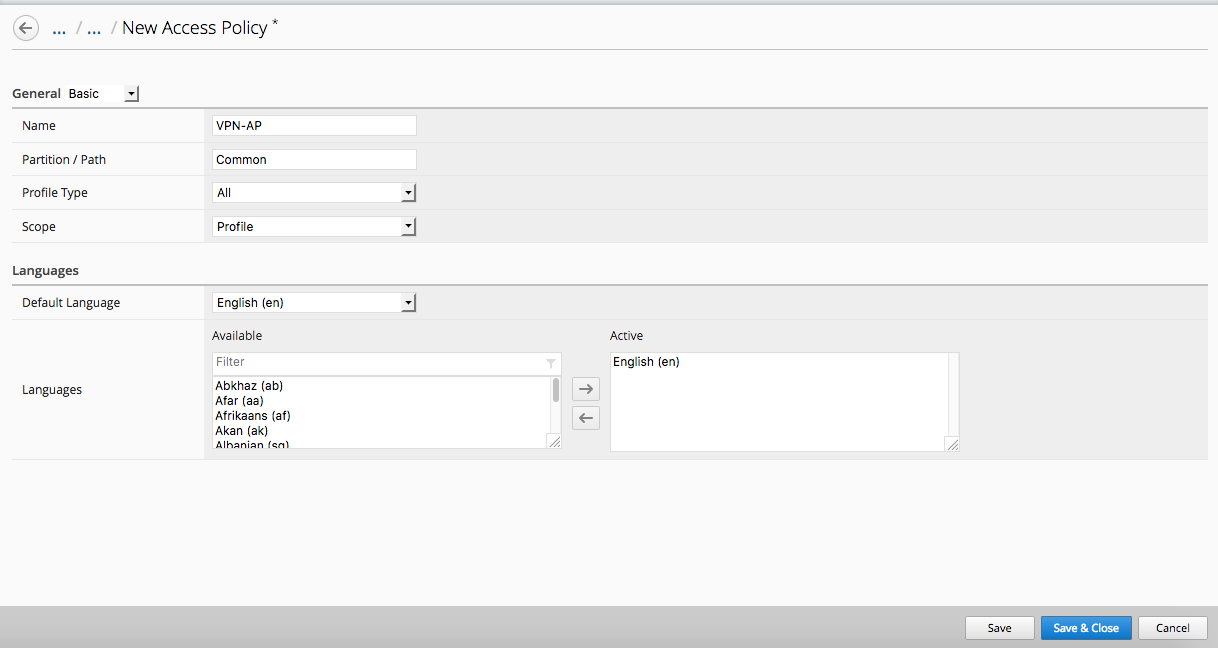
Click Create and you will see the Access Policy creation screen. Give it a name of “VPN-AP” and click on Save & Close. You can change the view from Basic -> Advanced if you want to modify additional settings such as timeouts, SSO, logout URI, etc..
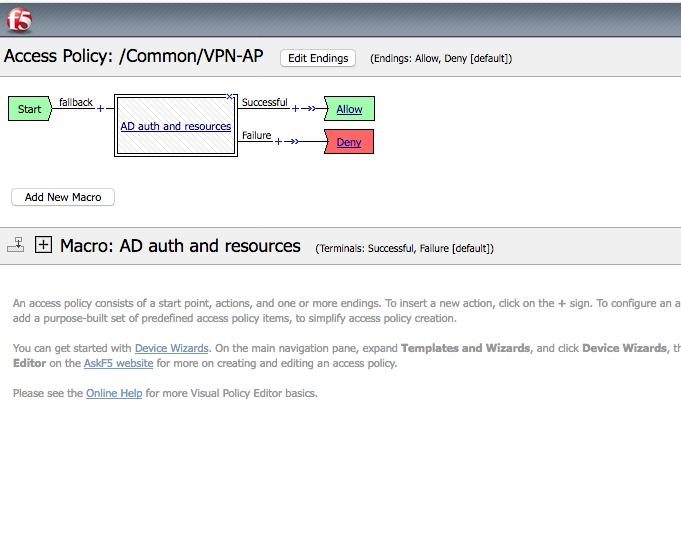
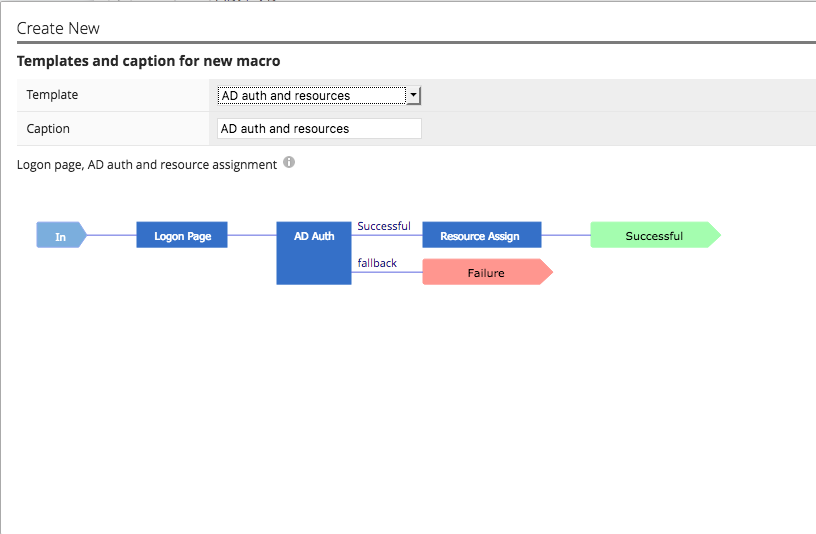
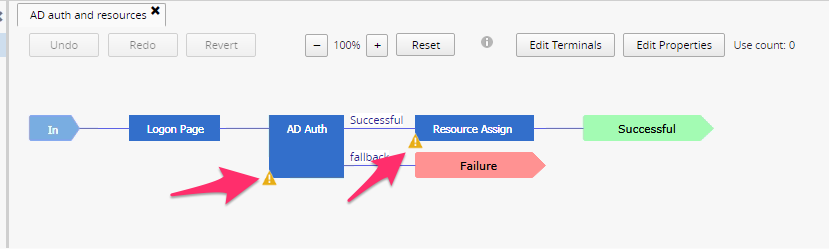
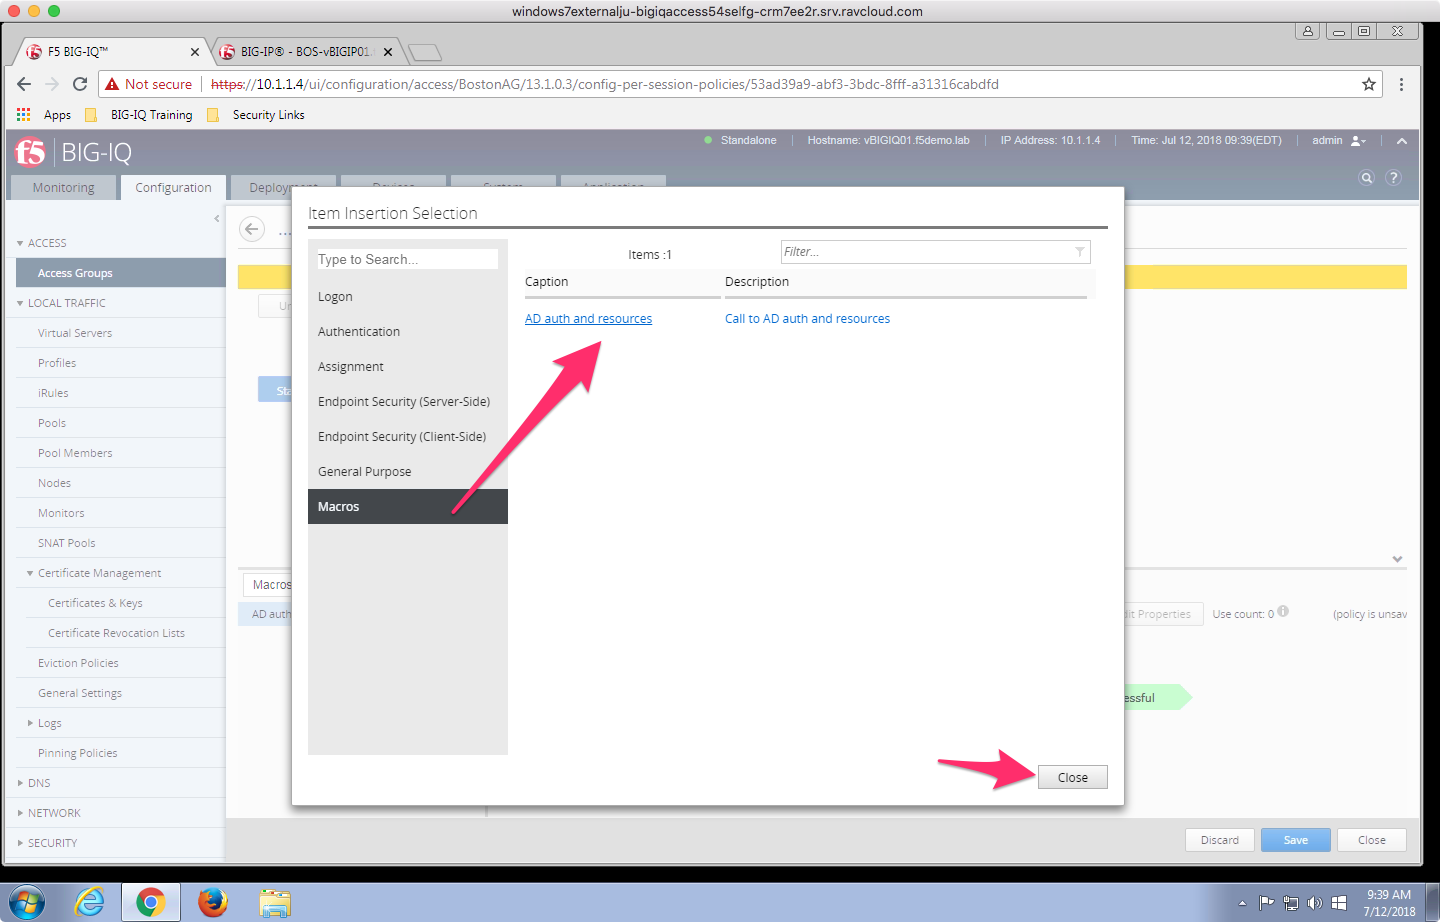
Then click “New” in macros and select “AD Auth and resources” template. Then click the “OK” button.
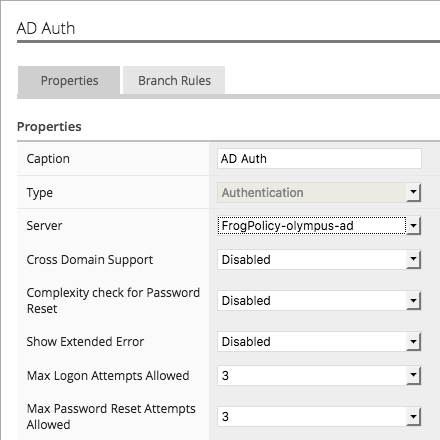
Click on the AD Auth object and use the Server drop down to select FrogPolicy-olympus-ad then click Save.
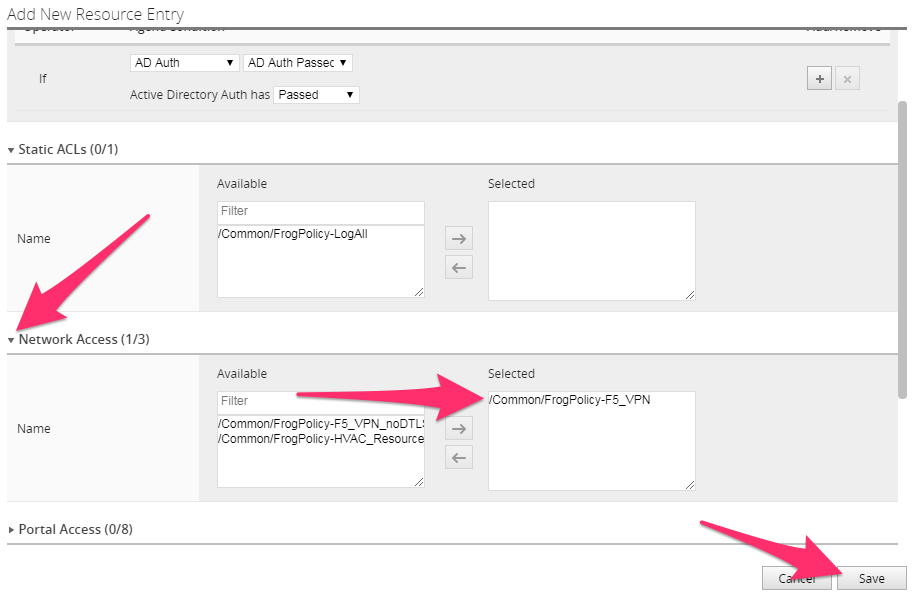
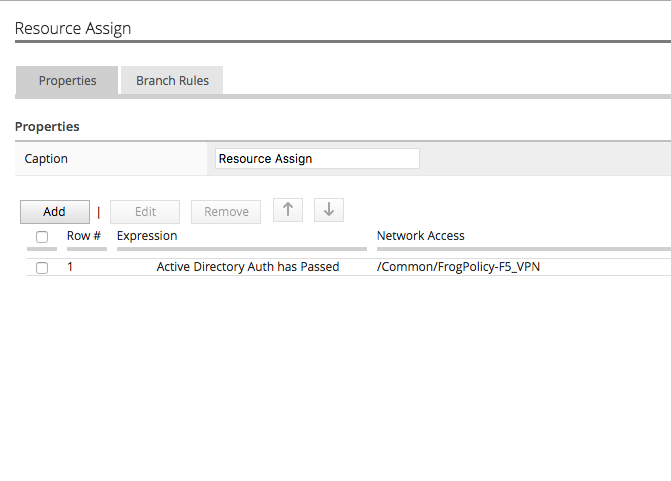
Now click the Resource Assign object. In the pop up window click the Add button. Expand the Network Access section and move the /Common/FrogPolicy-F5_VPN from the Available section to the Selected section and click the Save button.
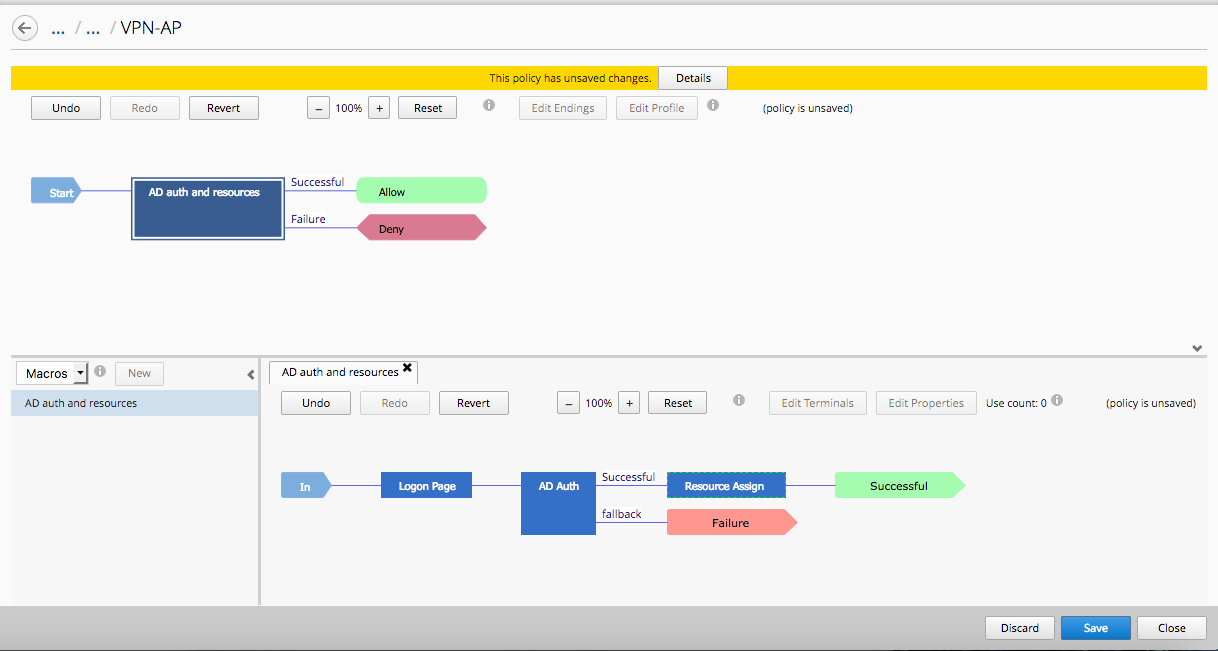
The result will look like the picture below, click the Save button on this screen.
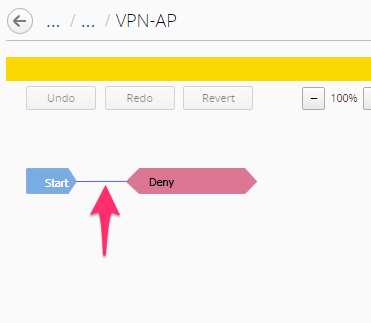
Then add the macro into the VPE by hovering mouse over blue line and selecting the Green plus sign. Then change the ending on the “Successful” branch to Allow. Then click Save buttons to complete.
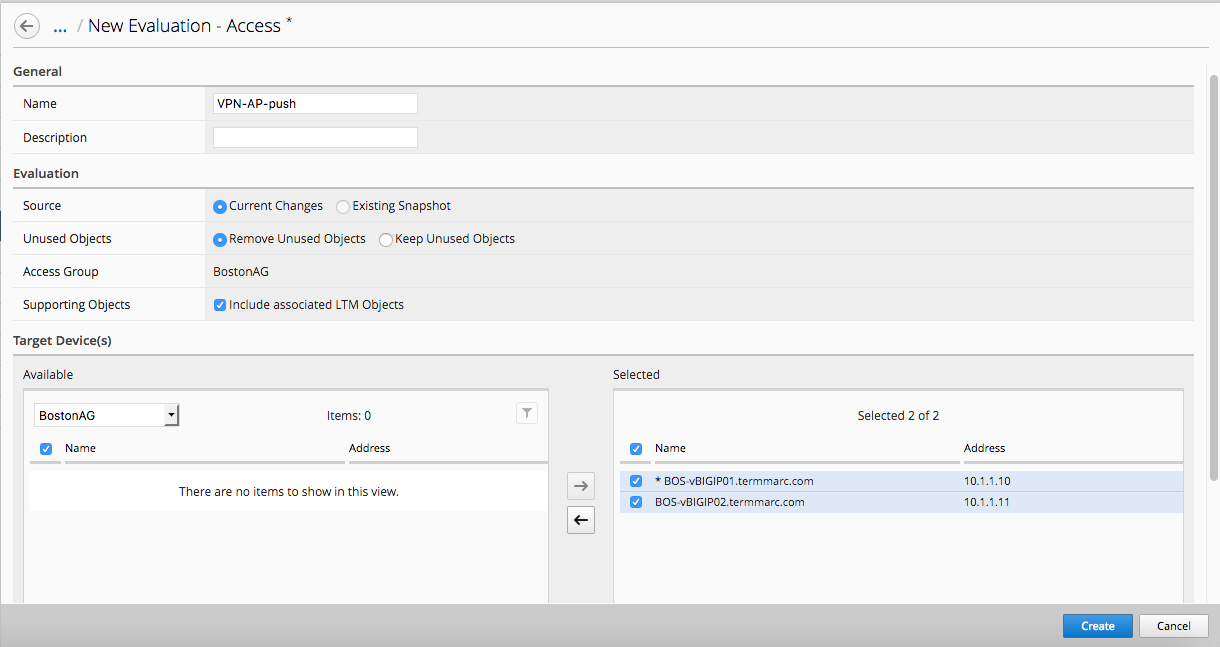
After creating and saving the access profile, go to “Deployment - > Evaluate & Deploy -> Access”.
Click on “Create” in Evaluations, give it a name, and select BOS-vBIGIP01/02 devices.
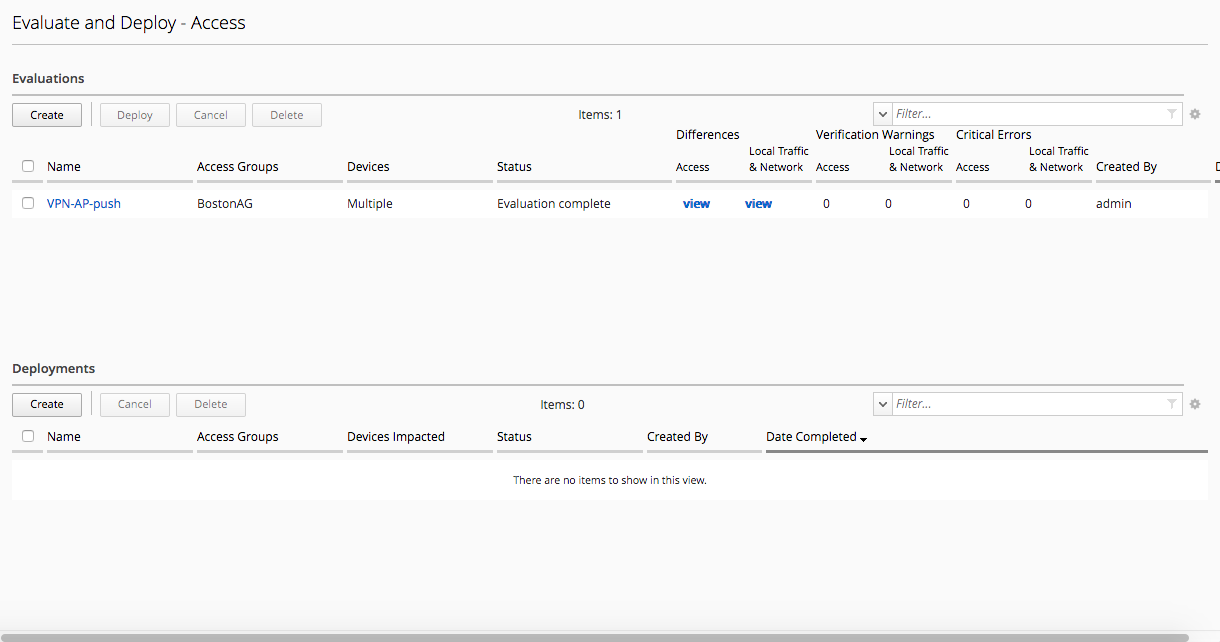
Click on View after the evaluation is done to view the changes in Green.
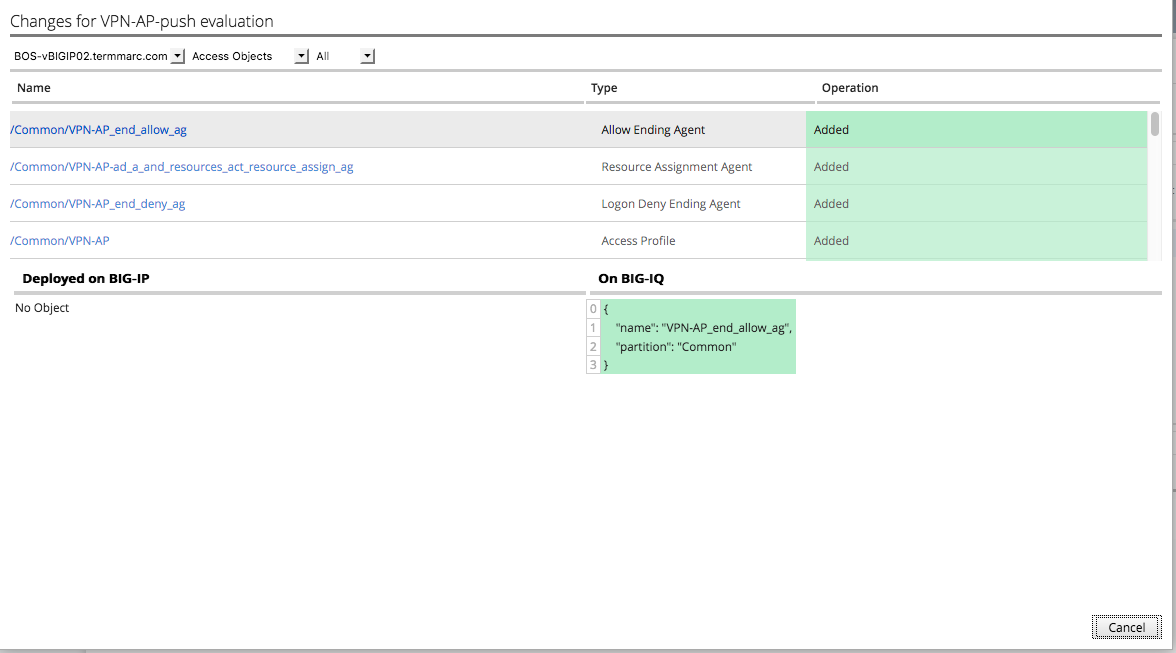
Then Click on Deploy and verify the new VPN Access Profile is pushed onto the BIG-IP device BOS01.