F5 Solutions for DDoS > F5 Agility 2018: DDoS Attack Protection > DDoS Hybrid Defender Setup Source | Edit on
Lab 1 – DDoS Hybrid Defender Setup
Estimated completion time: 20 minutes
Task 1 – Initial Set-up
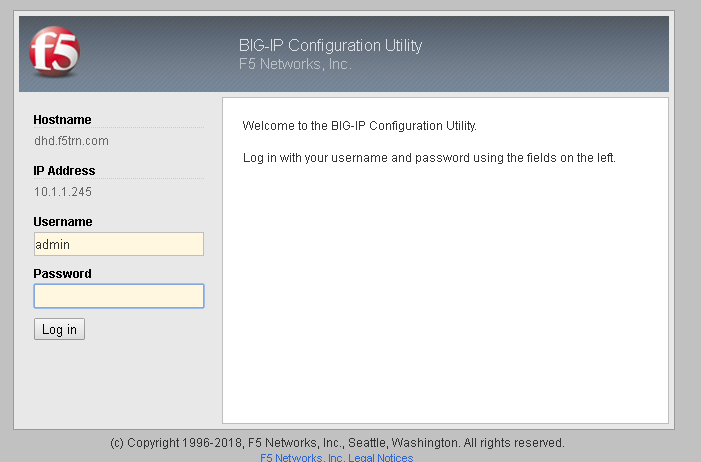
- Open the Chrome web browser and access the DHD from the toolbar shortcut.
- Login to the BIG-IP Configuration Utility using the ‘’admin’’ account.
Note
When you first power up a F5 DHD device you would normally go through the steps of licensing, provisioning and basic set-up. We have licensed, assigned the management IP, hostname, NTP and DNS servers for you. Verify DHD and Jumpbox are showing same time.
Note
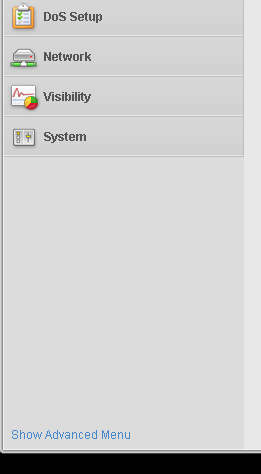
If you are familiar with the BIG-IP UI, You will notice the menus on the left are consolidated. This is an indication you are working with a DDoS Hybrid defender device.
Expand each panel section to see the components available in each section.
Dos Configuration: Where most day-to-day configuration takes place.
Dos Setup: Where one-time or infrequent system Dos configuration is performed.
Network: The new simplified Security Network Configuration utility to add new network topologies to the system.
Visibility: Were the Analyst will spend a majority of the time looking at the GUI and logs.
System: Shows a subset of the system utilities found in the traditional TMUI System menu. (Available in Advanced View on the DHD)
If you need to access more options, there is a shortcut at the bottom of the Menu page. Show Advanced Menu
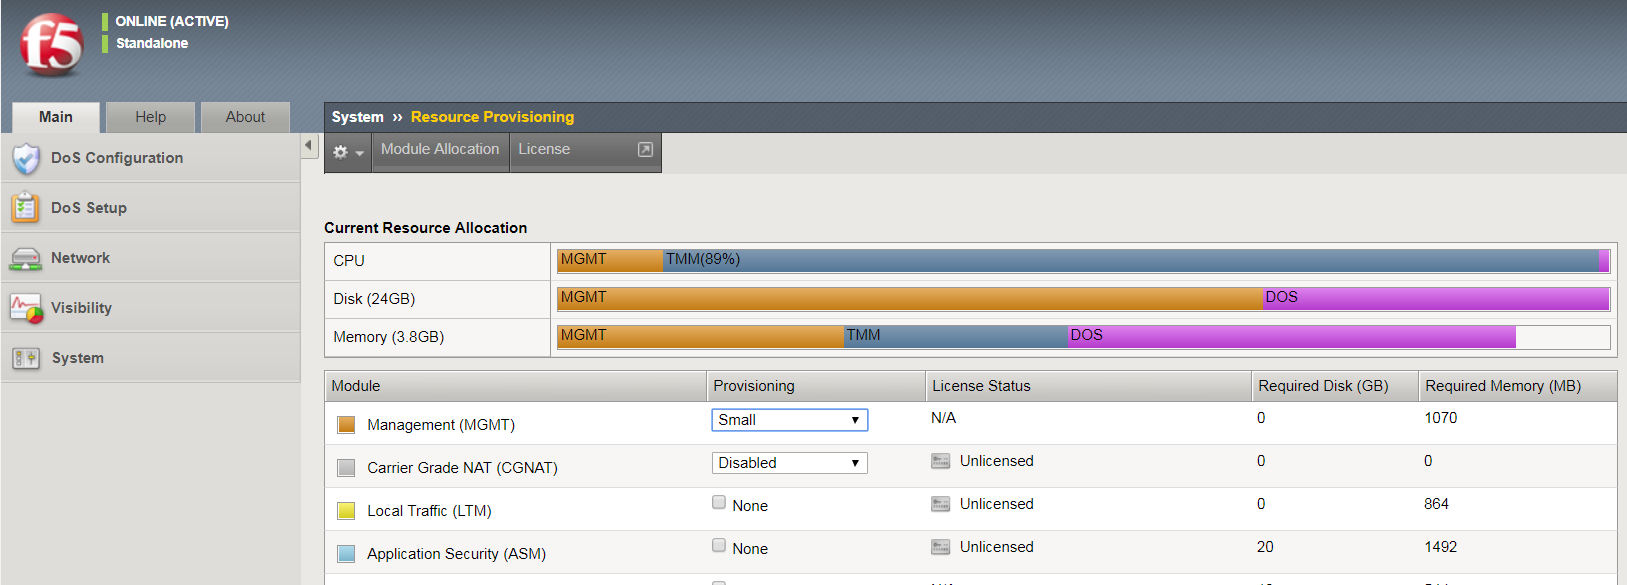
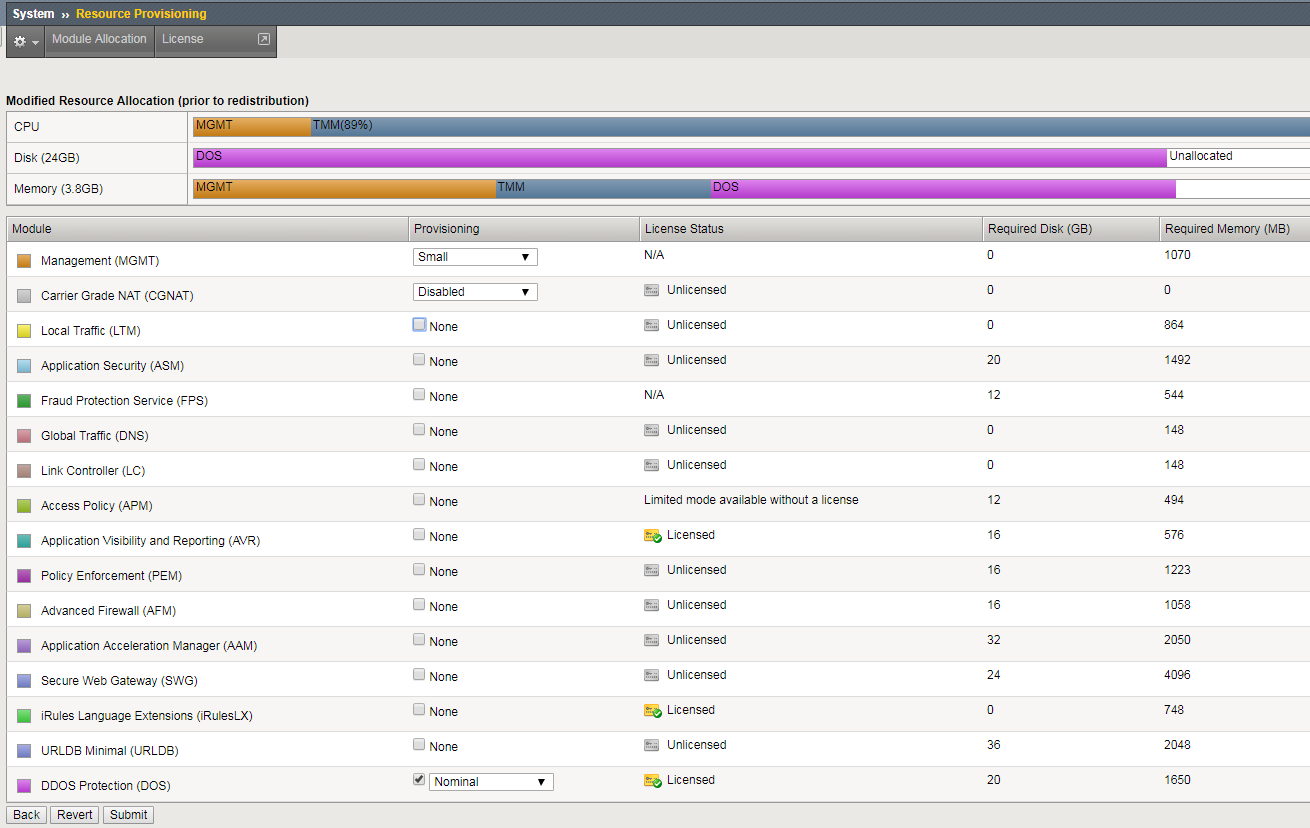
Explore the Resource Provisioning page
Note
The above task ensures that you are using a purpose built DDoS Hybrid Defender. If you are familiar with other F5 Modules/Technology that you have used in the past, you will notice that we have none of those provisioned.
- When done click Submit.
Task 2 – DDoS Hybrid Defender Base Configuration
The architecture and design decisions should have been made already. Based on F5 recommendations we are going to deploy this device in L2 Transparent Mode.
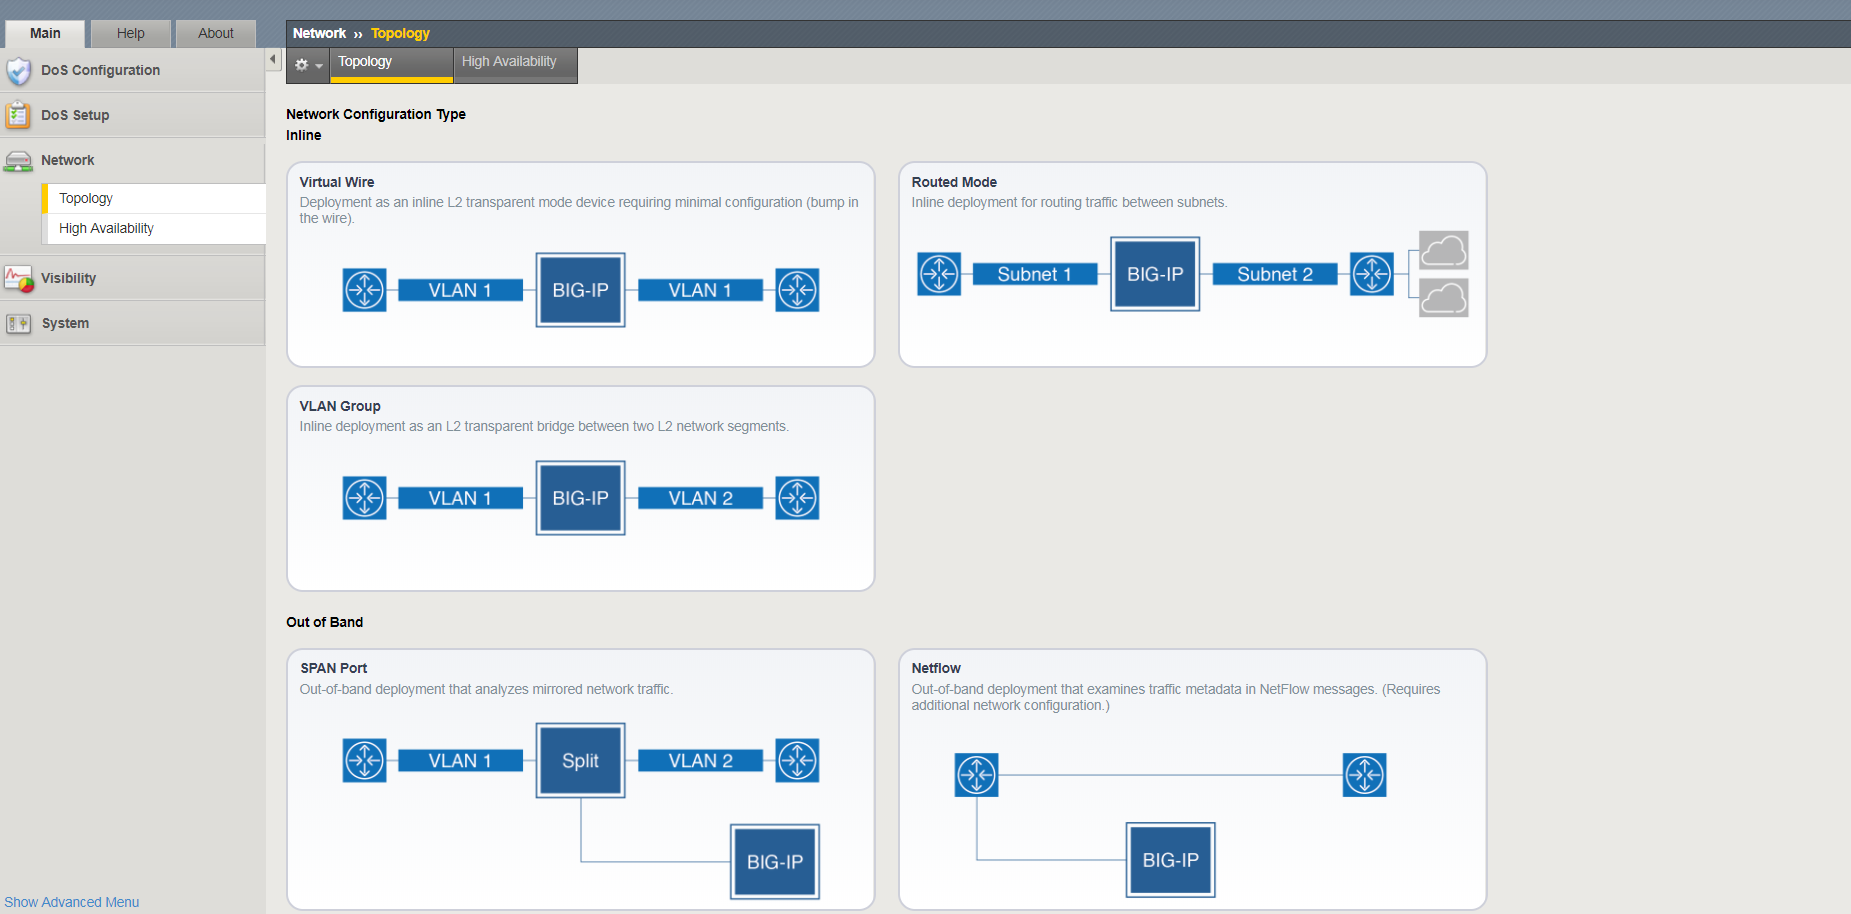
Click Network in the left hand menu. Then Select Topology.
Click Create on the upper right side.
You will notice the various options you can select based on the prior architecture decisions.
For this classes purpose Click on the VLAN Group image.
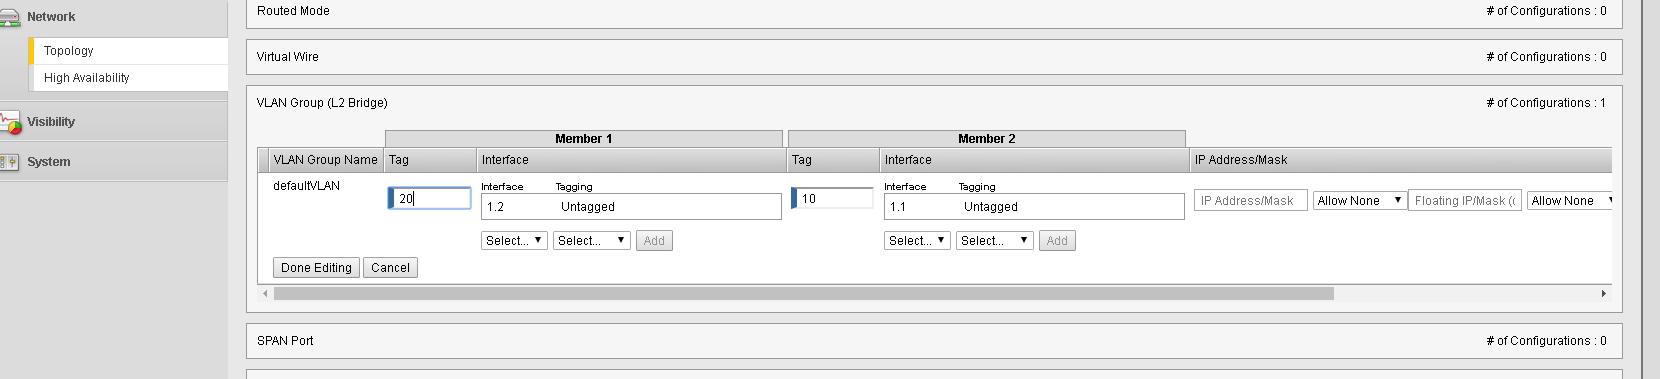
Fill out the information from the table below. Then Click Done Editing within that section.
| VLAN Group Name: | defaultVlan |
| Internal: VLAN Tag | 20 |
| Internal: Interfaces | 1.2 Untagged (Click Add) |
| External: VLAN Tag | 10 |
| External: Interfaces | 1.1 Untagged (Click Add) |
- At the bottom of the page click Finished to create the default network.
This completes the initial Network Set-Up of DHD.