F5 Distributed Cloud > F5 Distributed Cloud: Security Automation & Zero Day Mitigation Source | Edit on
Introduction: Accessing F5 Distributed Cloud Console
Narrative:
Congratulations! You are a Network Security Engineer at ACME Corp.
ACME has an Application Team that supports internally developed traditional and modern apps, vendor provided and SaaS applications. As security threats are becoming more prevalant, the ACME’s Risk and Compliance organization has mandated that a segmentation program be configured as part of the organizations larger zero-trust program. ACME Corp would like to implement segmentation strategies to reduce their attack surface and enable faster response against zero-day attacks.
As the Network Security Engineer, you are tasked with evaluating how to securely extend segmentation controls out to the internet edge. At first you consider the traditional methods of deploying and managing your native ACLs and geo-blocks in the Data Center, AWS, Azure, GCP but quickly realize that learning and managing multiple segmentation technologies would be time-consuming and difficult to operate.
You recently saw a post on LinkedIn about a F5 SaaS product claiming to solve multi-cloud appplication security complexities. Given your current timeline and industry knowledge of F5 being a leader for decades, you decide to check it out and end up in the chair you are sitting in today: Taking a first-hand look at how F5 makes automating security controls for segmentation and zero-day attacks simple, quick to deploy, and secure.
Task 1: Lab Environment
The image below represents an overview of the lab environment. F5 Distributed Cloud Services will be configured as a SaaS Edge delivery and security service tier to a publicly hosted web application. The key elements lab attendees will interact with are as follows:
|
|

Task 2: Accessing F5 Distributed Cloud Console
The following tasks will guide you through the initial access requirements for the associated lab environment. Lab attendees should have received an invitation email to the lab environment based on the submitted registration email. Please check email and spam folders if it has not been received. If you have not received an email, please contact a member of the lab team.
F5 Distributed Cloud Console, where this lab will be conducted, is a SaaS control-plane for services that provides a UI and API for managing network, security, and compute services. The F5 Distributed Cloud Console can manage “sites” in existing on-premises data centers and sites in AWS, Azure, and GCP cloud environments.
Course/Lab Invitation
Course/Lab Attendees will receive an email similar to the graphic displayed in this section. The email will come from courses@notify.udf.f5.com. As attendees maybe registered for several lab/courses, ensure the correctly identified course is selected. Use either the first or second link position (indicated by arrows) based on the attendee’s F5 UDF (Unified Demo Framework) Account Status.
|
|
Accessing UDF (F5 Unified Demo Framework)
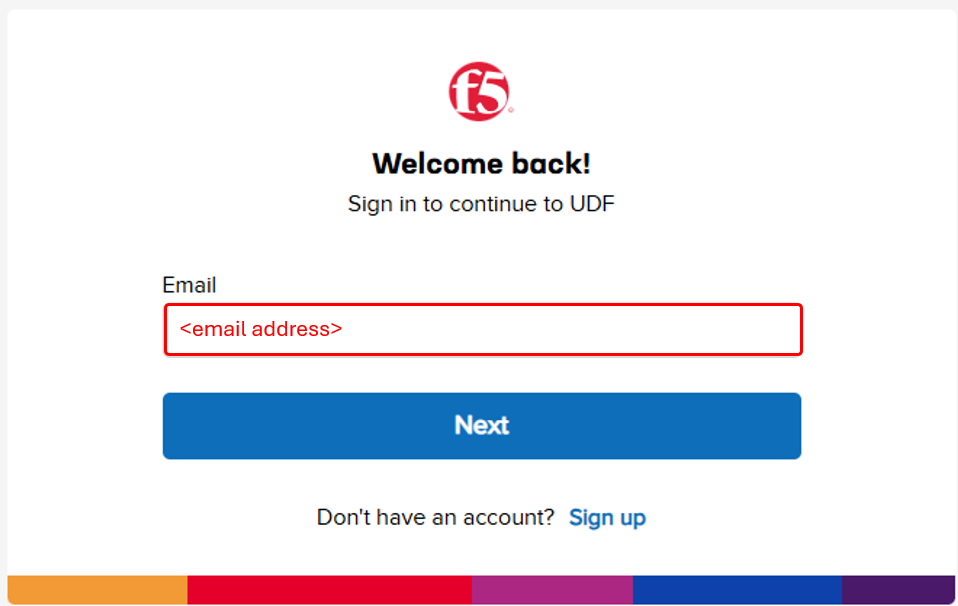
The following will guide attendees through the initial Lab environment access within F5 UDF. Following the instructions from the Course/Lab invitation above, attendees will be prompted to login at https://udf.f5.com Note The steps for new UDF Users or the steps for resetting UDF User account passwords are not shown. Please contact a member of the lab team if further assistance is needed. |
|

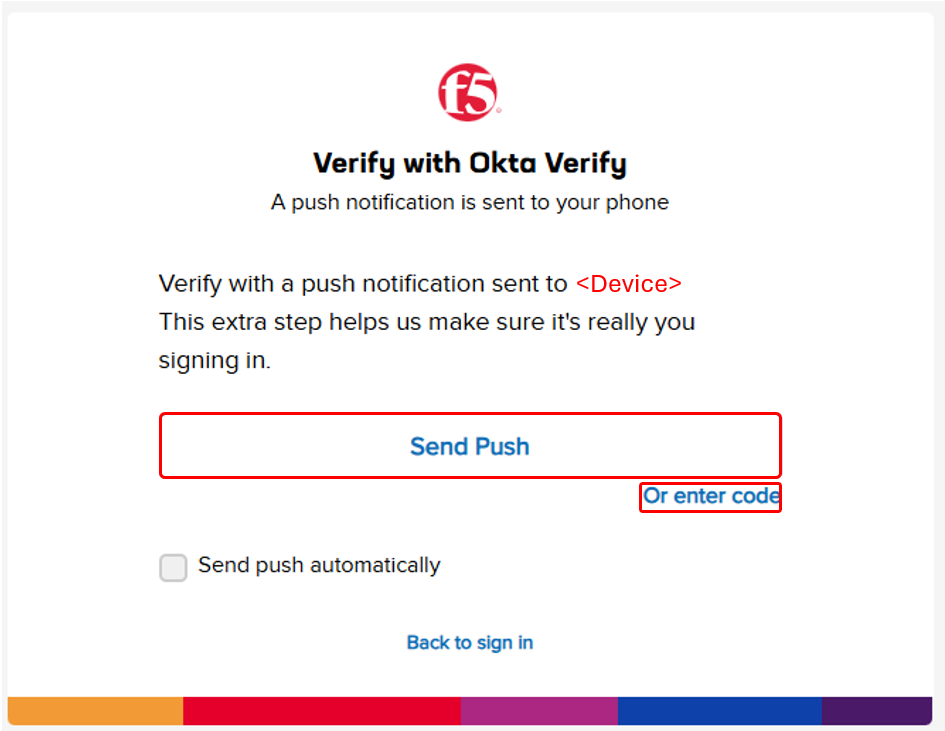
Attendees will be prompted to enter their UDF account, password and complete MFA as shown. MFA must be completed by either selecting Send Push or Enter Code. Note MFA process will very based on the MFA integration selected for the UDF Account. OKTA Verify is shown. |
|

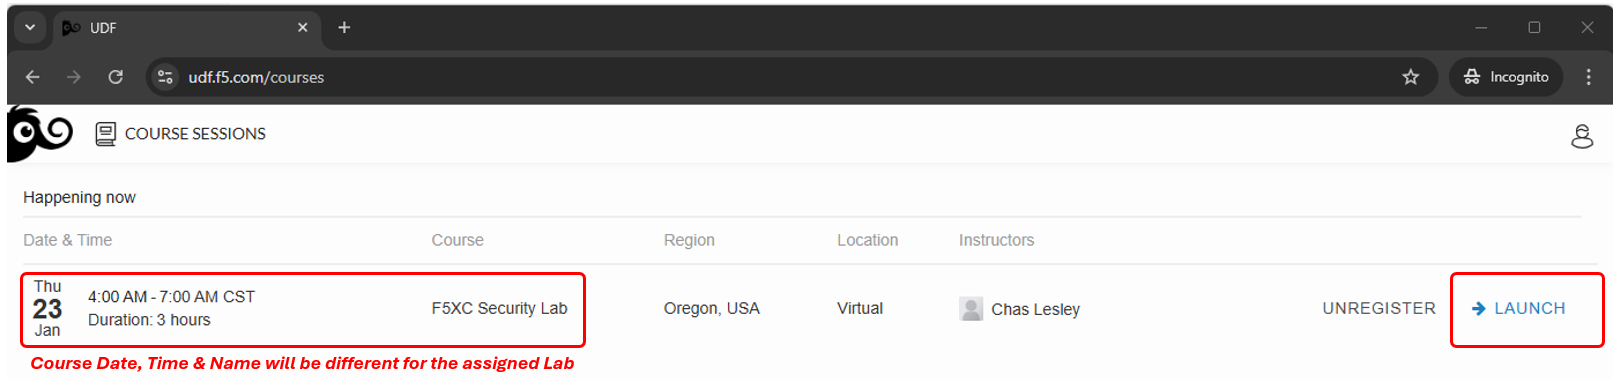
Attendees will then be presented their scheduled course sessions. Locate the course/lab with the appropriate Date, Time and Name and then click Launch. |
|
Once redirected to the selected Course/Lab, click the Join button. |
|

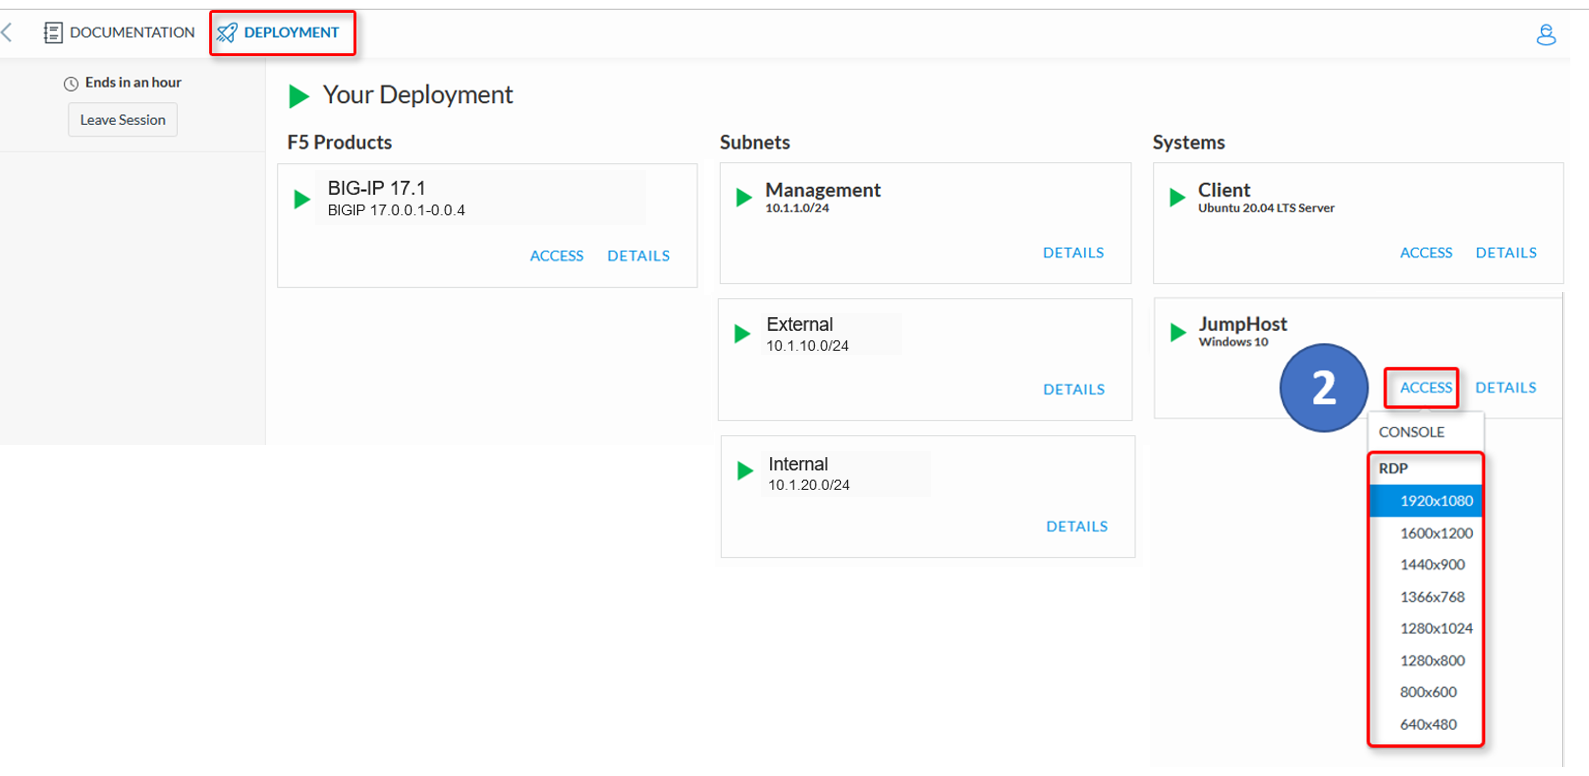
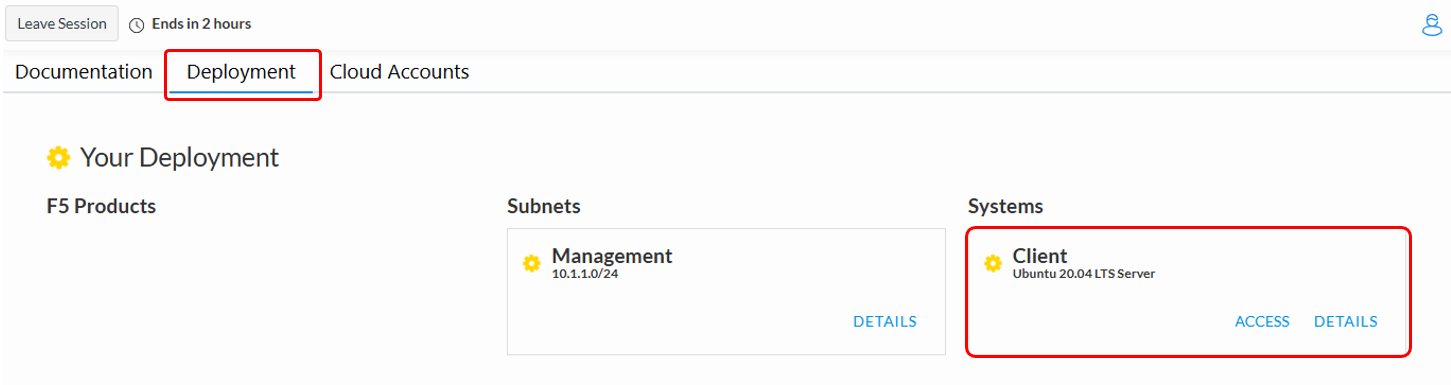
The Lab environment window will now be displayed. Click on the Documentation tab in the horizontal navigation links. Locate and observe the state of Client system. In approximately 5-7 minutes the associated yellow gear starting icon will change to a green arrow (running) icon and attendees will proceed to the next section of steps. Note Your specific lab environment may vary from the graphics shown below. The **Client** will, however, be consistent. |
|

Accessing F5 Distributed Cloud
Following the state change of the Client System to a green arrow (running) icon, attendees will receive a second email. This email will come from no-reply@cloud.f5.com. Click the Accept invitation with in the email. Note This link should be accessed in the same browser session as UDF was accessed for seamless experience. Warning Attendess should not attempt access to F5 Distributed Cloud tenant prior to receiving email. Lab permissions may need to be re-applied. |
|

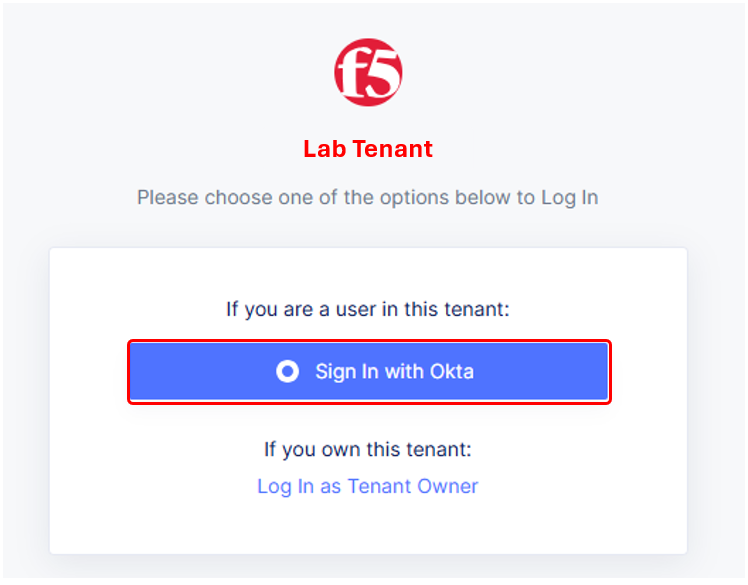
The initial logon prompt will be presented. Click Sign on with Okta to proceed. SSO will process and onboarding to the tenant will proceed. |
|
Next the Terms of Service and Privacy Policy will display, check the box and then click Accept and Agree. In the following screen, Select all persona roles and click Next. This allows attendees to see all the various configurations. Personas can be changed anytime later within the console if desired. In the next screen, click Advanced to expose more menu options and then Get Started to begin. You can change this setting after logging in as well. Note Several Guidance ToolTips or Notices may appear. Attendees can safely close these out in order to begin the lab. |
|


Attendees will now be presented the Home page of the F5 Distributed Cloud Console with all the workspaces, features and services available. |
|

Beginning of Lab: You are now ready to begin the lab, Enjoy! Ask questions as needed. |
|