F5 Distributed Cloud Source | Edit on
Lab 1: Advanced Load Balancer and Origin
In this lab you will create a Application (API) Load Balancer, attach an Origin Pool and enabled Malicious User Detection.
Expected Lab Time: 12 minutes
Task 1: Configure a Load Balancer and Origin Pool
The following steps provide instruction on how to create a Load Balancer, and Origin Pool configured within your namespace. This Load Balancer will be used throughout the course.
In the left top click the F5 ball and navigate to the Web App & API Protection Tile.

Click on the arrow to the right of Namespace, select your namespace from the list.
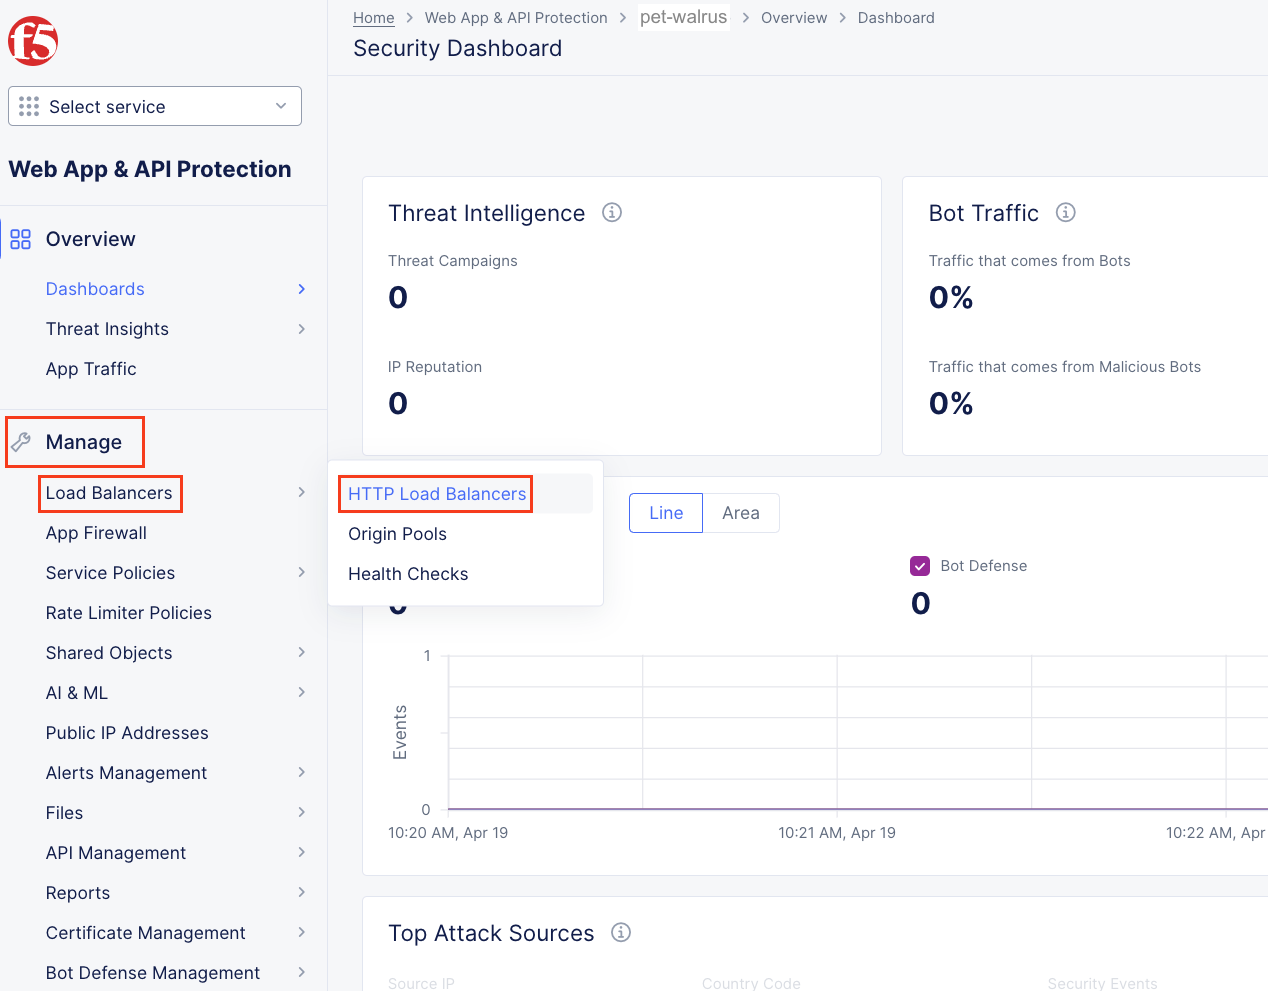
In the left-hand navigation expand Manage and click Load Balancers > HTTP Load Balancers
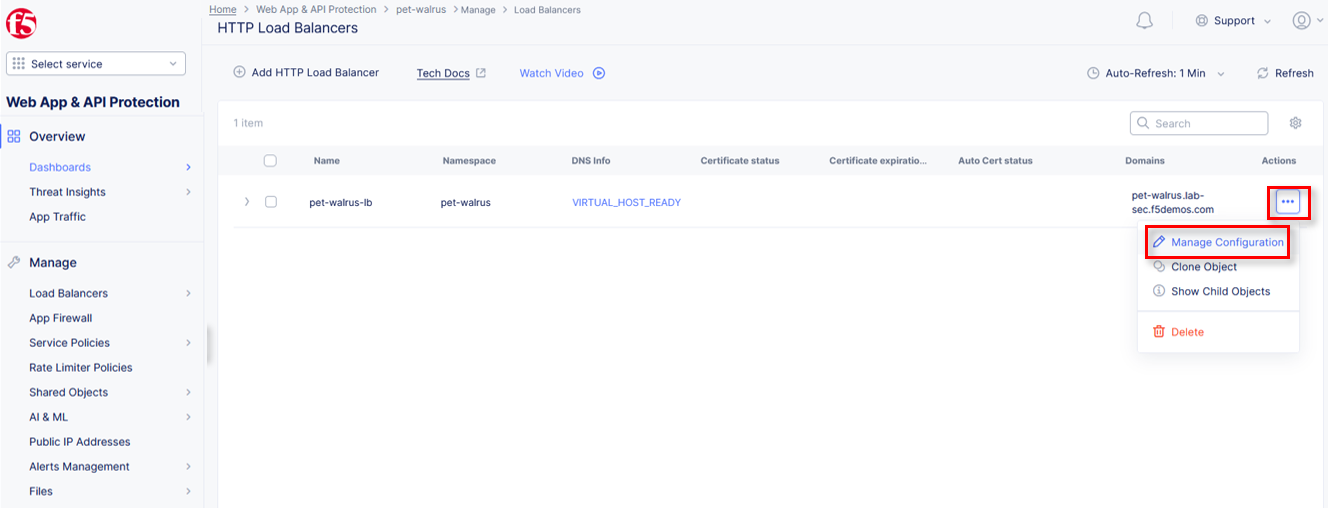
In the resulting screen click the Add HTTP Load Balancer in the graphic as shown.
Note
You have defaulted to your specific namespace as that is the only namespace to which you have administrative access.
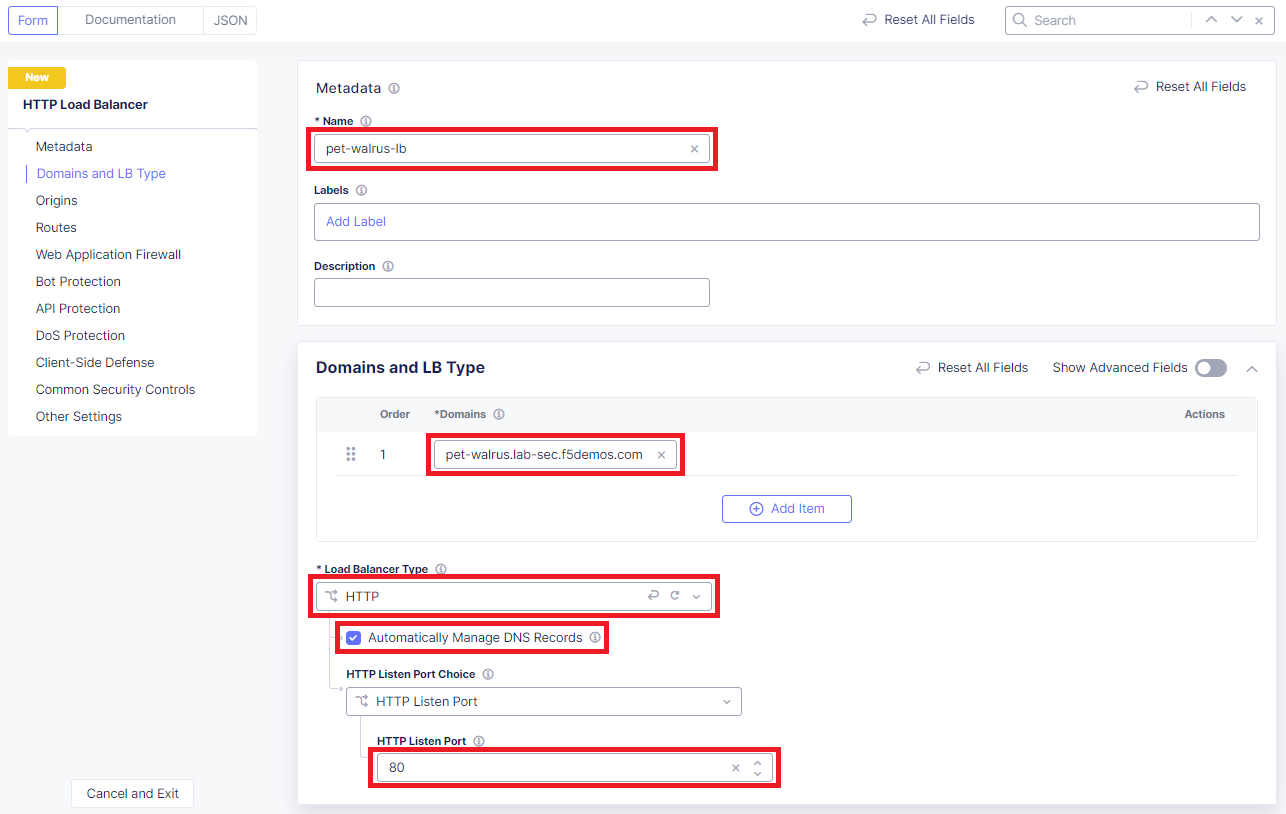
Using the left-hand navigation and in the sections as shown, enter the following data. Values where <namespace> is required, use the name of your given namespace.
Metadata:Name ID:
<namespace>-lbBasic Configuration: List of Domains:
<namespace>.lab-sec.f5demos.comBasic Configuration: Select Type of Load Balancer:
HTTPBasic Configuration: Automatically Manage DNS Records:
(Check the checkbox)Basic Configuration: HTTP Port:
80
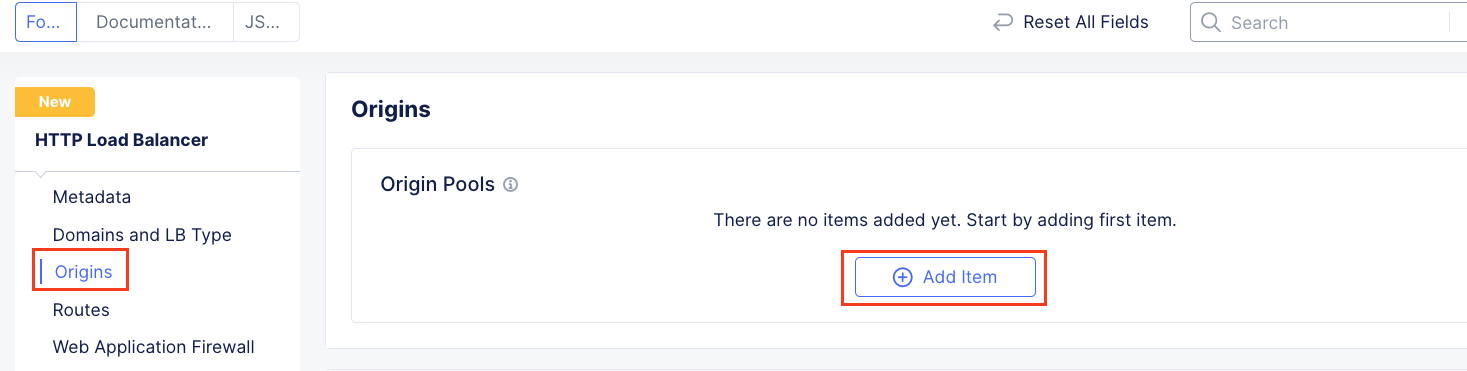
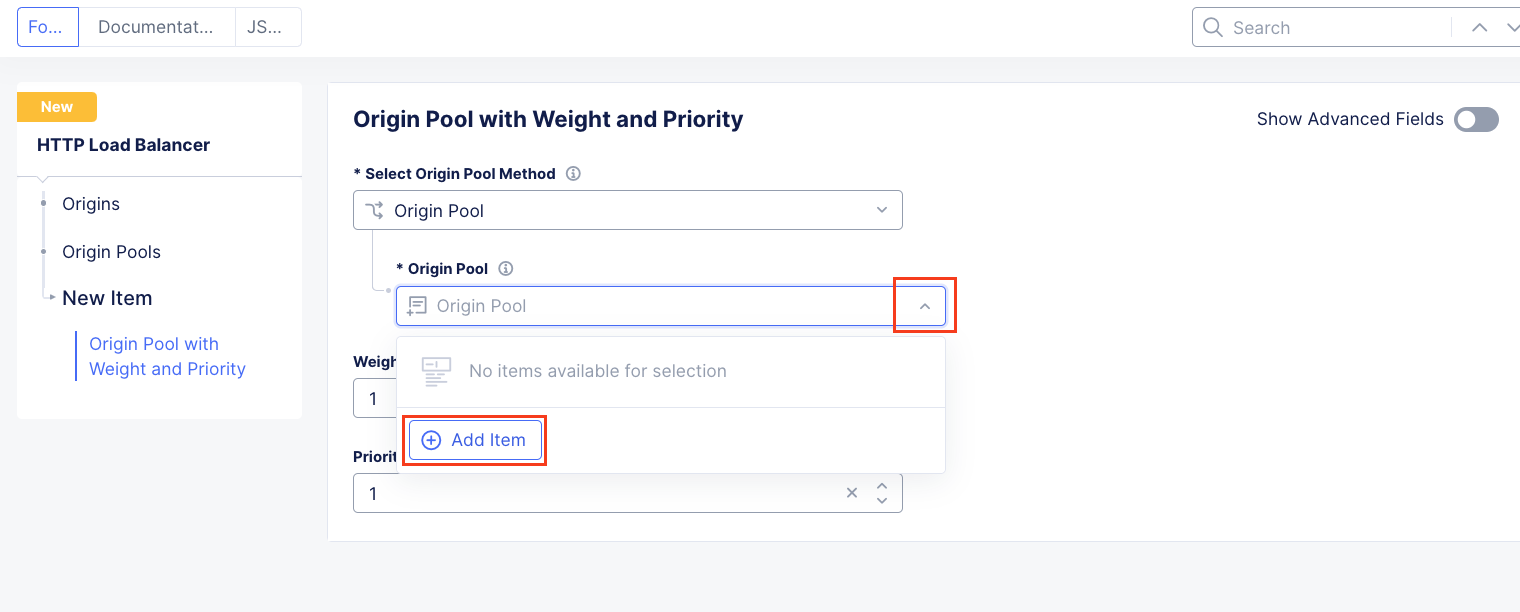
In the current window’s left-hand navigation, click Origins. In the adjacent Origins section, under Origin Pools, click Add Item.
In the resulting window, use the drop down as shown and click Add Item.
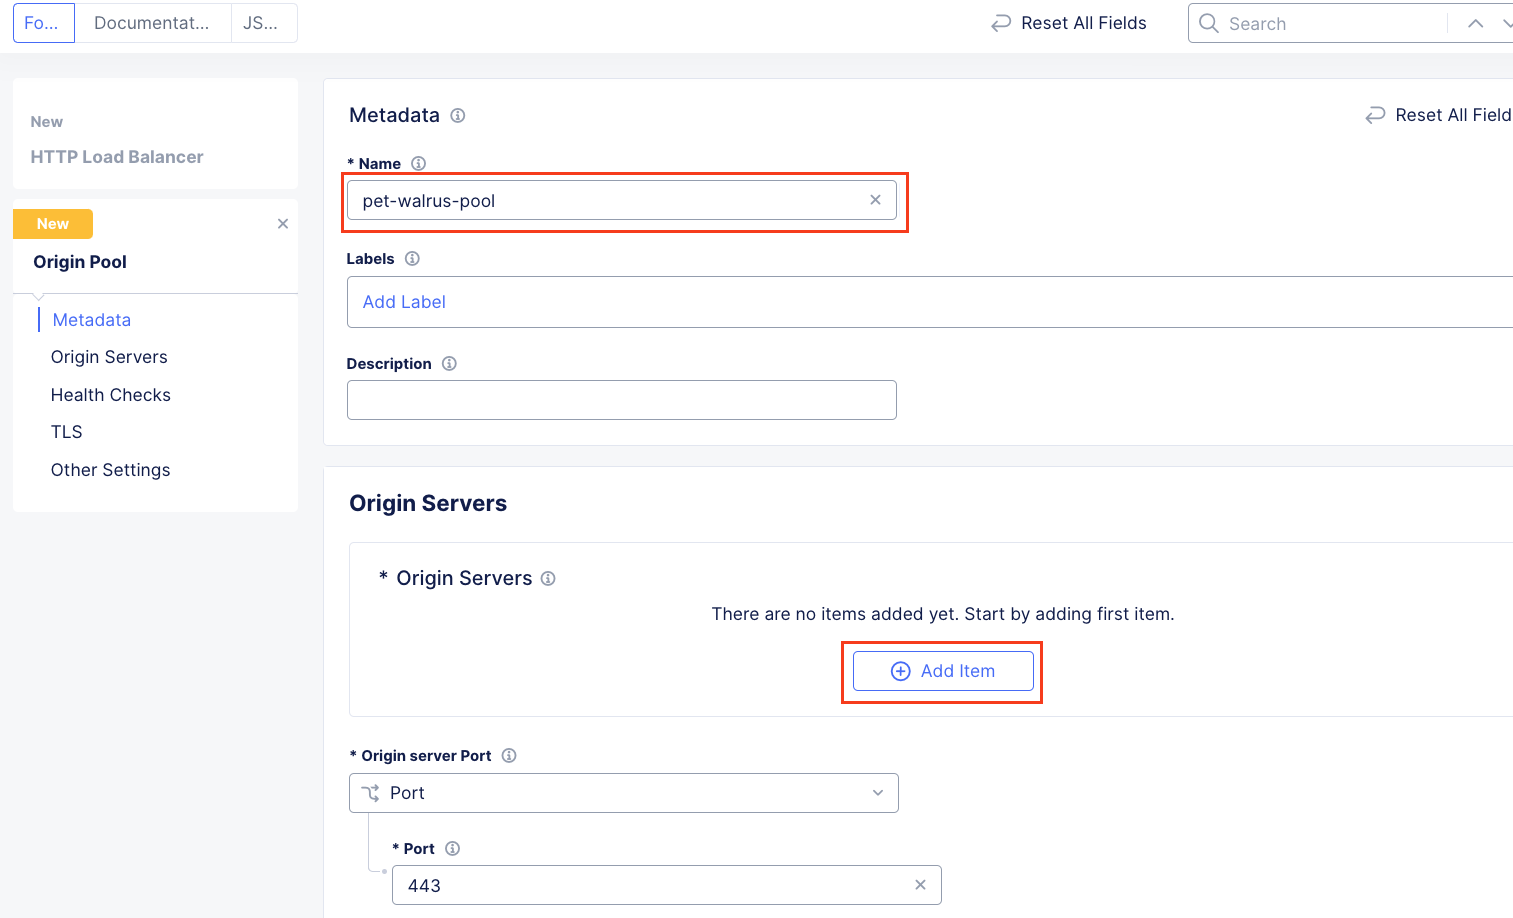
In the resulting window, enter <namespace>-origin in the Name field and click Add Item under Origin Servers as shown.
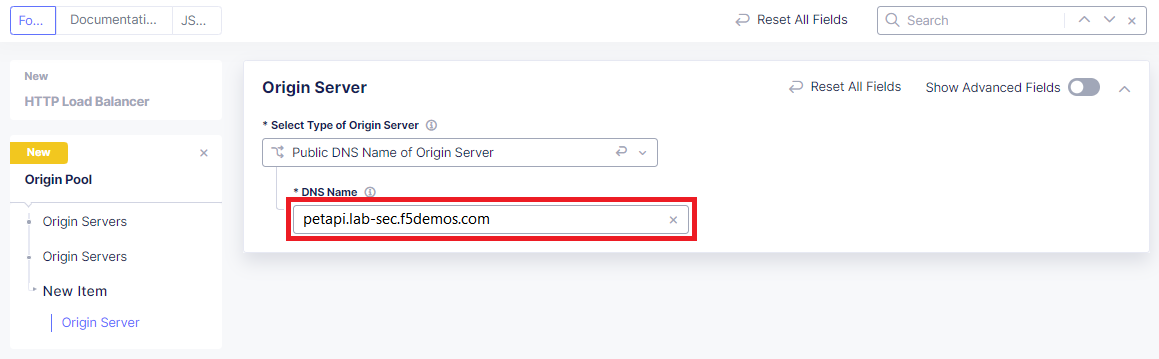
In the resulting window, Public DNS Name of Origin Server should be selected for Select Type of Origin Server.
In the DNS Name field enter the following hostname: demobankapi.lab-sec.f5demos.com and then click Apply
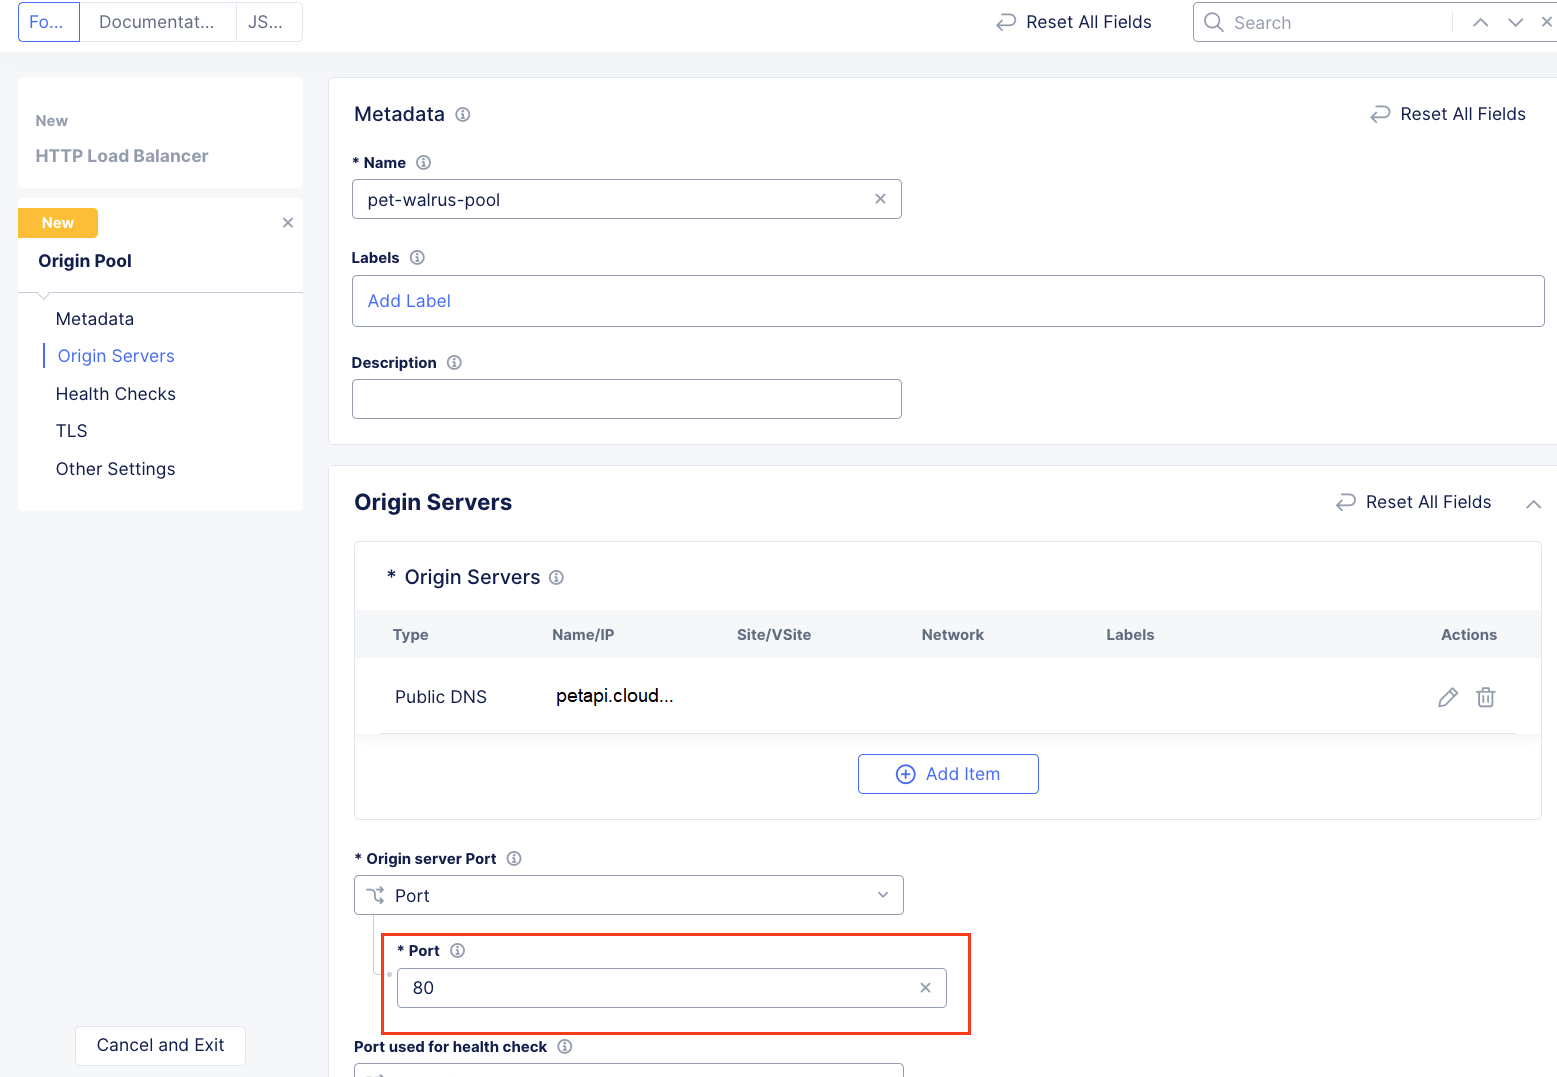
After returning to the prior window, make sure Port: within the Origin Servers section, under Origin Server Port is configured for 80.
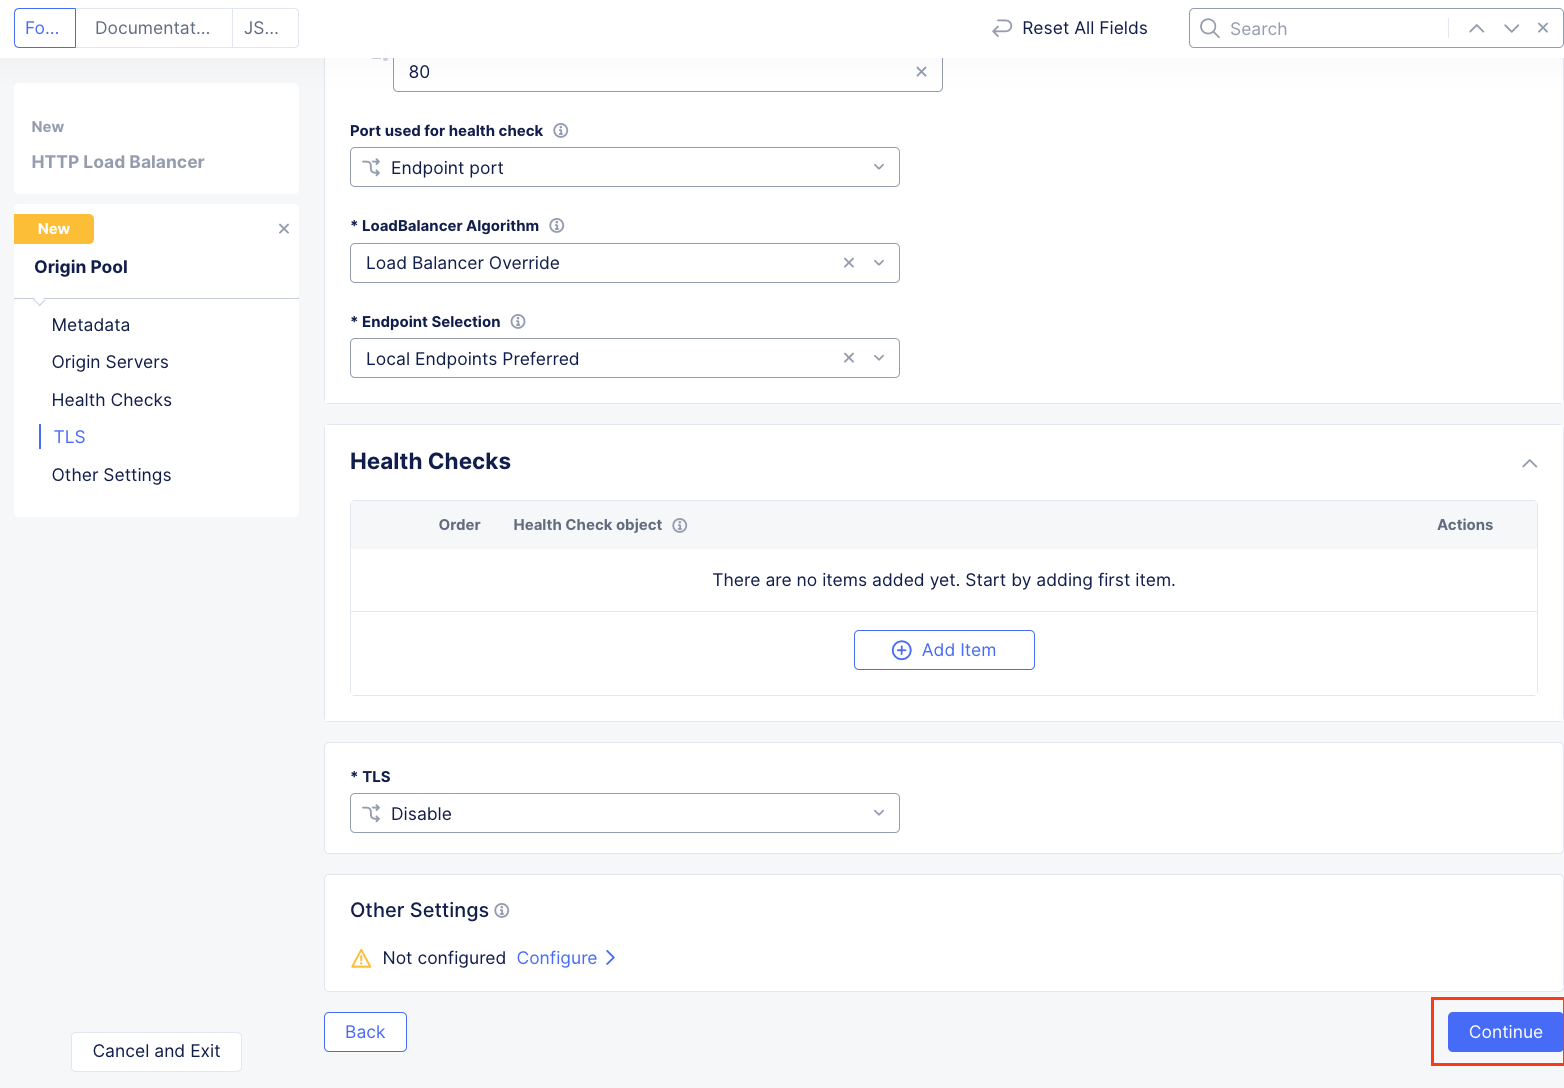
Leave all other values as shown while scrolling to the bottom and click, Continue.
After returning to the next window and confirming the content, click Apply.
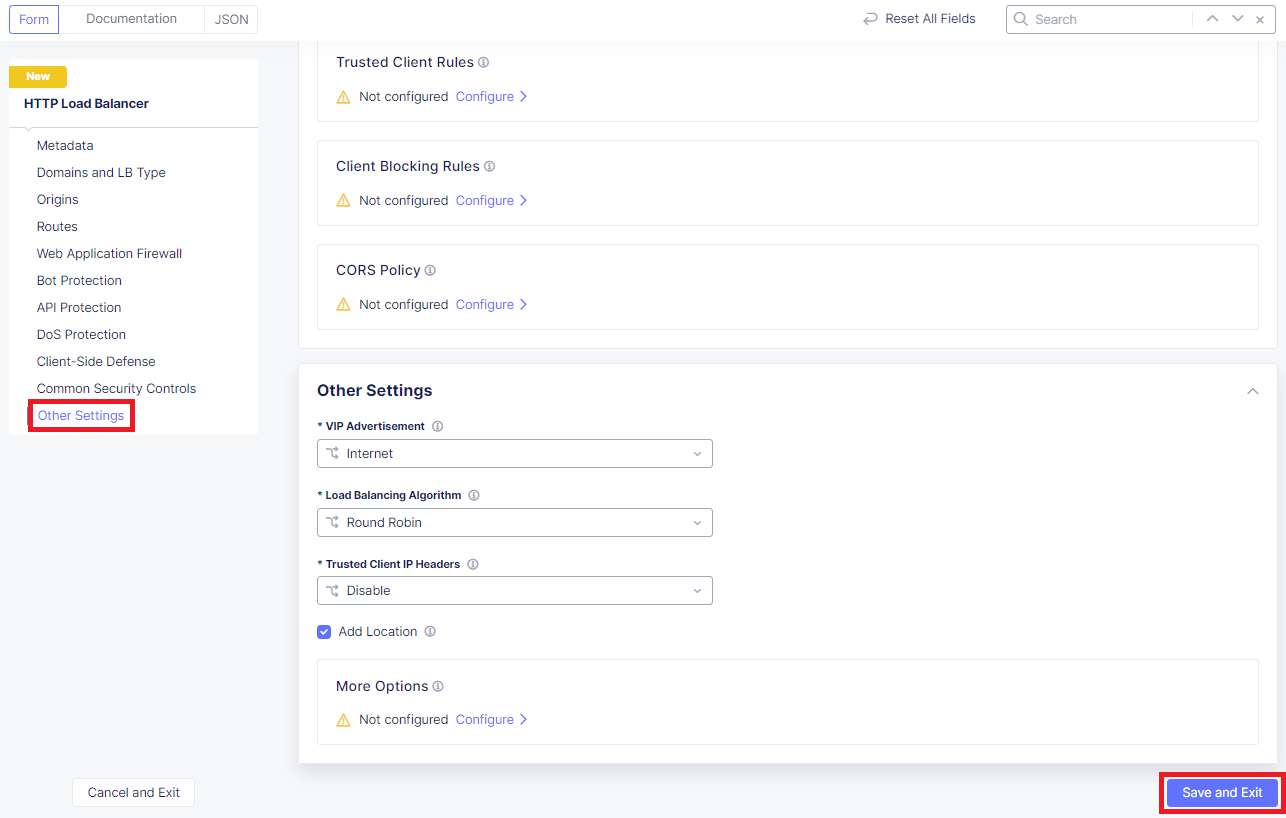
After returning to the HTTP Load Balancer window, select Common Security Controls on the left, find Malicious User Detection and select Enable from the drop-down.
Note
This will be used in a later lab.
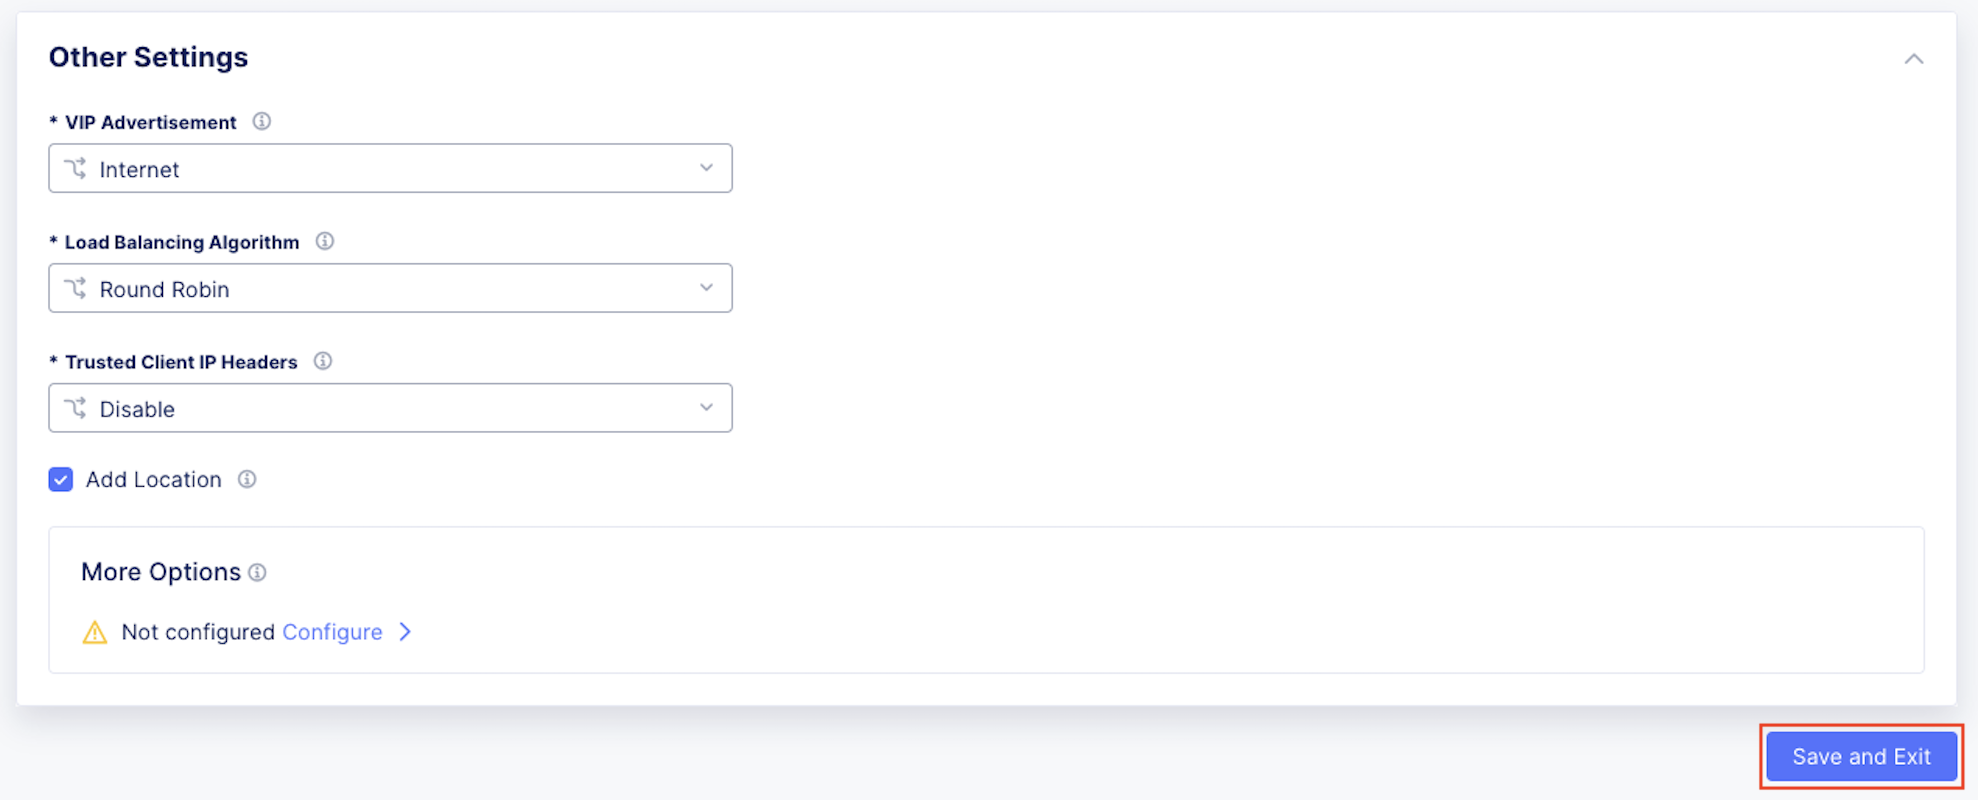
Scroll to the bottom of the window, click on Save and Exit.
Using another browser tab, navigate to the the following URL to confirm the Load Balancer has been configured properly.
http://<namespace>.lab-sec.f5demos.com/swagger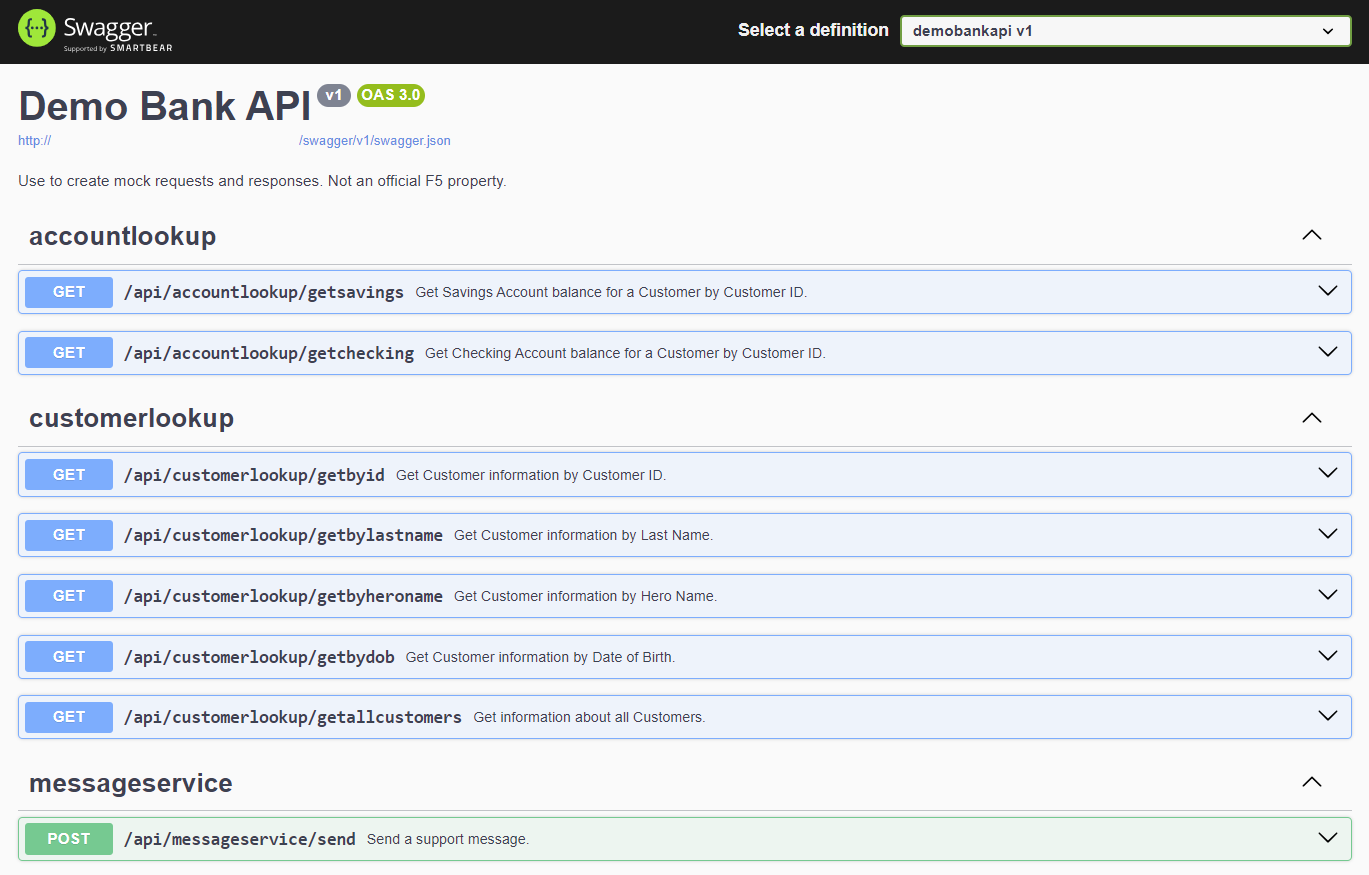
End of Lab