NGINX Modern Apps > Class 1 - Intro to NGINX Plus > Module 1: Introduction to NGINX Plus Concepts Source | Edit on
Installing NGINX Plus
Introduction
NGINX Plus is supported on Amazon Linux, CentOS, Debian, FreeBSD, Oracle Linux, Red Hat Enterprise Linux (RHEL), SUSE Linux Enterprise Server (SLES), and Ubuntu.
For sizing guidance on Deploying NGINX Plus, see Sizing Guide for Deploying NGINX Plus on Bare Metal Servers
Prerequisites
Before being able to use NGINX Plus you will need the following:
- An NGINX Plus subscription
- A supported operating system
- Your credentials to the NGINX Plus Customer Portal
- Your NGINX Plus certificate and public key
Note
The prerequisites have been completed for you in this lab
See also
Official installing NGINX documentation: Installing NGINX Plus
Official NGINX GeoIP2 documentation: GeoIP2 Module
Learning Objectives
By the end of the lab you will be able to:
- Install NGINX Plus
- Install a NGINX Plus Dynamic Module
- Verify Installation
- Invoke NGINX and common options from from the command line
Exercise 1: Install NGINX Plus
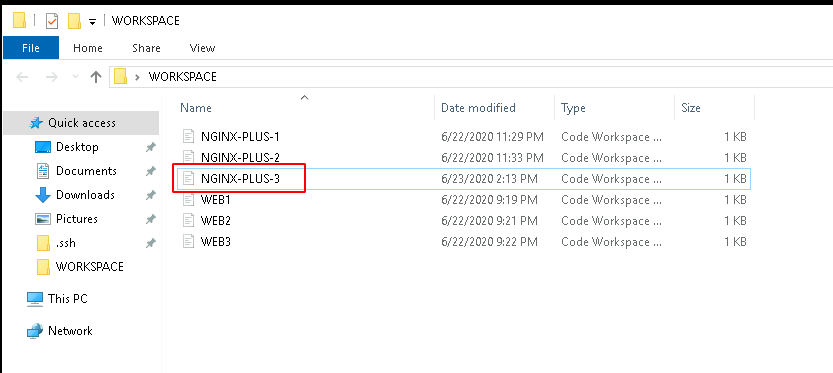
In the WORKSPACE folder found on the desktop, open the NGINX-PLUS-3 workspace by double clicking the NGINX-PLUS-3 file. This will start an instance of Visual Studio Code.
Select Workspace
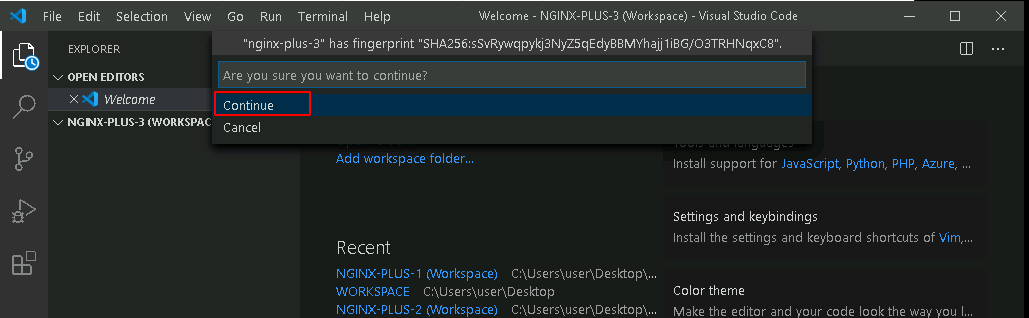
If you are prompted Are you sure you want to continue? Select continue
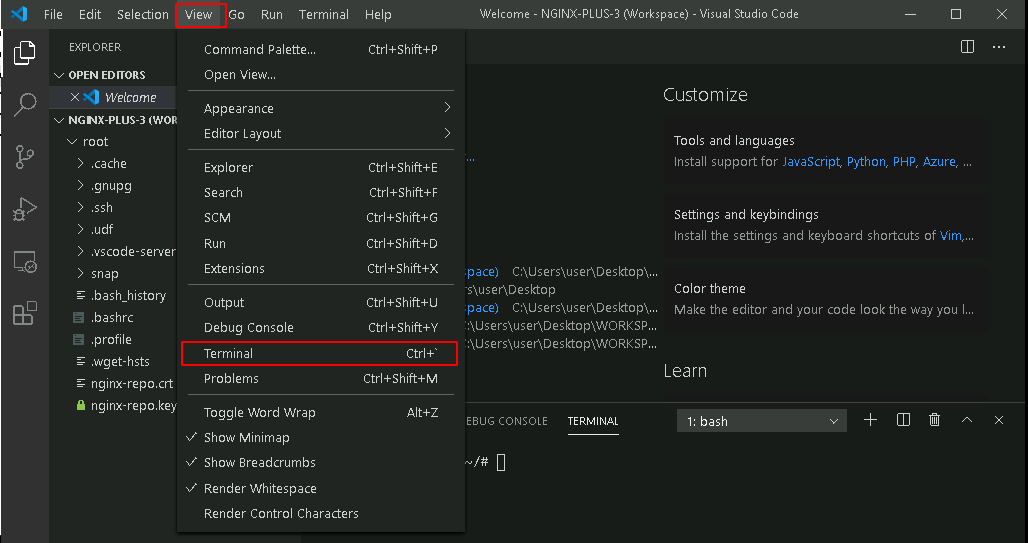
In VSCode, open a terminal window by selecting View > Terminal. You will now be able to both run NGINX commands and edit NGINX Plus configuration files via the VSCode Console and terminal.
Note
Terminal will appear on the bottom portion of the VSCode window.

In the terminal run the following commands to install NGINX Plus
Confirm you are root
whoami
Move to the /root directory and check that the nginx-repo.crt and nginx-repo.key files are present.
cd /root
ls
Run installation commands
mkdir -p /etc/ssl/nginx
cp nginx-repo.* /etc/ssl/nginx
wget http://nginx.org/keys/nginx_signing.key && sudo apt-key add nginx_signing.key
apt-get install apt-transport-https lsb-release ca-certificates wget gnupg2 ubuntu-keyring

wget -qO - https://cs.nginx.com/static/keys/nginx_signing.key | gpg --dearmor | sudo tee /usr/share/keyrings/nginx-archive-keyring.gpg >/dev/null
wget -qO - https://cs.nginx.com/static/keys/app-protect-security-updates.key | gpg --dearmor | sudo tee /usr/share/keyrings/app-protect-security-updates.gpg >/dev/null

printf "deb [signed-by=/usr/share/keyrings/nginx-archive-keyring.gpg] https://pkgs.nginx.com/plus/ubuntu `lsb_release -cs` nginx-plus\n" | sudo tee /etc/apt/sources.list.d/nginx-plus.list

wget -P /etc/apt/apt.conf.d https://cs.nginx.com/static/files/90pkgs-nginx

apt-get update

apt-get install -y nginx-plus
Verify the version of NGINX Plus that was installed:
nginx -v
Install the NGINX Plus GeoIP2 Dynamic Module
apt-get -y install nginx-plus-module-geoip2
Note
In the output of the previous command view the instructions to enable the module via the NGINX config. We will do this later:
The 3rd-party GeoIP2 dynamic modules for NGINX Plus have been installed.
To enable these modules, add the following to /etc/nginx/nginx.conf
and reload nginx:
load_module modules/ngx_http_geoip2_module.so;
load_module modules/ngx_stream_geoip2_module.so;
Please refer to the module documentation for further details:
Start NGINX Plus
systemctl start nginx
Verify that NGINX Plus has started
systemctl status nginx
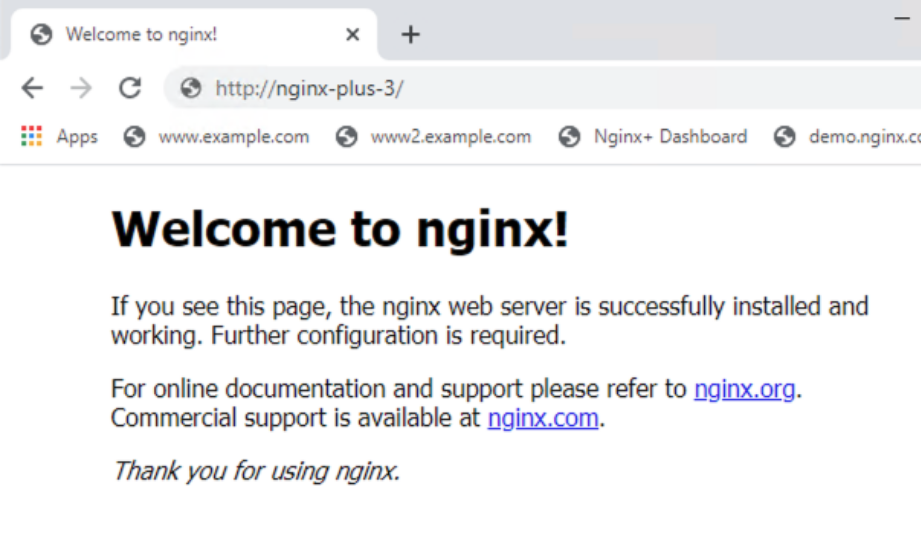
Test the NGINX Plus instance in your browser. Open Google Chrome from your Desktop and enter the following URL, http://nginx-plus-3.
You should see the NGINX default page:
Exercise 2: NGINX Plus command line basics
In this exercise, we will review and configure NGINX Plus as a basic load balancer and test/verify configured functionality.
If you have closed VSCode, once again, open the WORKSPACE folder found on the desktop, double click the NGINX-PLUS-3 workspace shortcut to open Visual Studio Code.
In VSCode, open a terminal window, using View > Terminal menu command. You will now be able to both run NGINX commands and edit NGINX Plus configuration files via the VSCode Console and terminal.
In the terminal try running the following NGINX commands and inspect the output (output won’t be listed in below):
Print help for command-line parameters
nginx -h
Test the configuration file:
NGINX checks the configuration for correct syntax, and then tries to open files referred in the configuration.
nginx -t
same as -t, but additionally dump configuration files to standard output
nginx -T
print the NGINX version
nginx -v
print the NGINX version, compiler version, and configure parameters.
nginx -V
send a signal to the master process. The argument signal can be one of:
- stop — shut down quickly
- quit — shut down gracefully
- reload — reload configuration, start the new worker process with a new configuration, gracefully shut down old worker processes.
- reopen — reopen log files
nginx -s reload
Exercise 3: Inspect NGINX Plus modules
Now that NGINX Plus is installed, browse to the NGINX configuration root, /etc/nginx
File > Open Folder…
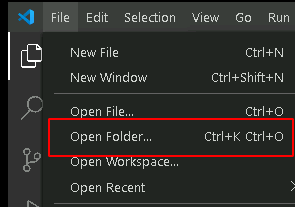
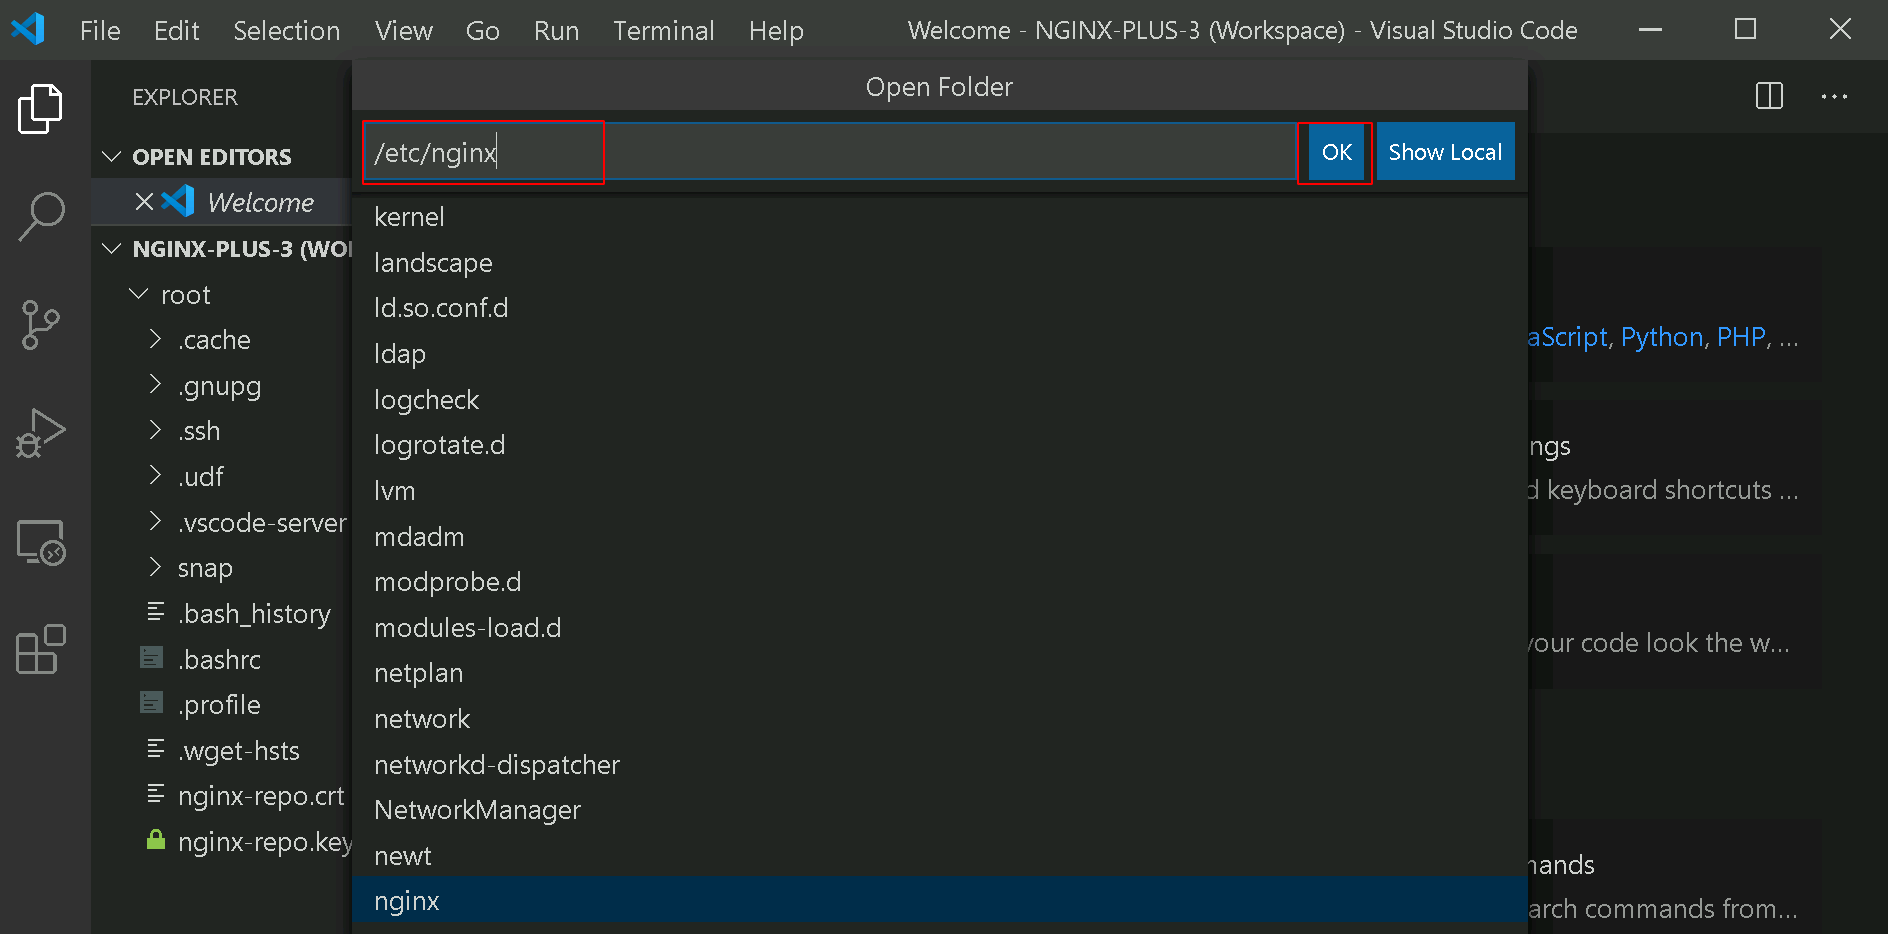
Enter /etc/nginx in the open folder menu the click OK
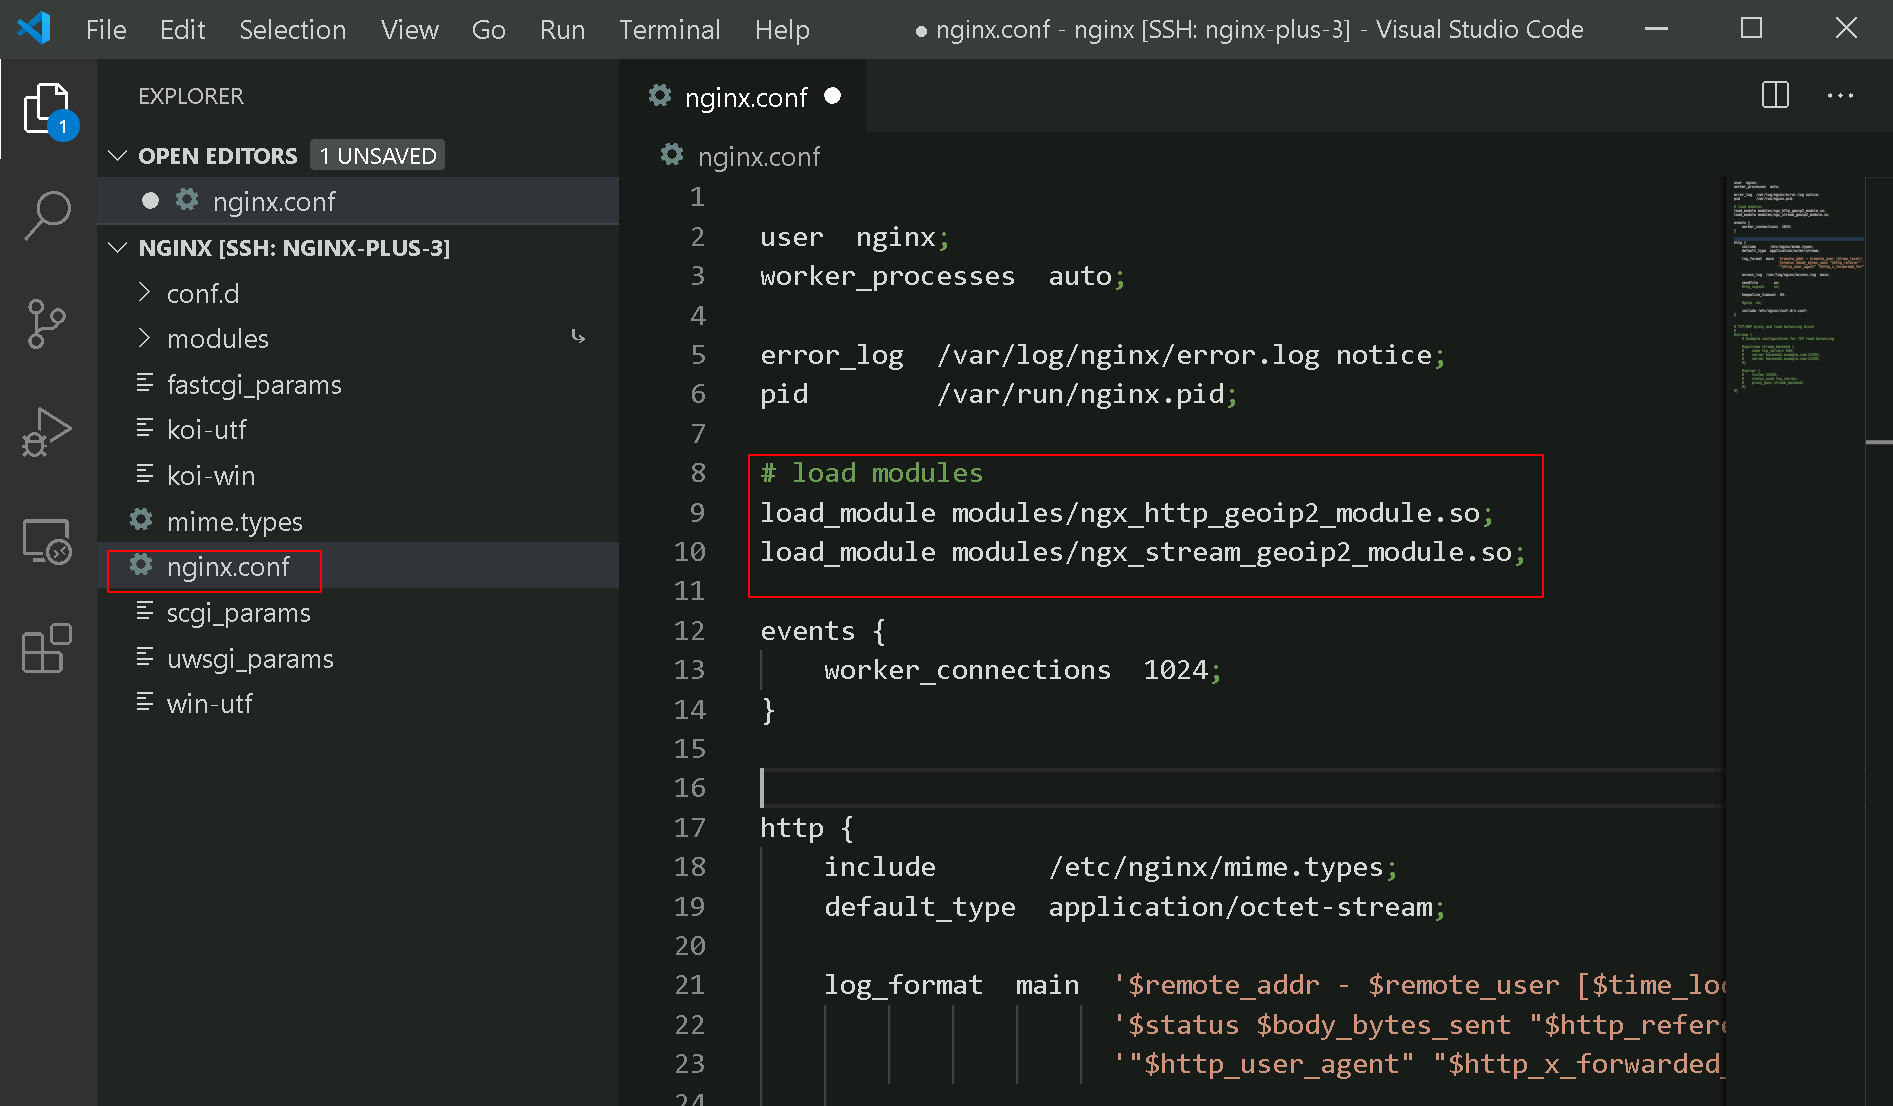
Select the nginx.conf file in the VSCode Explorer section.
To enable the 3rd-party GeoIP2 dynamic modules for NGINX Plus that have been installed, add the following lines to /etc/nginx/nginx.conf in the main context and reload nginx:
load_module modules/ngx_http_geoip2_module.so;
load_module modules/ngx_stream_geoip2_module.so;
For example, it may look like this:
In the terminal window select File > Save or use ctrl+s to save the file.
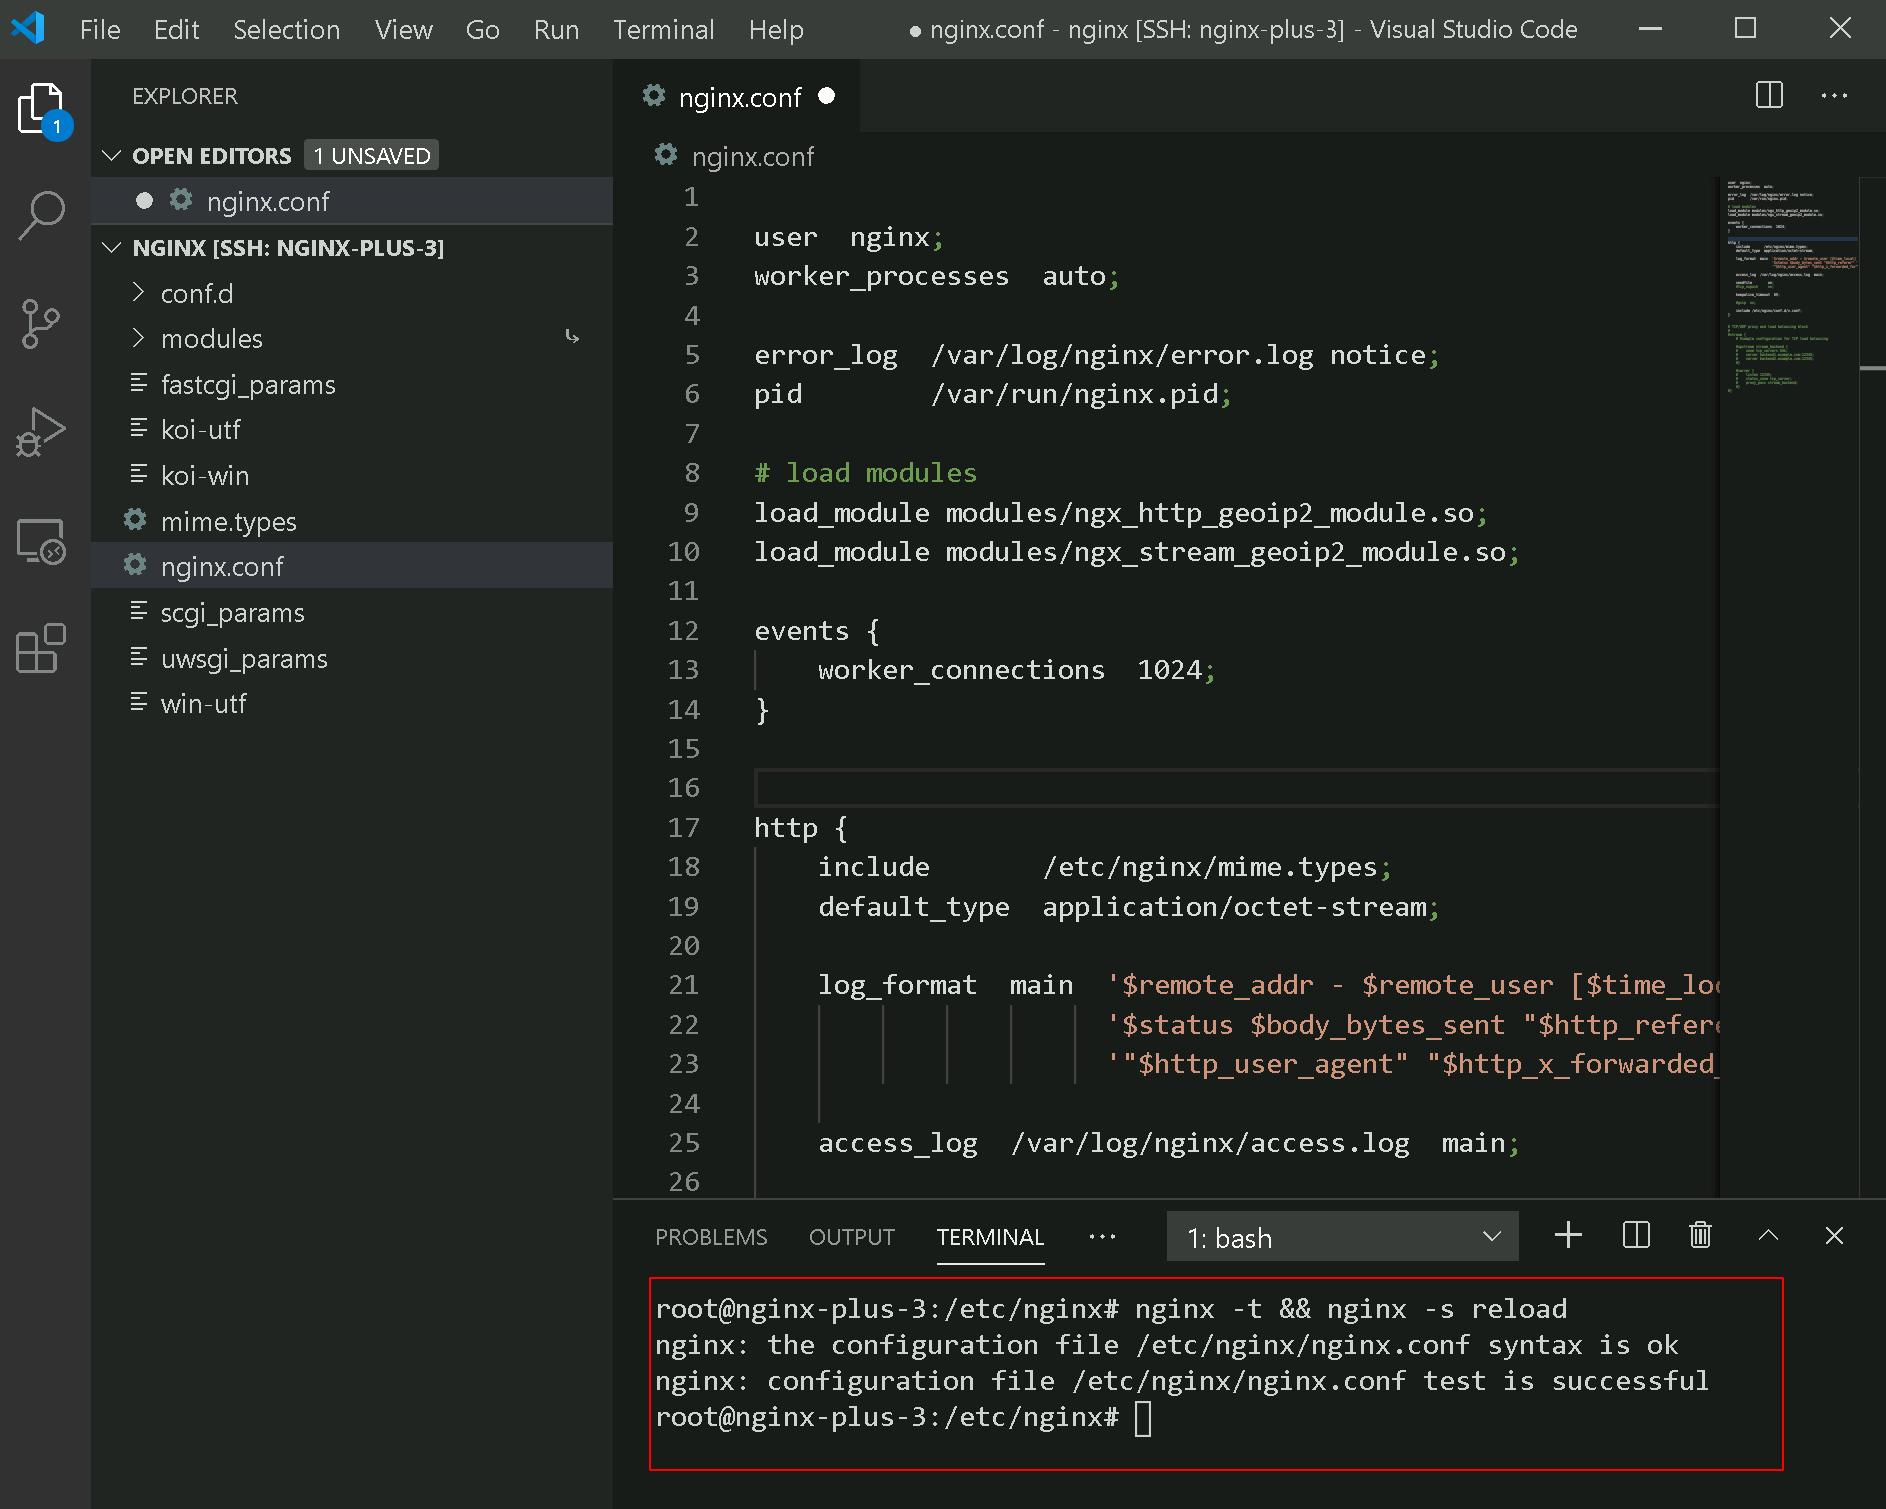
Open the terminal window again by selecting View > Terminal and in the terminal window, run the following commands to reload nginx:
nginx -t && nginx -s reload
See which Dynamic modules are installed:
cd /etc/nginx/modules
ls -al