NGINX Modern Apps > Class 15 - Introduction to F5 AI Gateway Source | Edit on
Module 2 - Accessing the lab environment
If you have not already, log into UDF and start up the lab environment. Given the resource intensity of this lab, it can take a few minutes for the lab VMs to start up to completion.
Once the lab has completed starting up, we will open the various interfaces you need for this lab.
Open VS Code on the Jumphost
For the AI Gateway configuration you will be using VS Code hosted on the Jumphost.
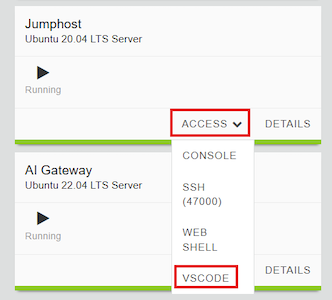
Click Access on the Jumphost component and choose VSCODE.
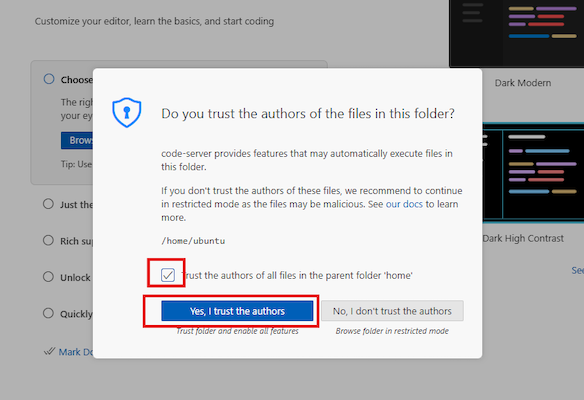
Check the “Trust the authors …” check box and click the “Yes, I trust the authors” button.
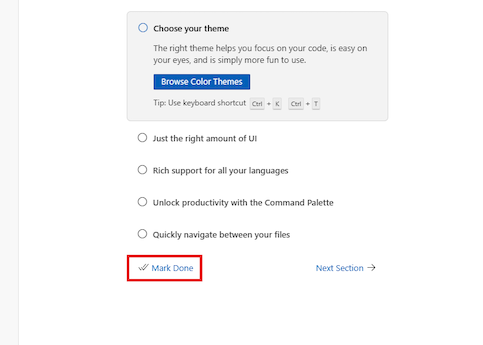
Click “Mark Done”
Now we will open the terminal that will be used later on.
Click the upper left button -> Terminal -> New Terminal
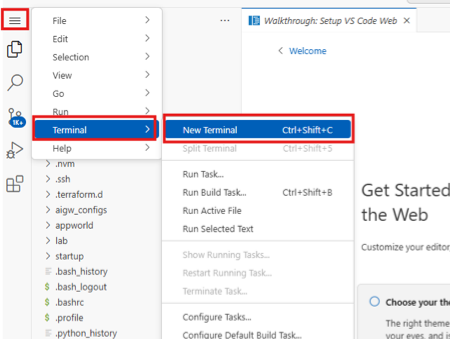
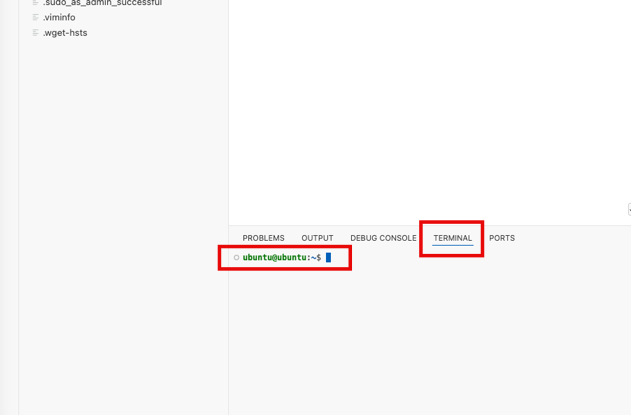
You should now see a lower window within VS Code with a Terminal tab with a prompt.
Open the shell on AI Gateway
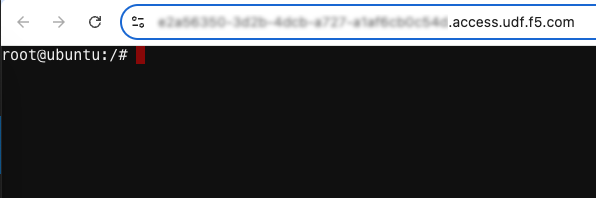
AI Gateway is running on the AI Gateway component and we will want to view the logs throughout the lab. We will access the logs from its shell. Click Access and choose WEB SHELL.

You will have a new tab and see a terminal prompt.
The AIGW Core and AIGW Processors are running as containers. You can verify they are running by running the following command docker ps.

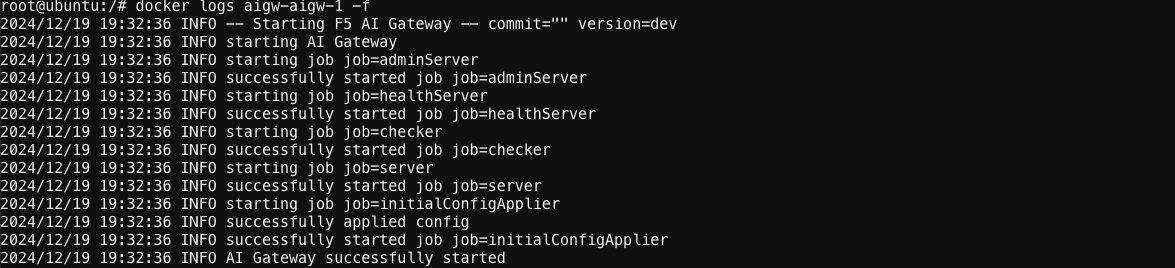
Here we will be able to watch the AI Gateway logs and live behavior. Run the command docker logs aigw-aigw-1 -f to see all live logs.
Open Arcadia Crypto’s AI chatbot
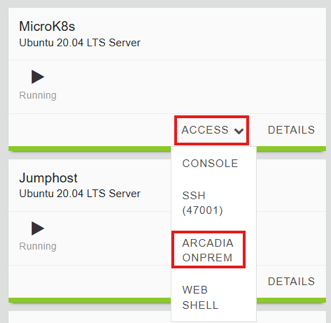
You will be interacting with an AI chatbot for a fictitious finance application called Arcadia Crypto. Click Access on the Microk8s component and click ARCADIA ONPREM.
Login with the following credentials:
Username: sorin@nginx.comPassword: nginx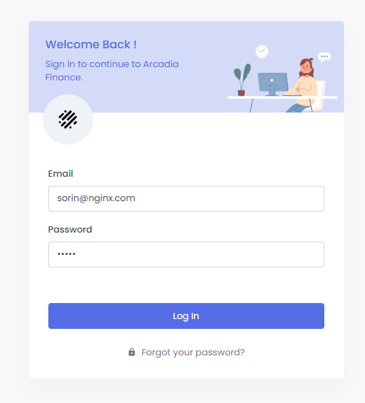
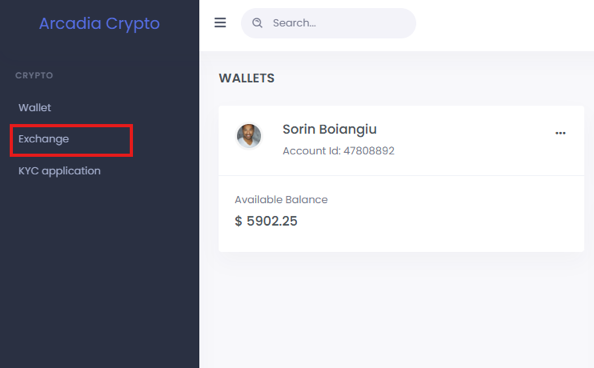
Once logged in click on Exchange.
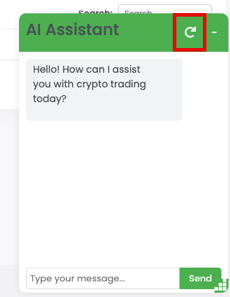
On the bottom right side of the page you have the AI Assistant. Click on the + sign to open the chat.
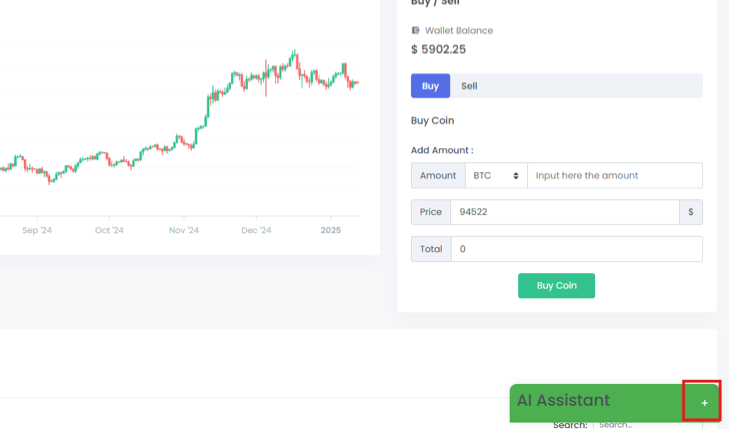
Note that whenever you need to reset the current chat, you can click the Reset button.