NGINX Modern Apps > Class 6 - NGINX API Management > Module 2 - Deploy the API Gateway instance Source | Edit on
Step 3 - Create an API Gateway
The instance is linked with NGINX Controller, but it needs to be configured as a Gateway to be used by NGINX Controller. A Gateway is an NGINX Controller object “grouping” instances (not to be confused with an API Gateway).
Note
In this lab, we have only one instance per Gateway, but we could have several instances per Gateway. For instance, I could have 3 NGINX Plus instances in front of my API Sentence app. All of these instances would have the same API Definition config.
Steps:
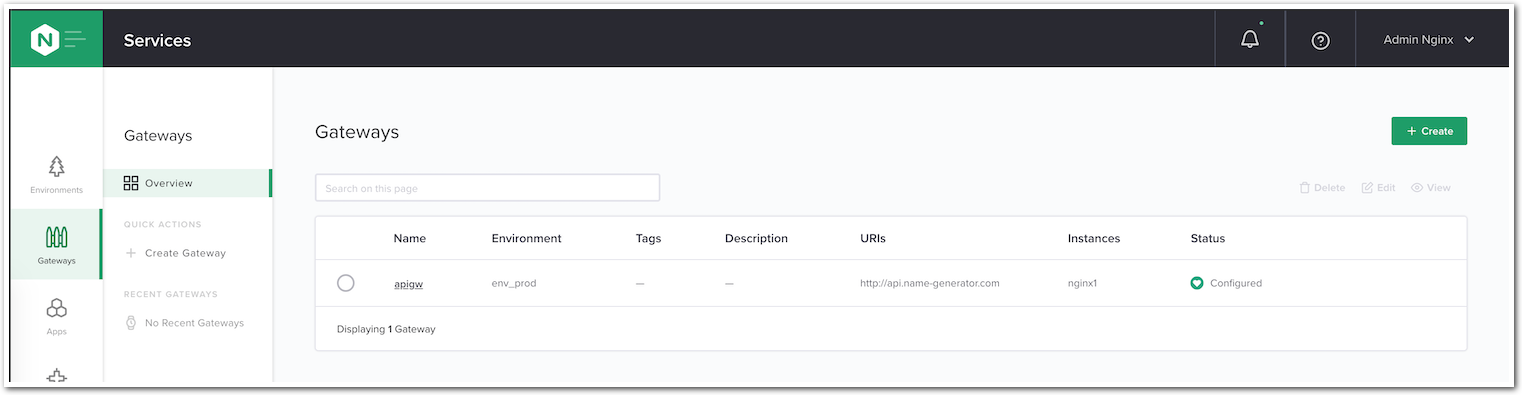
- In NGINX Controller -> Select
Home(the NGINX logo on the top left corner) ->Services->Gateways->Create Gateway. Use the following values:
- Name:
apigw- Environment:
env_prod- Placement:
<your nginx1 instance>- Hostname: http://api.name-generator.com
- Methods:
POST,GET,PUT,DELETE,PATCH
Click
SubmitNote
The hostname value is the listener. This
Gatewaywill be dedicated to the API FQDN, so we set this FQDN at theGatewaylevel.You might notice before submitting that NGINX Controller also gives you the
API Speccall to create this gateway (via Postman for example):
 {
   "metadata": {
     "name": "apigw",
     "tags": []
   },
   "desiredState": {
     "ingress": {
       "uris": {
         "http://api.name-generator.com": {}
       },
       "methods": [
         "POST",
         "GET",
         "PUT",
         "DELETE",
         "PATCH"
       ],
       "placement": {
         "instanceRefs": [
           {
             "ref": "/infrastructure/locations/unspecified/instances/nginx1"
           }
         ]
       }
     }
   }
 }
- Congrats! You have configured your NGINX Plus instance as a
Gateway, and we can now use it for ADC or API management (as an API Gateway) use cases.