NGINX Modern Apps > Class 8 - Mastering NGINX One: Performance Tuning and Security Hardening Best Practices Source | Edit on
Start Your Tuning
In this section we will be tuning various NGINX configuration parameters and reviewing performance test results. We will be using NGINX Instance Manager (NIM) to make configuration changes and then pushing those changes to the NGINX Proxy.
- Log in to NGINX Instance Manager
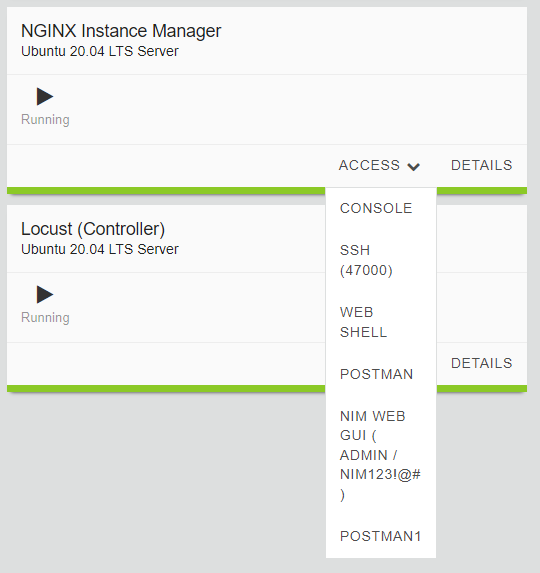
In the UDF console, find the NGINX Instance Manager system, click the ACCESS link and select NIM WEB GUI. Log in with the following credentials:
username: admin
pass: NIM123!@#
- Modify nginx.conf parameters
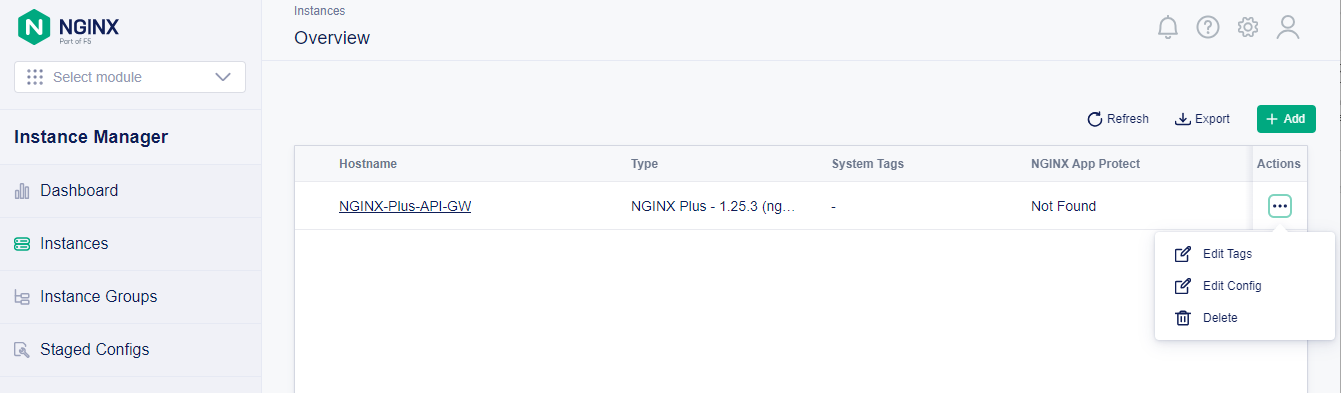
Click on Instances in the left column and then the ellipsis on the far right of the NGINX-Plus-Proxy instance. Next, click Edit Config.
Now you can edit the NGINX Proxy’s configuration file through this NIM interface
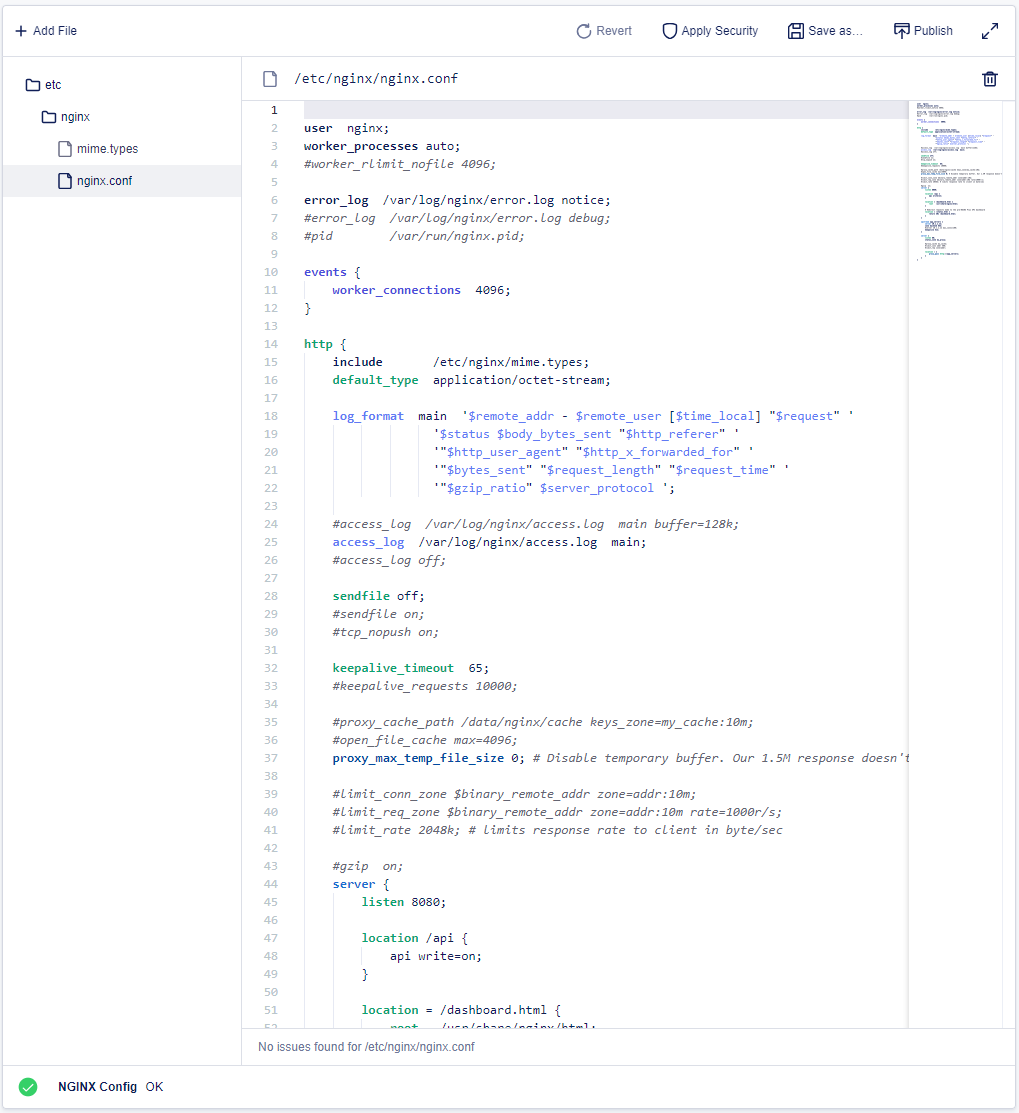
Find the line (lines 2 and 3) containing the worker_processes directive. When set to “auto” NGINX will spawn worker processes to match the number of CPU cores on the system. This system is configured with 2 CPU cores, so in this case, NGINX will spawn 2 worker processes.
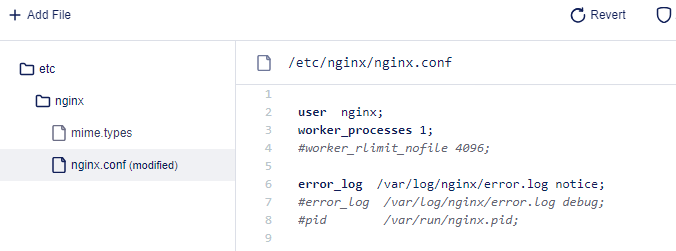
Let’s change the value from auto to 1, reducing the number of worker processes in half. Hit the publish button in the upper right to push the changes to the NGINX Proxy.
Tip
In many cases, you will find commented out versions of NGINX directives that are already configured with the values being asked by this lab. Feel free to uncomment them, taking care to comment out the analogous existing directives, rather than changing them directly.
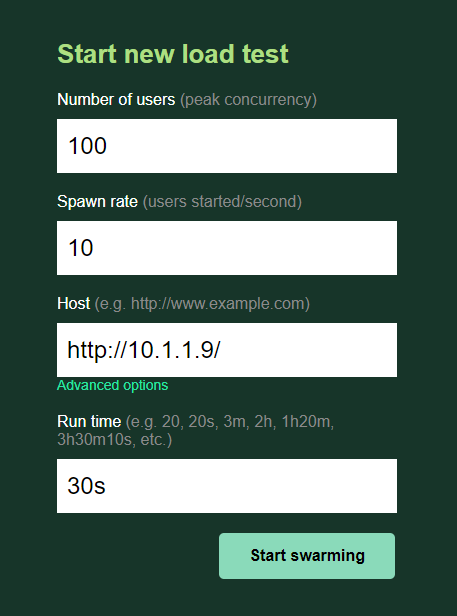
Now let’s run another test and review the Locust Charts.
Note
Did you observe any differences in Requests per Second, Response times or other stats from the previous test?
- Make another change to the nginx.conf, publish and test again
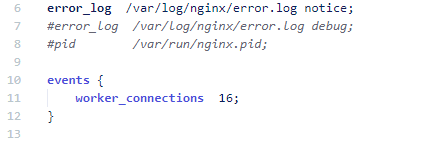
Find and change worker_connections to a value of 16 from 1024 (lines 11 and 12)
After making the changes, publish the configuration and run the test again with the same values.
Note
How did the performance change and what does worker_connections do?
- Revert changes to original settings and publish
worker_processes auto; (lines 2 and 3)
worker_connections 1024; (lines 11 and 12)