F5 BIG-IP SSL Orchestrator Training Lab > All SSL Orchestrator Lab Guides > [Archived] SSL Orchestrator v5 (Ravello | 4 hours) > Module 4 - Create an SSLO for Existing Applications Source | Edit on
Lab 4.1: Create an LTM application
For the lab, create a simple LTM Virtual Server:
Create a pool - go to and click Create.
- Set a name of your choice
- Use "http" health monitor
- Add the following pool members using (the internal webserver IPs) and
service port 80
- 10.20.0.90
- 10.20.0.91
- 10.20.0.92
- Click Finished
Create a client SSL profile - go to and click Create.
- Set a name of your choice
- Modify the "Certificate Key Chain" by adding wildcard.f5labs.com certificate and private key.
- Click Finished
Create an LTM virtual server - go to and click Create.
- Set a name of your choice
- Destination Address/Mask: 10.30.0.205
- Service Port: 443
- HTTP Profile: http
- SSL Profile (Client): previously created Client SSL profile
- VLANs and Tunnels: Select Enabled on... option, and then outbound VLAN
- Source Address Translation: Auto Map
- Default Pool: previously created pool
- Click Finished
Test access to the LTM virtual server
RDP to the Inbound Windows client.
The webserver should be accessible via HTTPS request to the LTM virtual server IP.
Optionally add a static host entry in the local Windows hosts file (C:\Windows\System32\drivers\etc\hosts) for:
- www.f5labs.com = 10.30.0.205
Note
A shortcut to the "hosts" file can be found on the desktop.
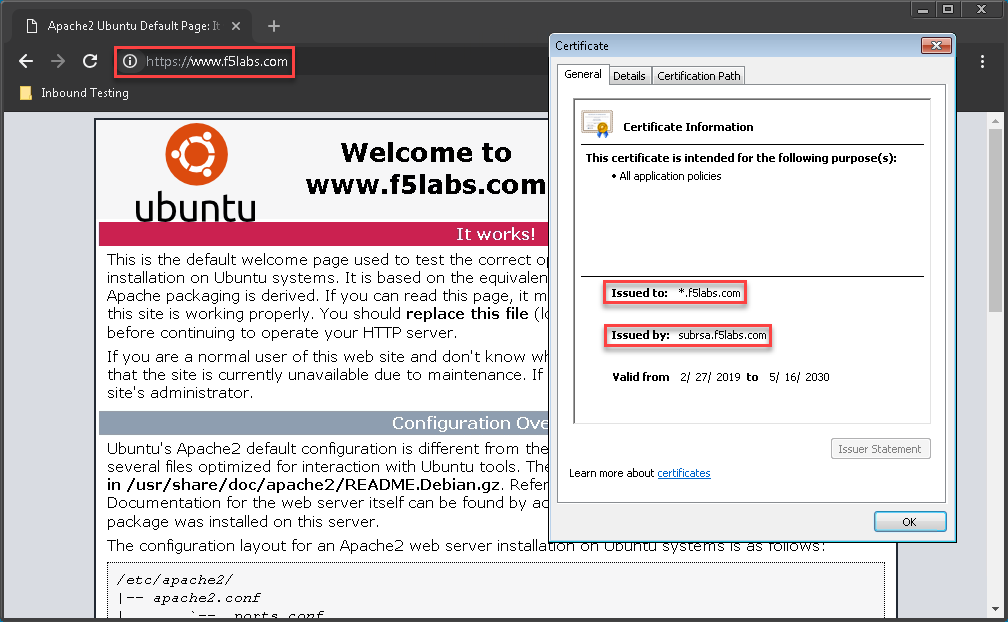
Test access to https://www.f5labs.com.
Note
The certificate is a wildcard, so any *.f5labs.com hostname would also work.