F5 BIG-IP SSL Orchestrator Training Lab > All SSL Orchestrator Lab Guides > SSLO 102: Diving into SSL Orchestrator for BIG-IP Next (AppWorld 2024 | 2 hours) > 3. Lab 1 - BIG-IP Next Initial Setup Source | Edit on
3.1. BIG-IP Next Instance Onboarding
The following instructions assume basic connectivity to the lab environment, and administrative access to the lab's network and virtual machine configurations.
3.1.1. Instantiating a BIG-IP Next Instance
Follow these steps to instantiate and activate a BIG-IP Next instance through the Central Manager.
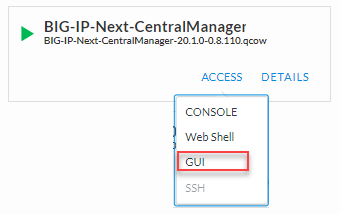
In the UDF Deployment tab, access the BIG-IP Central Manager VM by clicking on the ACCESS link and then selecting GUI. A new browser tab will open.
Log into Central Manager with username:
adminand password:Welcome123!.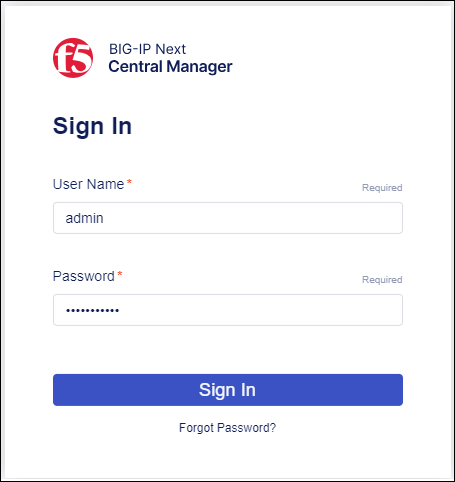
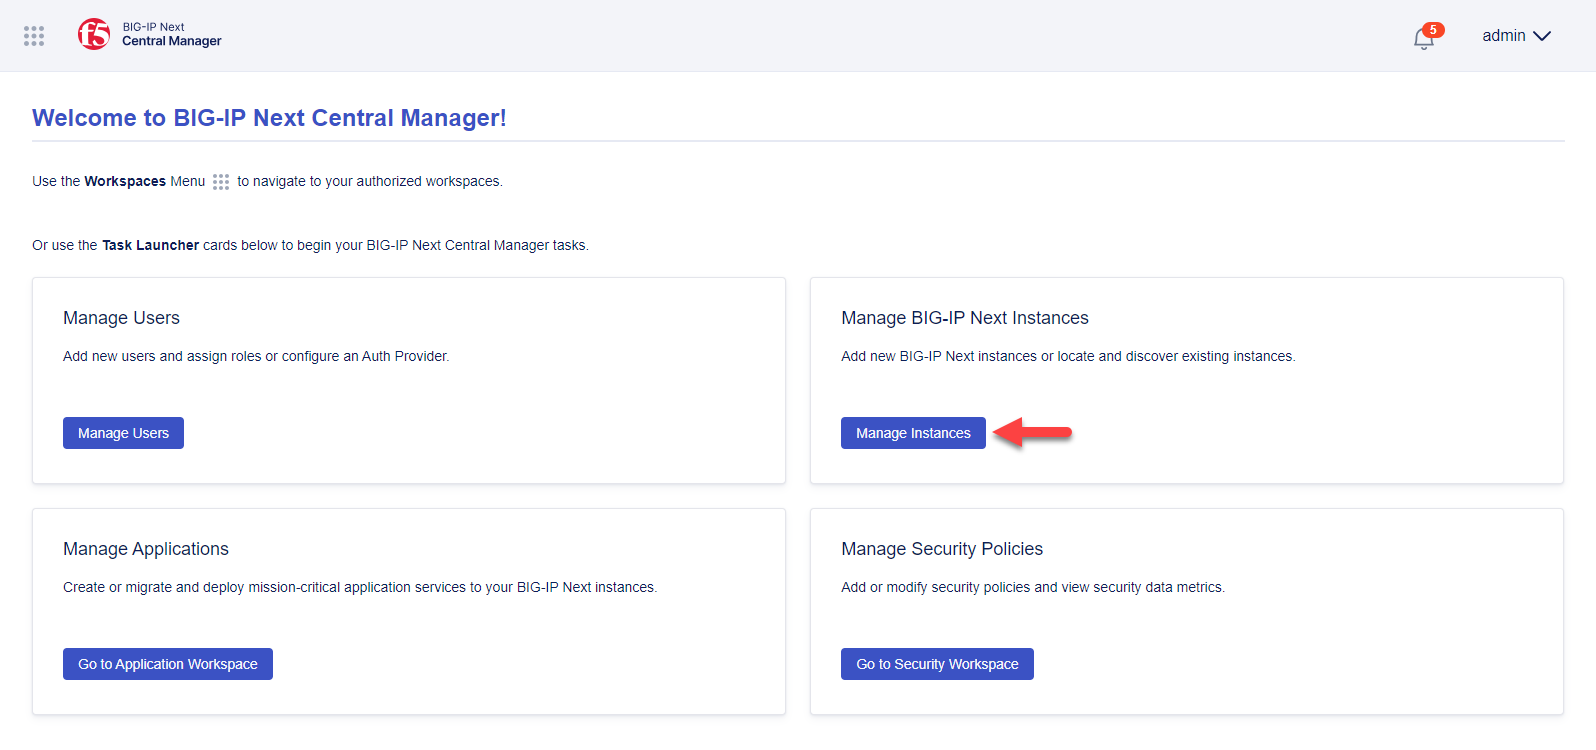
On the Home screen, click the Manage Instances button.
Since no BIG-IP Next instances have been added yet, click the Start Adding Instances button to open the Add Instance panel
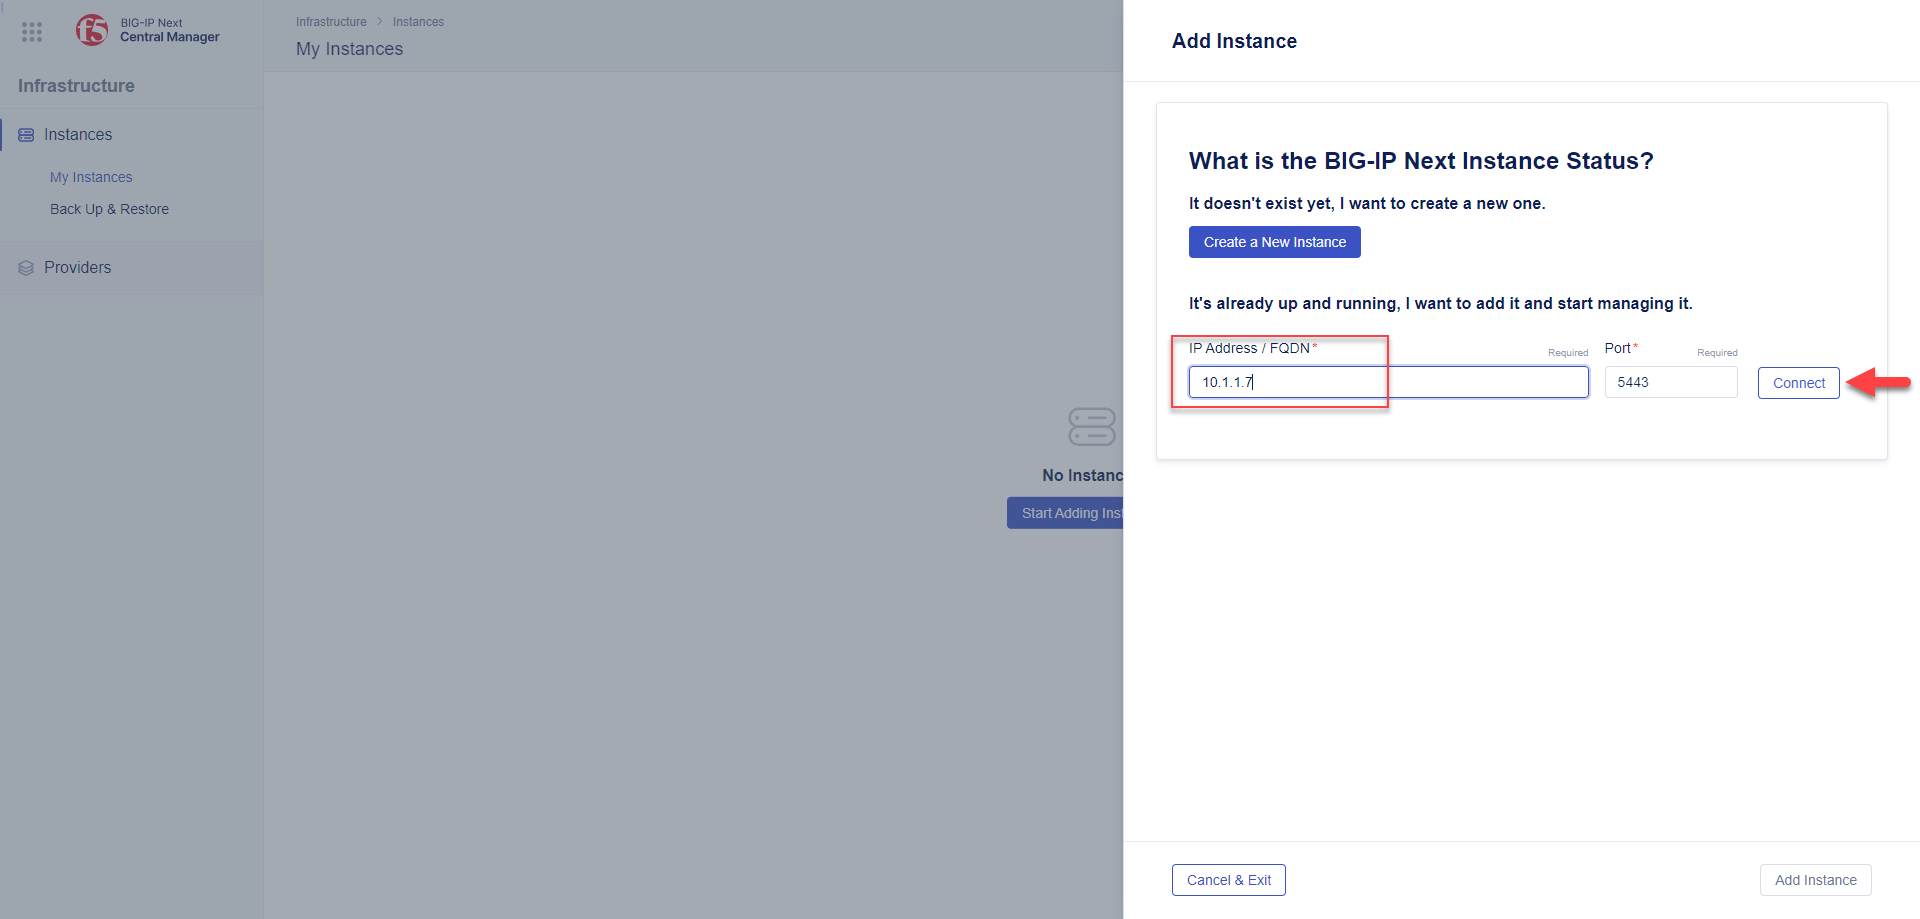
Enter
10.1.1.7as the IP address of the BIG-IP Next instance to add.Click the Connect button.
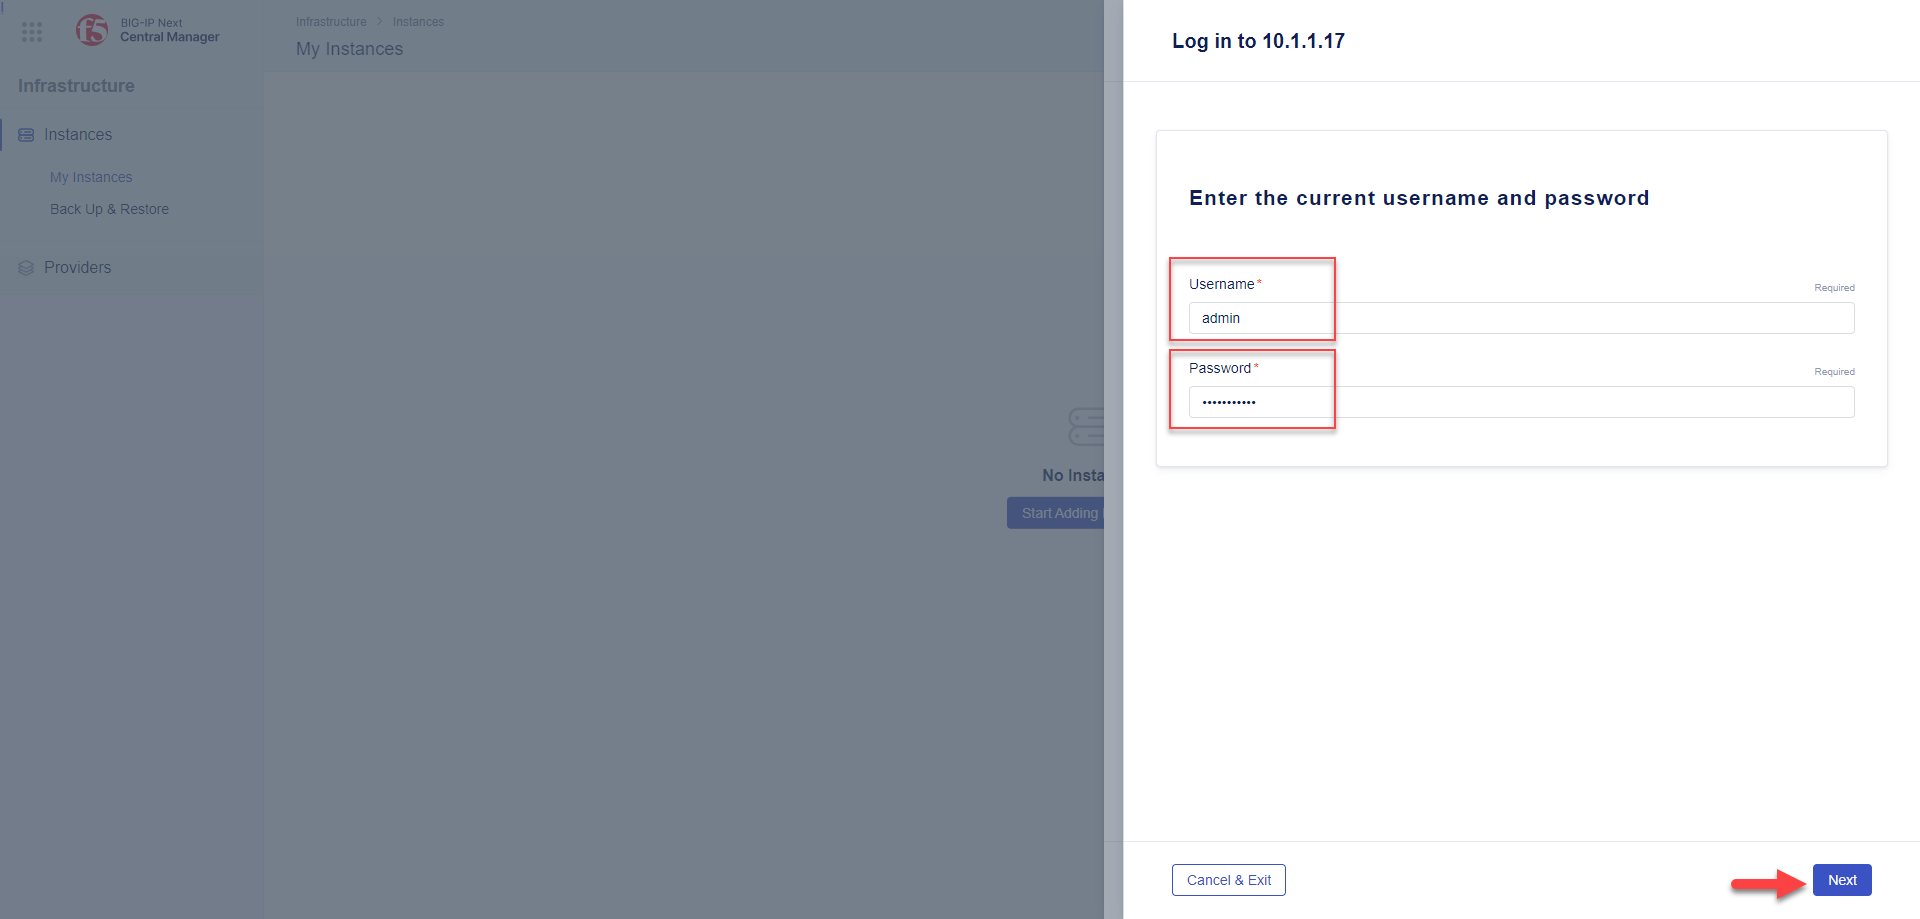
In the login panel, enter
adminin the Username field and enterWelcome123!in the Password field.Click the Next button to continue.
In the Management Credentials, you will need to enter a new password for the admin-cm user. Enter
Welcome123!in the Password and Confirm Password fields, then click the Add Instance button.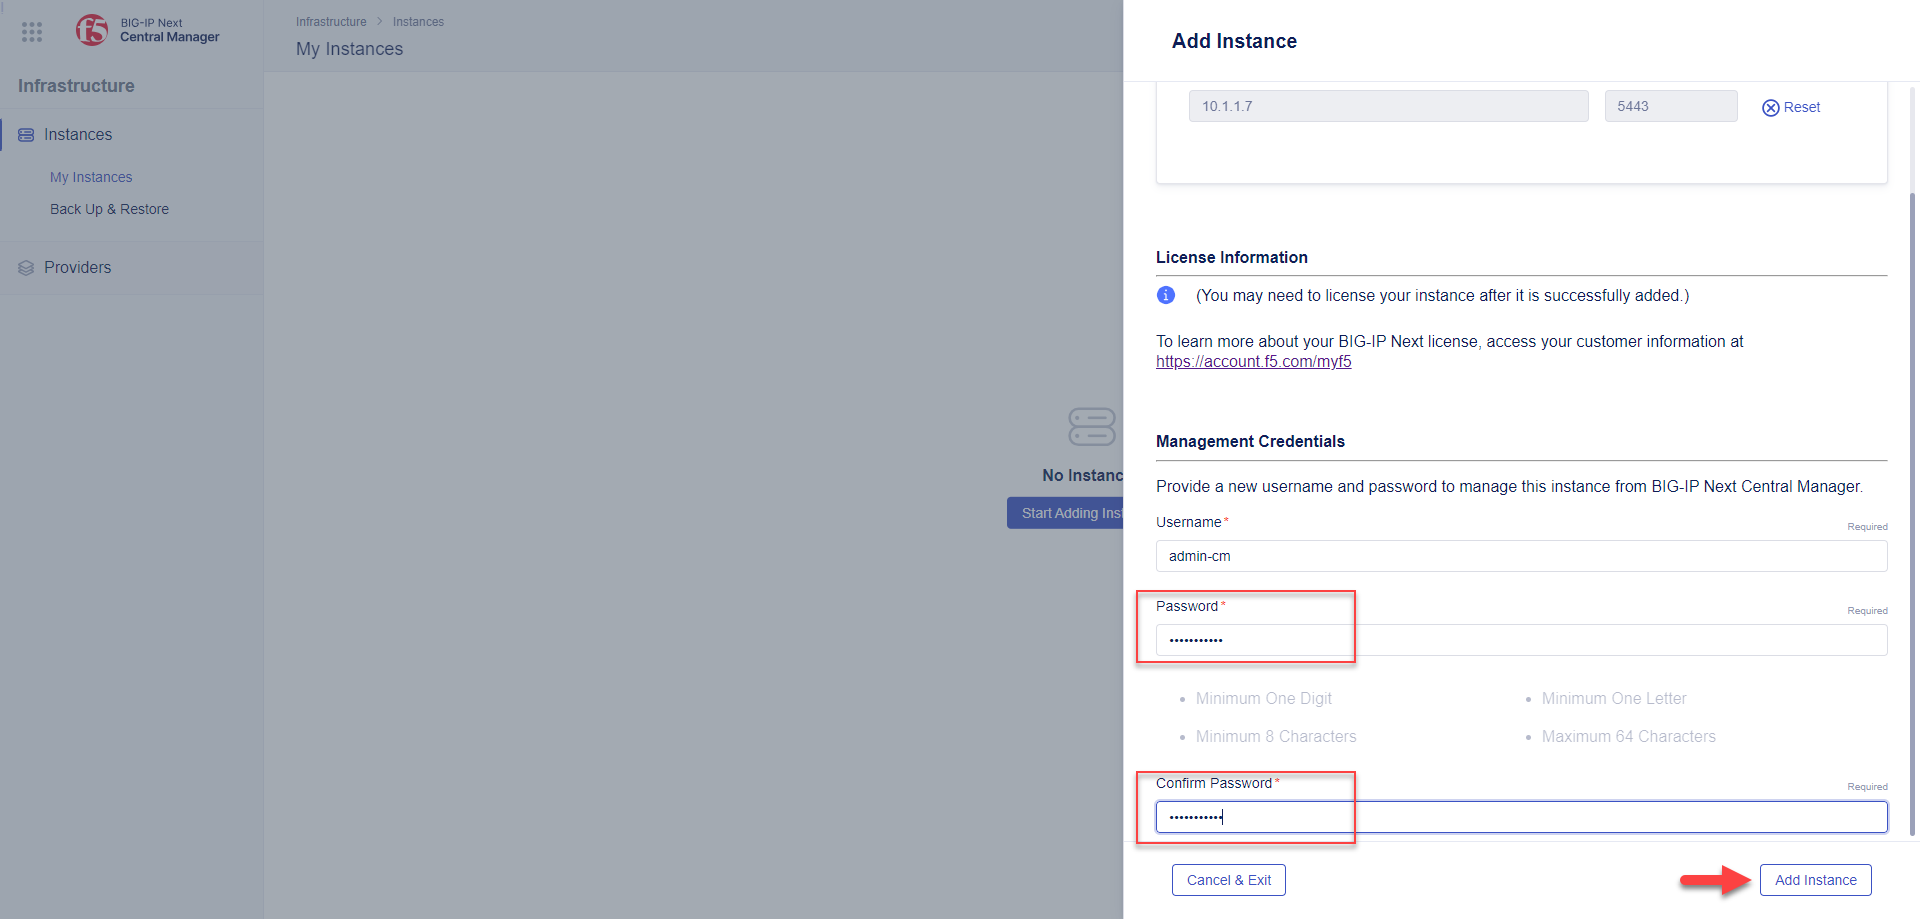
At the Start Central Management on this instance? prompt, click on the Add button.
At the Continue Connecting? prompt, click on the Accept button.
Once the instance has been added, you should see the new instance in the BIG-IP list.

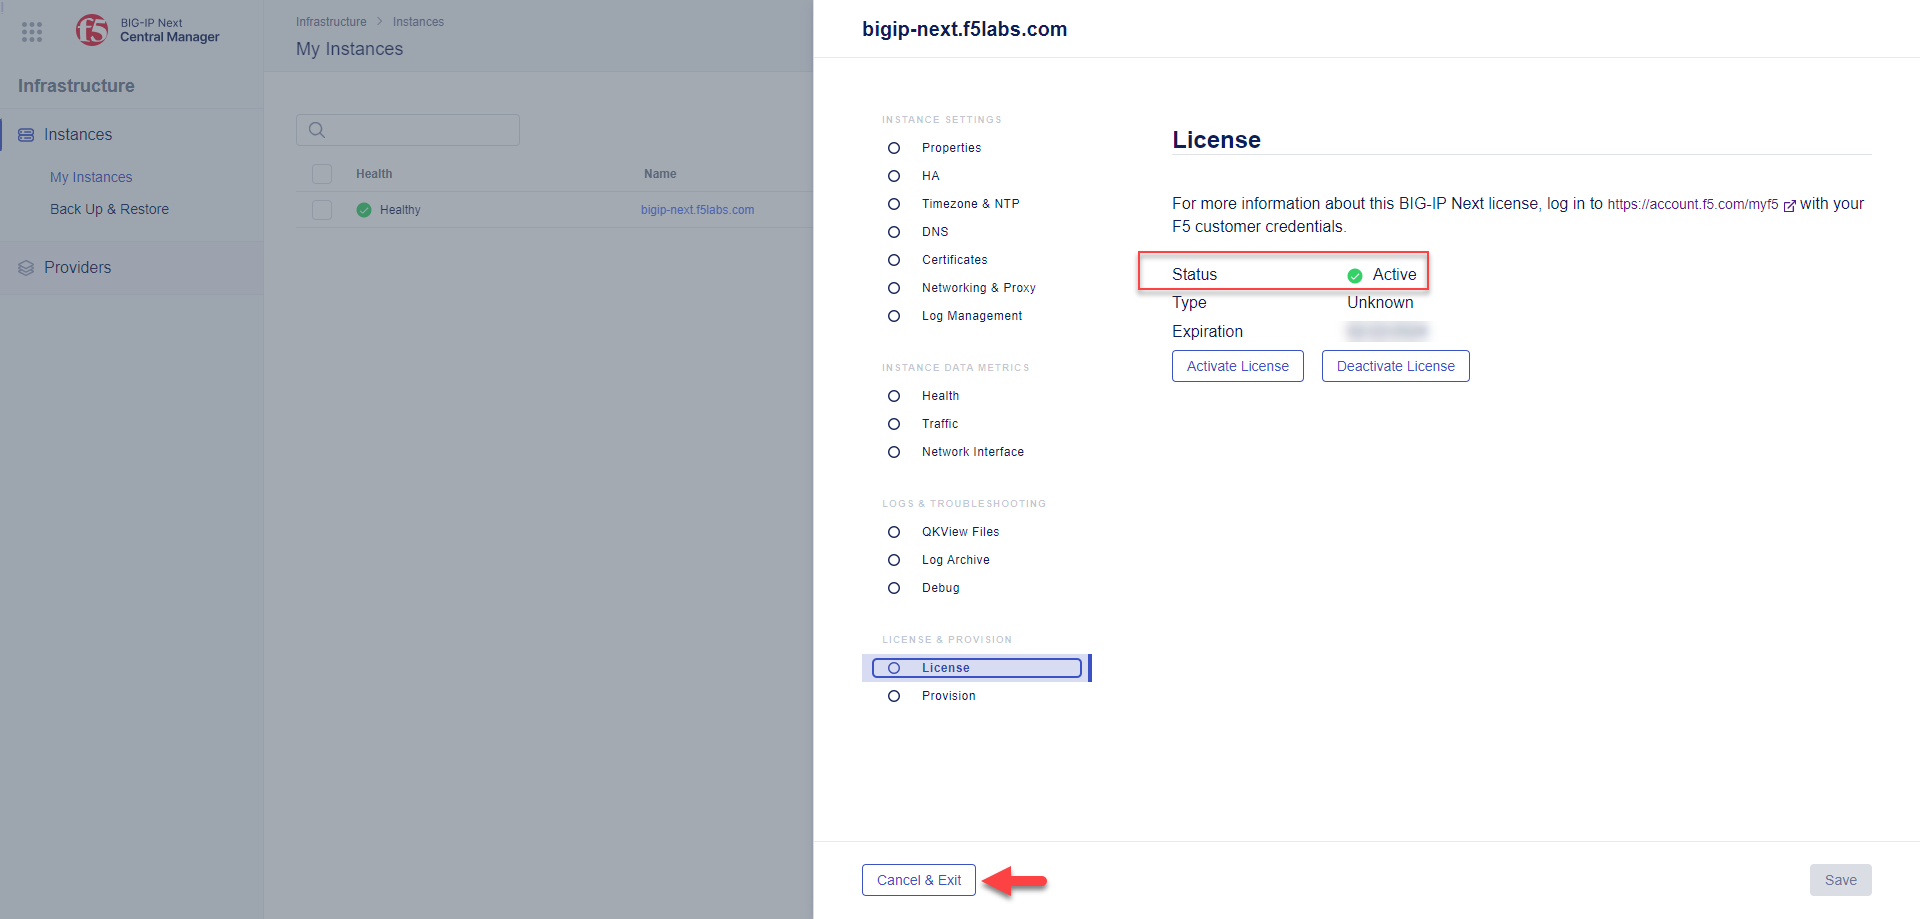
Click the BIG-IP instance name link under the Name column to open the Properties panel.
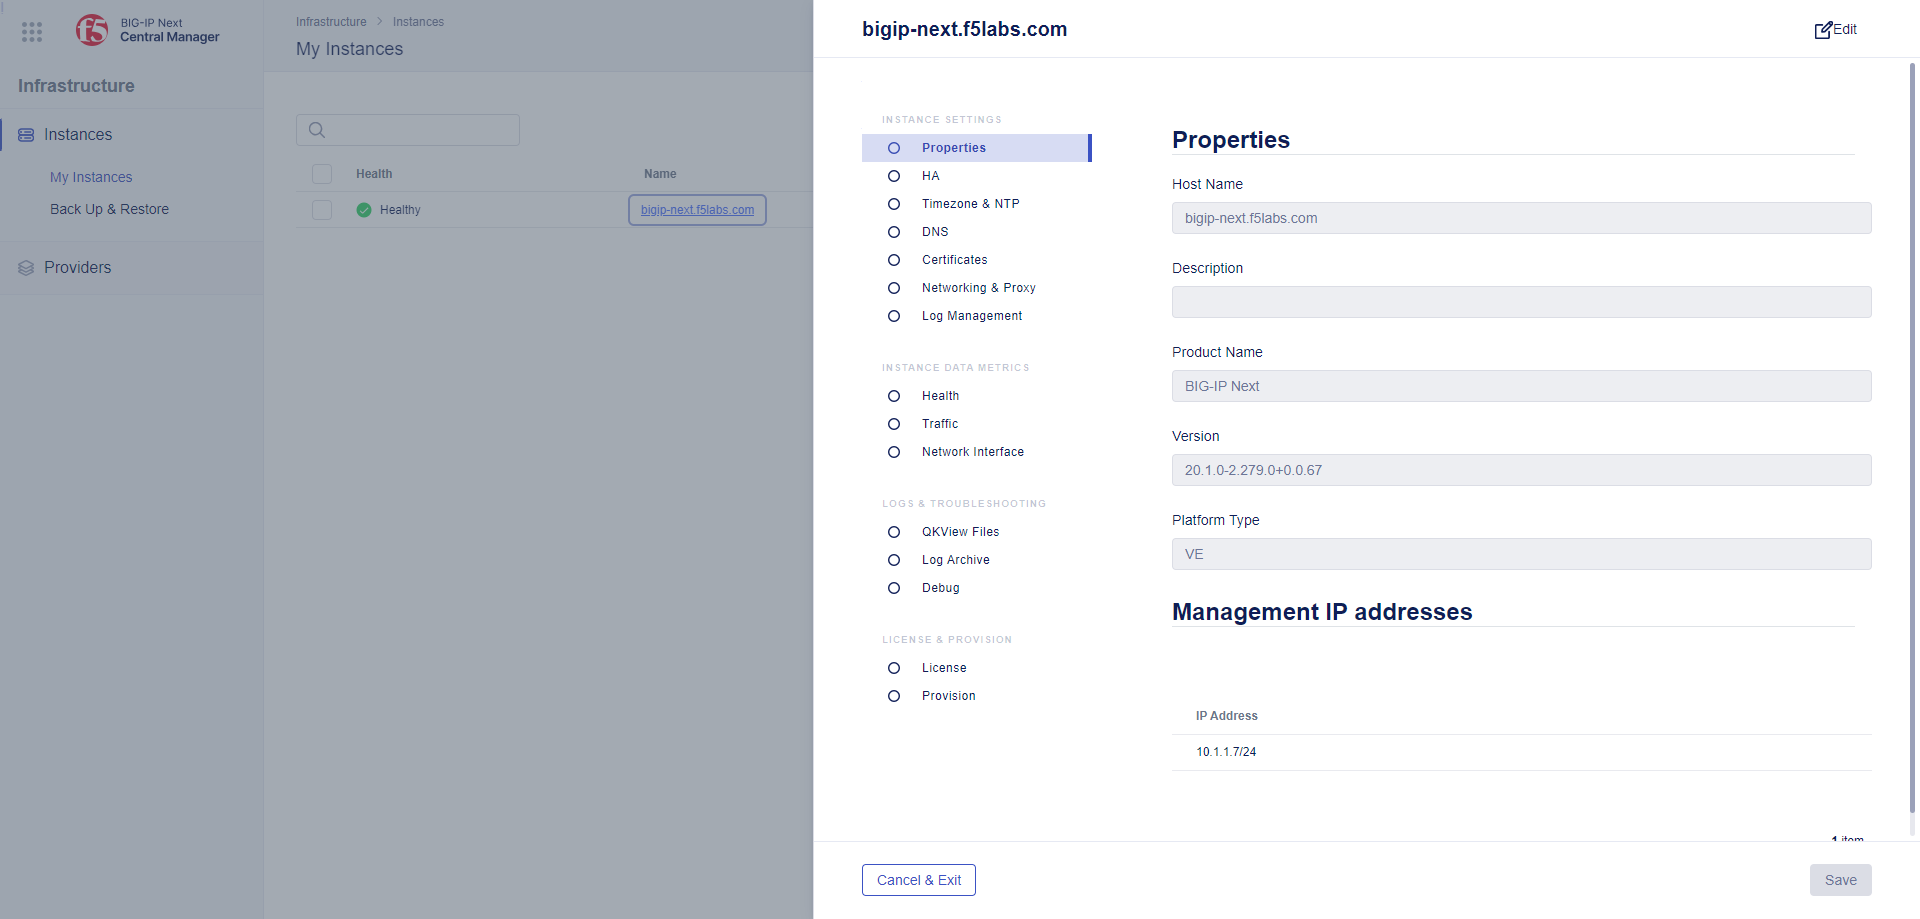
Click the License button at the bottom of the left column of this panel.
Attention
This BIG-IP Next instance already has an activated license, so there is no need to activate it here.
Click the Cancel & Exit button to close this panel.