F5 Distributed Cloud > F5 Distributed Cloud - AppStack CaaS & K8s Delivery Options > Module 3: Publish Application to the Internet Source | Edit on
Lab 2 - Publish to the Internet
Exercise 1: Create HTTP Load Balancer
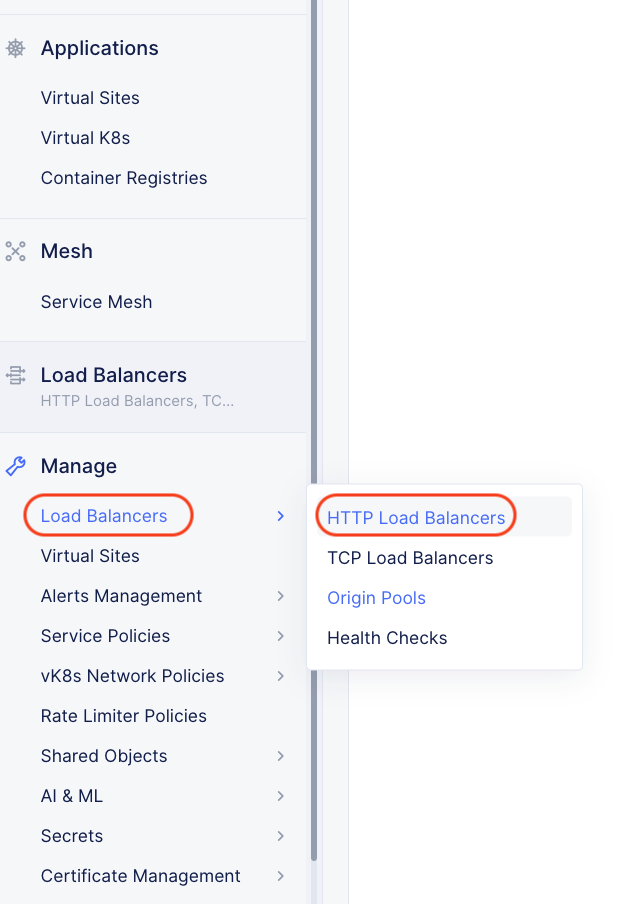
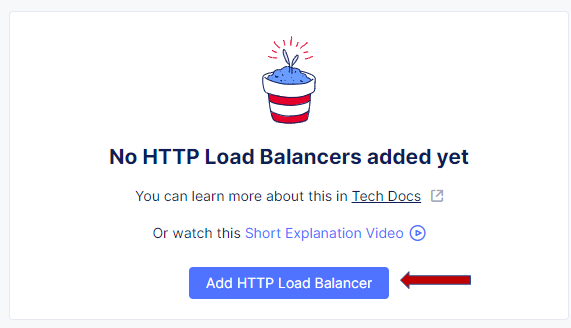
Navigate the left-side menu to Manage -> Load Balancers -> HTTP Load Balancers, then click Add HTTP Load Balancer.
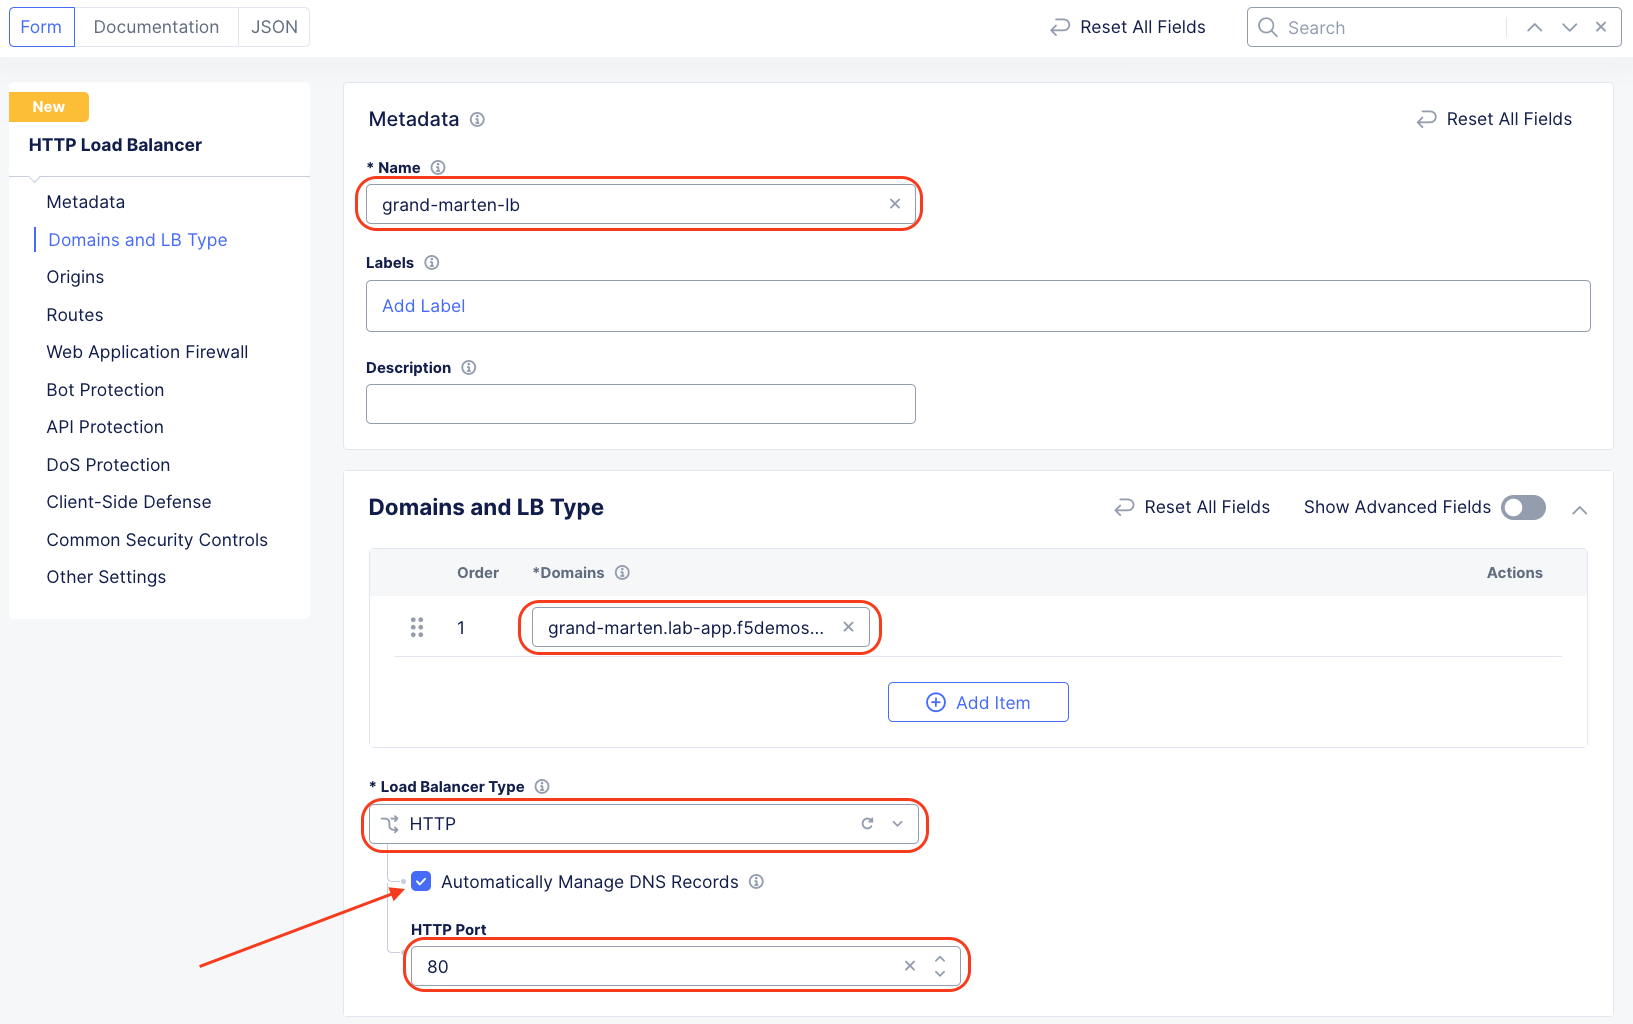
In the HTTP Load Balancer Configuration Section make the following changes:
Name: User <your namespace>-lb
List of Domains: Use <your namespace>.lab-app.f5demos.com
Select Type of Load Balancer: HTTP
Automatically Manage DNS Records: Make sure this is checked
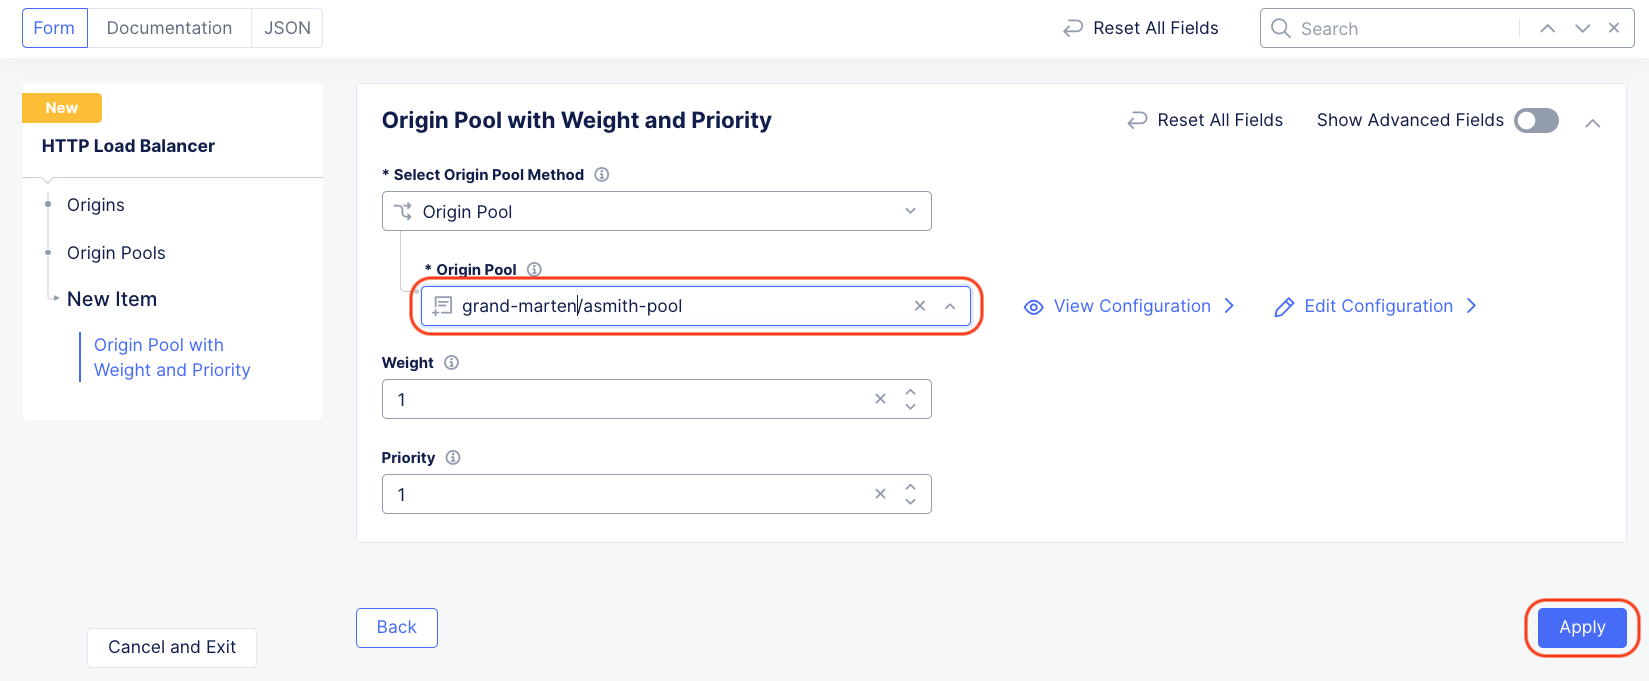
In the Origin Pools section click Add Item.
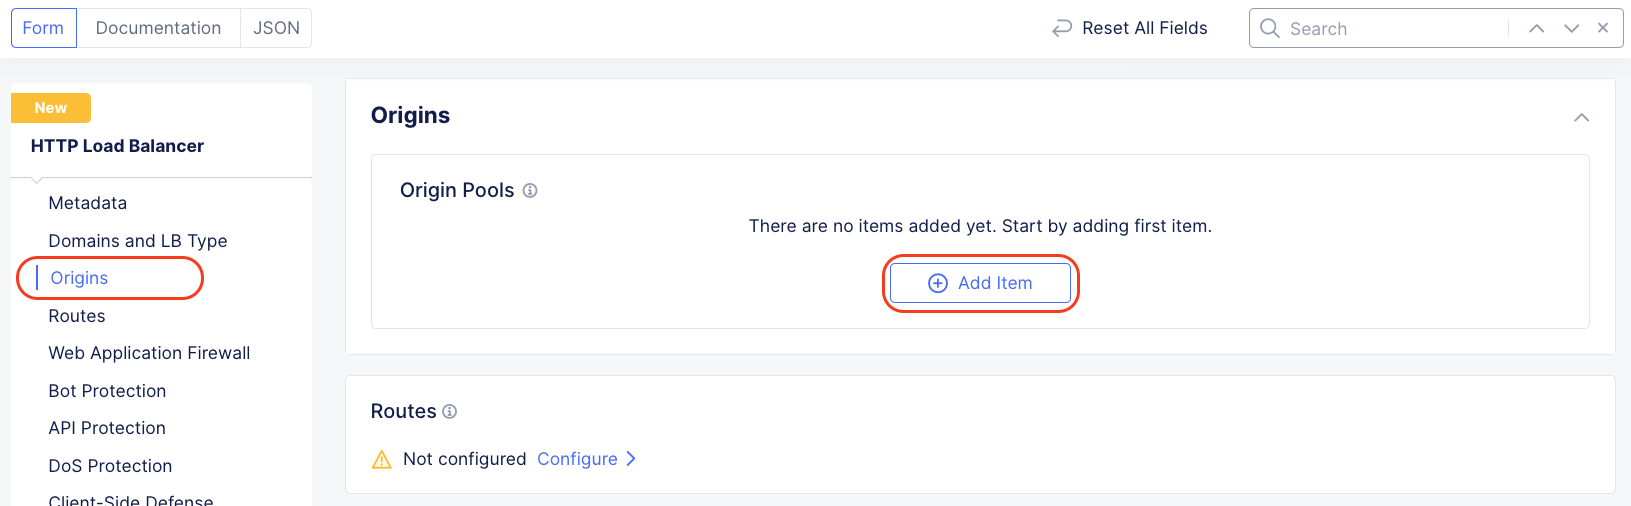
Select your Origin Pool, which was created earlier in this lab, and Click Apply
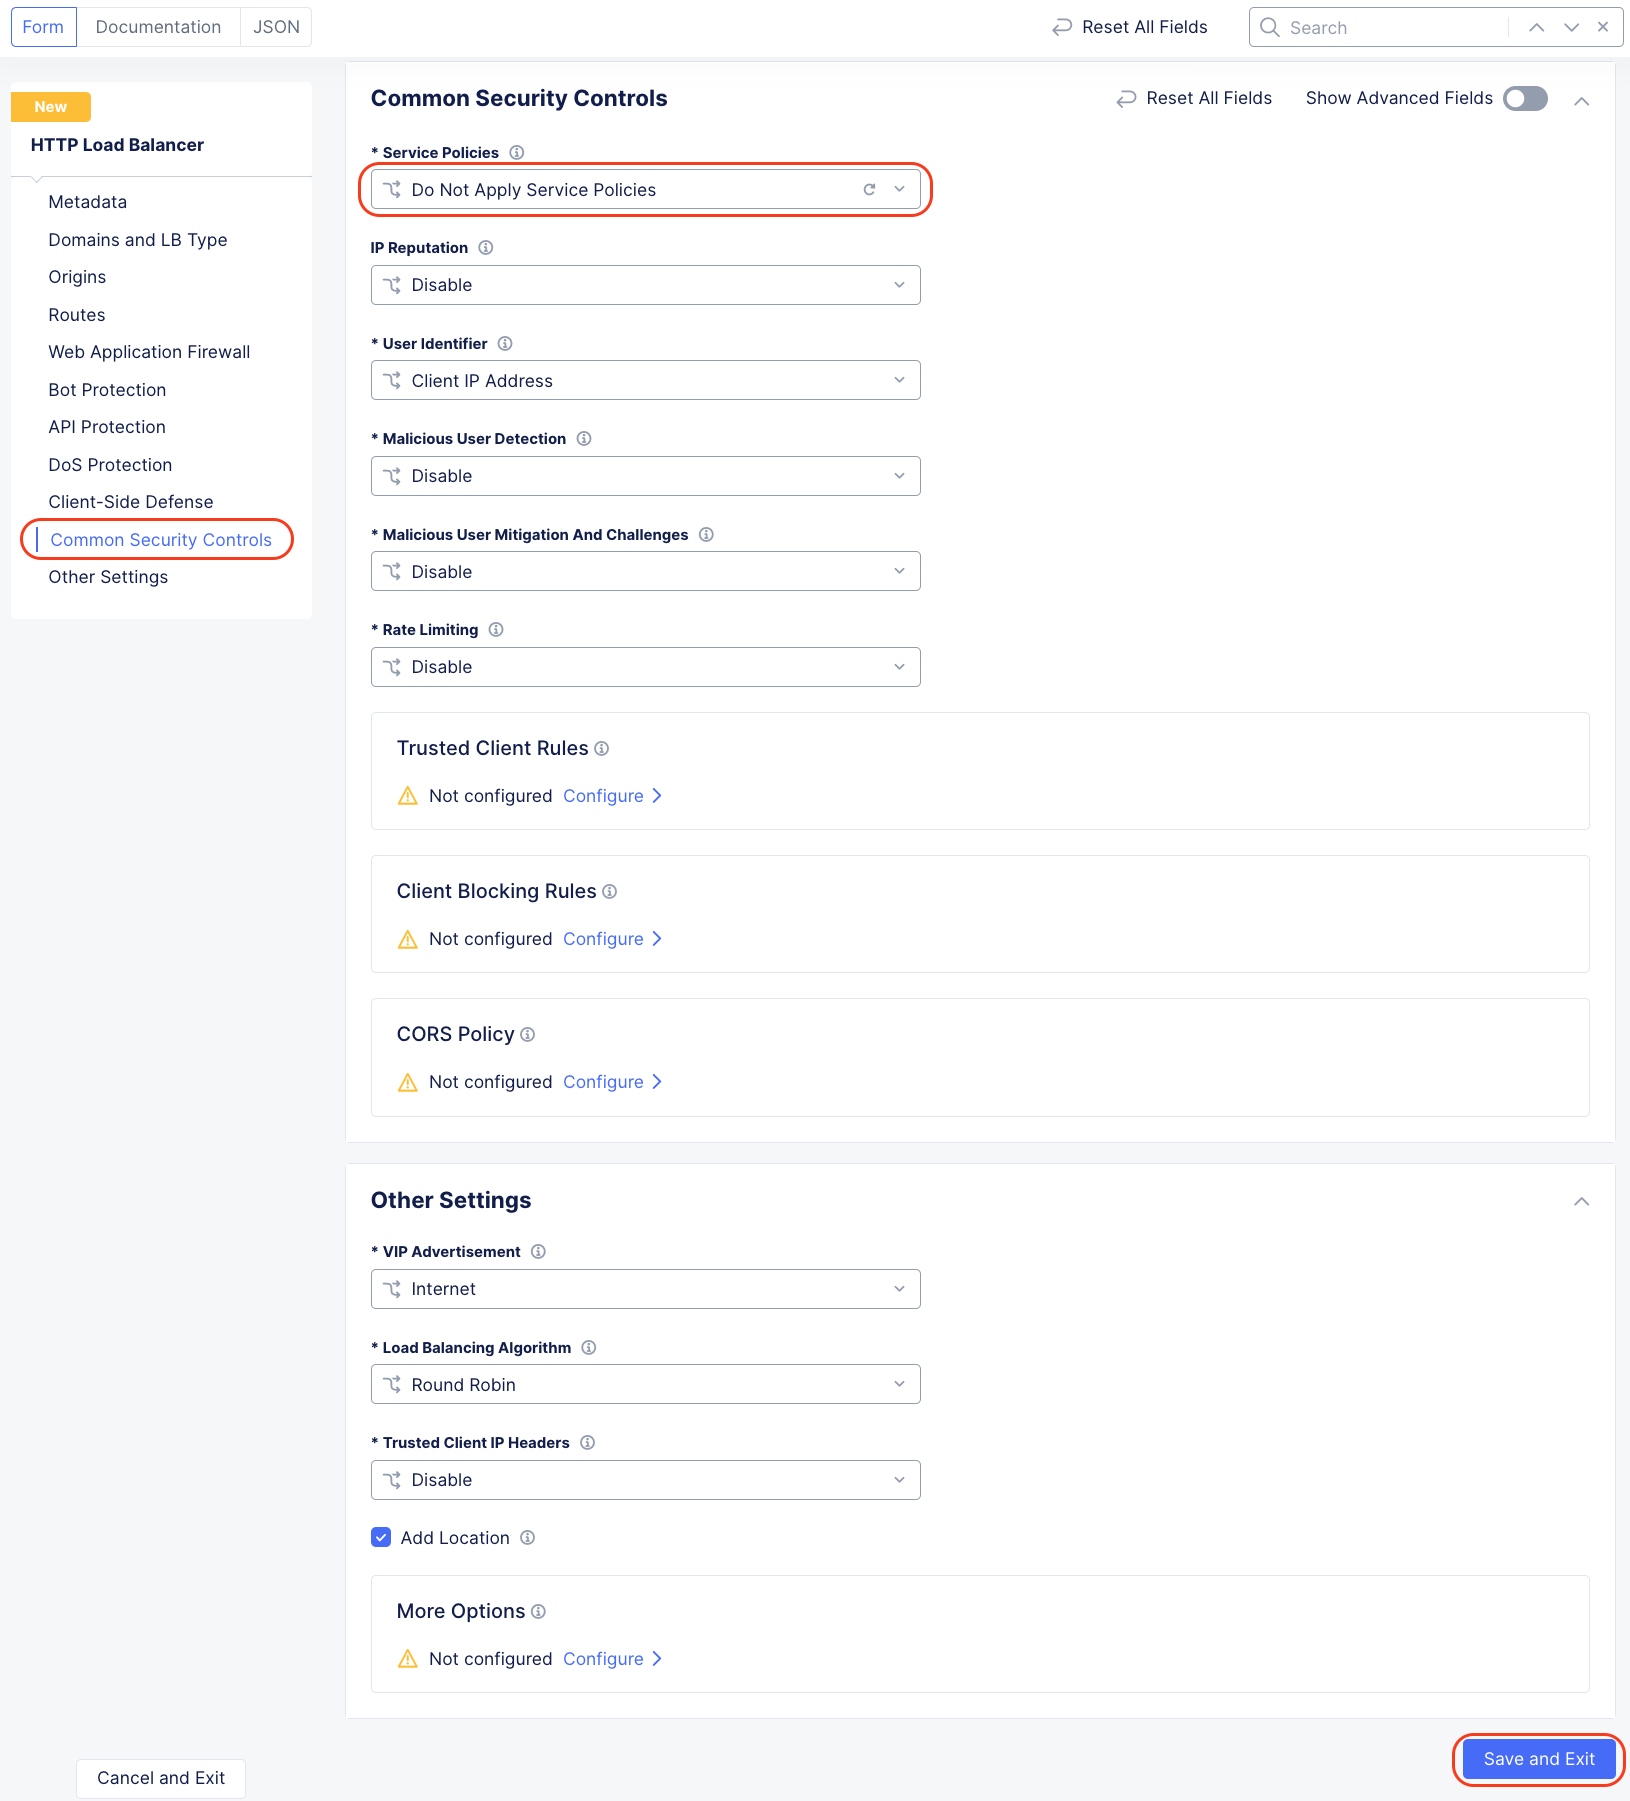
In the Common Security Controls section change the Service Policies to Do Not Apply Service Policies then click Save and Exit at the bottom of the page.
After a few moments you should see a screen like the following:
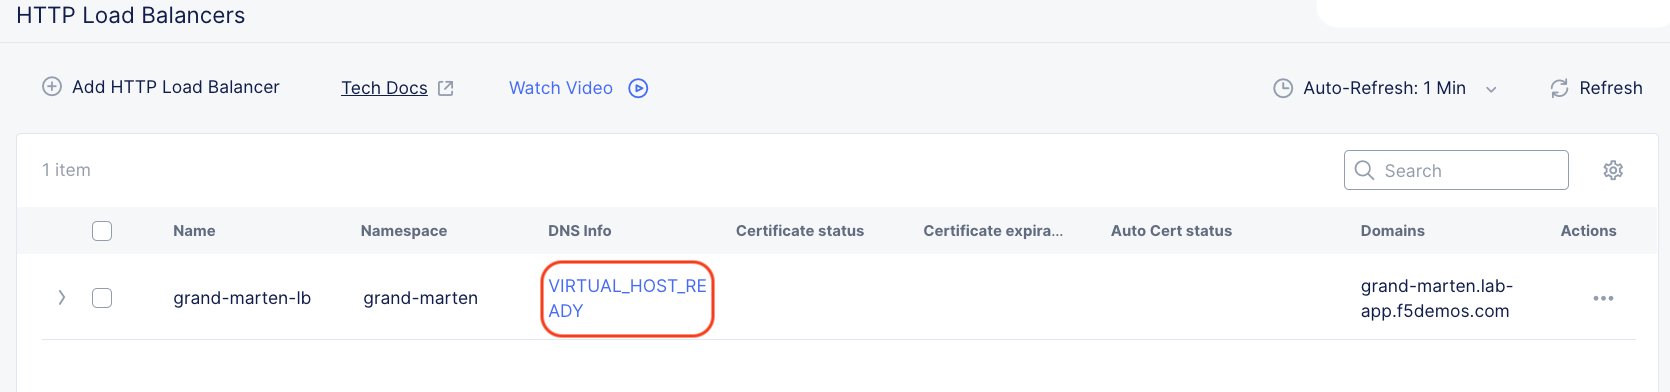
Note
Please wait for the VIRTUAL_HOST_READY
Now we are ready to test!
Open a browser tab and navigate to the domain you entered.
In the example below it is grand-marten.lab-app.f5demos.com
Success will render a page like the following:
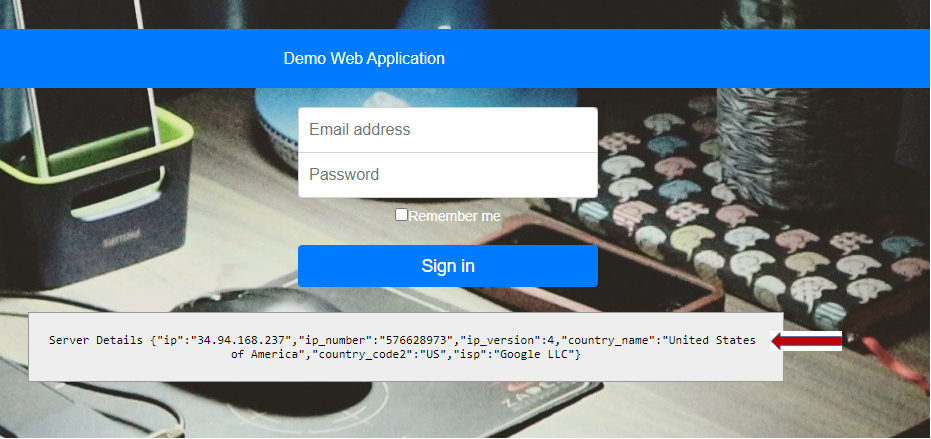
Please note the country name.
Refresh your browser a few times and notice what happens to the country name.
Why?
This ends the lab.