F5 BIG-IP SSL Orchestrator Training Lab > All SSL Orchestrator Lab Guides > SSLO 101: Introduction to SSL Visibility with SSL Orchestrator (AppWorld 2026 | 2 hours) > 5. Lab 3: Configure Additional Inspection Services Source | Edit on
5.2. Create Additional Services
Use the Guided Configuration wizard to edit the Services.
5.2.1. Create an ICAP Service
Use the following steps to create an ICAP inspection Service.
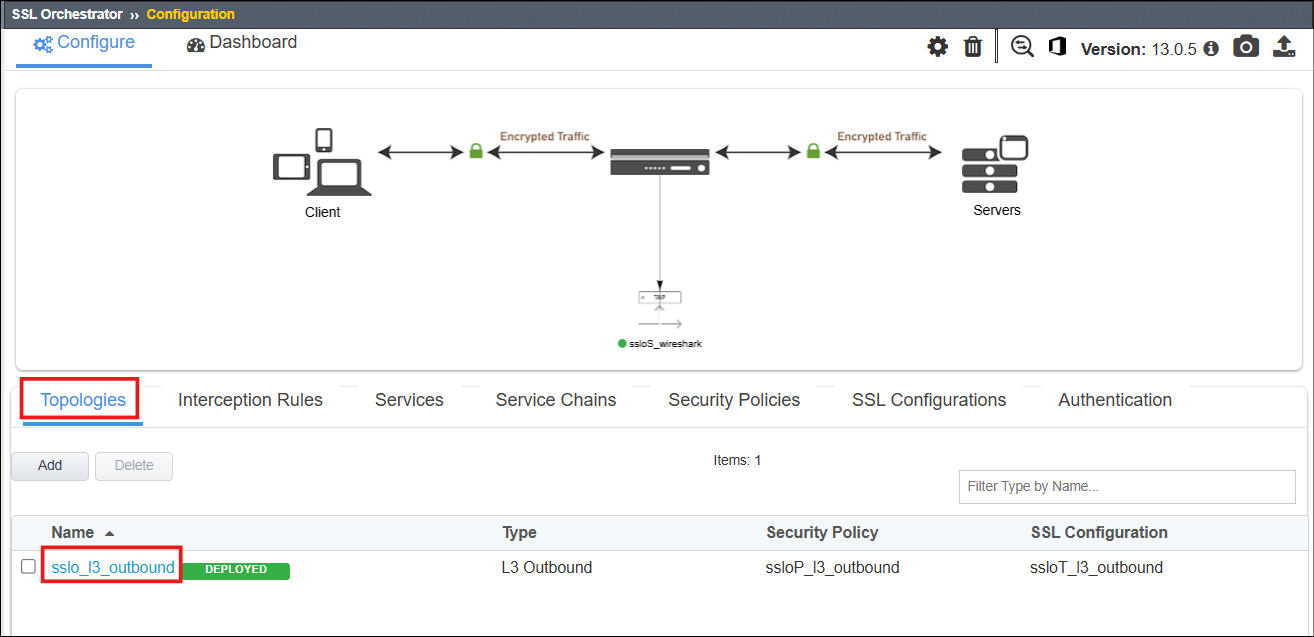
In the Topologies tab of the SSL Orchestrator > Configuration page, click on the sslo_l3_outbound Topology to edit it using the Guided Configuration UI.
To edit the Services, click on the Service icon at the top (or click on the pencil icon to the right of the Service menu item).
Click on the Add Service button to create a new Service.

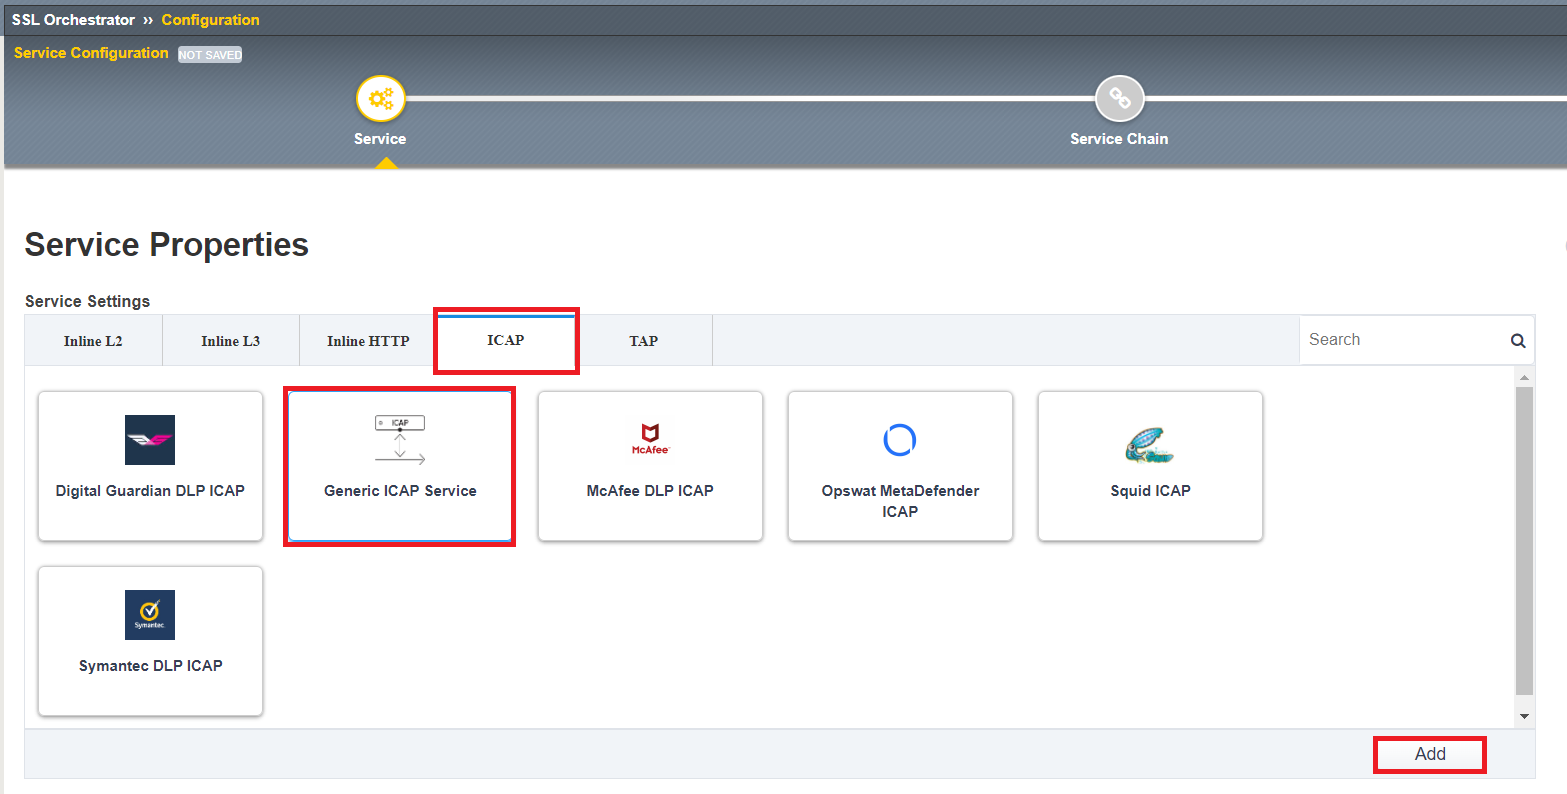
Click the ICAP tab to show template for common ICAP solutions.
Click on the Generic ICAP Service tile and click Add (or simply double-click the Generic ICAP Service tile) to continue.
On the settings input form, enter
CLAM_AVin the Name field.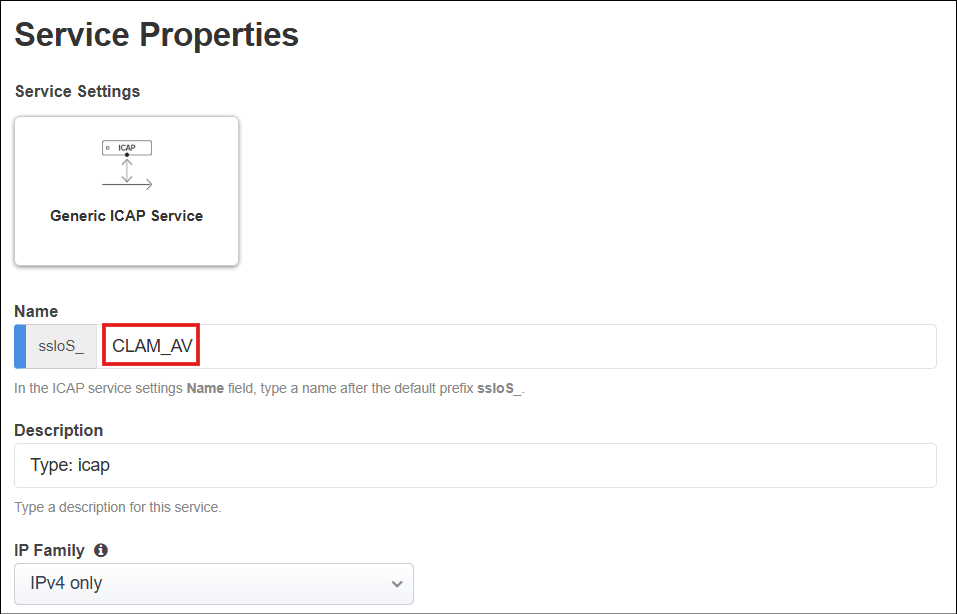
Note
Only edit the fields that are explicitly mentioned below. Other fields may be left at their default values.
In the ICAP Devices section, click on the Add button to show the input form.
Enter
198.19.97.50for the IP Address.Leave the default Port value (
1344).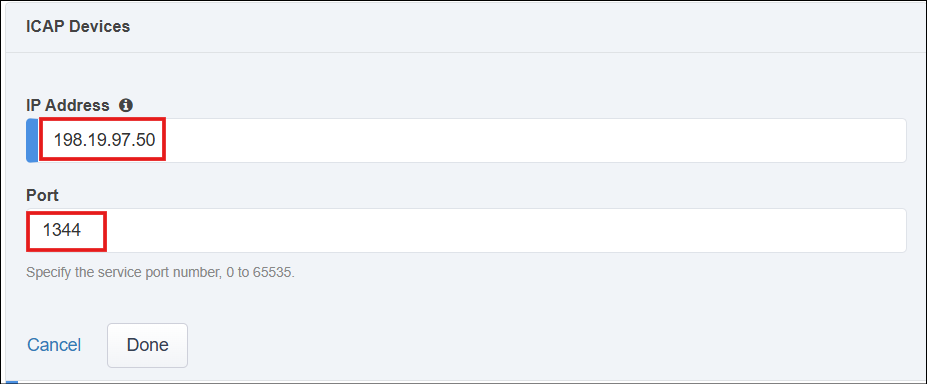
Click Done to close the input form.

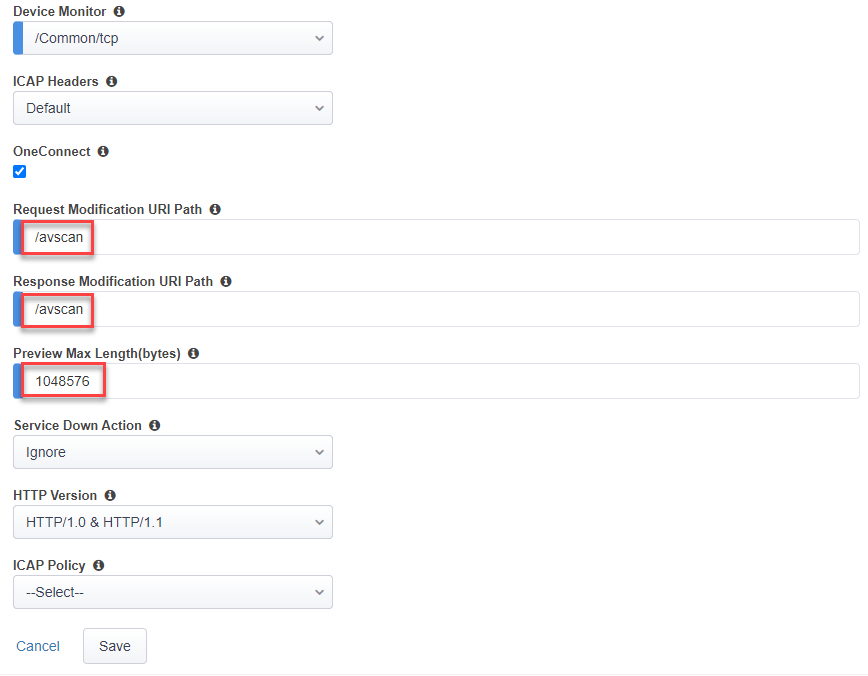
Scroll down to the Request Modification URI Path field and enter
/avscan.Enter
/avscanfor the Response Modification URI Path.Enter
1048576for the Preview Max Length(bytes).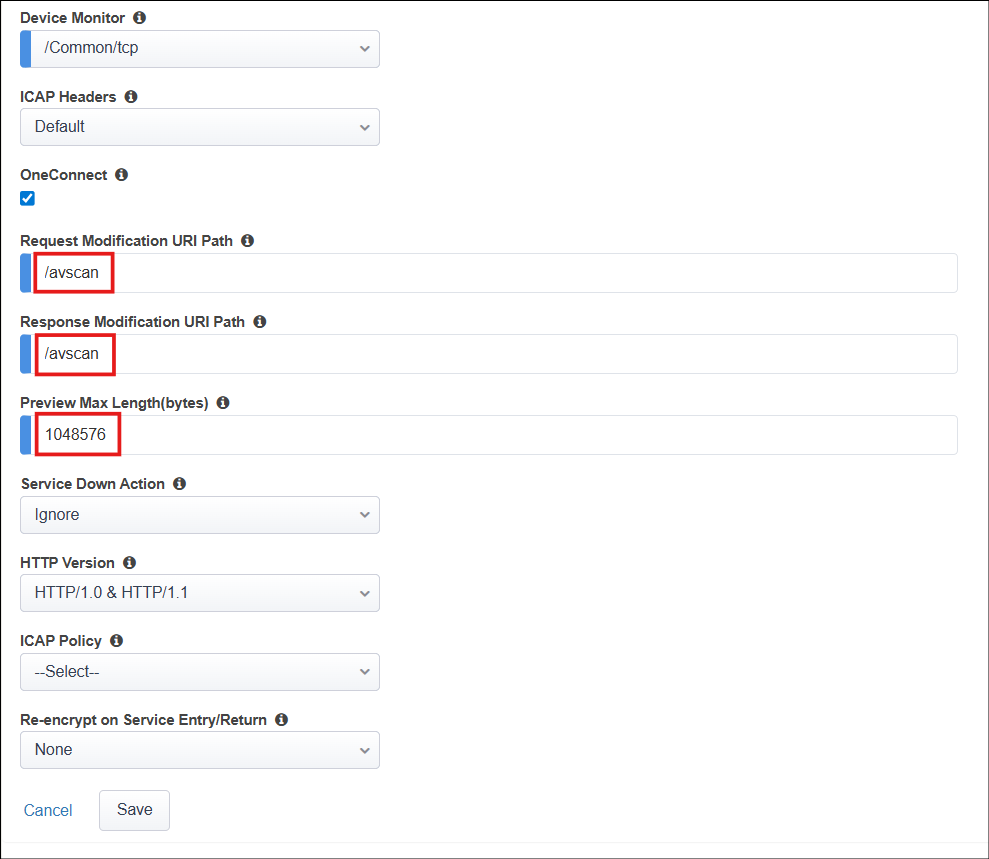
Click Save to return to the Service list.
Attention
A yellow "pending changes to deploy" notification banner will appear below the Guided Configuration workflow path. As tempting as it may be, DO NOT click on the Deploy button until instructed to (later on).

5.2.2. Create Inline L2 (FireEye) service
Now you will create an Inline L2 service for a FireEye NX appliance.
Click on the Add Service button to create a new Service.
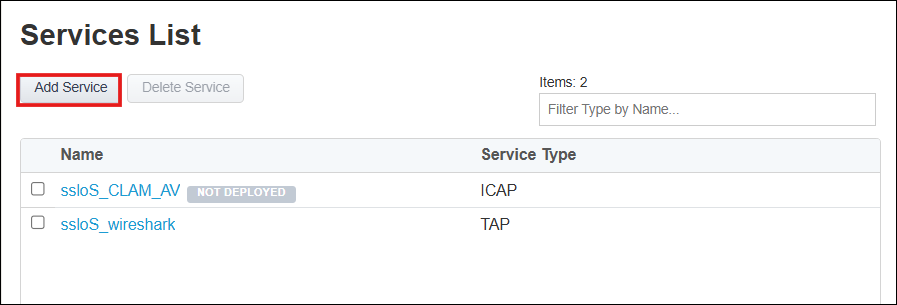
The service catalog will default to the Inline L2 tab. Double-click on the FireEye NX Inline Layer 2 tile to start configuring it.
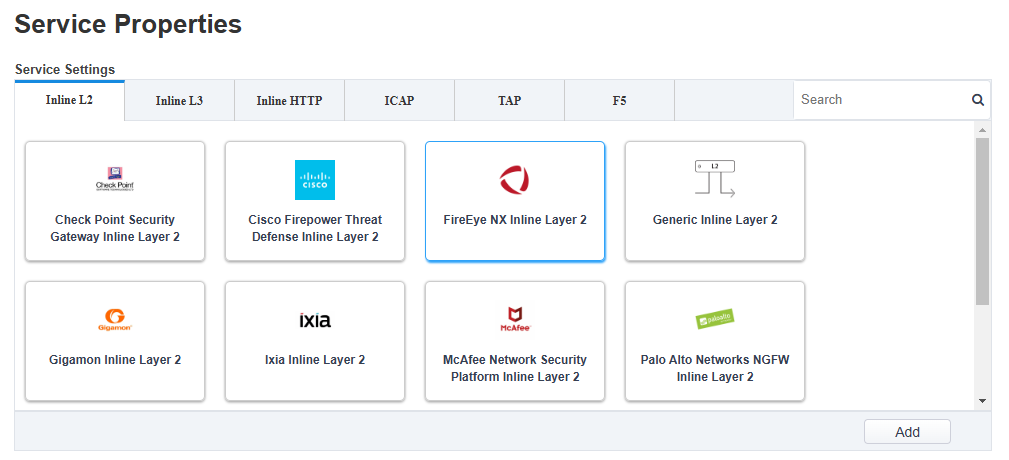
Leave the default Name of
FEYE.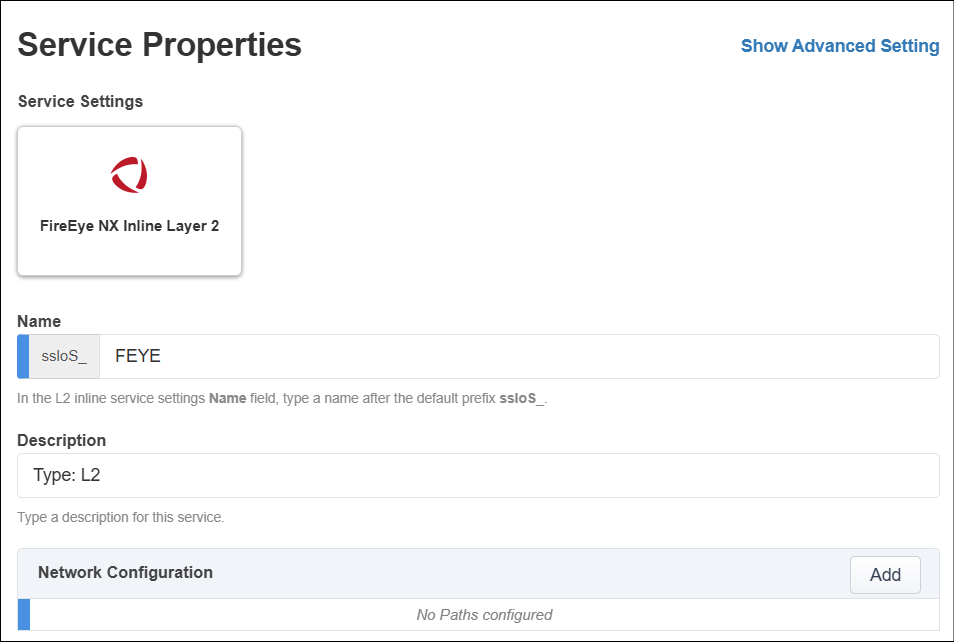
In the Network Configuration section, click on the Add button and use the following settings:
Under From BIGIP VLAN, click on the Create New radio button.
Enter
FEYE_inin the Name field.Select 1.4 from the Interface drop-down list.
Leave the Tag field empty.
Under To BIGIP VLAN, click on the Create New radio button.
Enter
FEYE_outin the Name field.Select 1.5 from the Interface drop-down list.
Leave the Tag field empty.
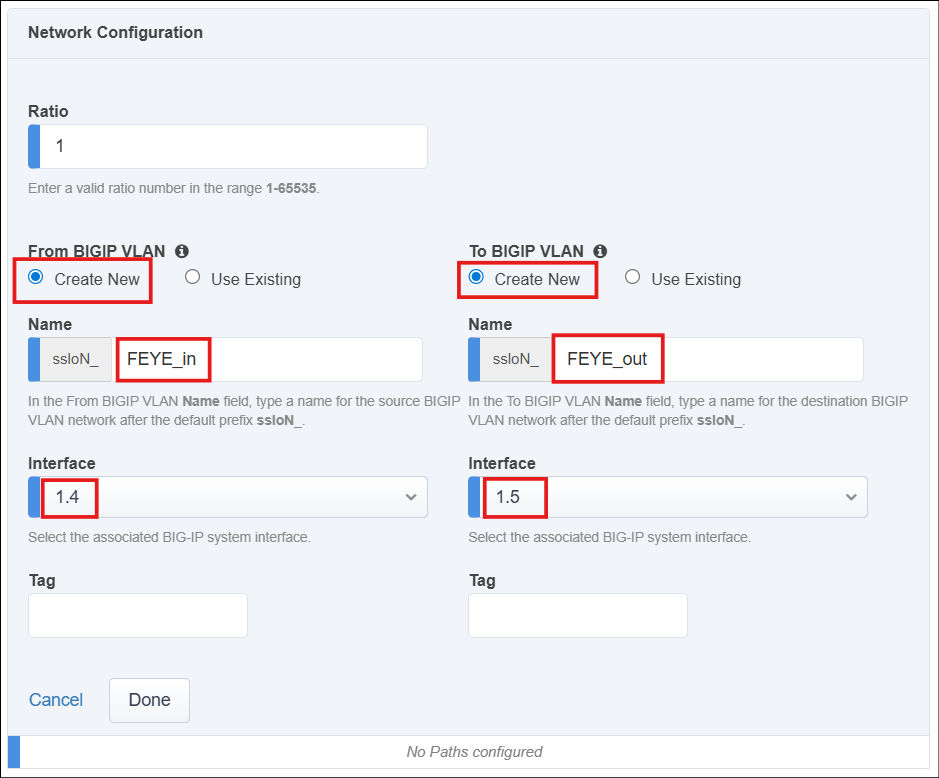
Click on the Done button to apply the settings.
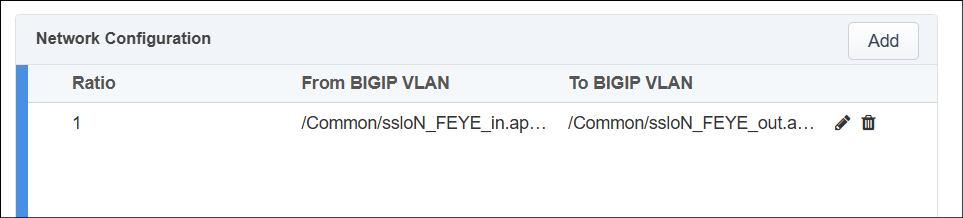
Leave the default gateway_icmp Device Monitor selection.
Select Enable Port Remap and set the port to
8080.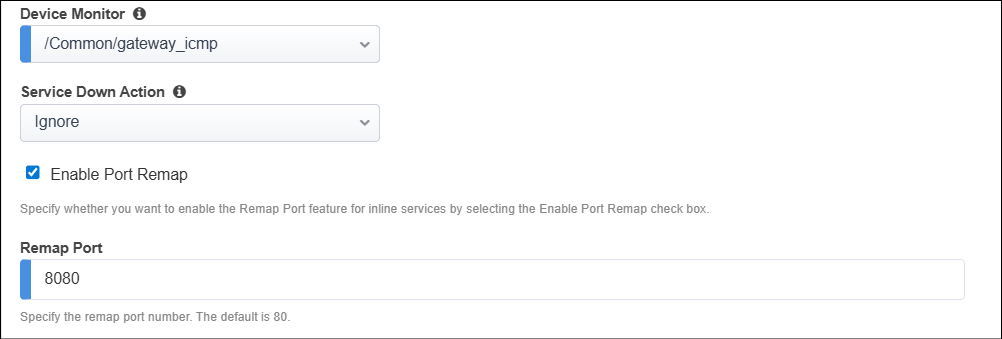
Some additional Resources will be shown. Do not modify them.
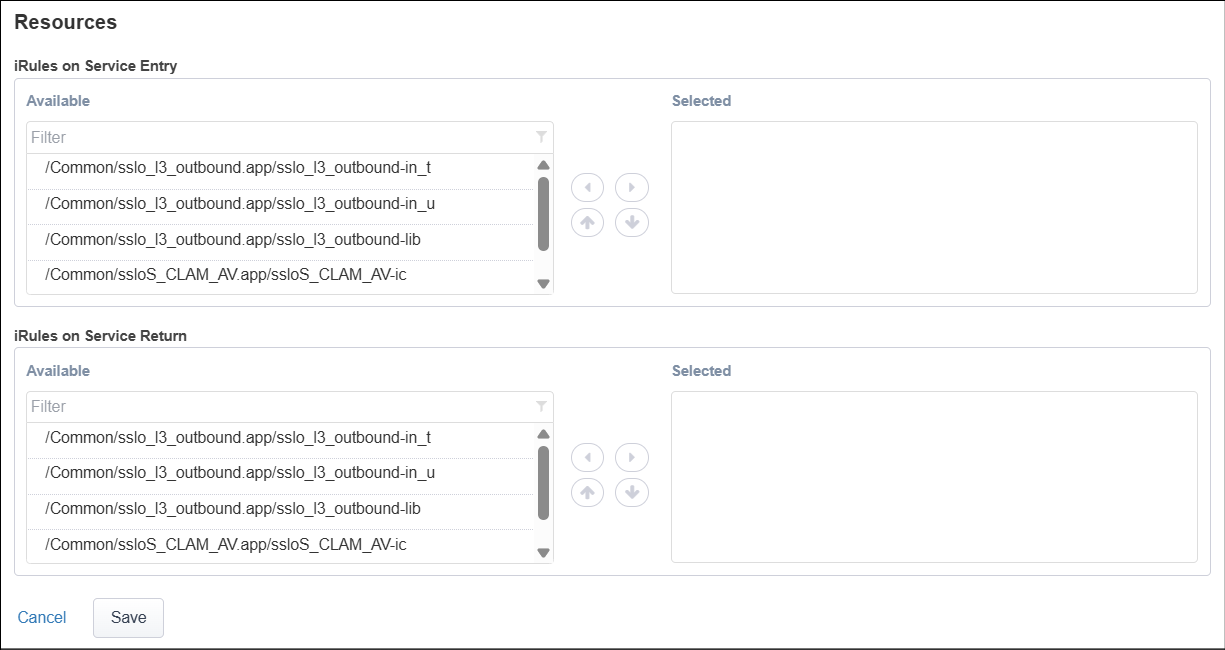
Click on the Save button to return to the Services list.
A yellow "pending changes" notification banner will appear again below the Guided Configuration workflow path.
This time, click on the Deploy button to create the new Services.
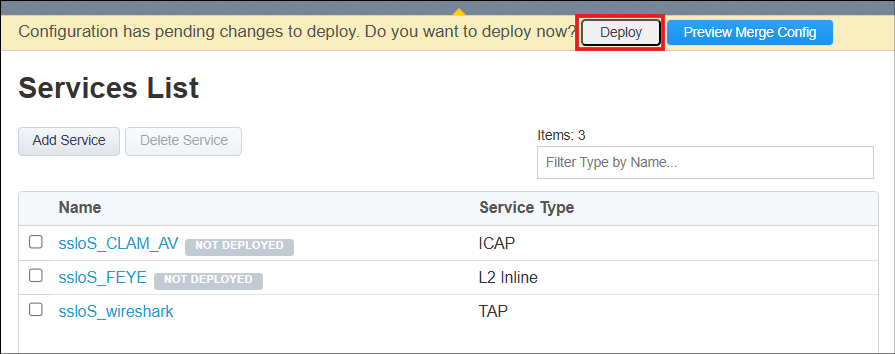
Click on the OK button when the deployment has completed and you will return to the Topologies list.
5.2.3. Deployed Services List
Click on the Services tab to check that all three Services are present.
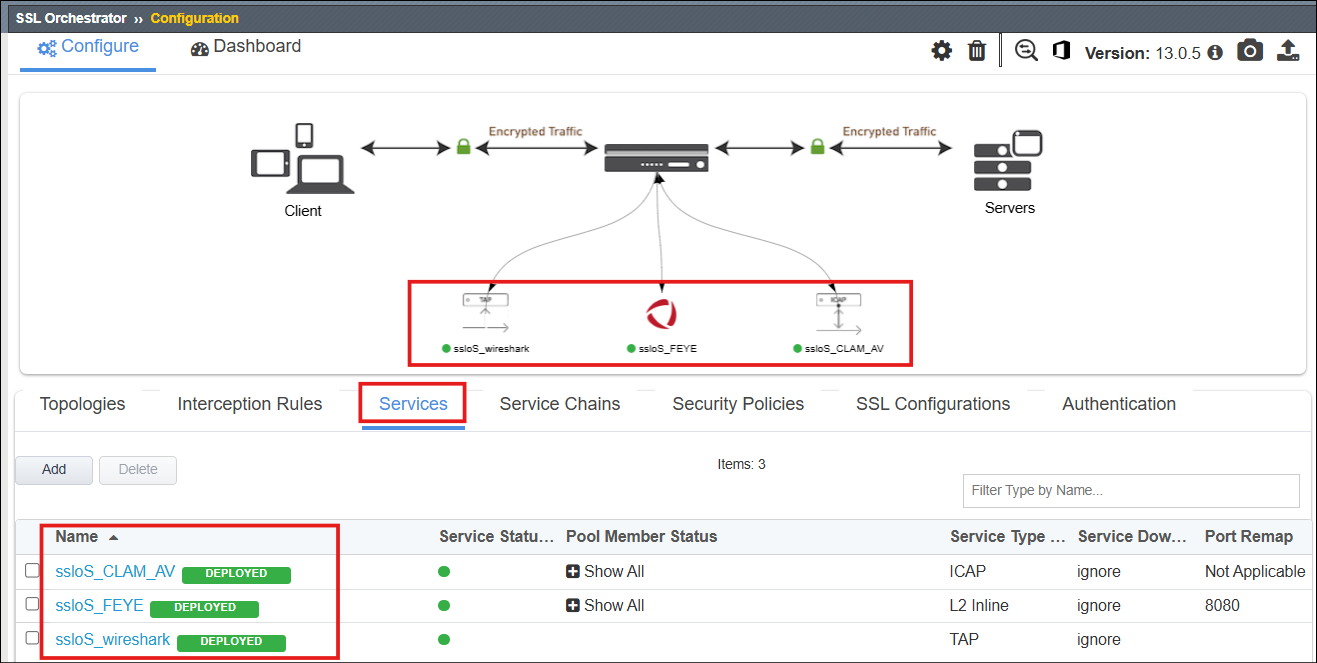
Note that the Services are also represented in the SSL Orchestrator configuration diagram.