F5 BIG-IP SSL Orchestrator Training Lab > All SSL Orchestrator Lab Guides > SSLO 202: More Use Cases with F5 BIG-IP SSL Orchestrator (AppWorld 2025 | 2 hours) > 2. Lab 1: Inbound Gateway Topology Source | Edit on
2.2. Pre-requisite Configuration
Before you can create the SSL Orchestrator topology for this module, you must meet some pre-requisites.
2.2.1. Create an F5 Advanced WAF Policy
Since you will be using the on-box WAF module as an inspection service, you will need to create a WAF policy that can be selected during the SSL Orchestrator Services configuration step.
Let's first get logged into the BIG-IP UI. From the Deployment tab in the UDF console, select ACCESS > TMUI for the BIG-IP SSL Orchestrator resource (Components > BIG-IP SSL Orchestrator > ACCESS > TMUI). A new tab will open and present the BIG-IP login screen.
Log in as
adminwith passwordadmin.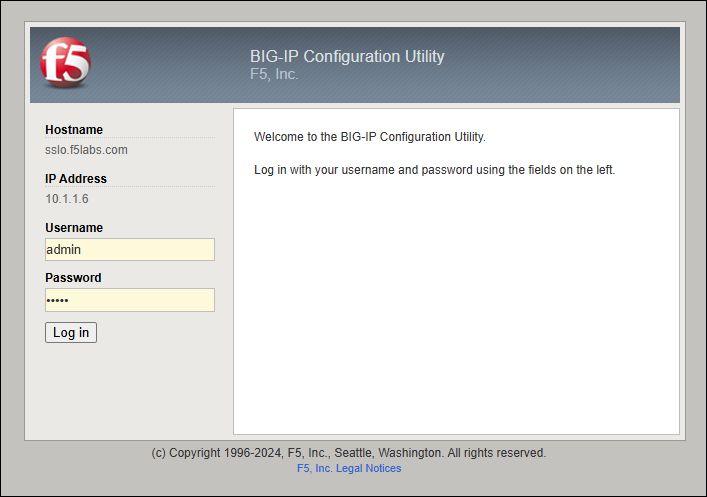
In the left panel menu, click on Security to see the available options.
Navigate to Application Security > Security Policies to view the Policies List.
Click on the Create button to see the policy configuration options.
Create a violation rating-based WAF policy:
Enter
rating_waf_policyin the Policy Name field.Click on the Policy Template drop-down menu and select Rating Based Policy.
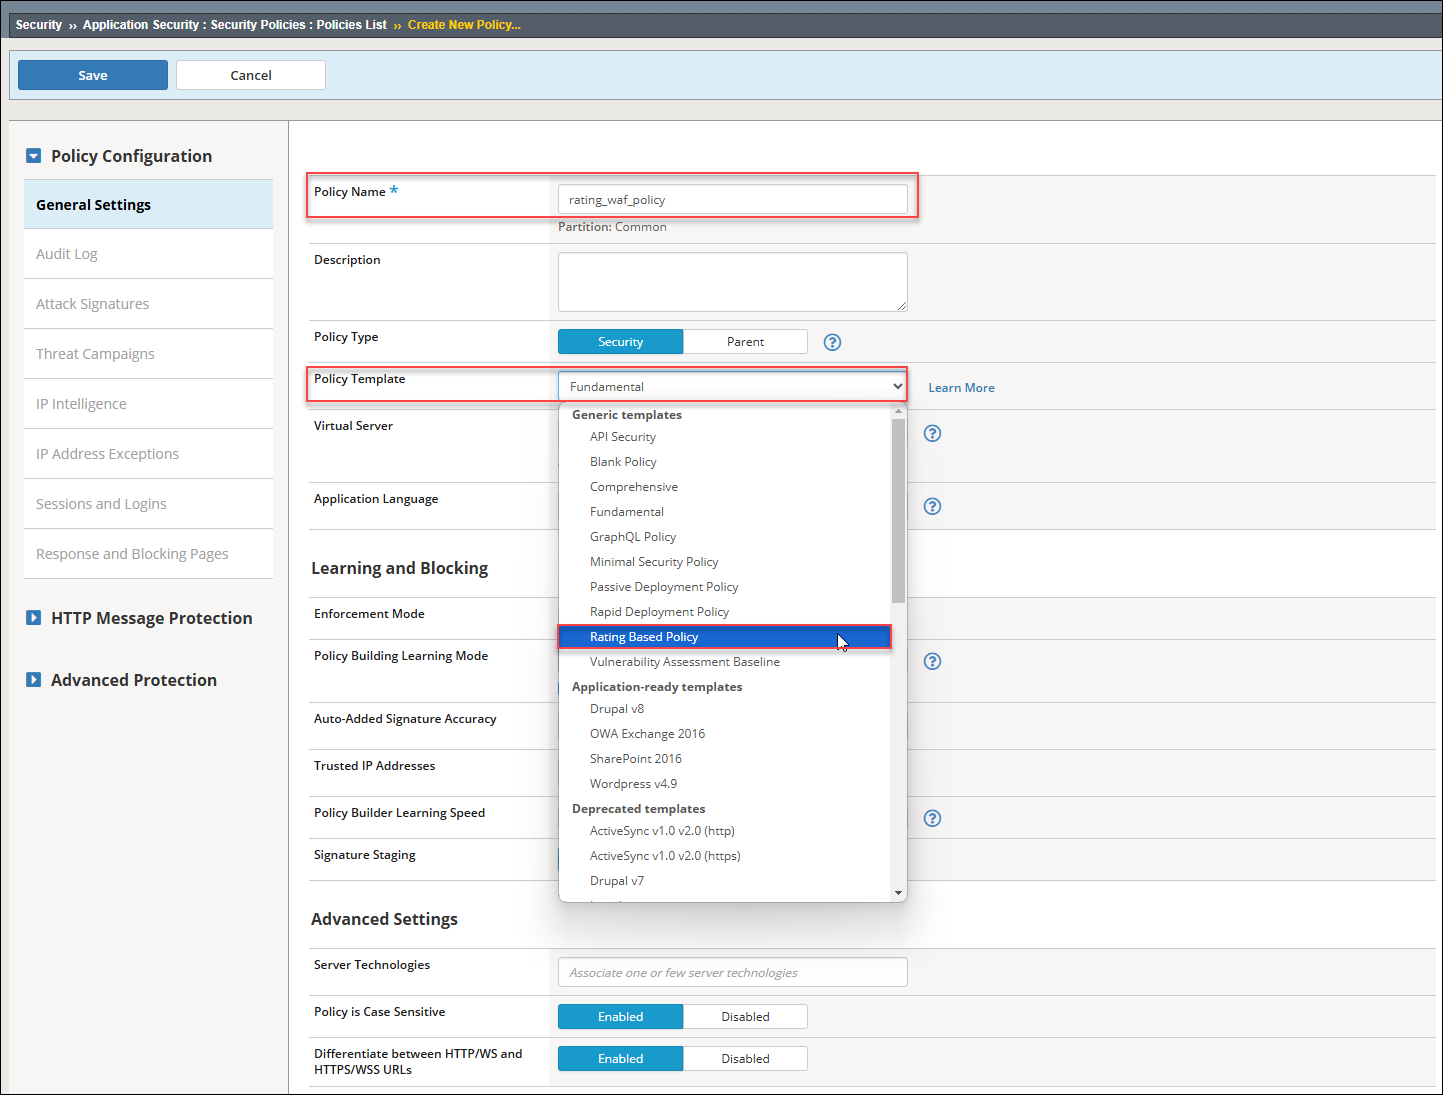
Click on OK to accept the template change warning.
Notice that the Enforcement Mode is set to Blocking.
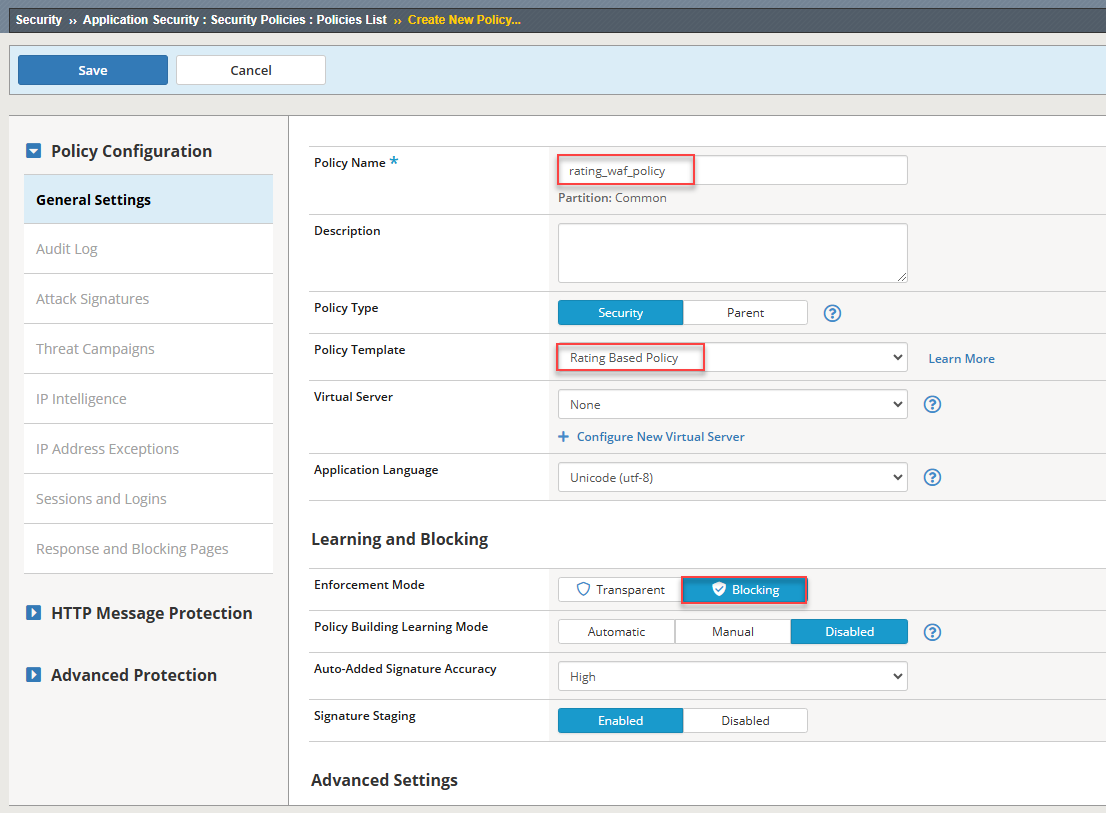
Click on the Save button at the top of the form and wait for the policy to be created.
You will see the Policy List as follows:

2.2.2. Configure the Pre-requisite Dependencies for SSL Orchestrator
The base network configurations have been pre-configured on the BIG-IP. However, the settings for NTP and Default Route are missing.
In the left panel menu, click on SSL Orchestrator to see the available options.
Click on Configuration to initialize the SSL Orchestrator Guided Configuration UI.
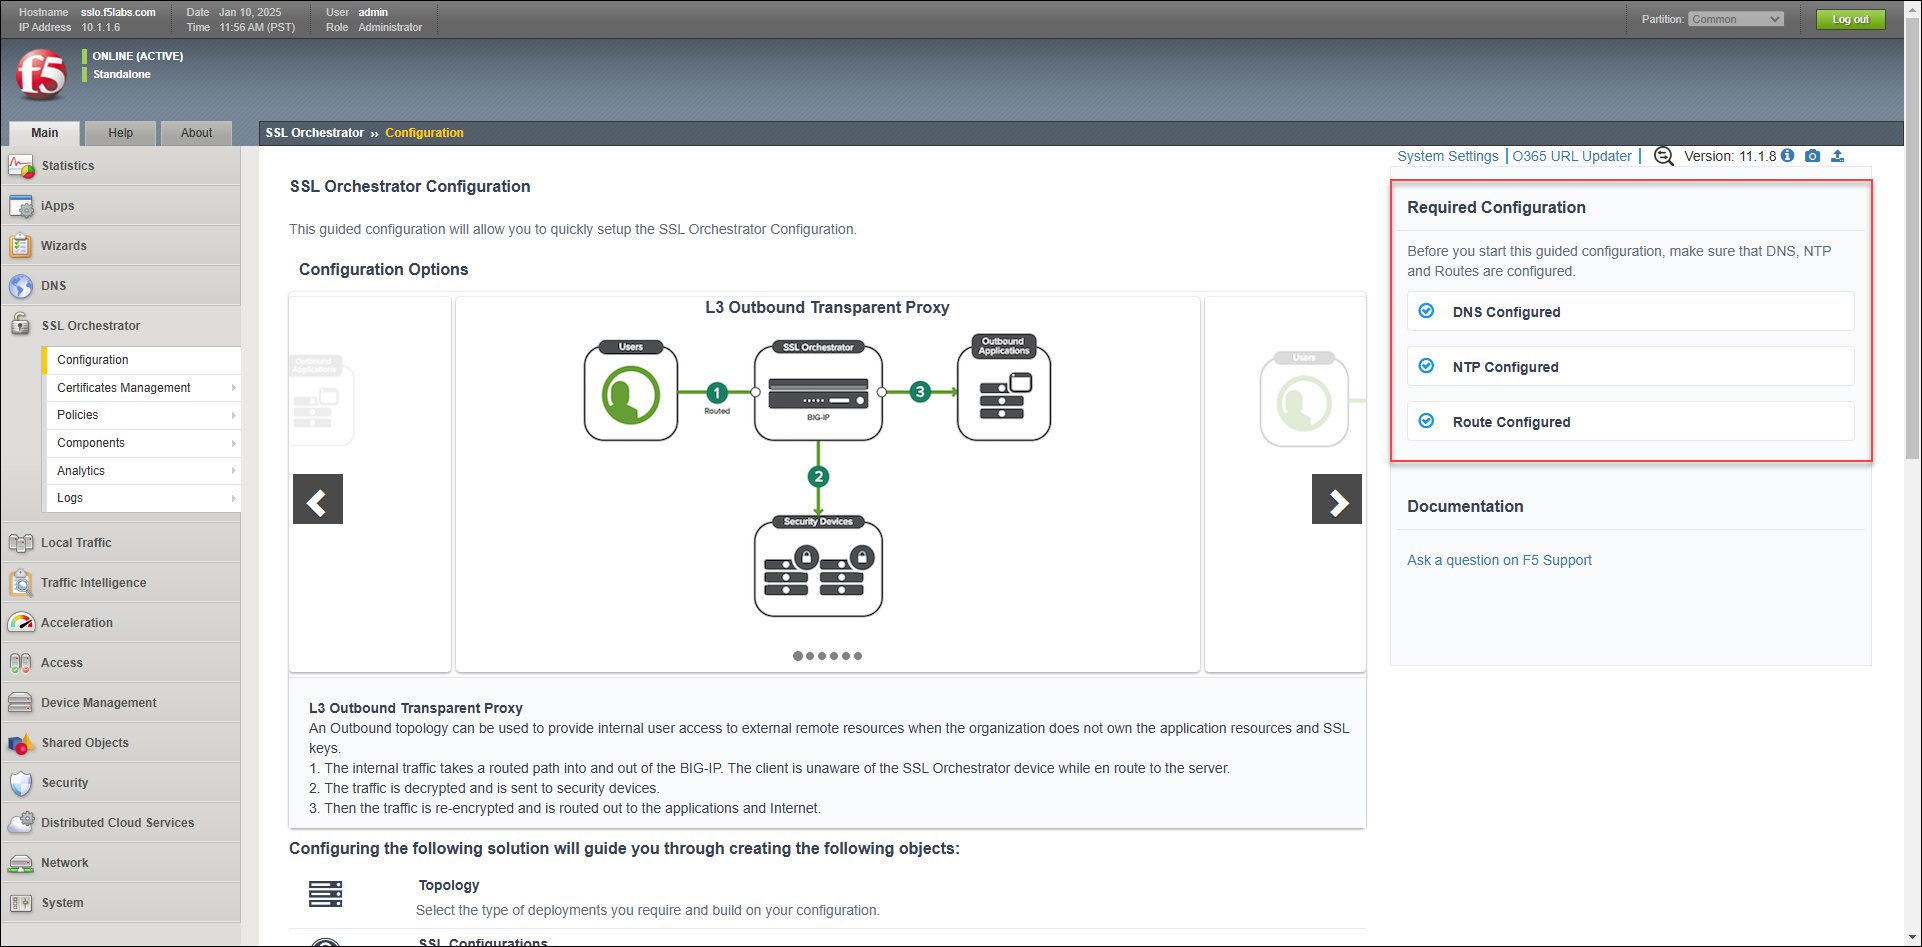
Notice the Required Configuration section on the right side of the screen. There are some dependences that have not been met.
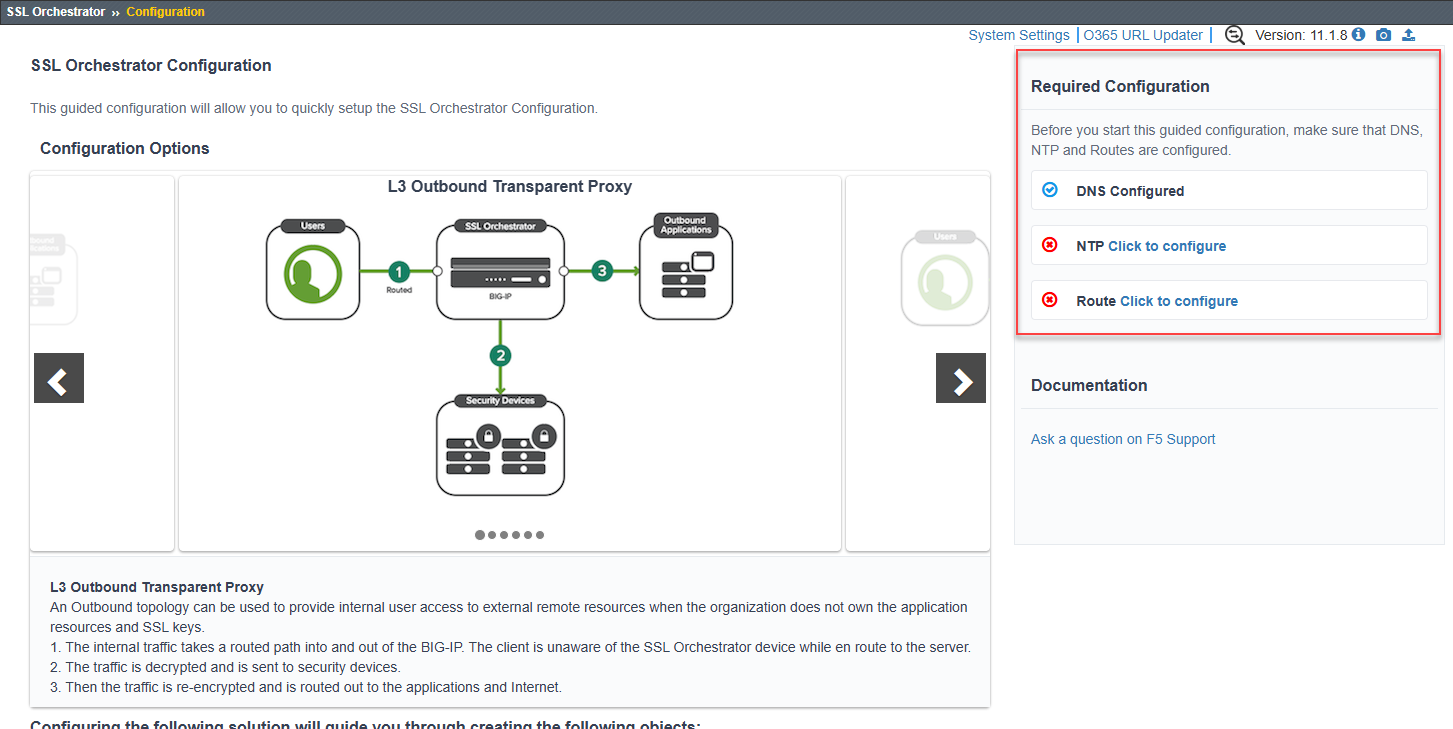
To define the NTP server configuration:
Click on Click to configure beside NTP to edit the settings. A new browser tab will open.
Enter
pool.ntp.orgin the Address field.Click on the Add button and then click on the Update button.
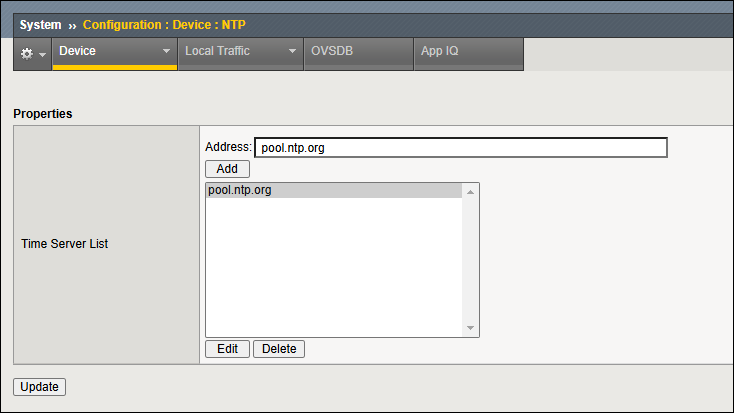
Close this browser tab to return to the SSL Orchestrator Configuration screen.
To define a default route for SSL Orchestrator to access the Internet:
Click on Click to configure beside Route to edit the settings. A new browser tab will open.
Enter
defaultin the Name field.Enter
0.0.0.0in the Destination field.Enter
0.0.0.0in the Netmask field.Enter
10.1.60.1in the Gateway Address field.
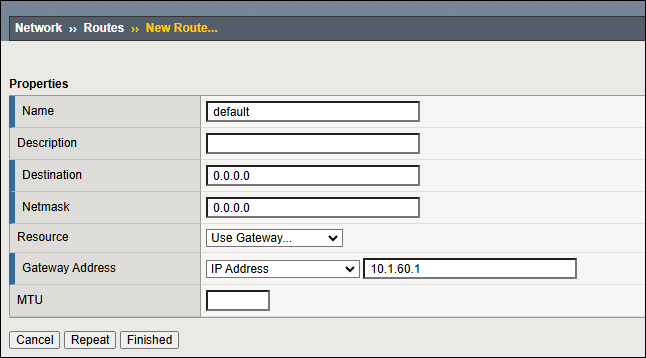
Click on the Finished button to save the new route.
Close this browser tab to return to the SSL Orchestrator Configuration screen.
You should now see that the NTP and Route configuration requirements are satisfied.
