Automation, Orchestration & DevOps > Class 9: Basic BIG-IP Configuration Management with Ansible > Section 1 - Ansible F5 Basic Exercises Source | Edit on
Exercise 0.0: Getting Started
During this lab Visual Studio Code will be used as the editor of choice and also provides a terminal to run Ansible playbooks and watch the logging accordingly.
Follow the steps below to start using VS Code in your local browser during this lab.
Step 1
If you already haven't done so. Use the UDF deployment to go to the Documentation section and grab the lab guide: https://clouddocs.f5.com/training/community/automation/html/class09/class09.html 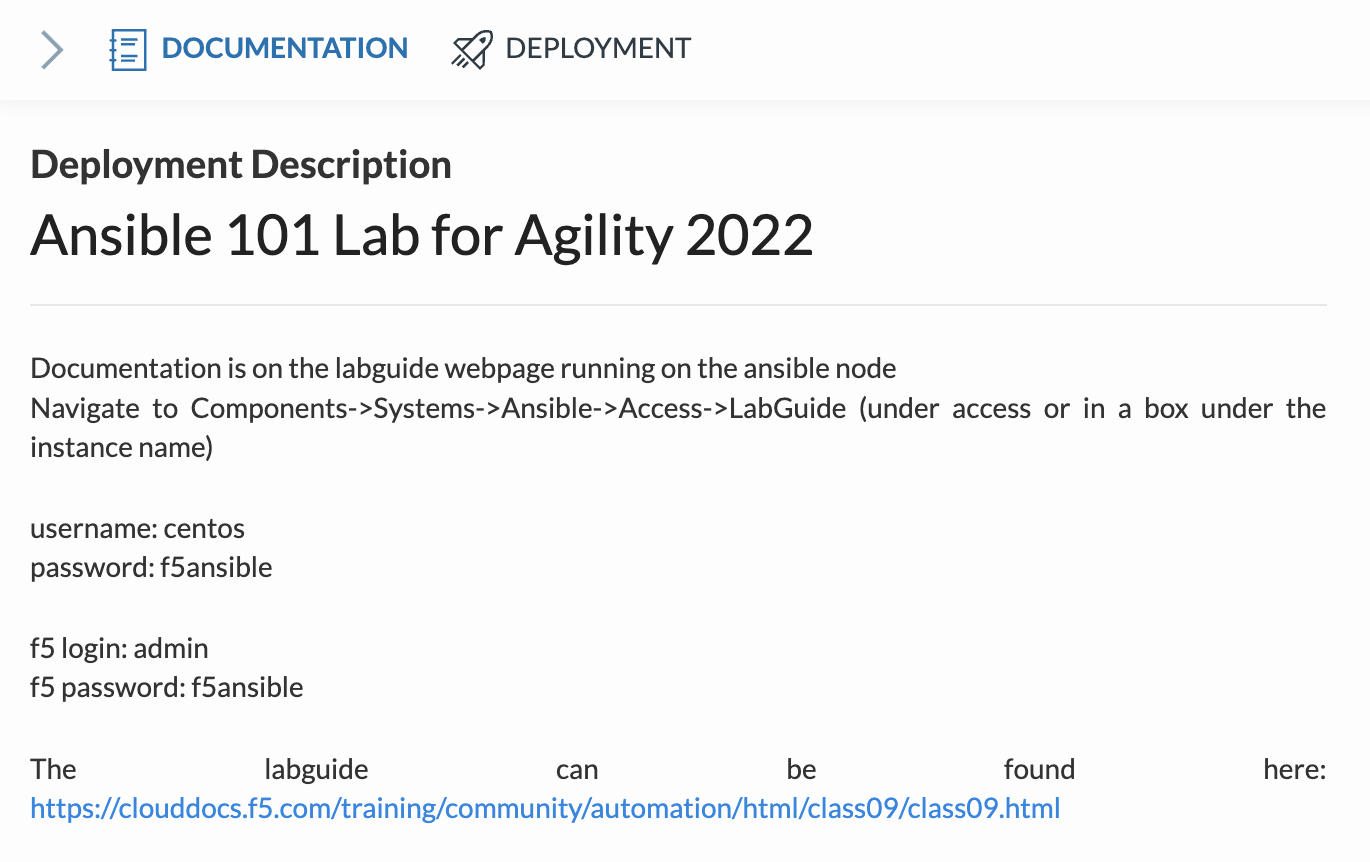
Step 2
In the UDF deployment, go to the Deployment section, search the Ansible host and click Access and select VS Code. 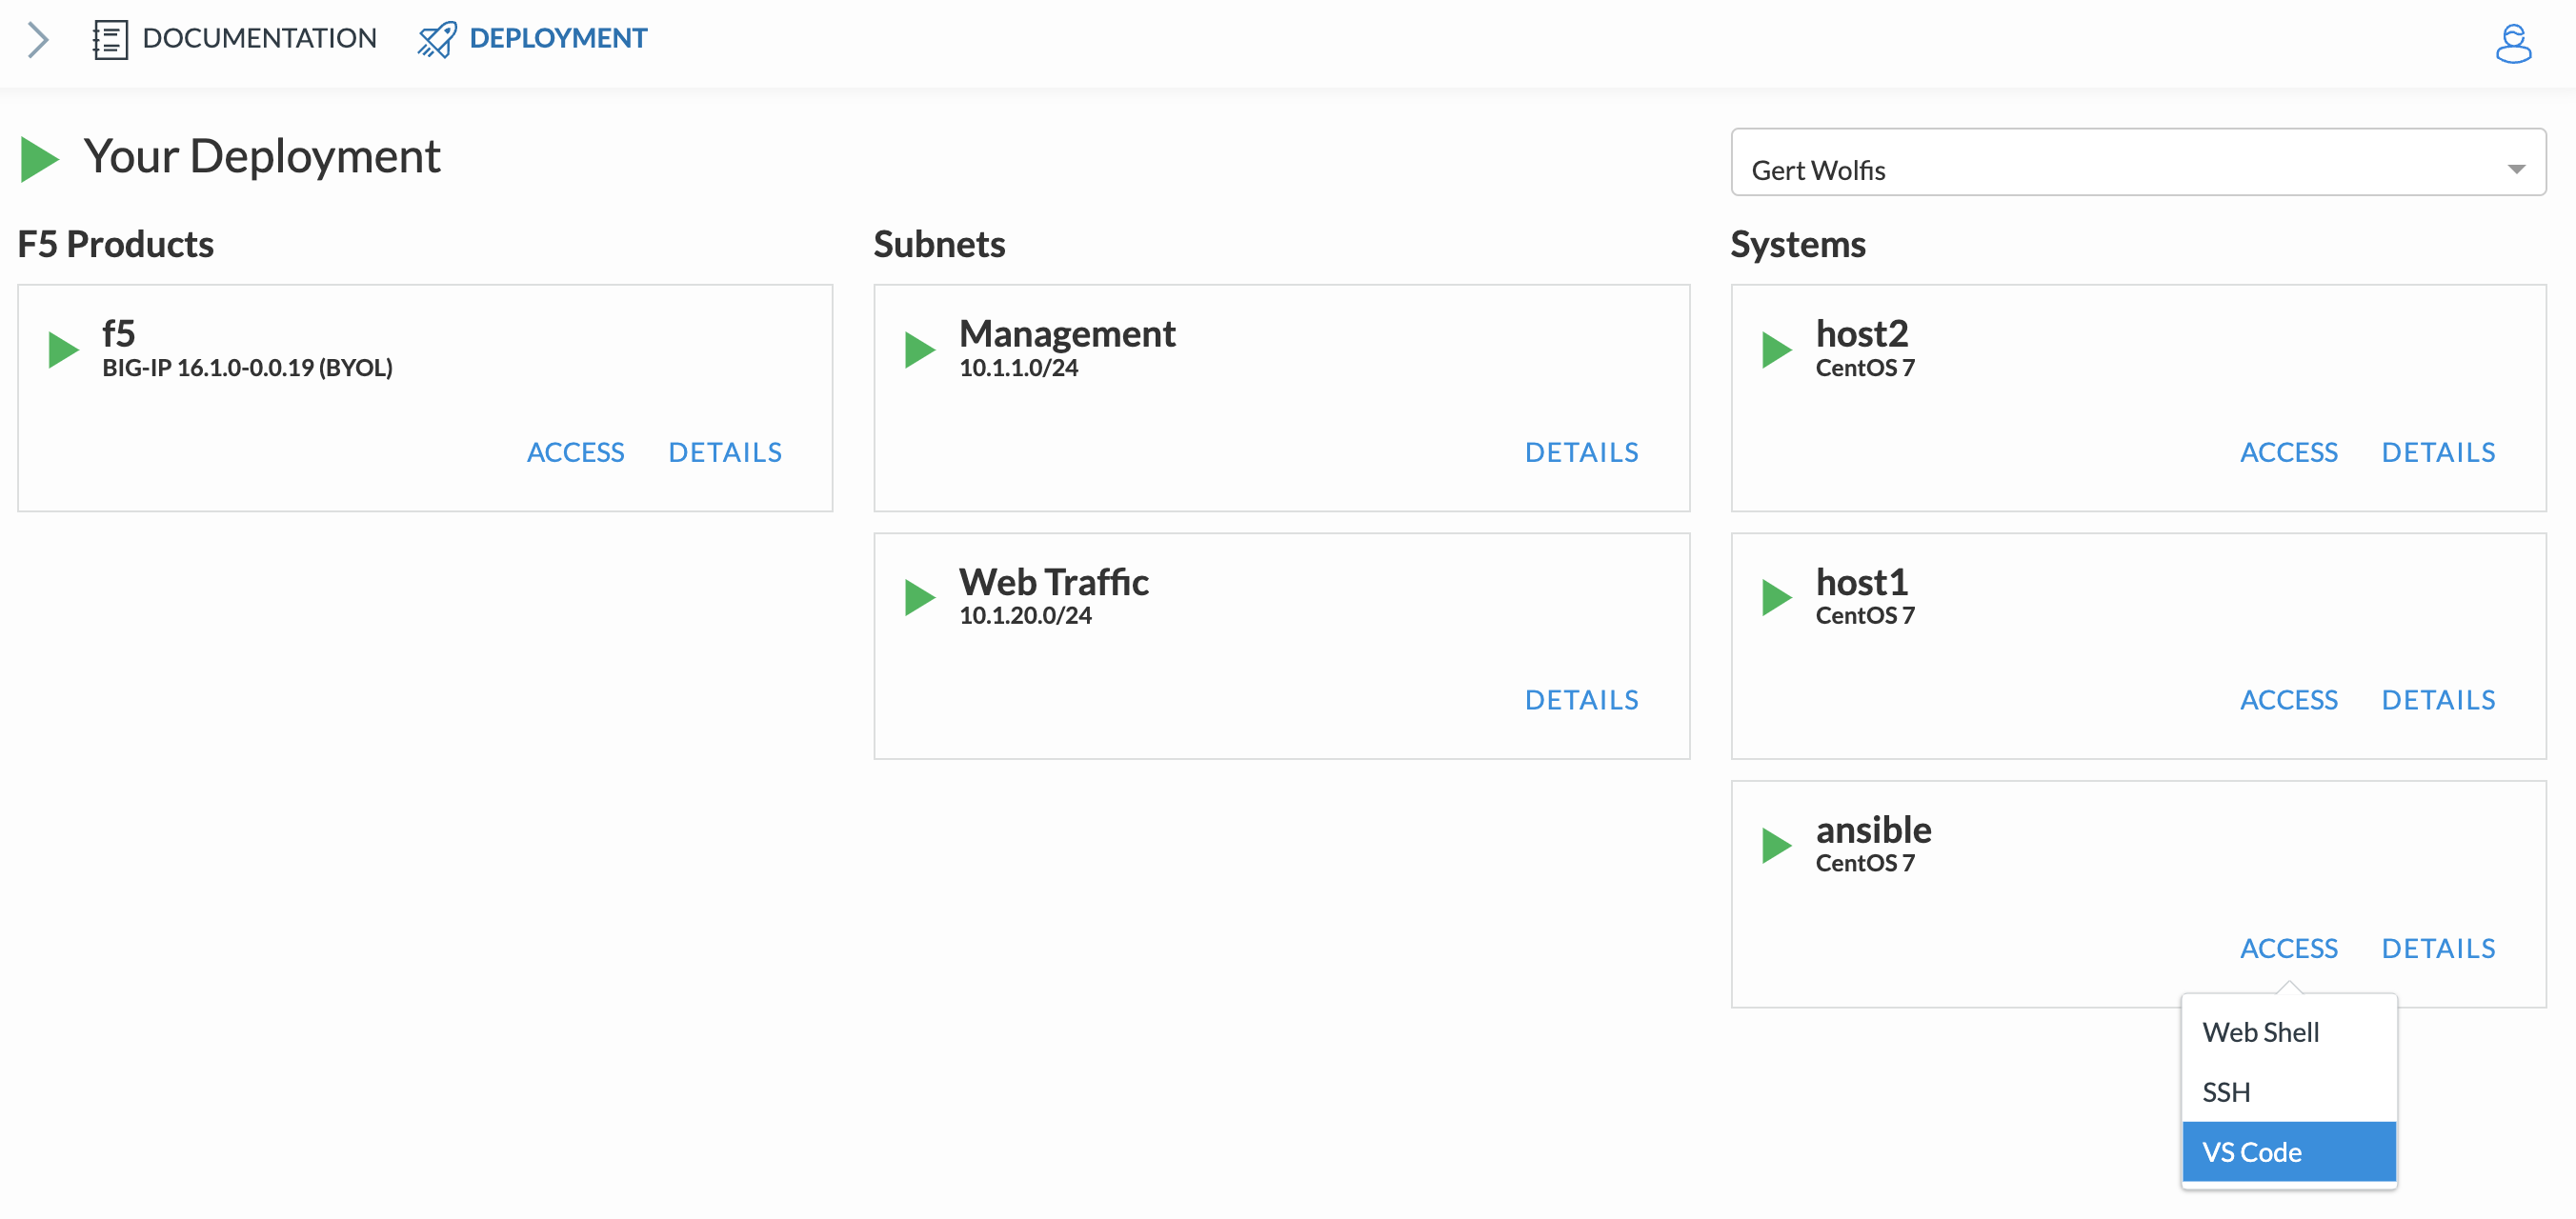
Your local browser will start up VS Code.
Step 3
If you want to you can select a theme or keep the default by clicking Mark Done and select Yes, I trust....
Ignore the pop-up windows in the bottom-right of your browser by closing them.
Step 4
Go to the left side of the screen and select the three stripes. Then go to Terminal and select New Terminal. 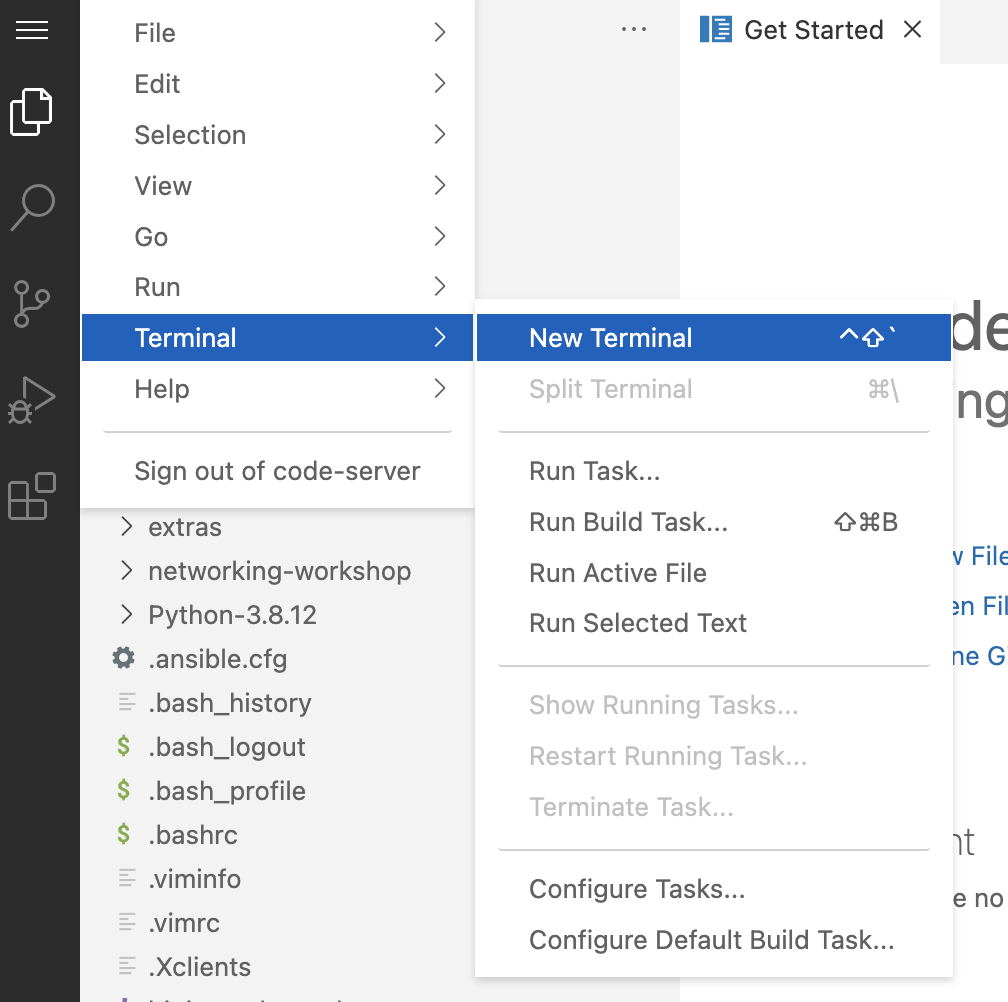
The Terminal Pane section will appear at the bottom and change the view from Output to Terminal. 
You can use the terminal Pane to launch Ansible playbooks and execute Shell commands during the lab.
Step 5
In order to be able to deploy those Ansible playbooks, you need to create YAML scripts which will become your ansible-playbooks.
In VS Code Explorer and right-click and select New File. 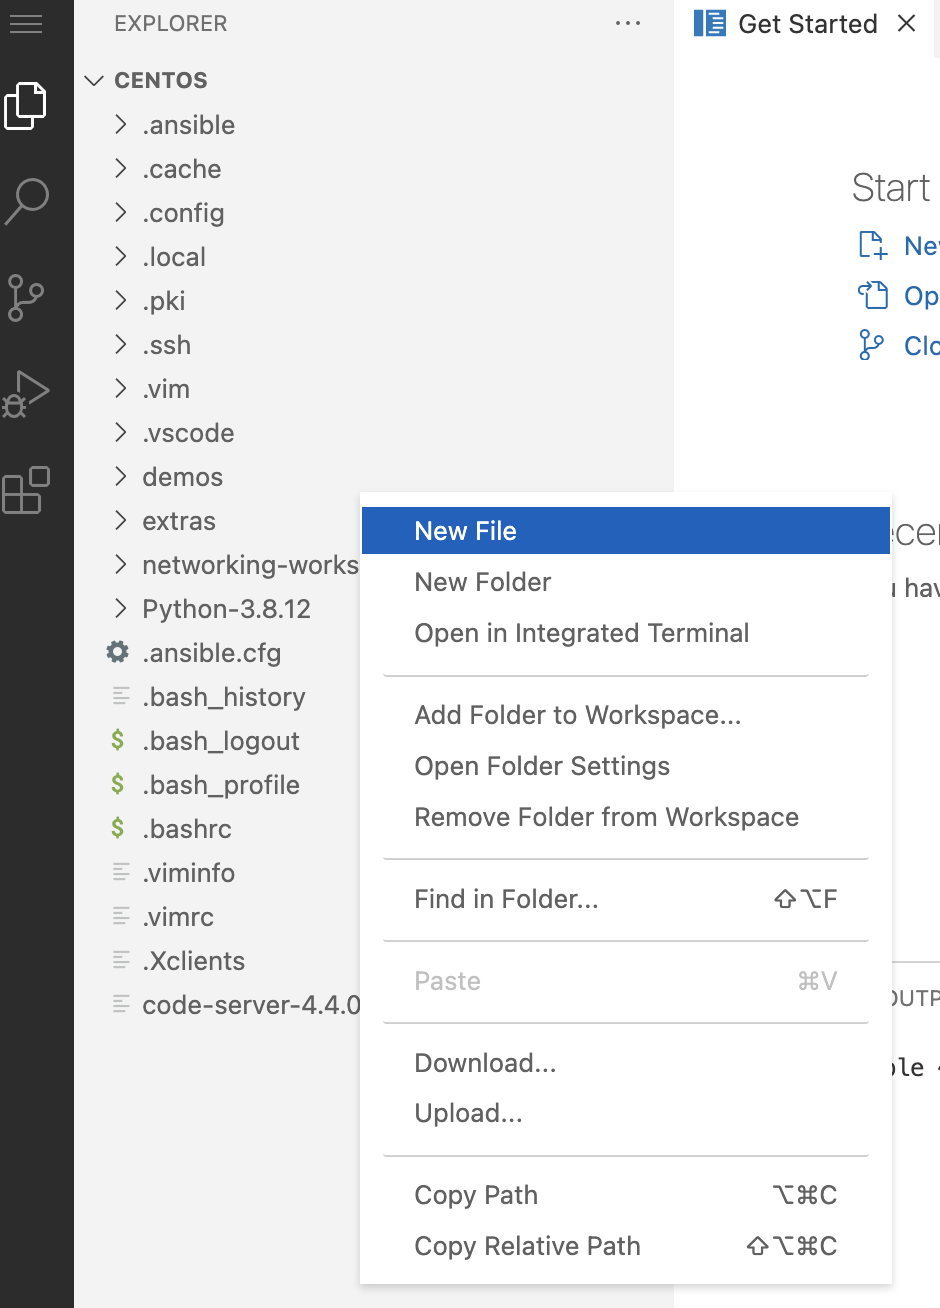
Note: Make sure you right-click in the 'empty' grey area. When you right-click at the height of the folder section and create a new file, that file will end up in that selected folder.
You finished the Getting Started section. Click here to return to the labguide