F5 Distributed Cloud > F5 Distributed Cloud: Discovering & Securing API’s Source | Edit on
Lab 1: Load Balancer and Origin
Warning
If you are using multiple labs in one course, understand that some steps below may be redundant depending on labs deployed. To gain full benefits from this lab, please delete any objects created in your prior lab and continue with this lab as all necessary objects will be recreated.
The following labs focus on the deployment and securing of an existing hosted API using F5 Distributed Cloud Platform and Services. This lab will be deployed in a SaaS only configuration with no on-premises (public or private cloud) elements. All configurations will be made via the F5 Distributed Cloud Console and within the F5 Distributed Cloud Global Network services architecture.
For the tasks that follow, you should have already noted your individual namespace. If you failed to note it, return to the Introduction section of this lab, follow the instructions provided and note your namespace accordingly. The Delegated Domain and the F5 Distributed Cloud Tenant are listed below for your convenience as they will be the same for all lab attendees.
Delegated Domain: .lab-sec.f5demos.com
F5 Distributed Cloud Tenant: https://f5-xc-lab-sec.console.ves.volterra.io
Following the tasks in the prior Introduction Section, you should now be able to access the F5 Distributed Cloud Console, having set your Work Domain Roles and Skill levels. If you have not done so already, please login to your tenant for this lab and proceed to Task 1.
In this lab you will review an already created Application (API) Load Balancer and Origin Pool with Malicious User Detection enabled.
Expected Lab Time: 8 minutes
Note
This lab reviews a pre-build Load Balancer and Origin Pool. Refer to Lab 1 Advanced for additional steps on how to create a Load Balancer and Origin Pool.
Task 1: Review Load Balancer and Origin Pool
The following steps are a review of a Load Balancer and Origin Pool aready configured within your namespace. This Load Balancer will be used throughout the course.
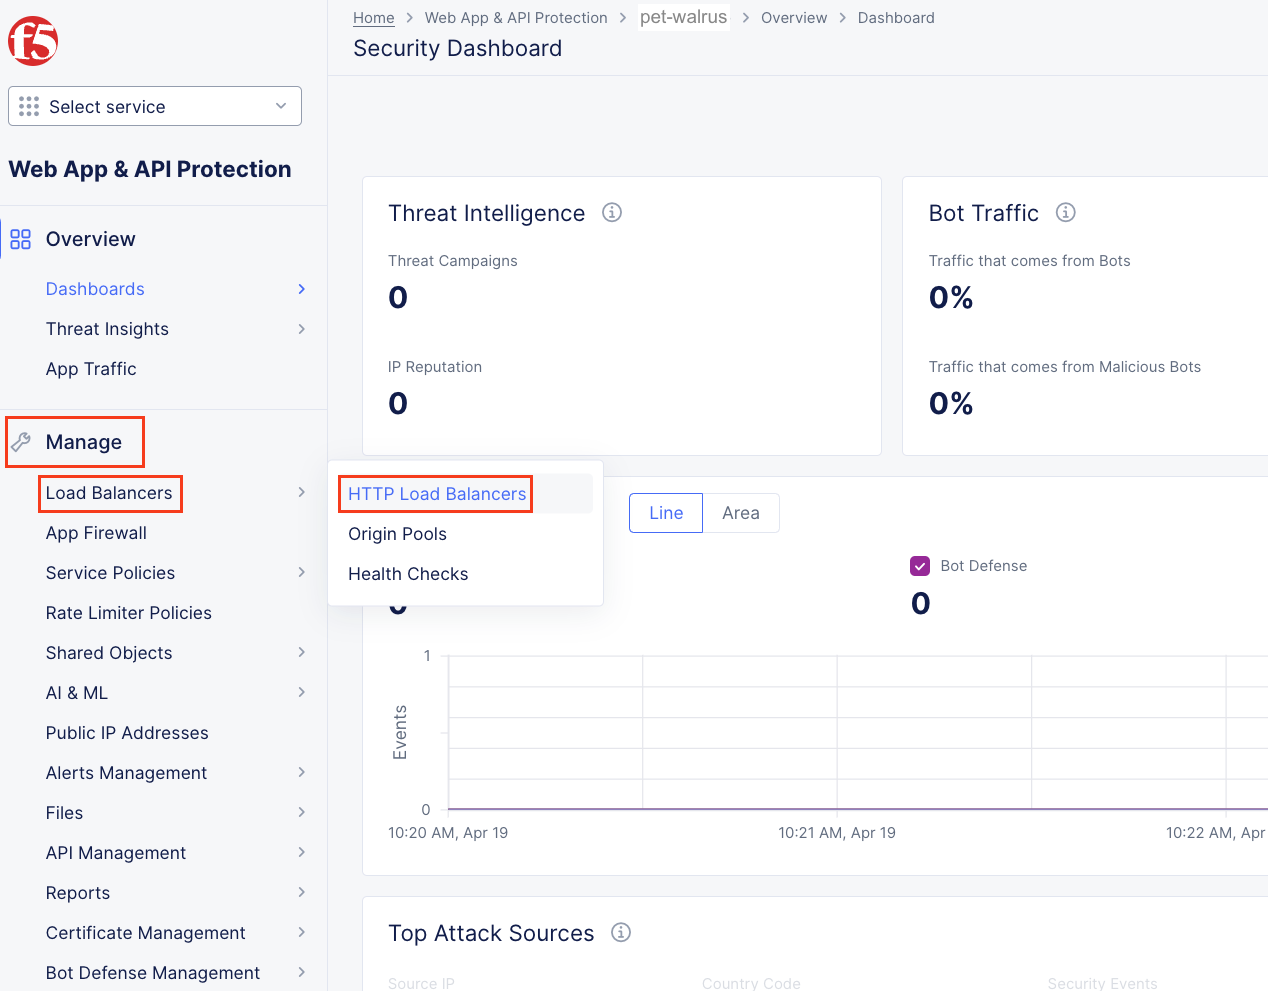
In the left top click the F5 ball and navigate to the Web App & API Protection Tile.

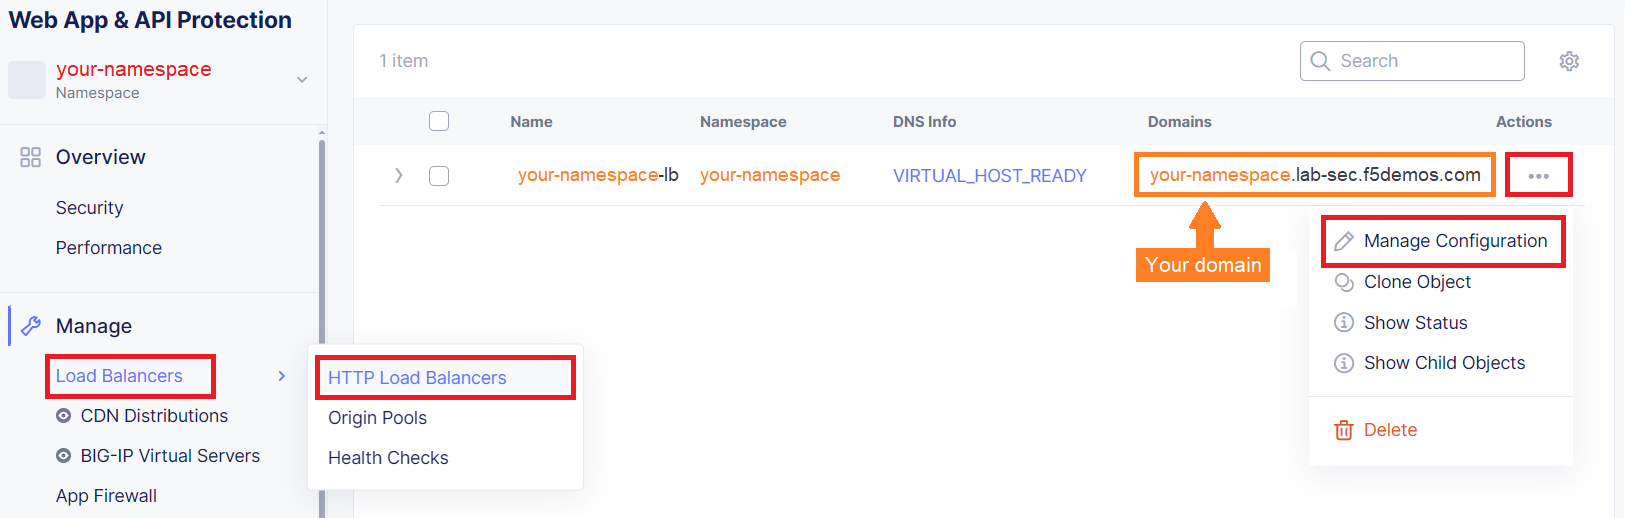
Click on the arrow to the right of Namespace, select your namespace from the list.
A HTTP Load Balancer and attached Origin Pool has already been created with the following configuration.
Load Balancer
Configuration
Name
<namespace>-lb
Domains
<namespace>.lab-sec.f5demos.com
Type
HTTPS
Port
443
Advertisement
Internet
Origin Pool
Configuration
Name
<namespace>-origin
Type
Public DNS
Name/IP
bankapi.lab-sec.f5demos.com
Port
80
[Optional Review Steps : 4-7] Within your namespace, mouse over HTTP Load Balancers > click on HTTP Load Balancers. Review what’s in orange, then click on the three dots under Action, click on Manage Configuration within the dropdown.
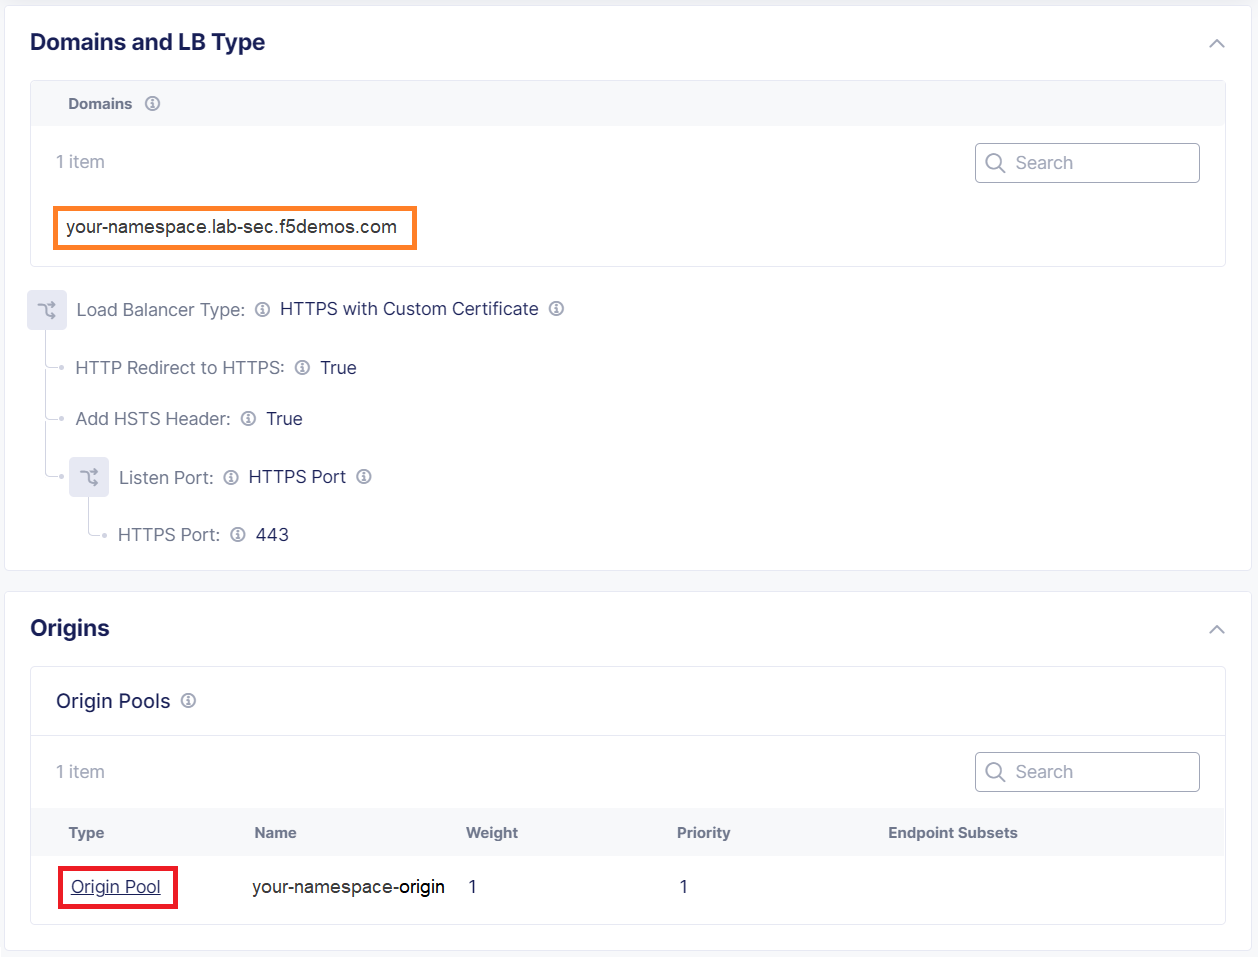
Review domain, port, etc… in orange, click on Origin Pool.
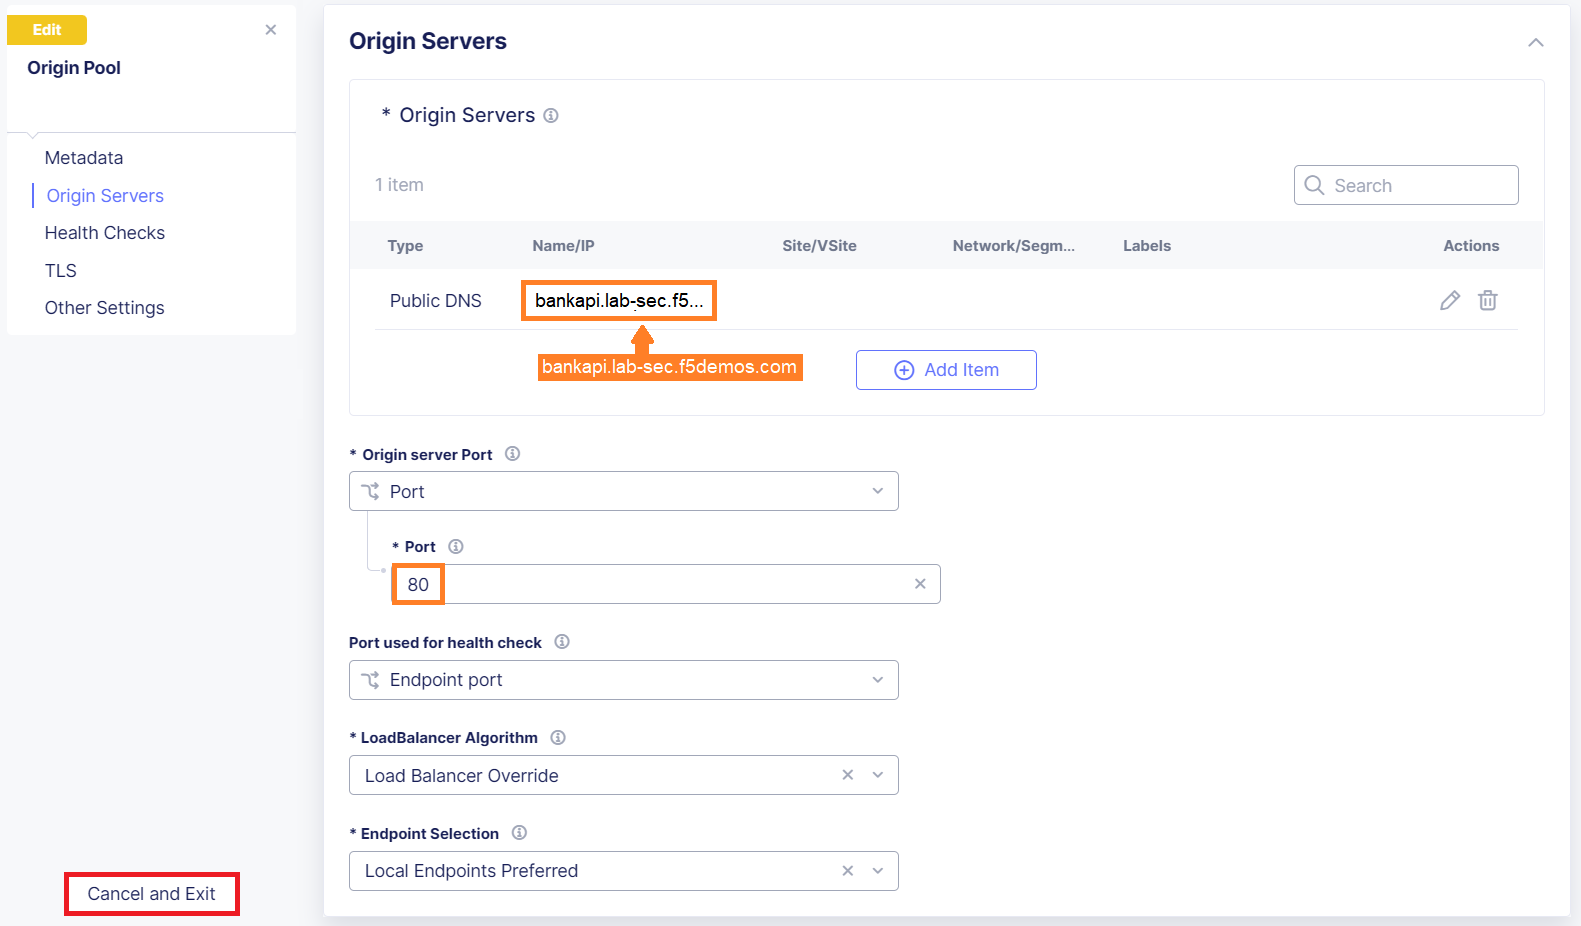
Click on Edit Configuation to navigate to the Origin Pool configuration.
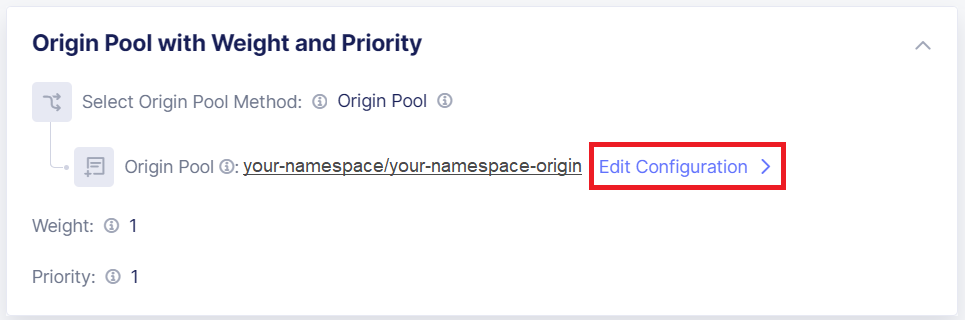
Review the type, DNS name and port in orange. Click Cancel and Exit to close out the configuration.
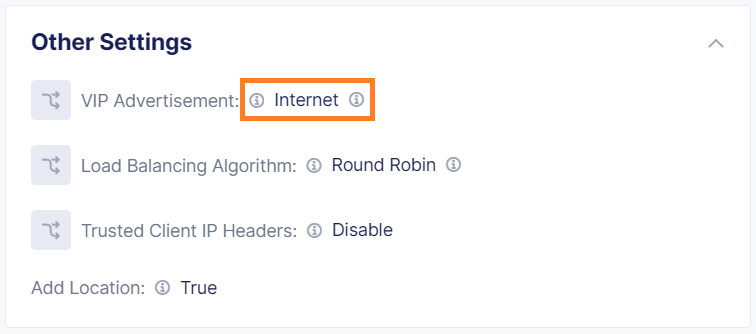
The load balancer’s VIP Advertisement is Internet which allows for public consumption through the F5 Distributed Cloud Application Delivery Network via a Regional Edge.
Malicious User Detection is also Enabled on the load balancer which will be reviewed in a later lab.

Task 2: Validate Load Balancer
Using another browser tab, navigate to the the following URL to confirm the Load Balancer has been configured properly.
http://<namespace>.lab-sec.f5demos.com/swagger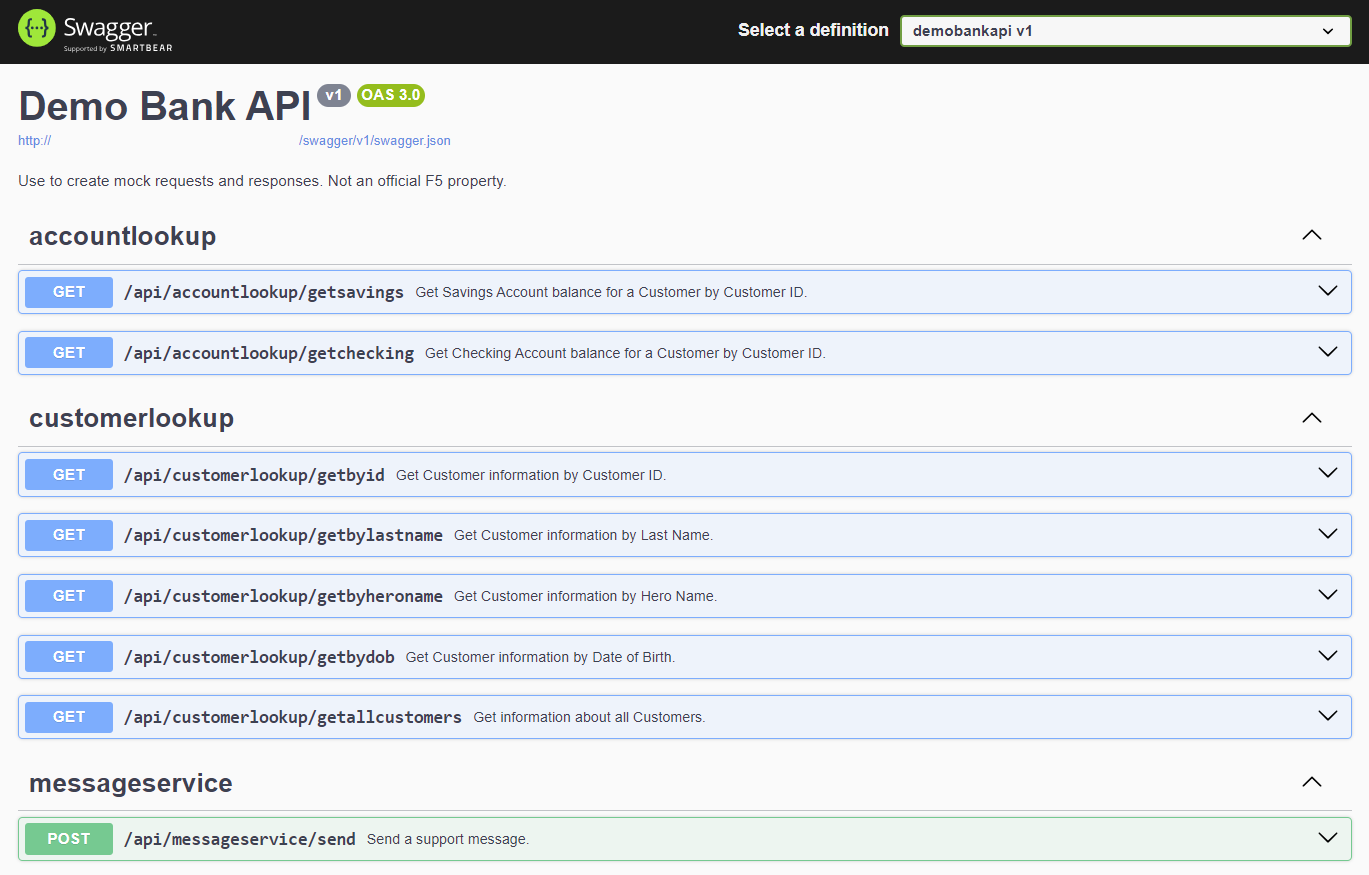
End of Lab