F5 Distributed Cloud > F5 Distributed Cloud: Discovering & Securing API’s Source | Edit on
Lab 4: Web Application Firewall (WAF)
Scenario
A security finding indicates that the “send” API endpoint in the Message controller is susceptible to dynamic attacks, such as Cross-Site Scripting (XSS). This vulnerability allows scripts to be rendered within the message window, making them visible to the Customer Service team, an unacceptable security risk.
Implement measures to protect this endpoint, and ensure all APIs are safeguarded against dynamic attacks.
Expected Lab Time: 8 minutes
Note
This lab will use a pre-build shared WAF object. Refer to Lab 4 Advanced for additional steps on how to create a WAF object.
Task 1: Simulate a Unmitigated Attack
In this task, you will follow steps simulating an attack against an unprotected endpoint. The Distributed Cloud (XC) WAF object is pre-built for the next Task, but please review how to create this object via the Advanced Lab 4.
Using another browser tab, navigate to the the following URL.
http://<namespace>.lab-sec.f5demos.com/swagger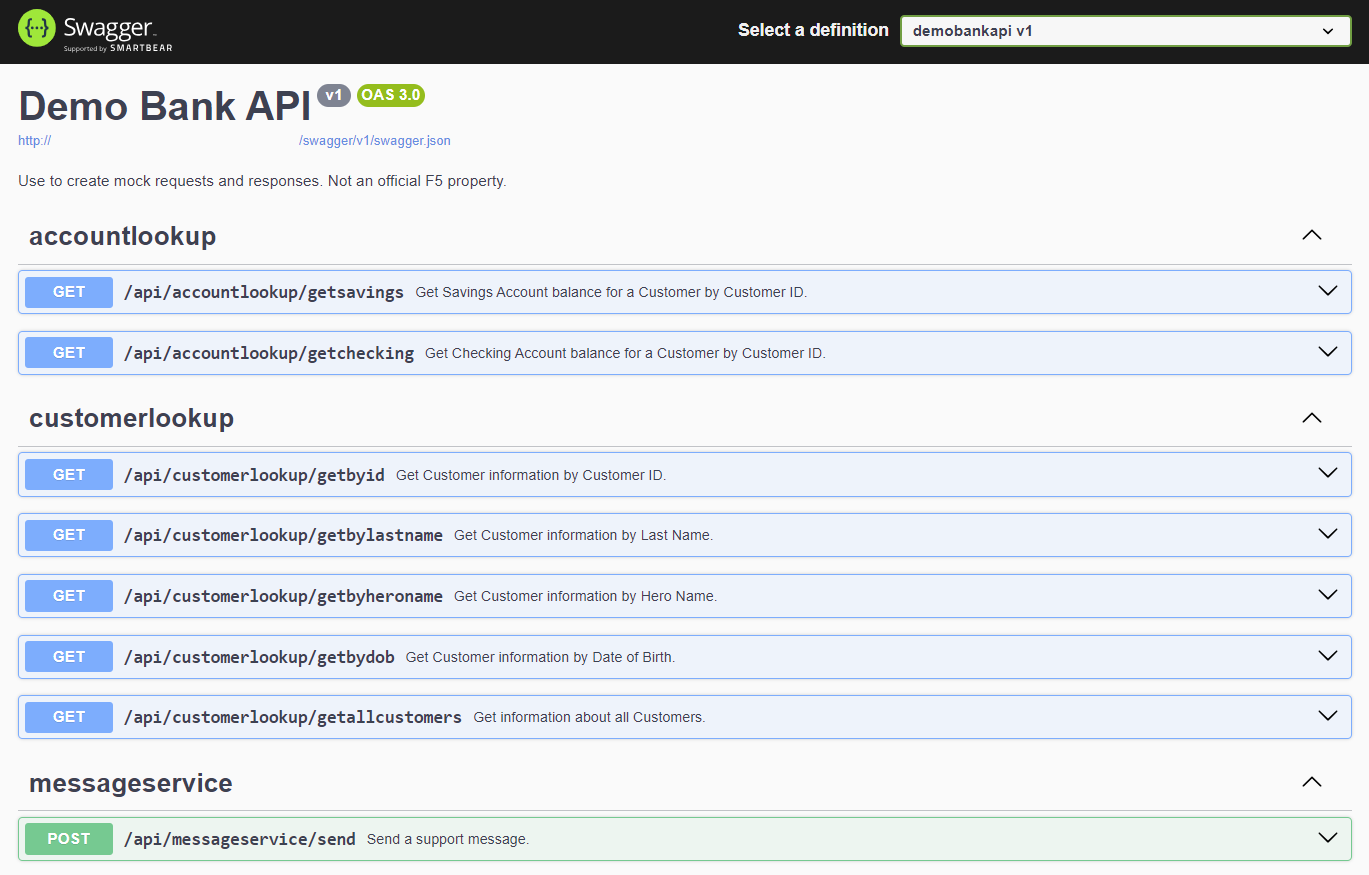
Within the Swagger page navigate and expand the messageservice/send endpoint, and click Try it out.
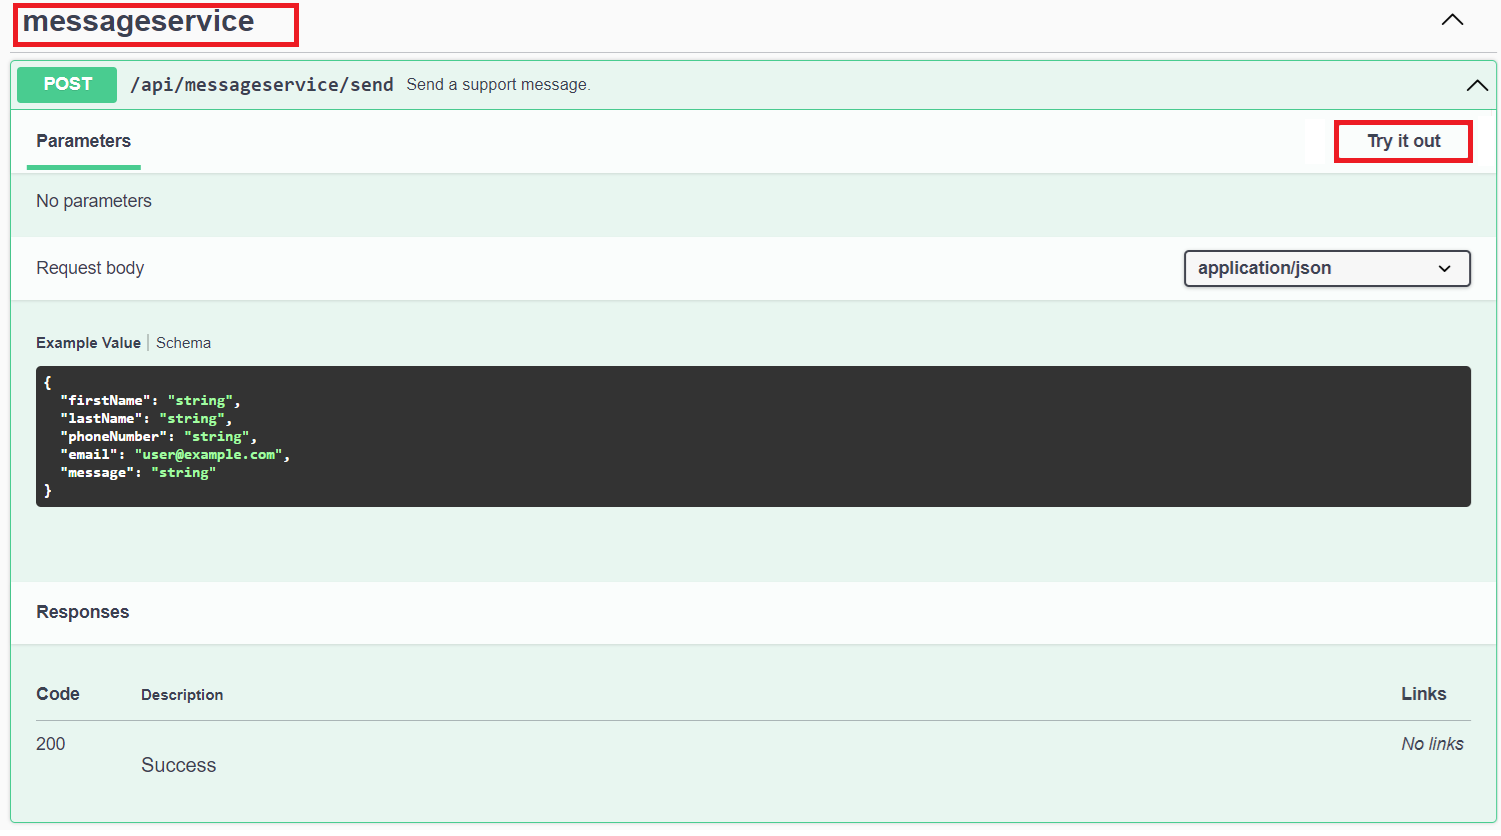
Copy the following JSON, paste within the Request body. Click on Execute.
{
   "firstName": "Hugo",
   "lastName": "Weaving",
   "phoneNumber": "(568) 190-1234",
   "email": "hugo.weaving@hydra.com",
   "message": "The revolution has started <script>alert('Hail Hydra');</script>"
}

Review the Response, notice how the included <script> was accepted and included in the Reponse Body.
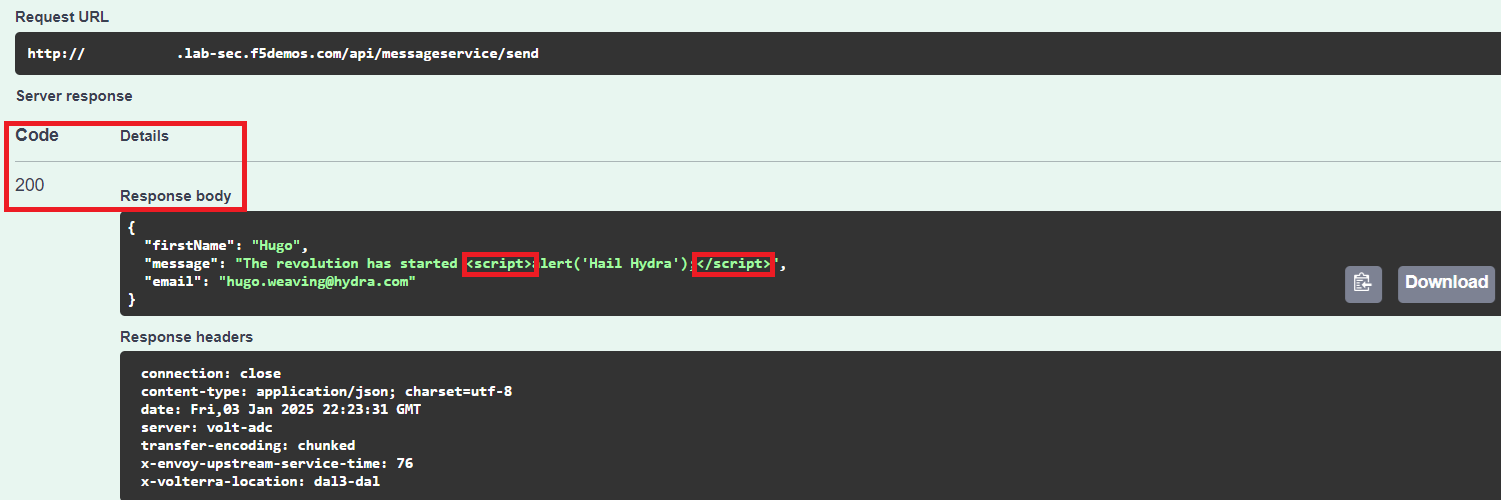
Note
If this endpoint was consumed by an actual ticket management system, the “<script>” could have been rendered in the user’s browser.
Task 2: Enabled a WAF Policy
In this task, you will follow steps to attach a WAF policy to your Load Balancer.
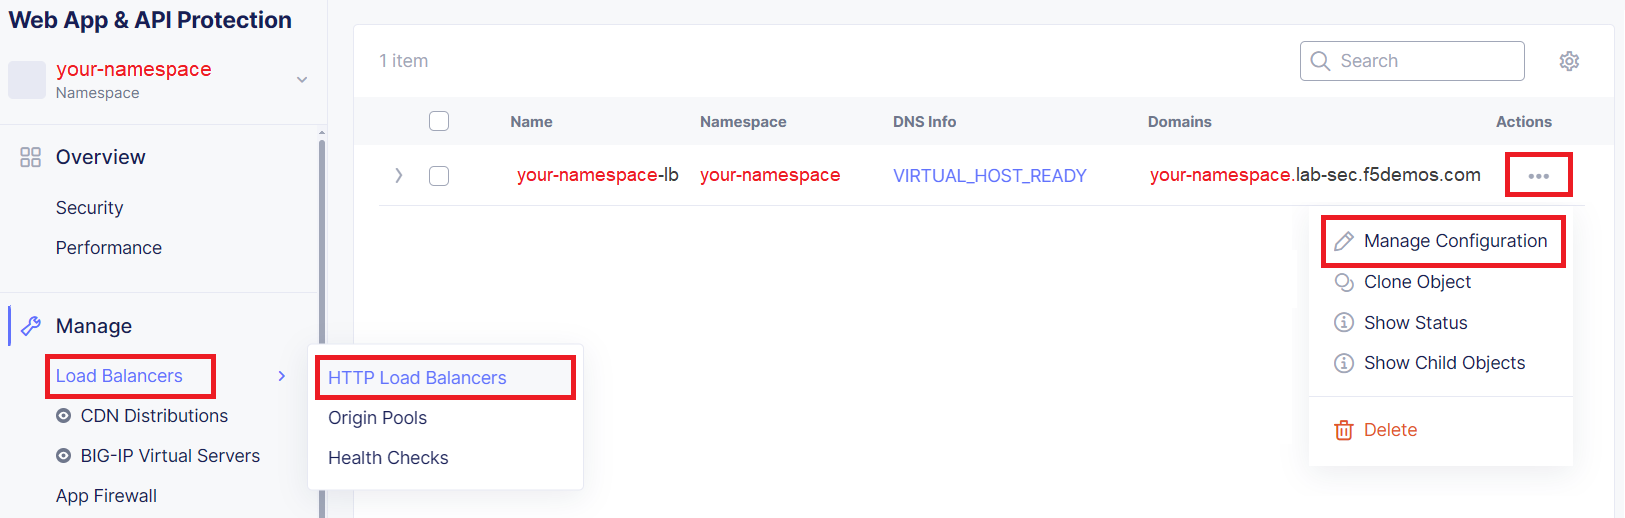
In the left-hand navigation of the Web App & API Protection service, click on Load Balancers > HTTP Load Balancers under the Manage section.
In the resulting Load Balancers window, click on the three dots … in the Action column, and the select Manage Configuration.
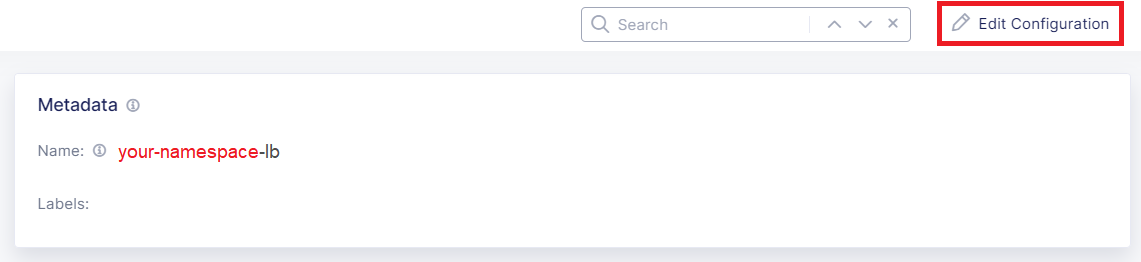
Click Edit Configuration in the top-right corner.
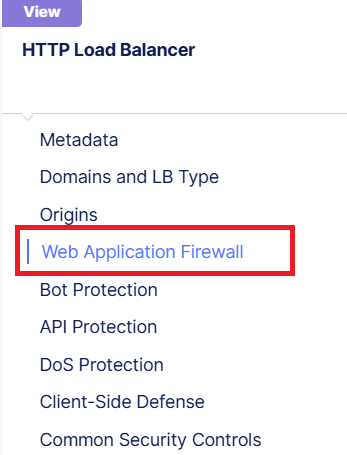
Using the left-hand navigation, click the Web Application Firewall link.
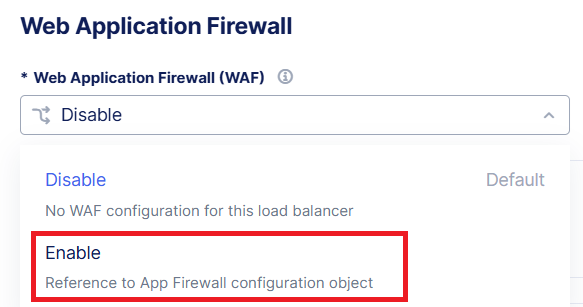
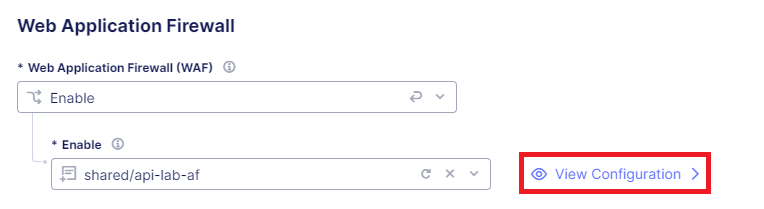
Under the Web Application Firewall (WAF) drop-down, Select Enable
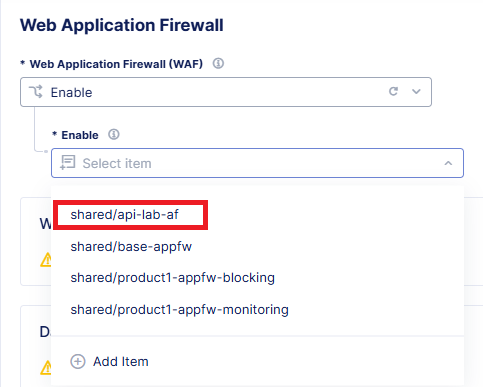
Under the Enable menu drop-down, select the shared WAF object shared/api-lab-af.
Click on View Configuration next to the attached WAF object.
Review the WAF Policy configration, click Back at the bottom left of the page.
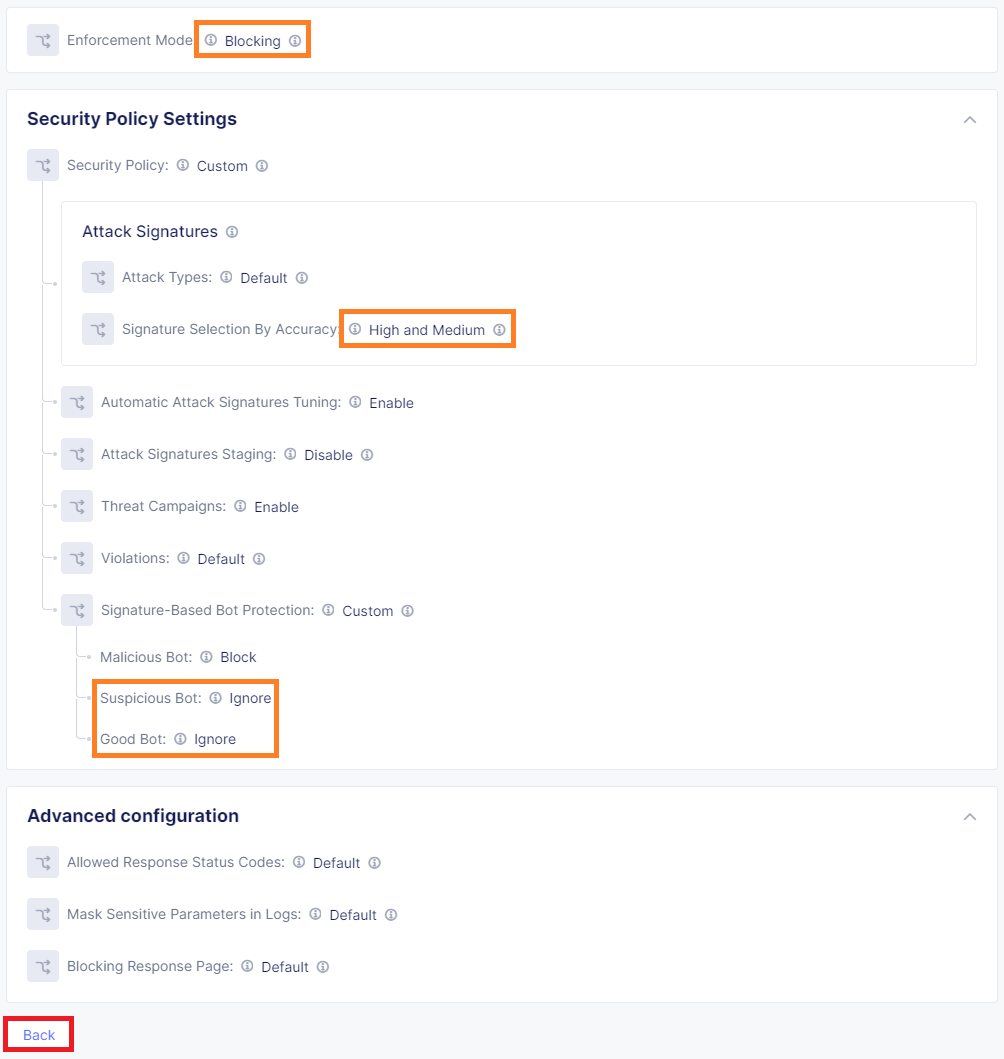
Note
Suspicious and Good Bot is set to ignore to reduce false positives from request made in this lab via ‘curl’.
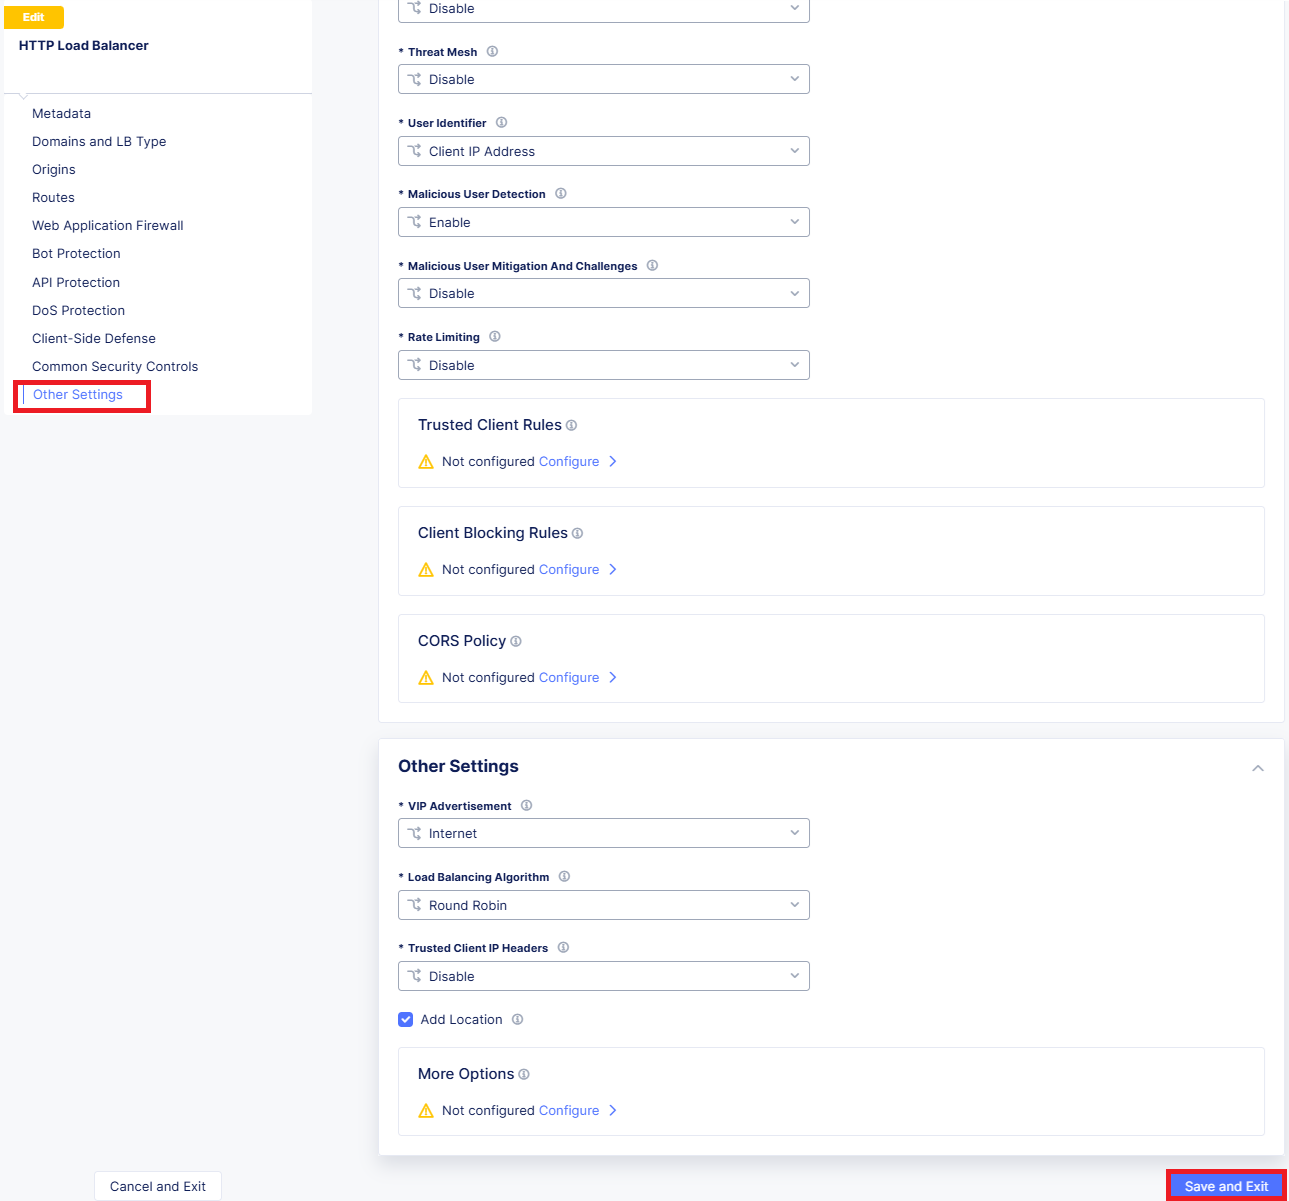
Click Other Settings on the left navigation, then click Save and Exit
Task 3: Simulate a Mitigated Attack
In this task you will follow steps simulating an attack againt a protected endpoint.
Using another browser tab, navigate to the the following URL.
http://<namespace>.lab-sec.f5demos.com/swagger
Within the Swagger page navigate and expand the messageservice/send endpoint, and click Try it out.
Copy the following JSON, paste within the Request body. Click on Execute.
Note
Press Execute a couple extra times to create more events which will be reviewed in a later lab.
{
   "firstName": "Hugo",
   "lastName": "Weaving",
   "phoneNumber": "(568) 190-1234",
   "email": "hugo.weaving@hydra.com",
   "message": "The revolution has started <script>alert('Hail Hydra');</script>"
}
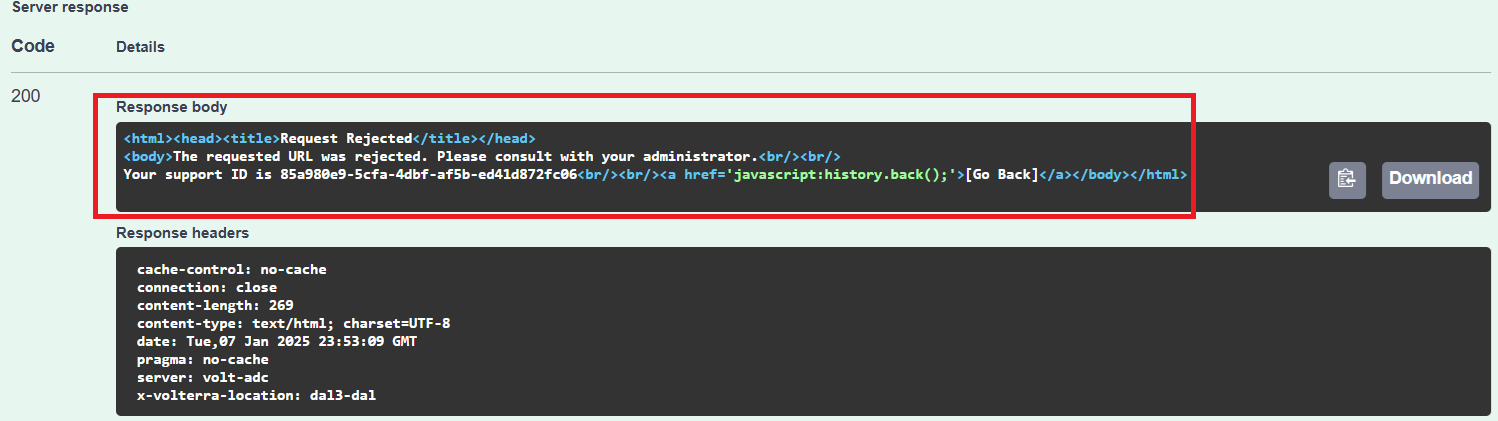
Review the Server Response; notice how a block message was presented within the Server Response body.
End of Lab