F5 Distributed Cloud > F5 Distributed Cloud: Automating Build & Operations Source | Edit on
Introduction: Accessing F5 Distributed Cloud Console
Welcome to this F5 Distributed Cloud Lab. The following tasks will guide you through the initial access requirements for the associated lab environment. Lab attendees should have received an invitation email to the lab environment based on the submitted registration email. Please check email and spam folders if it has not been received. If you have not received an email, please contact a member of the lab team.
F5 Distributed Cloud Console, where this lab will be conducted, is a SaaS control-plane for services that provides a UI and API for managing network, security, and compute services. The F5 Distributed Cloud Console can manage “sites” in existing on-premises data centers and sites in AWS, Azure, and GCP cloud environments.
Course/Lab Invitation
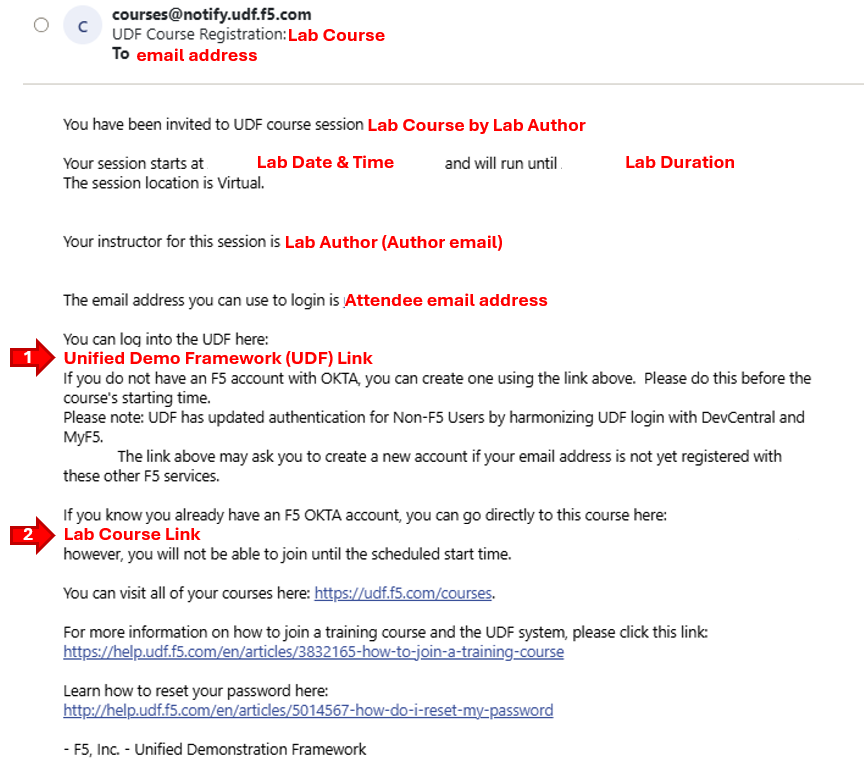
Course/Lab Attendees will receive an email similar to the graphic displayed in this section. The email will come from courses@notify.udf.f5.com. As attendees maybe registered for several lab/courses, ensure the corrcetly identified course is selected. Use either the first or second link position (indicated by arrows) based on the attendee’s F5 UDF (Unified Demo Framework) Account Status. # New UDF Users # Returning UDF Users going directly to Course Note Note The steps for new UDF Users or the steps for resetting UDF User account passwords are not shown. Please contact a member of the lab team if further assistance is needed. |
|
Accessing UDF (F5 Unified Demo Framework)
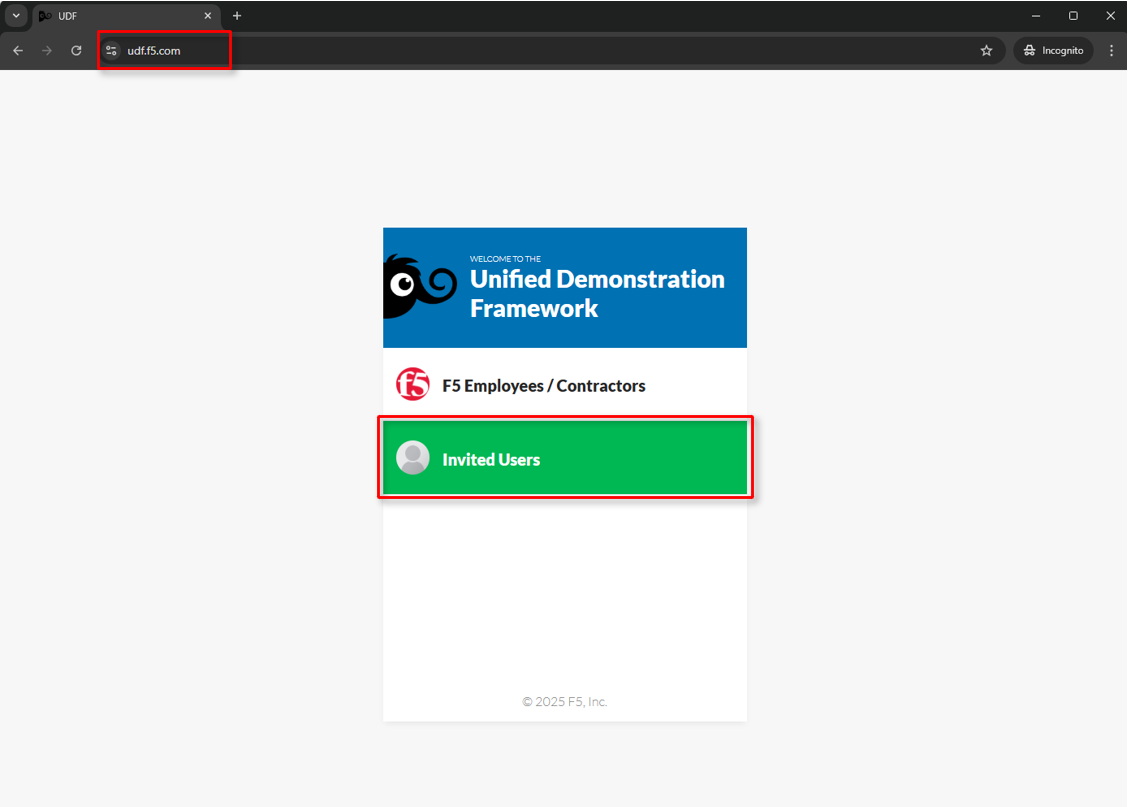
The following will guide attendees through the initial Lab environment access within F5 UDF. Following the instructions from the Course/Lab invitation above, attendees will be prompted to login at https://udf.f5.com Note Note The steps for new UDF Users or the steps for resetting UDF User account passwords are not shown. Please contact a member of the lab team if further assistance is needed. |
|
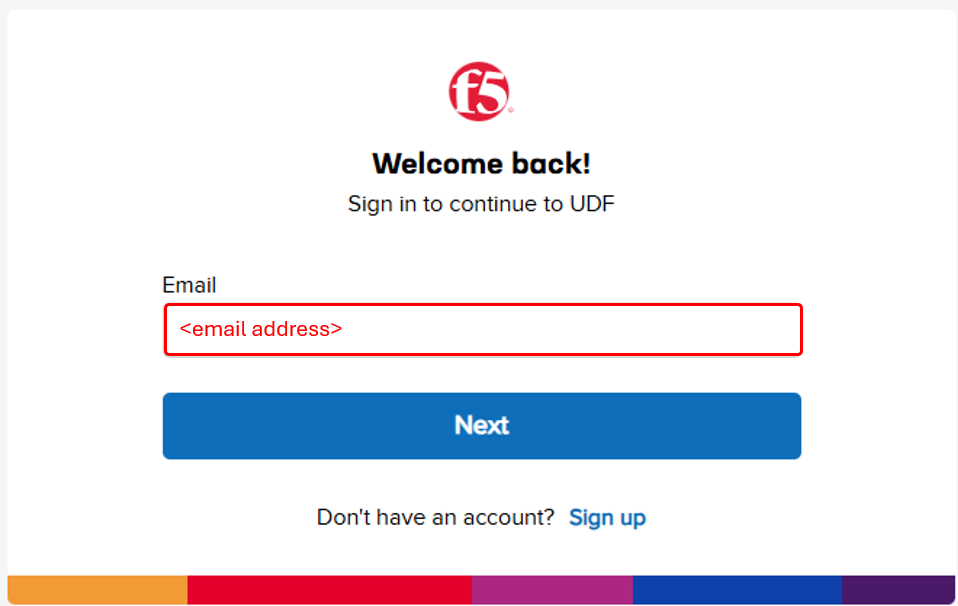
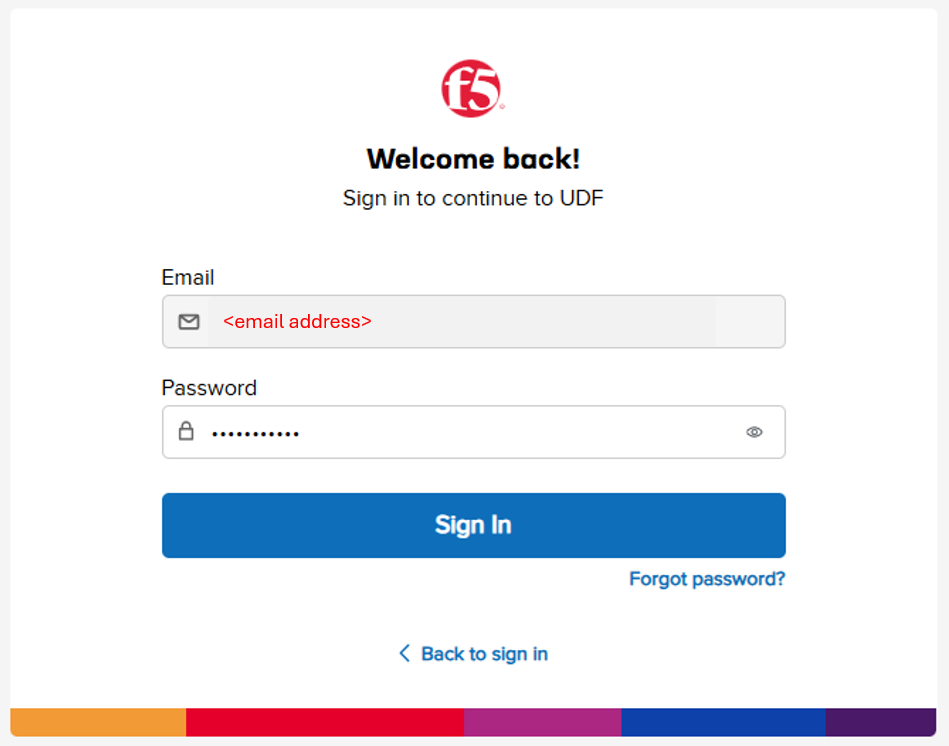
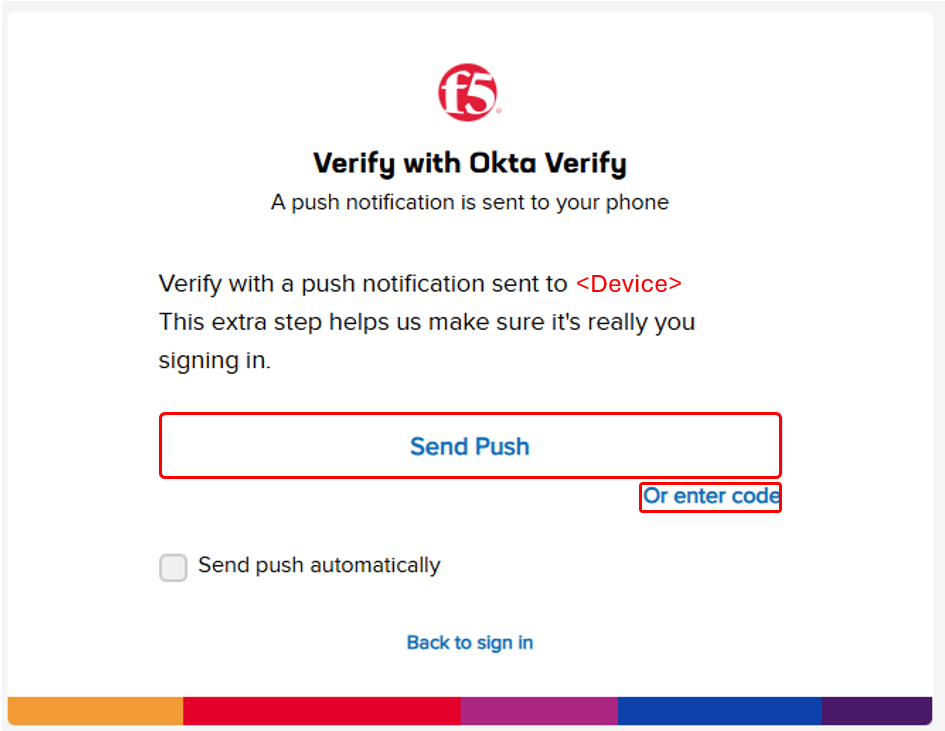
Attendees will be prompted to enter their UDF account, password and complete MFA as shown. MFA must be completed by either selecting Send Push or Enter Code. Note MFA process will very based on the MFA integration selected for the UDF Account. OKTA Verify is shown. |
|
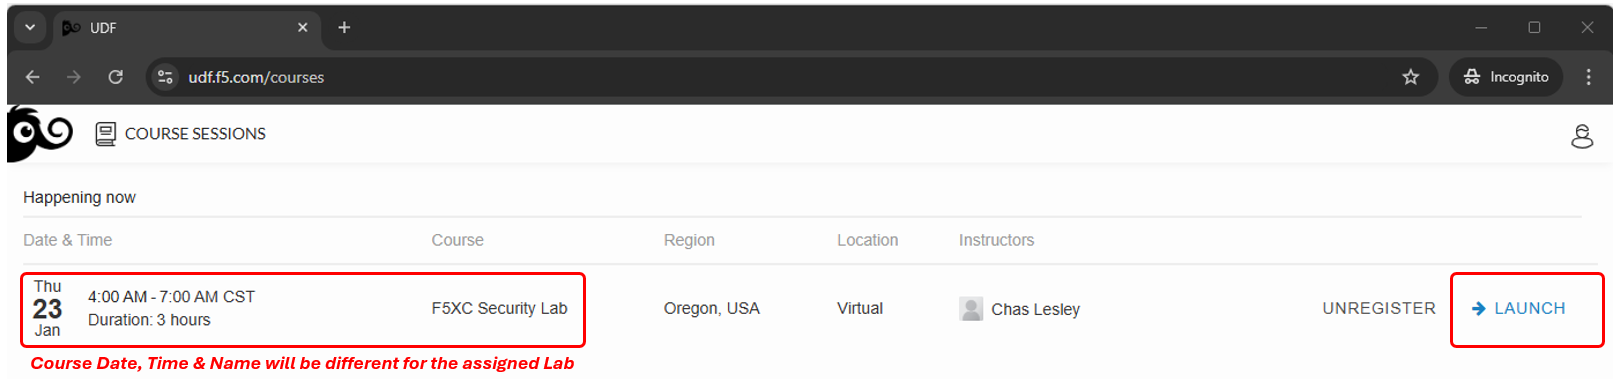
Attendees will then be presented their scheduled course sessions. Locate the course/lab with the appropriate Date, Time and Name and then click Launch. |
|
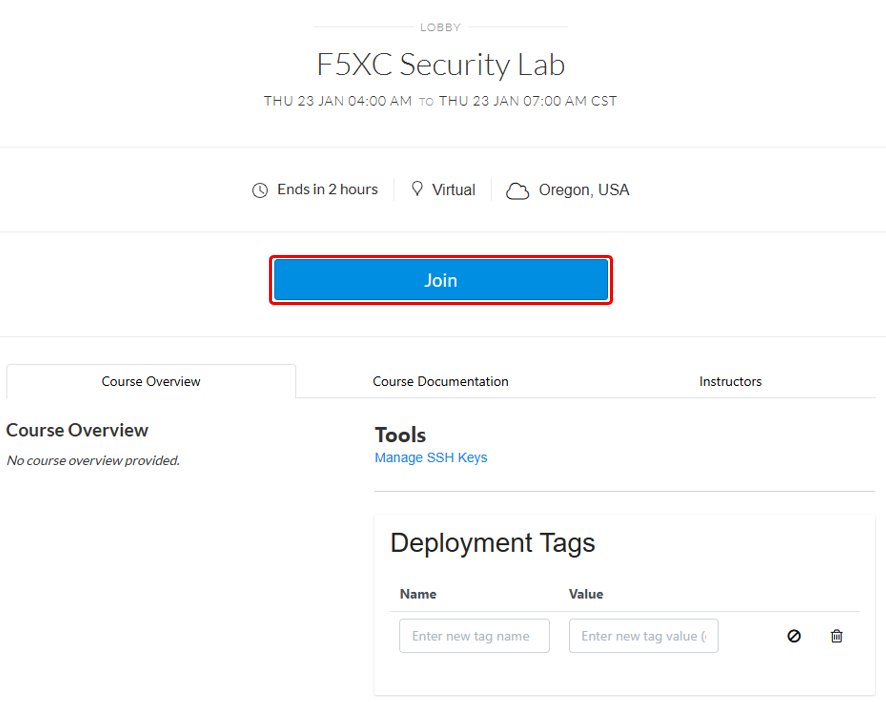
Once redirected to the selected Course/Lab, click the Join button. |
|
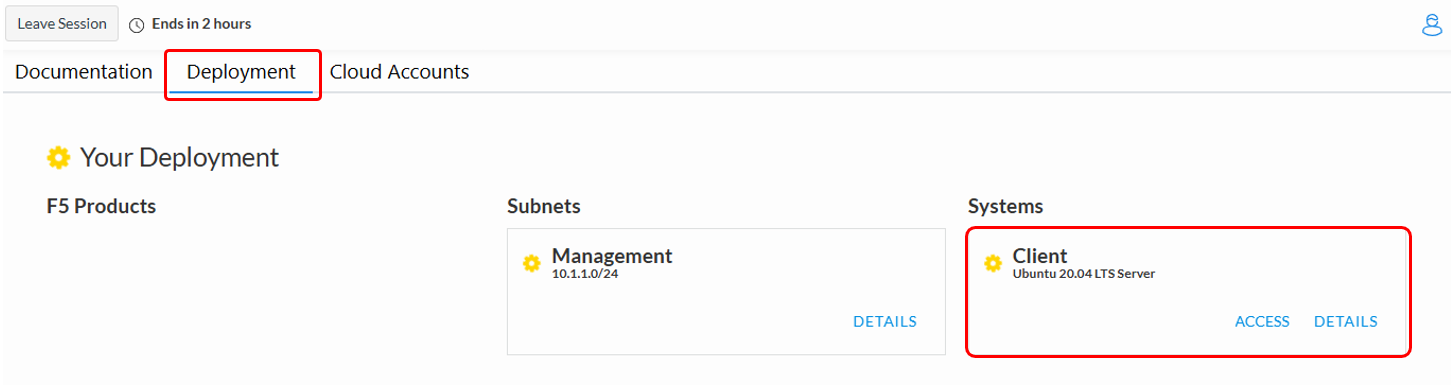
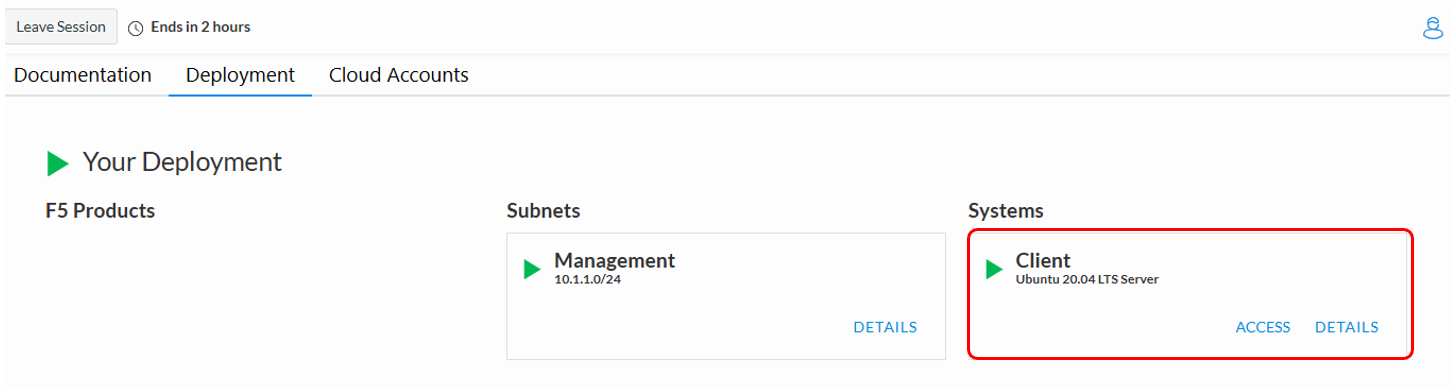
The Lab environment window will now be displayed. Click on the Documentation tab in the horizontal navigation links. Locate and observe the state of Client system. In approximately 5-7 minutes the associated yellow gear starting icon will change to a green arrow (running) icon and attendees will proceed to the next section of steps. Note Your specific lab environment may vary from the graphics shown below. The **Client** will, however, be consistent. |
|
Accessing F5 Distributed Cloud
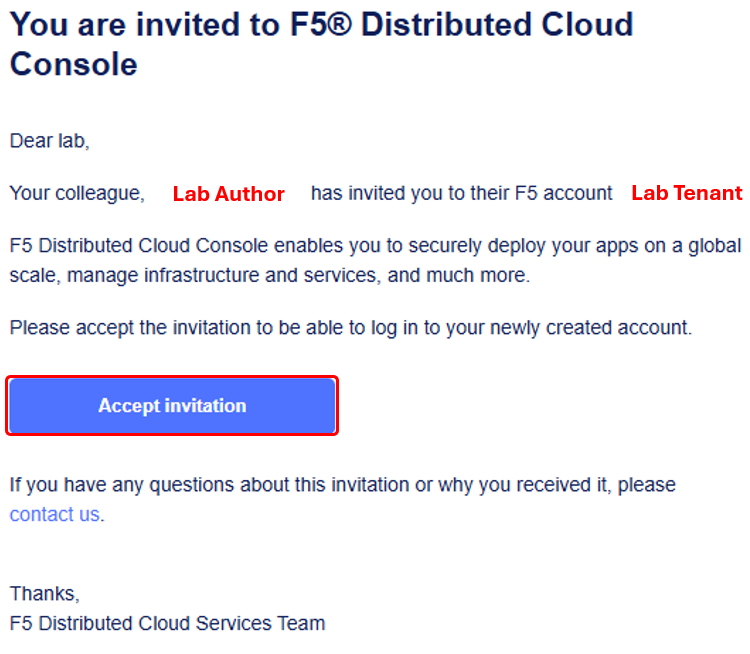
Following the state change of the Client System to a green arrow (running) icon, attendees will receive a second email as shown below. Click the Accept invitation button. Note Alternatively, attendees can also access the F5 Distributed Cloud Tenant directly via https://f5-xc-lab-app.console.ves.volterra.io/ |
|
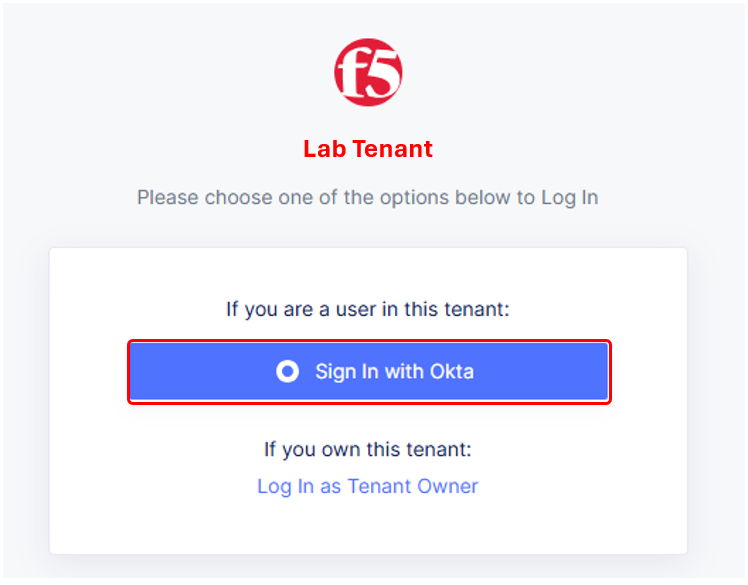
The initial logon prompt will be presented. Click Sign on with Okta to proceed. SSO will process and onboarding to the tenant will proceed. |
|
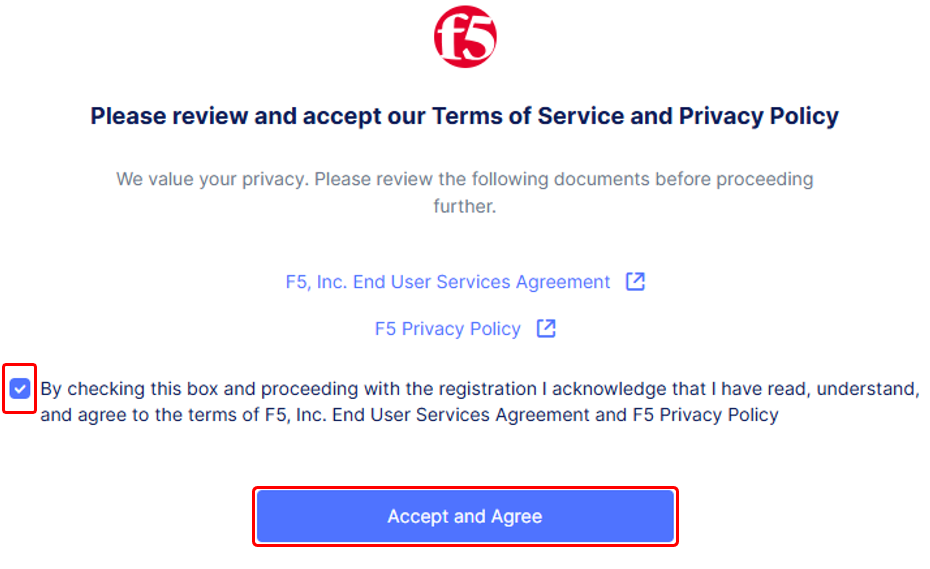
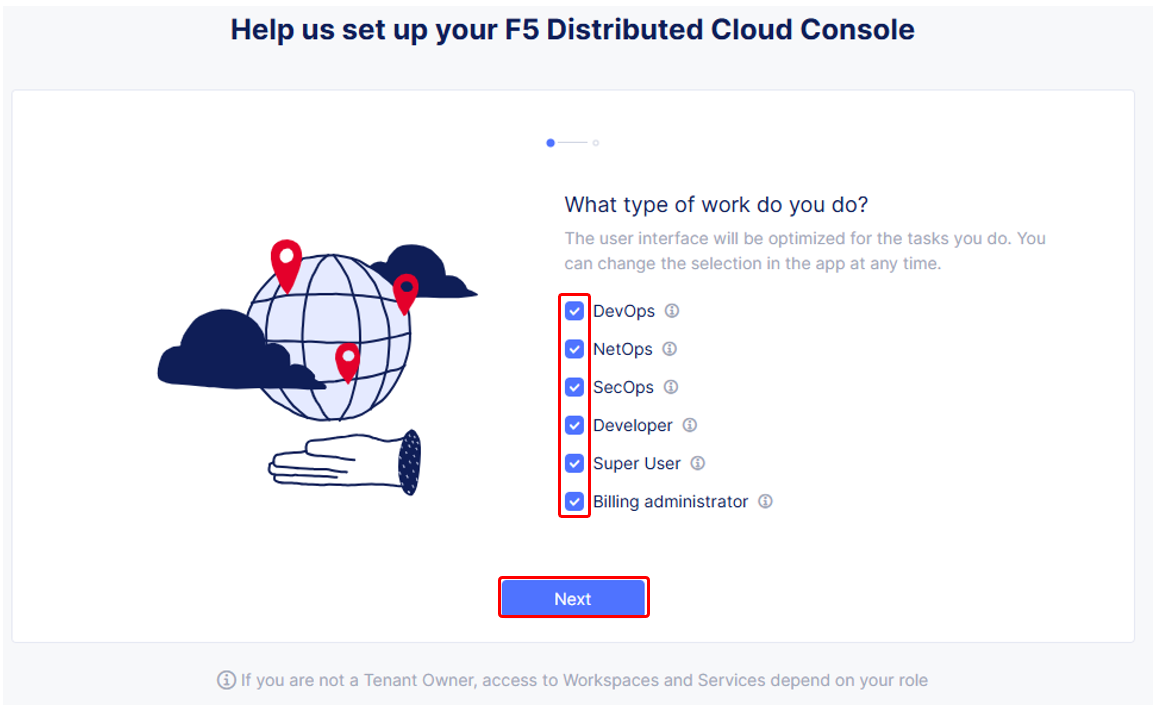
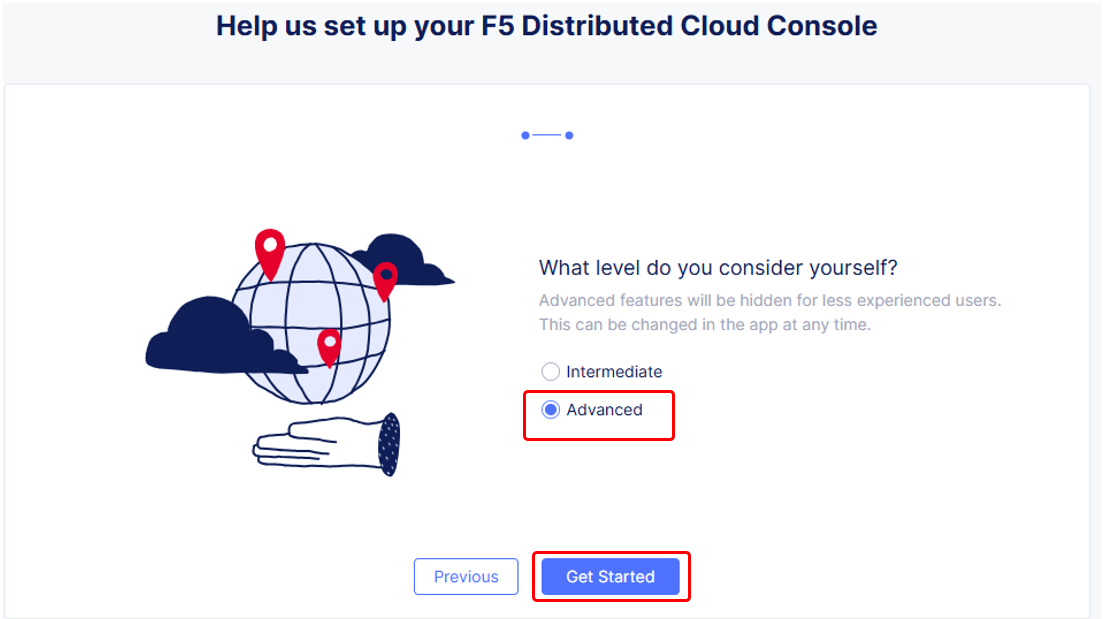
Next the Terms of Service and Privacy Policy will display, check the box and then click Accept and Agree. In the following screen, Select all persona roles and click Next. This allows attendees to see all the various configurations. Personas can be changed anytime later within the console if desired. In the next screen, click Advanced to expose more menu options and then Get Started to begin. You can change this setting after logging in as well. Note Several Guidance ToolTips or Notices may appear. Attendees can safely close these out in order to begin the lab. |
|
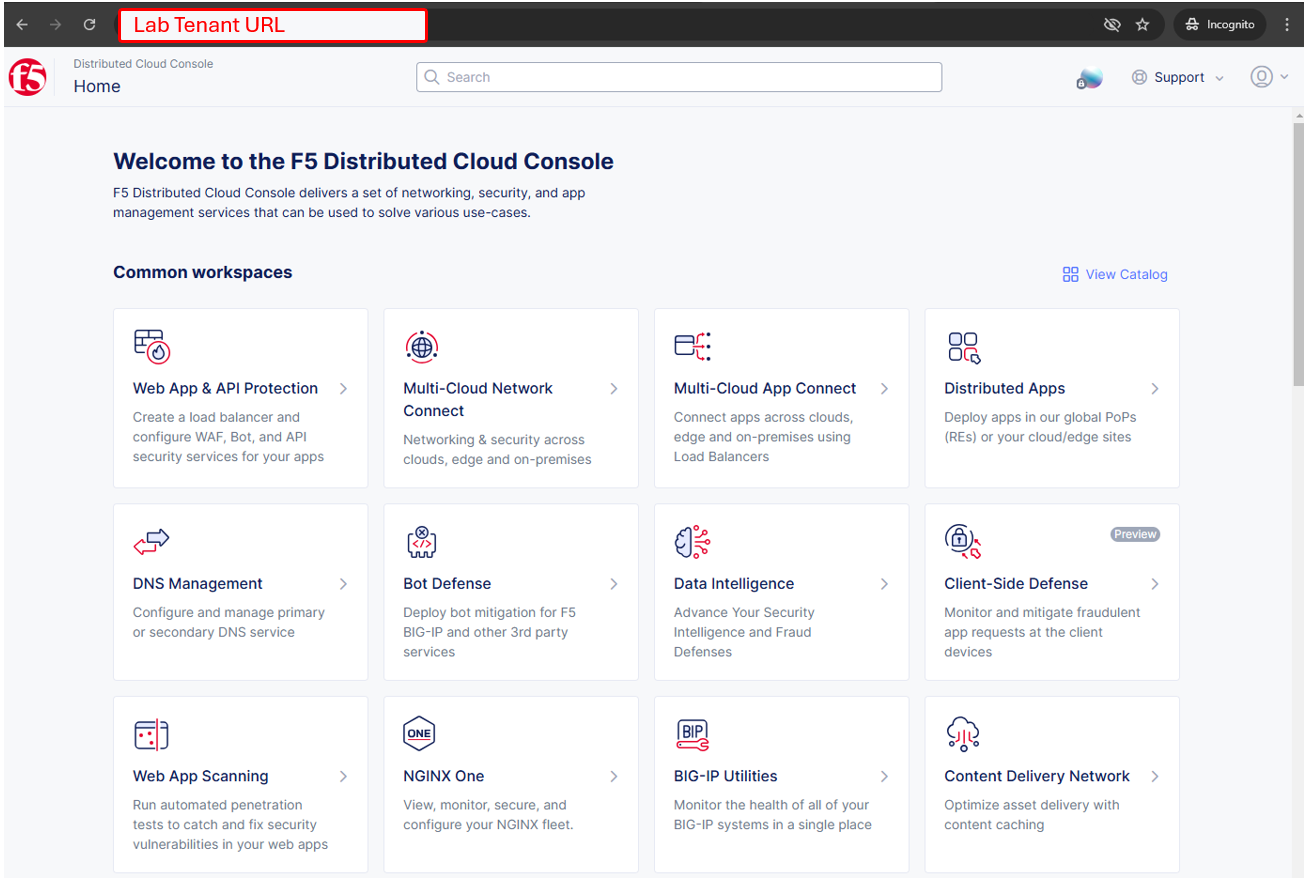
Attendees will now be presented the Home page of the F5 Distributed Cloud Console with all the workspaces, features and services available. |
|
Assigned Namespace
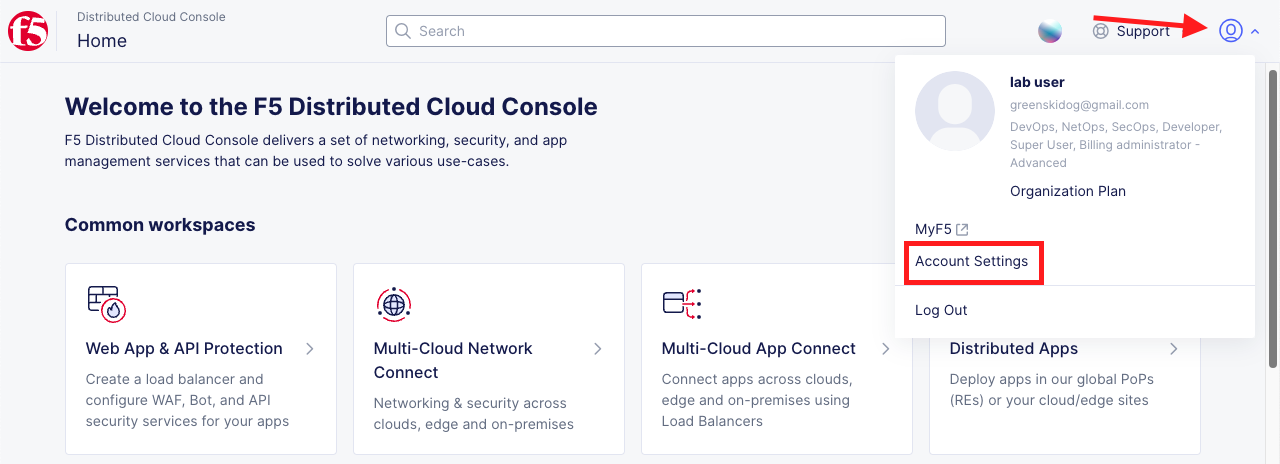
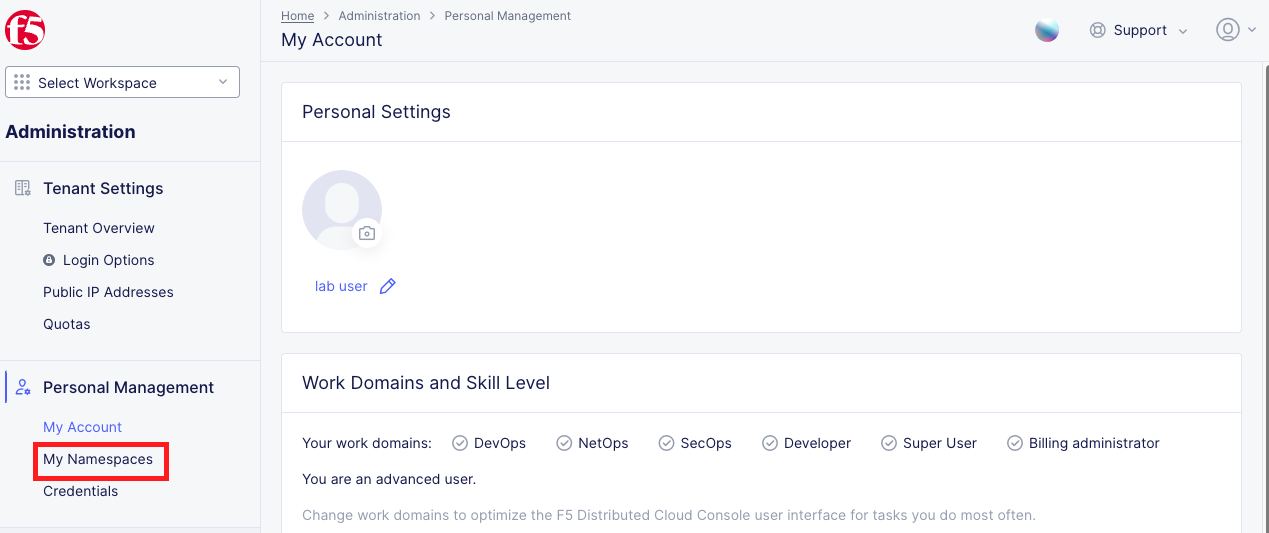
Namespaces, which provide an environment for isolating configured applications or enforcing role-based access controls, are leveraged within the F5 Distributed Cloud Console. For the purposes of this lab, each lab attendee has been provided a unique namespace for all tasks performed through the course of this lab. To determine your assigned namespace, click on the account icon in the top left corner and select Account Settings.
|
On the left hand menu, select My Namespaces under Personal Management.
|
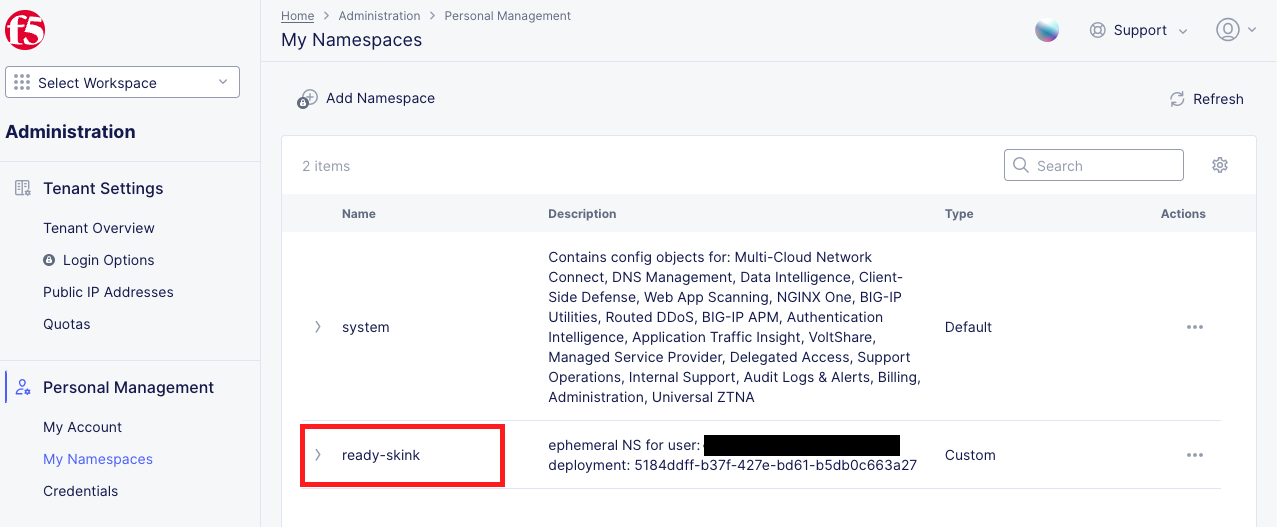
Under My Namespaces, you should see two namespaces: system and your assigned namespace.
Note Your assigned namespace should be composed of an adjective-animal. In the example above the user assigned namespace is ready-skink. |
Save your assigned namespace somewhere convenient. You will need to provide your assigned namespace in the following labs. |
Beginning of Lab: You are now ready to begin the lab, Enjoy! Ask questions as needed. |
|