F5 Distributed Cloud > F5 Distributed Cloud: Automating Build & Operations Source | Edit on
Lab 3: Utilize Automation to Audit XC Configurations
The following lab tasks will guide you through using automation to audit deployed configurations within Distributed Cloud. Terraform will be utilized to deploy multiple HTTP Load balancers so that their configurations can be compared against a desired configuration state. A custom python API backend with a web front end will then be utilized to compare the HTTP Load balancer states.
Expected Lab Time: 40 minutes
Task 1: Deploy multiple HTTP load balancers with Terraform
In this task, you will create a tfvars file to specify environment variables unique to your environment. This tfvars file is slightly more advanced than the file used in Lab 2. This tfvars file utilizes a list object to specify mulitple key value pairs for each load balancer you want to create. The list object is utilized within a for expression within the Terraform resource to loop through each item in the list. This allows Terraform to create multiple objects using a single resource definition. After the tfvars file is created, you will intialize, plan, and apply your Terraform configuration to create multiple HTTP load balancers within your namespace.
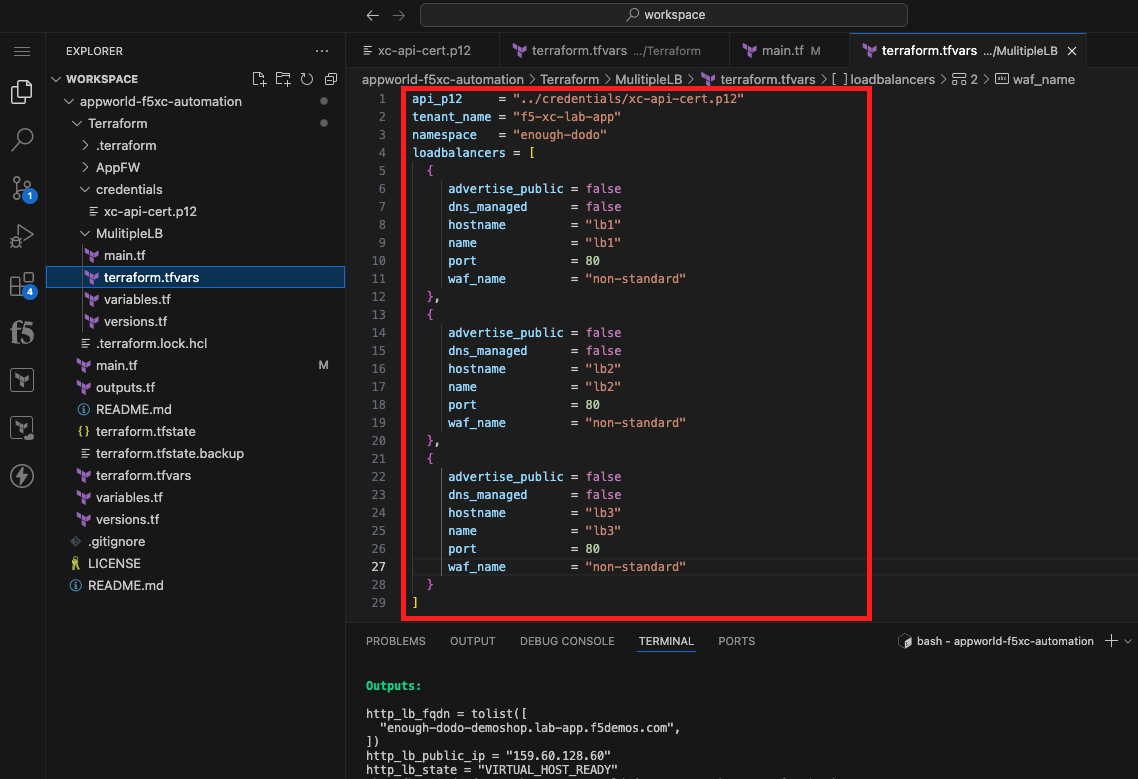
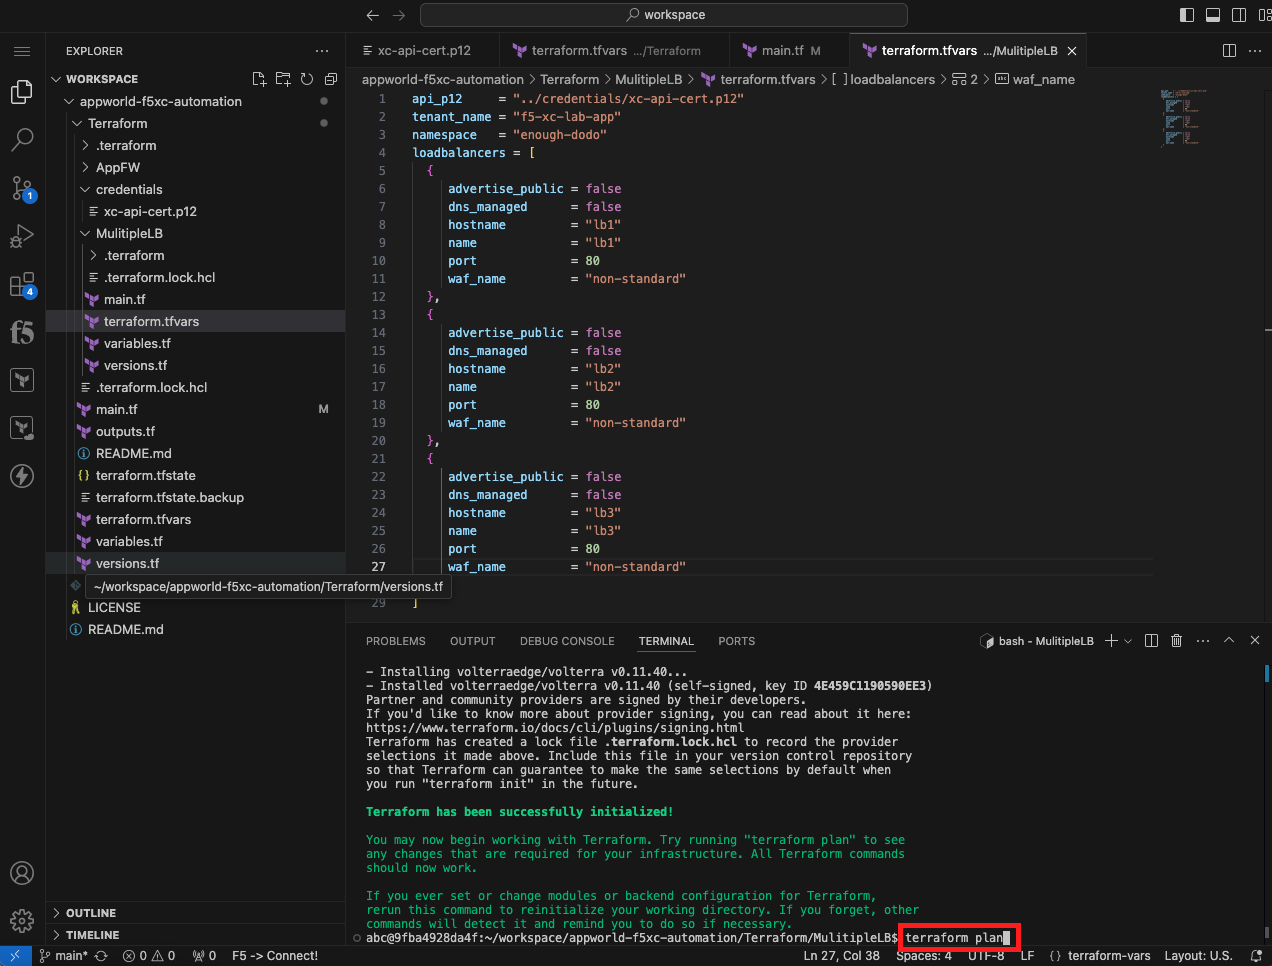
Create a tfvars File for Specifying Environment Specific Variables |
|---|
|
Note Make sure you are right clicking on the MultipLB folder. We want to create this terraform.tfvars file *within that directory so it only applies to the configuration within that same directory. |
api_p12     = "../credentials/xc-api-cert.p12"
tenant_name = "f5-xc-lab-app"
namespace   = "<namespace>"
loadbalancers = [
  {
     advertise_public = false
     dns_managed      = false
     hostname         = "lb1"
     name             = "lb1"
     port             = 80
     waf_name         = "non-standard"
  },
  {
     advertise_public = false
     dns_managed      = false
     hostname         = "lb2"
     name             = "lb2"
     port             = 80
     waf_name         = "non-standard"
  },
  {
     advertise_public = false
     dns_managed      = false
     hostname         = "lb3"
     name             = "lb3"
     port             = 80
     waf_name         = "non-standard"
  }
]
Note Replace <namespace> with your assigned namespace. You need to wrap the namespace in “”. If your assigned namespace is brave-collie, enter: namespace = “brave-collie” |

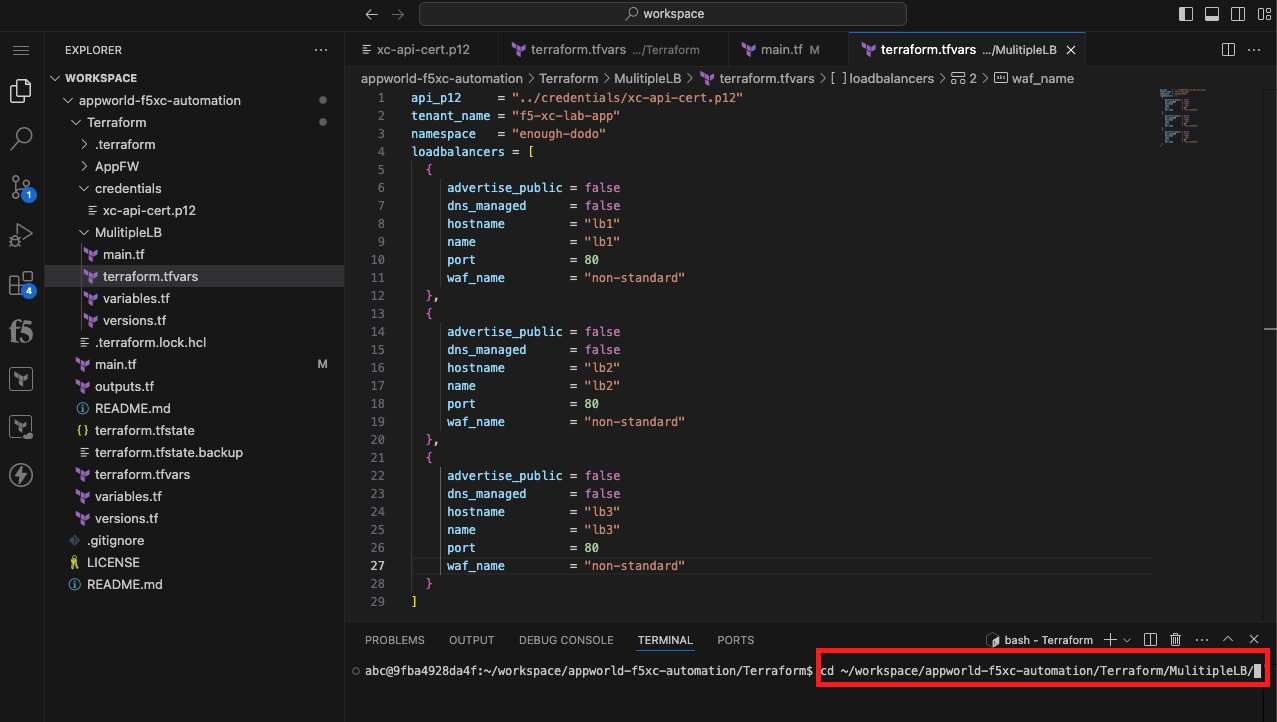
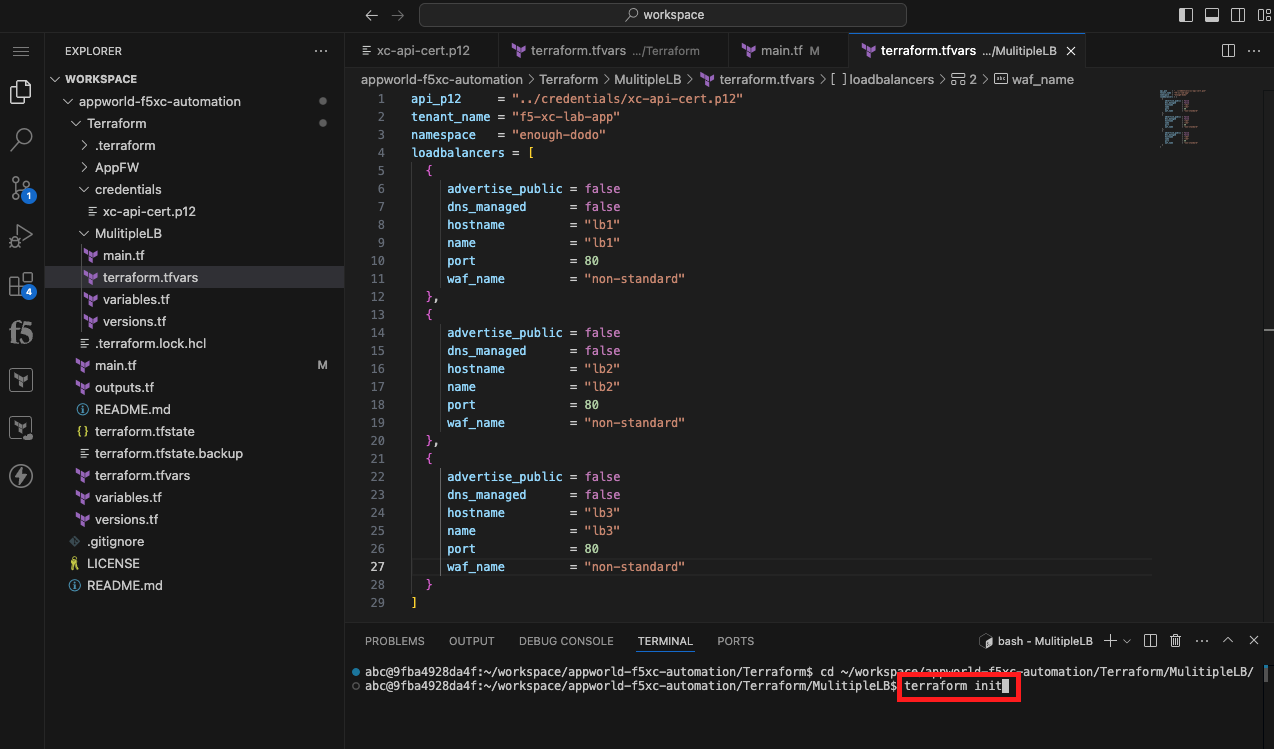
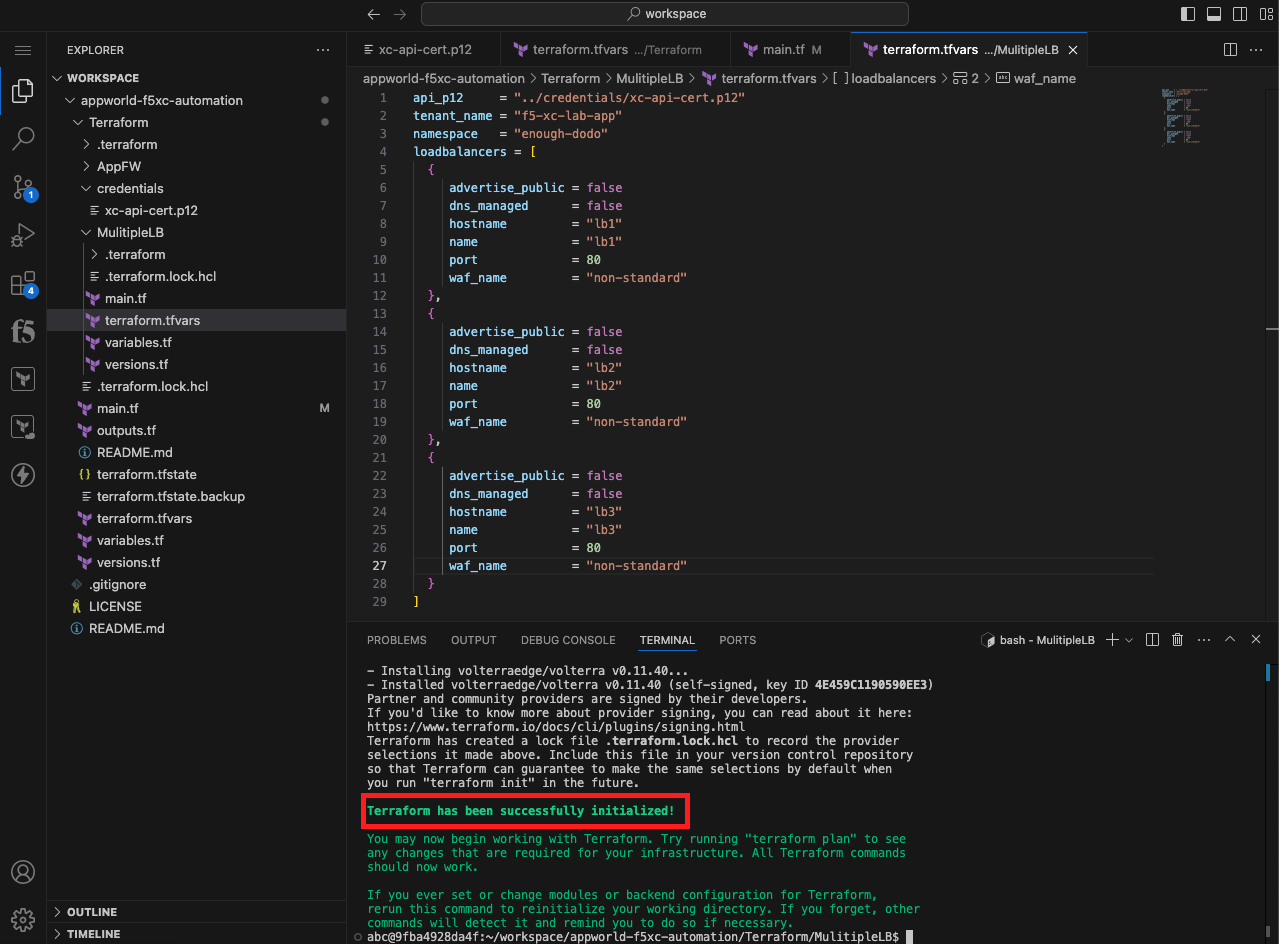
Initialize, Plan, and Apply Your Terraform Code |
|---|
cd ~/workspace/appworld-f5xc-automation/Terraform/MulitipleLB/
|
terraform init
|
|
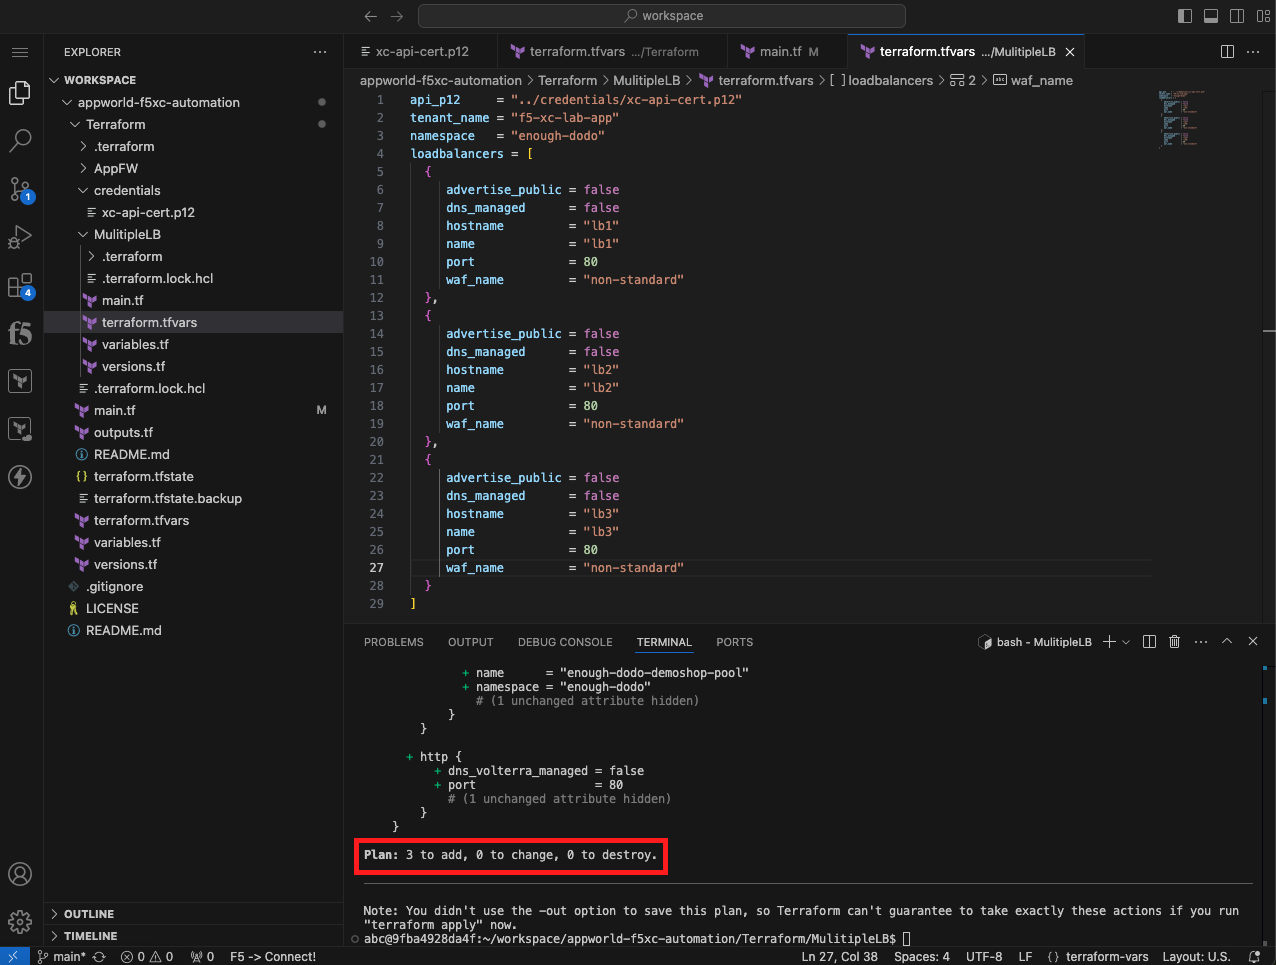
terraform plan
|
|
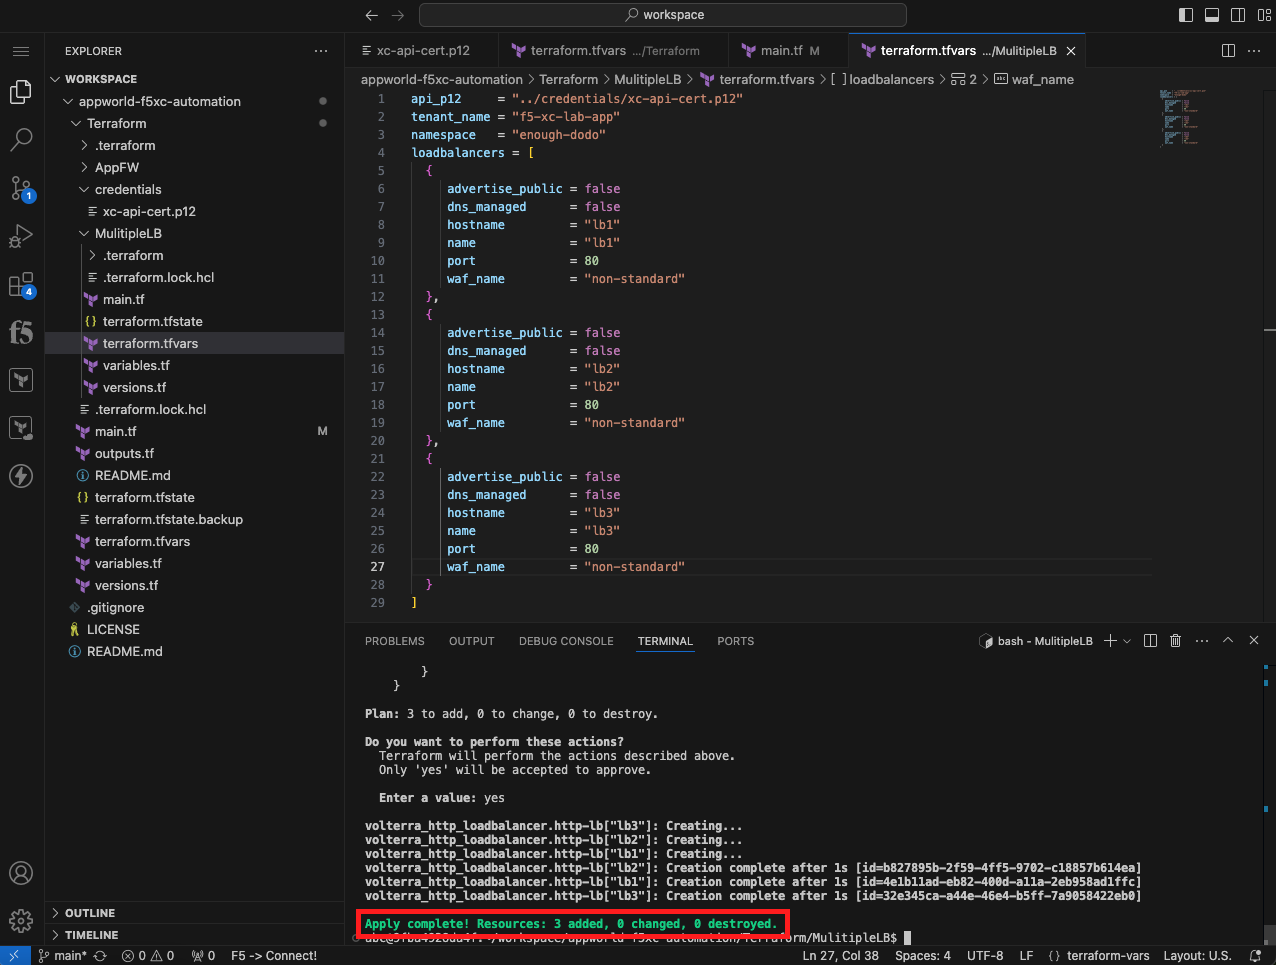
terraform apply
|
|
|


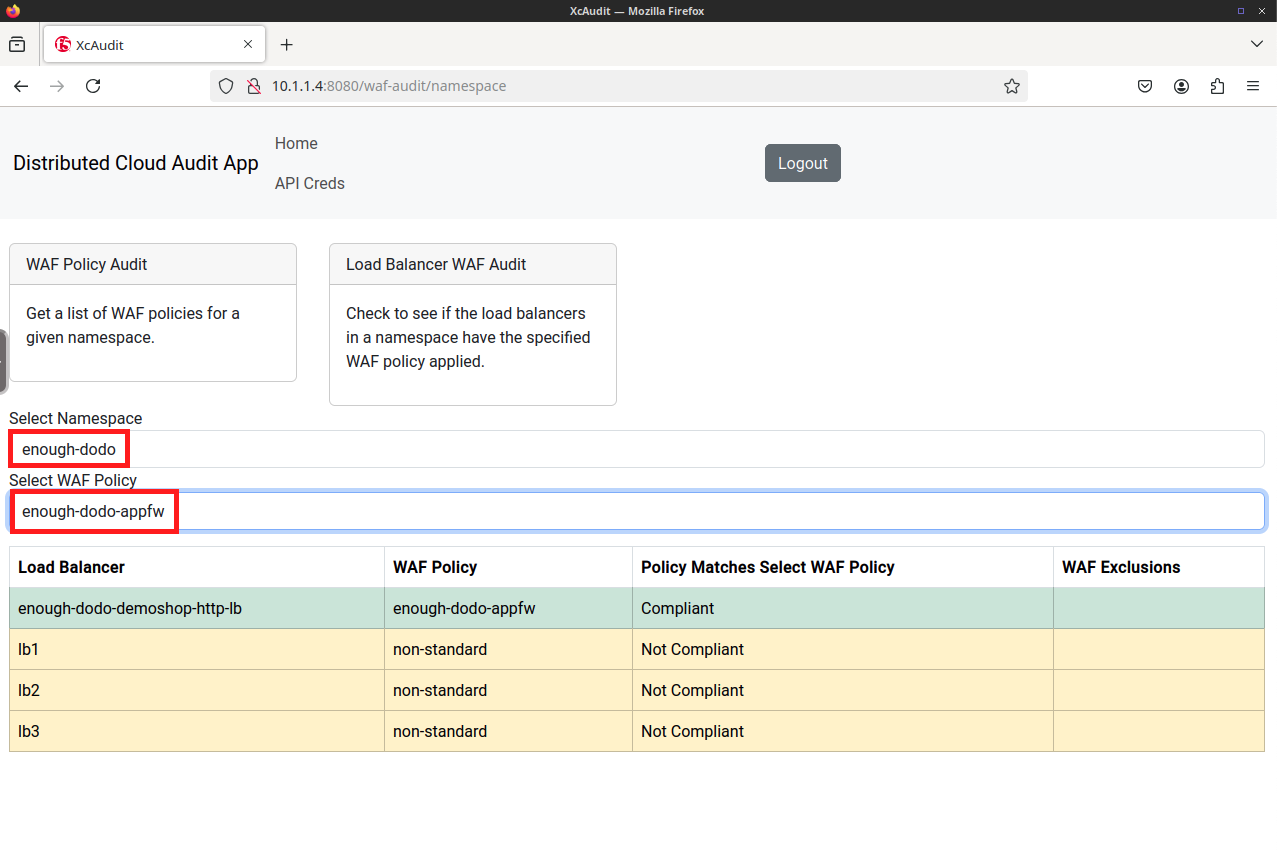
Task 2: Audit your load balancer configurations
In this task, you will use a custom written web frontend and python API backend to audit your Distributed Cloud load balancer configurations. The python API backend utilizes the Distributed Cloud API to gather information from Distributed Cloud and format or tranform that data for presentation in the Web frontend. Creating the web frontend and python API backend are beyond the scope of this lab, but the source code is available if you would like to review outside of the lab.
Web Frontend API - https://github.com/aconley245/xc-audit
Python API Backend - https://github.com/aconley245/xc-audit-api
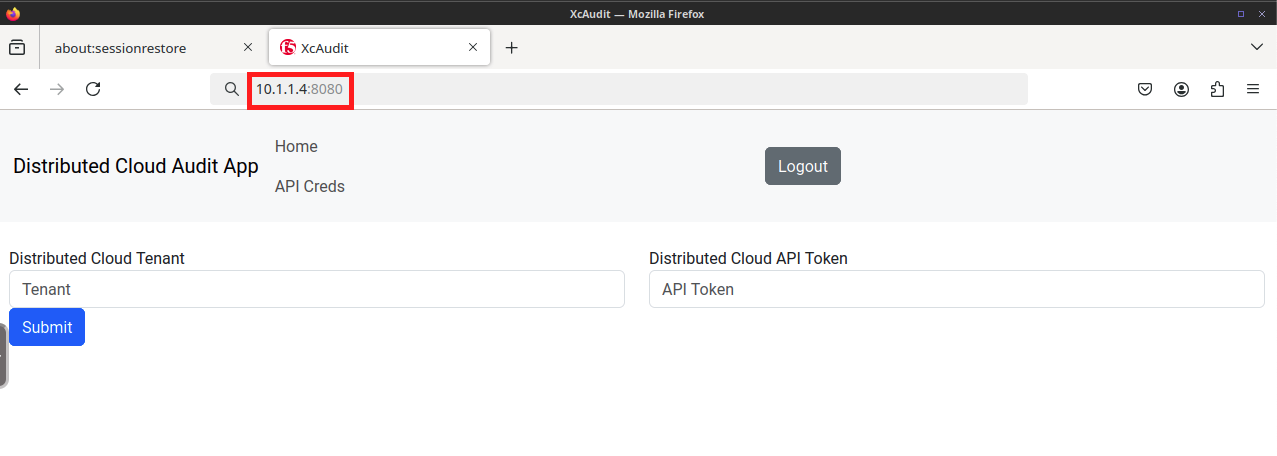
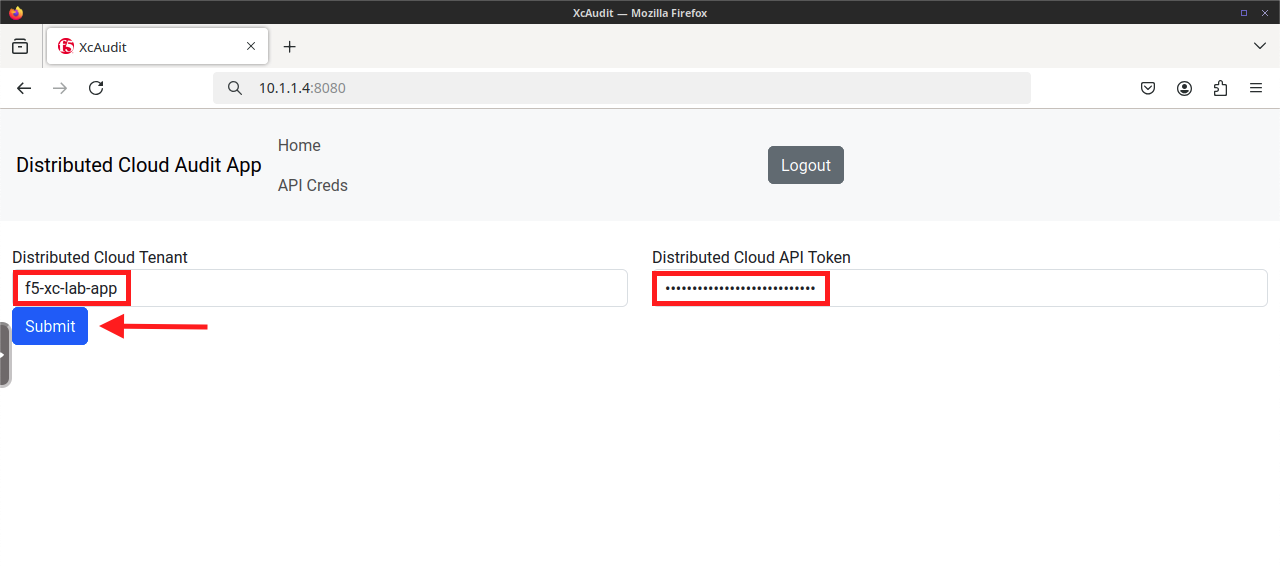
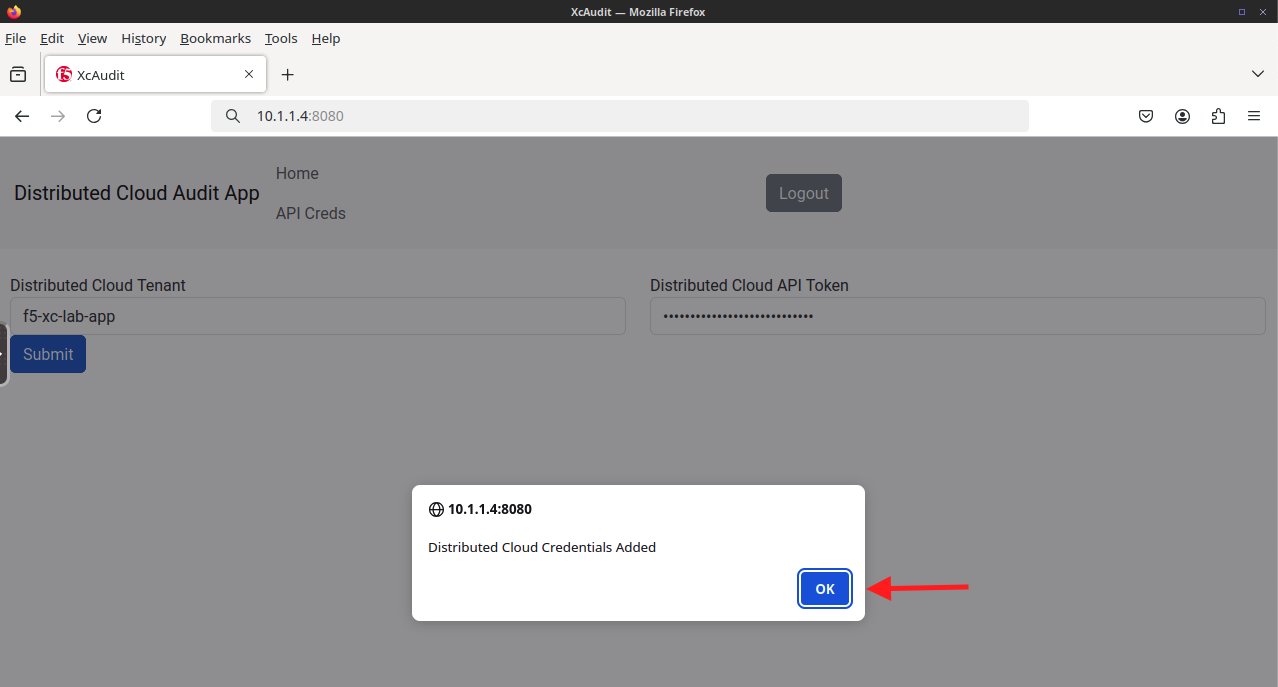
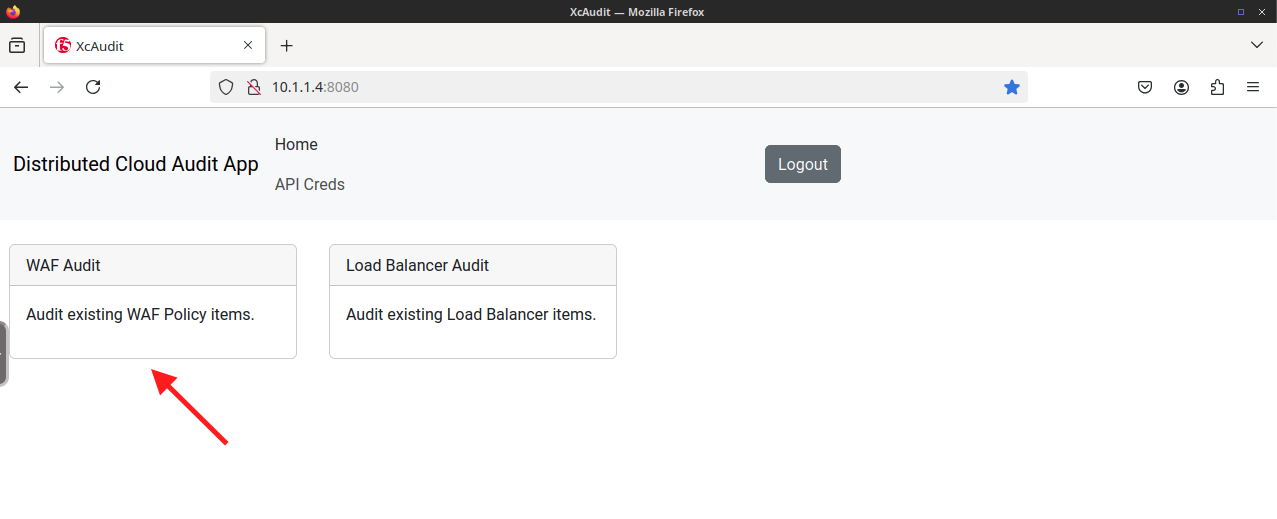
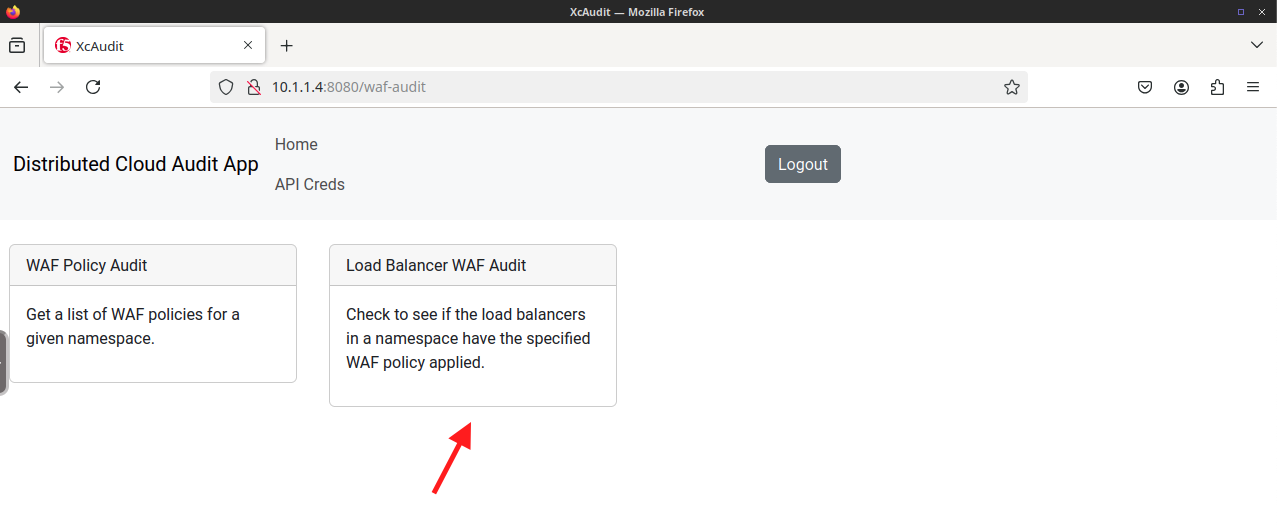
Use the XcAudit Web Application |
|---|
|
|
Note If you didn’t save your API Token, you can create a new one following the procedure outlined in Lab 1. |
|
|
|
|
Task 3: Modify the MulitipleLB Terraform configuration so the load balancers are using different WAF policies
In this task, you will modify your MultiLB Terraform configuration so the load balancers are using different WAF policies and then verify the changes in the XcAudit web application. This task is designed to use the skills you have learned in the previous tasks/labs and does not include detailed step by step directions.
Modify the MulitipleLB Terraform Configuration |
|---|
Note You do not need to modify the main.tf file to accomplish this step. |
|
|
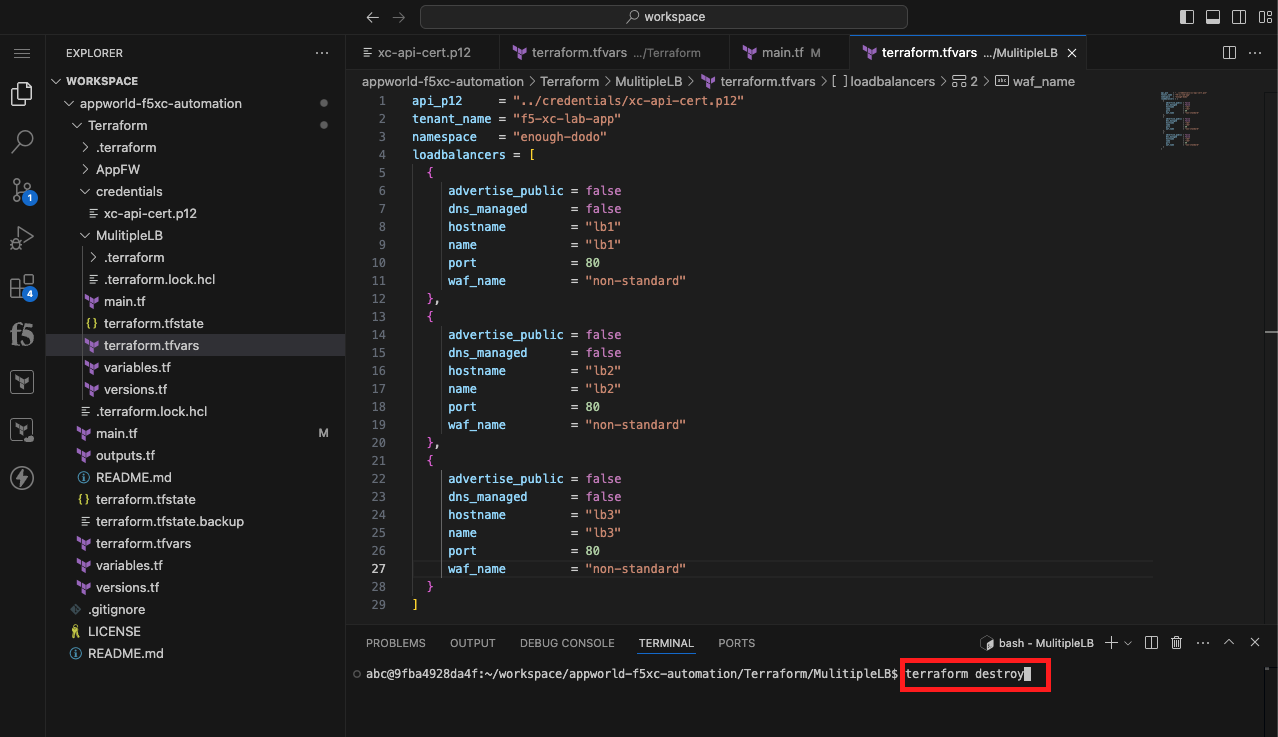
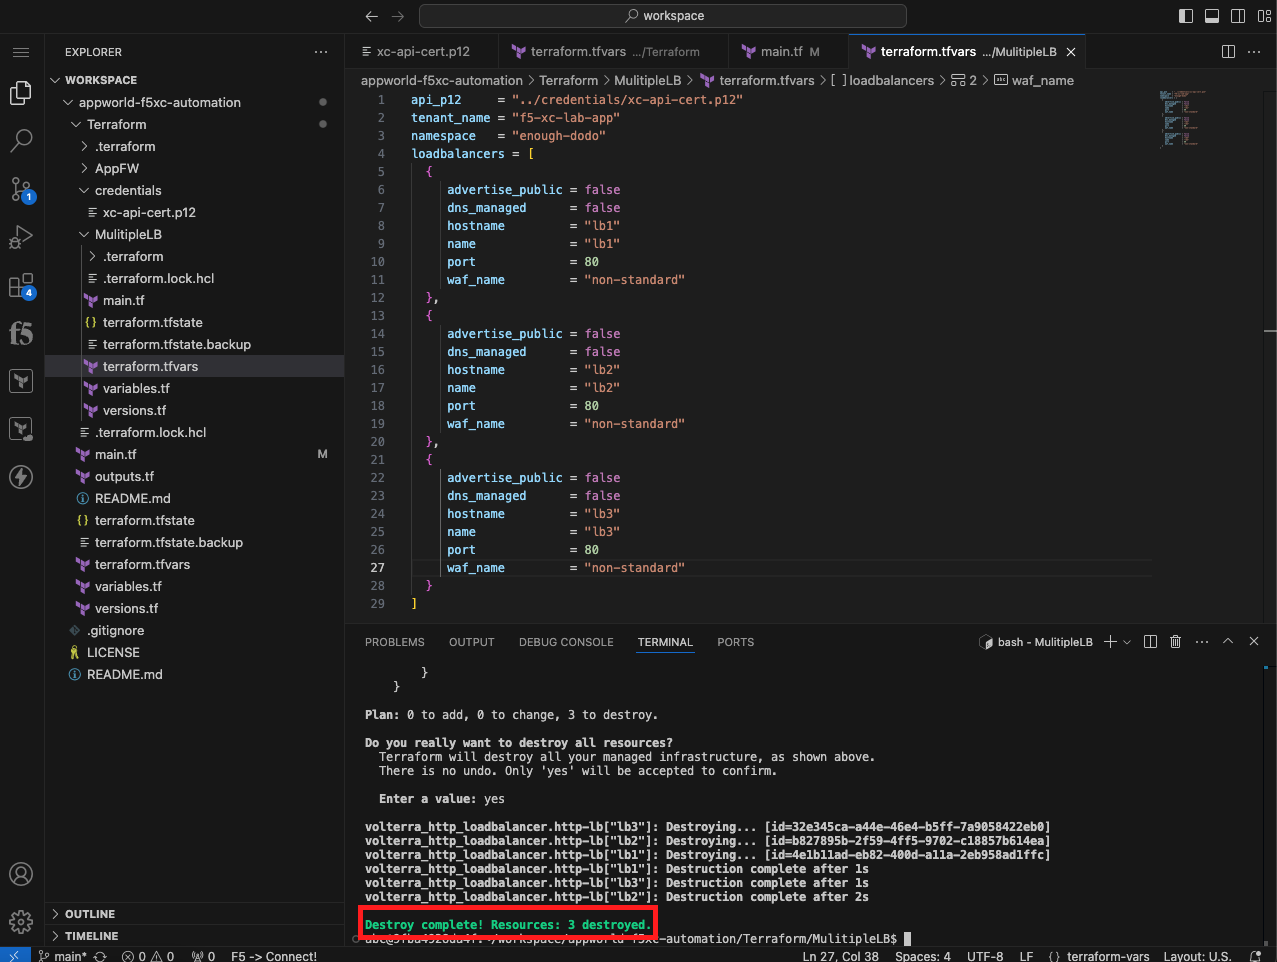
Task 4: Clean up the Distributed Cloud environment
In this task, you will remove the load balancers you created using the Terraform destroy command.
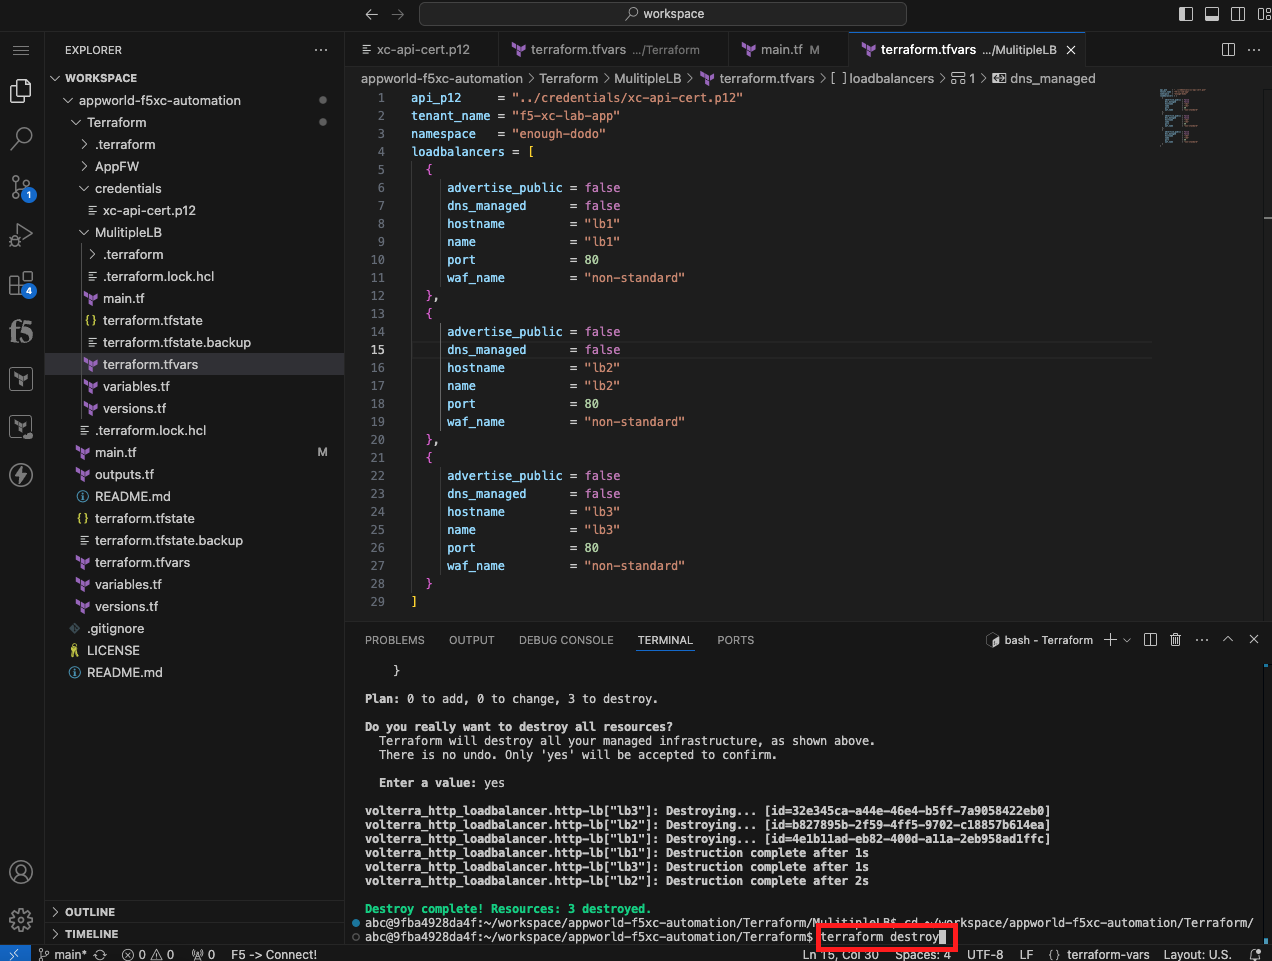
Clean up the Distributed Cloud environment |
|---|
|
cd ~/workspace/appworld-f5xc-automation/Terraform/MulitipleLB/
|
terraform destroy
|
|
|
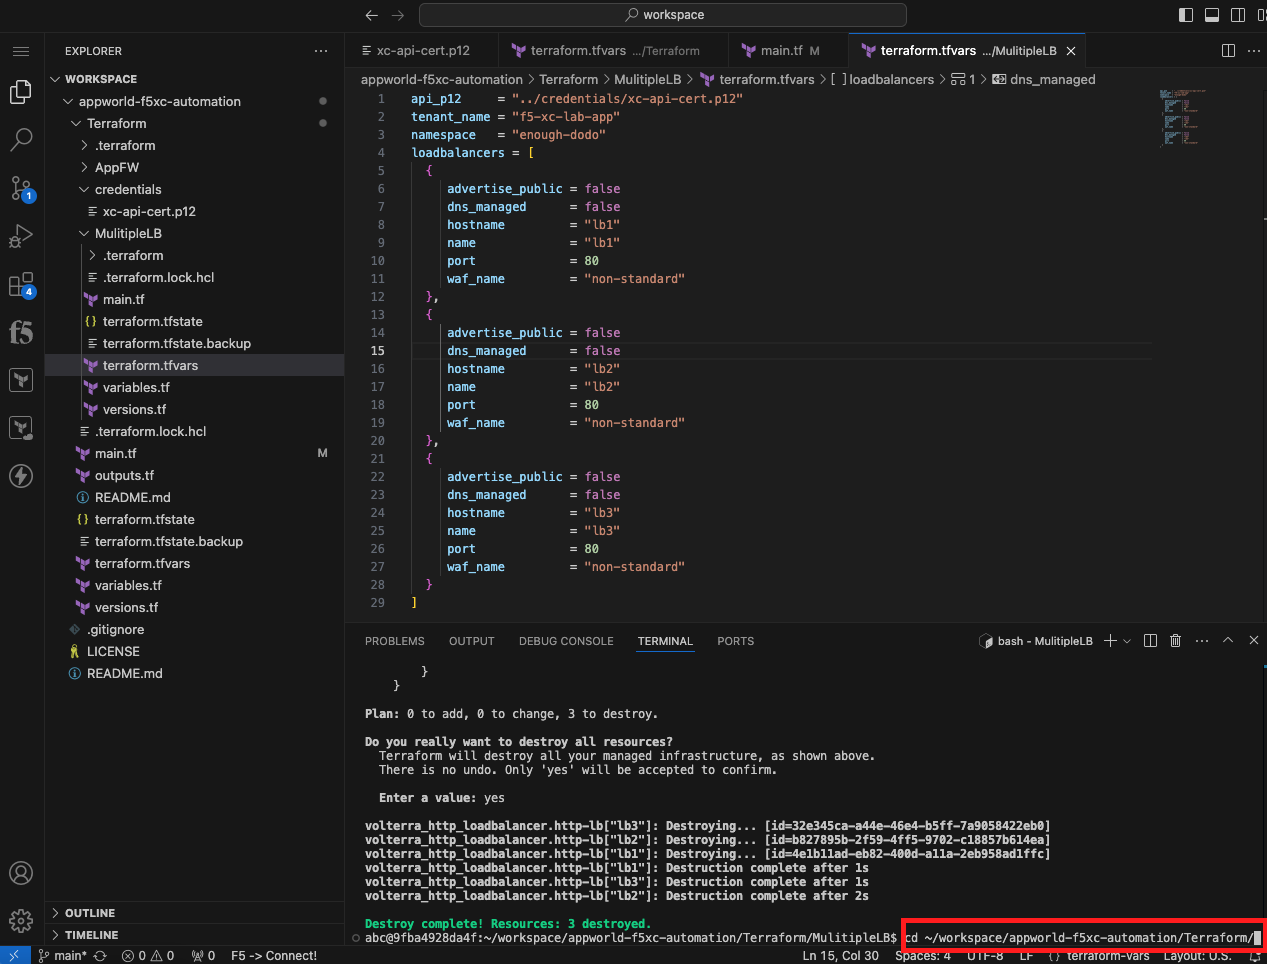
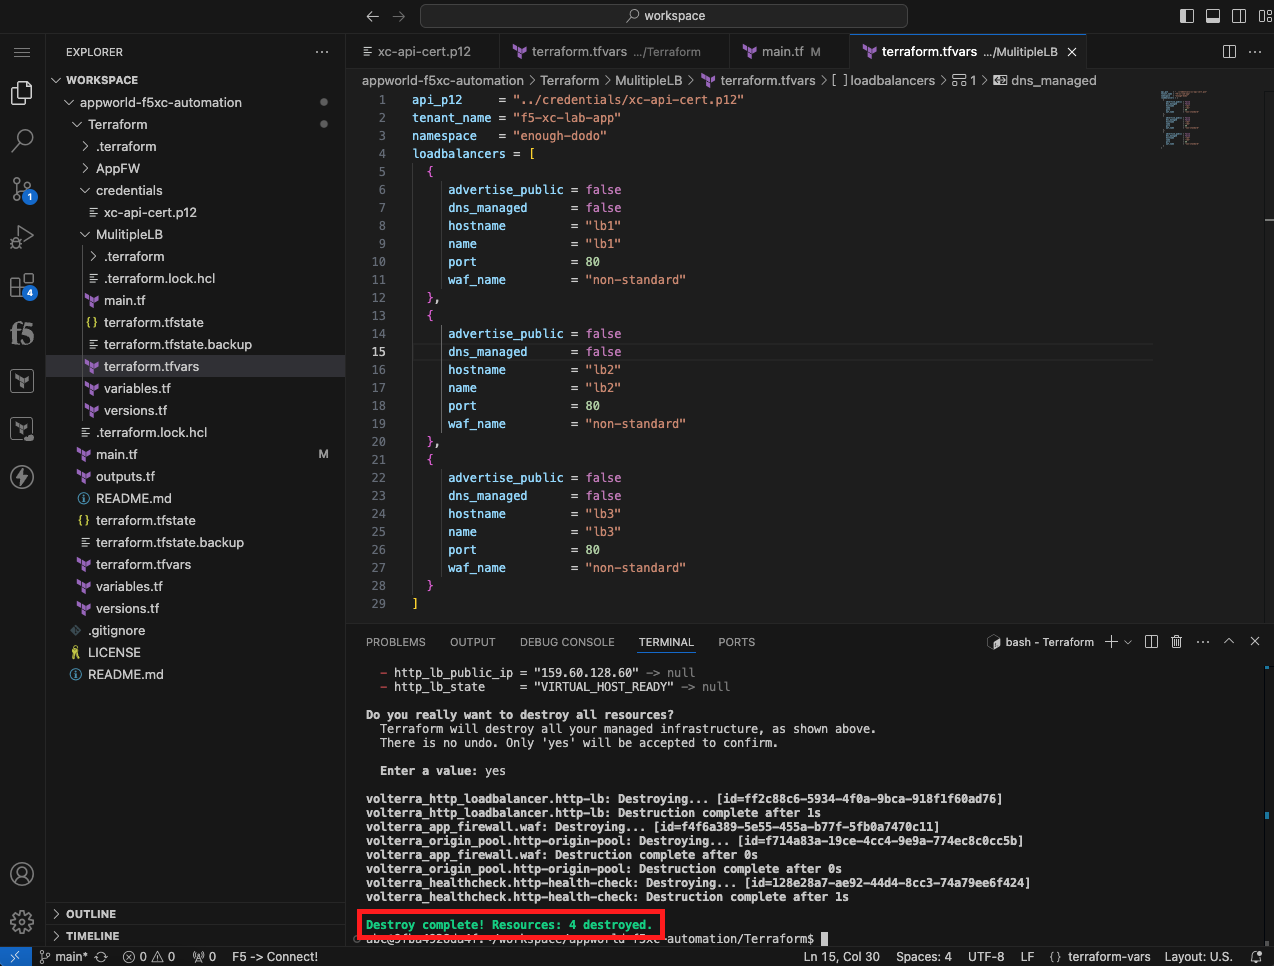
cd ~/workspace/appworld-f5xc-automation/Terraform/
|
terraform destroy
|
|
|


End of Lab 3 |
|---|
This concludes Lab 3. In this lab, you learned how to use a for loop in Terraform to create multiple objects from a single Terraform resource block. You then utilized the XcAudit Web Application to audit the WAF policies applied to the load balancers within your namespace. Finally you used the terraform destroy command to remove all of the Distributed Cloud objects that you created using Terraform. |
|