F5 Distributed Cloud > F5 Distributed Cloud: Automating Build & Operations Source | Edit on
Lab 2: Leveraging Terraform
The following lab tasks will guide you through using Terraform to deploy and secure a Web based application. Students will start by creating an authentication certificate within Distributed Cloud. Terraform will be configured to utilize the certificate for authenticating the API calls. Next, a tfvars file is created to customize the deployment to match the student’s environment. Terraform will then be used to deploy an HTTP Health Check, Origin Pool, and HTTP Load Balancer. Students will then modify and apply the Terraform configuration to add a Web Application Firewall to their existing HTTP Load Balancer.
Expected Lab Time: 20 minutes
Task 1: Deploy a Web Application with Terraform
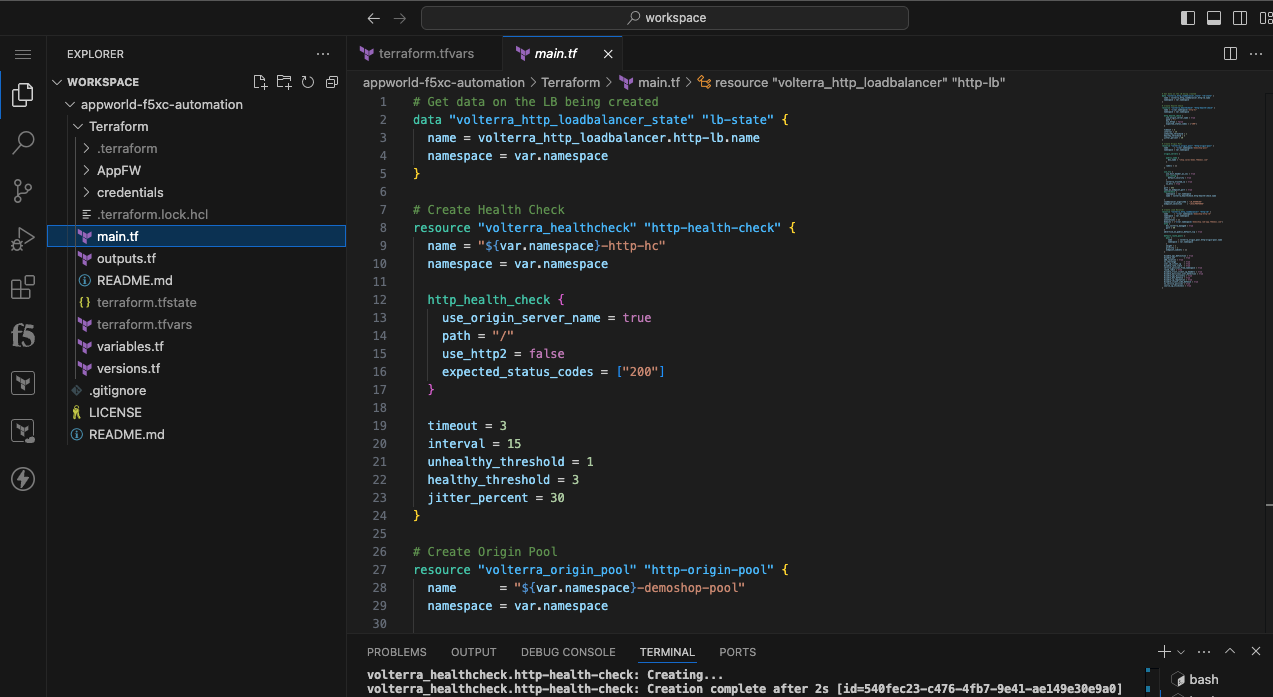
In this task, you will create an API Certificate for Terraform to authenticate to the Distributed Cloud API. Next, you will create a tfvars file to specify environment variables unique to your environment. After the tfvars file is created, you will intialize Terraform environment. You use the initialize command to setup the local Terraform environment and download the correct version of any required modules. After the environment is initialized, the plan command is used to perform a dry run of the terraform configuration. Planning does not create any objects. Planning allows you to verify your syntax. The last step is to use apply to actually create an HTTP Health Check, Origin Pool, and HTTP Load Balancer.
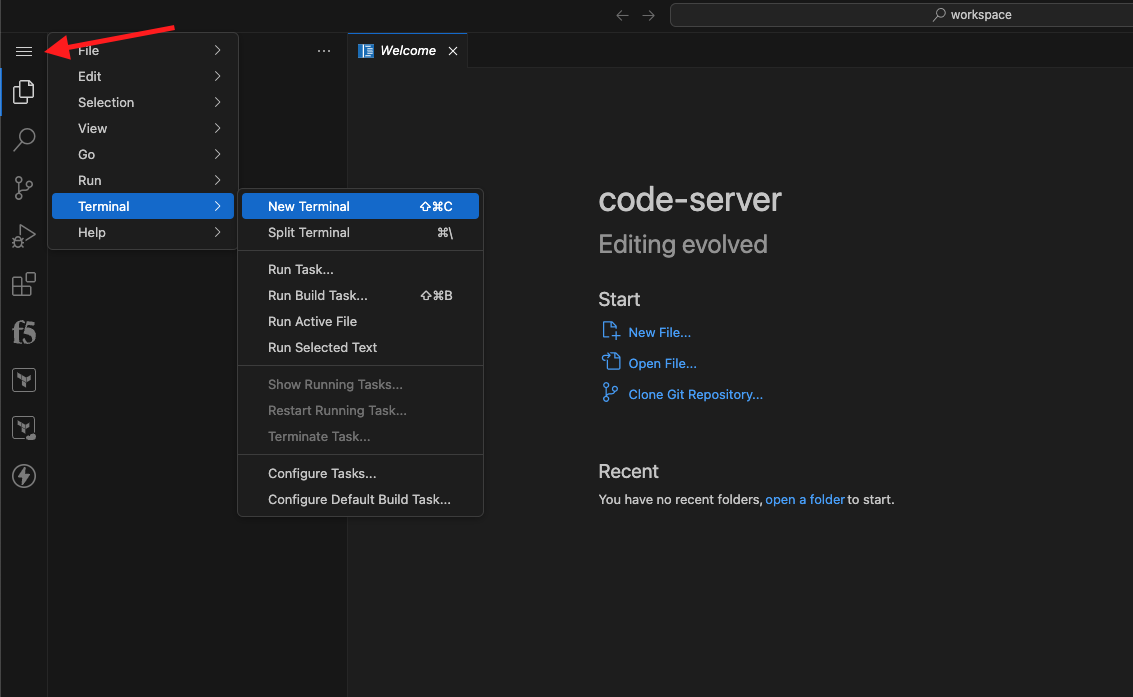
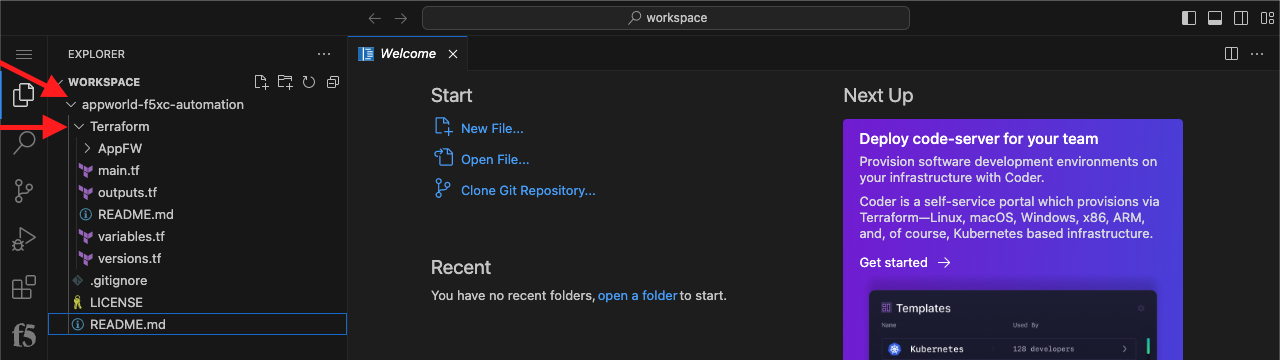
Clone the appworld-f5xc-automation repo |
|---|
|
|
git clone https://github.com/f5devcentral/appworld-f5xc-automation
|

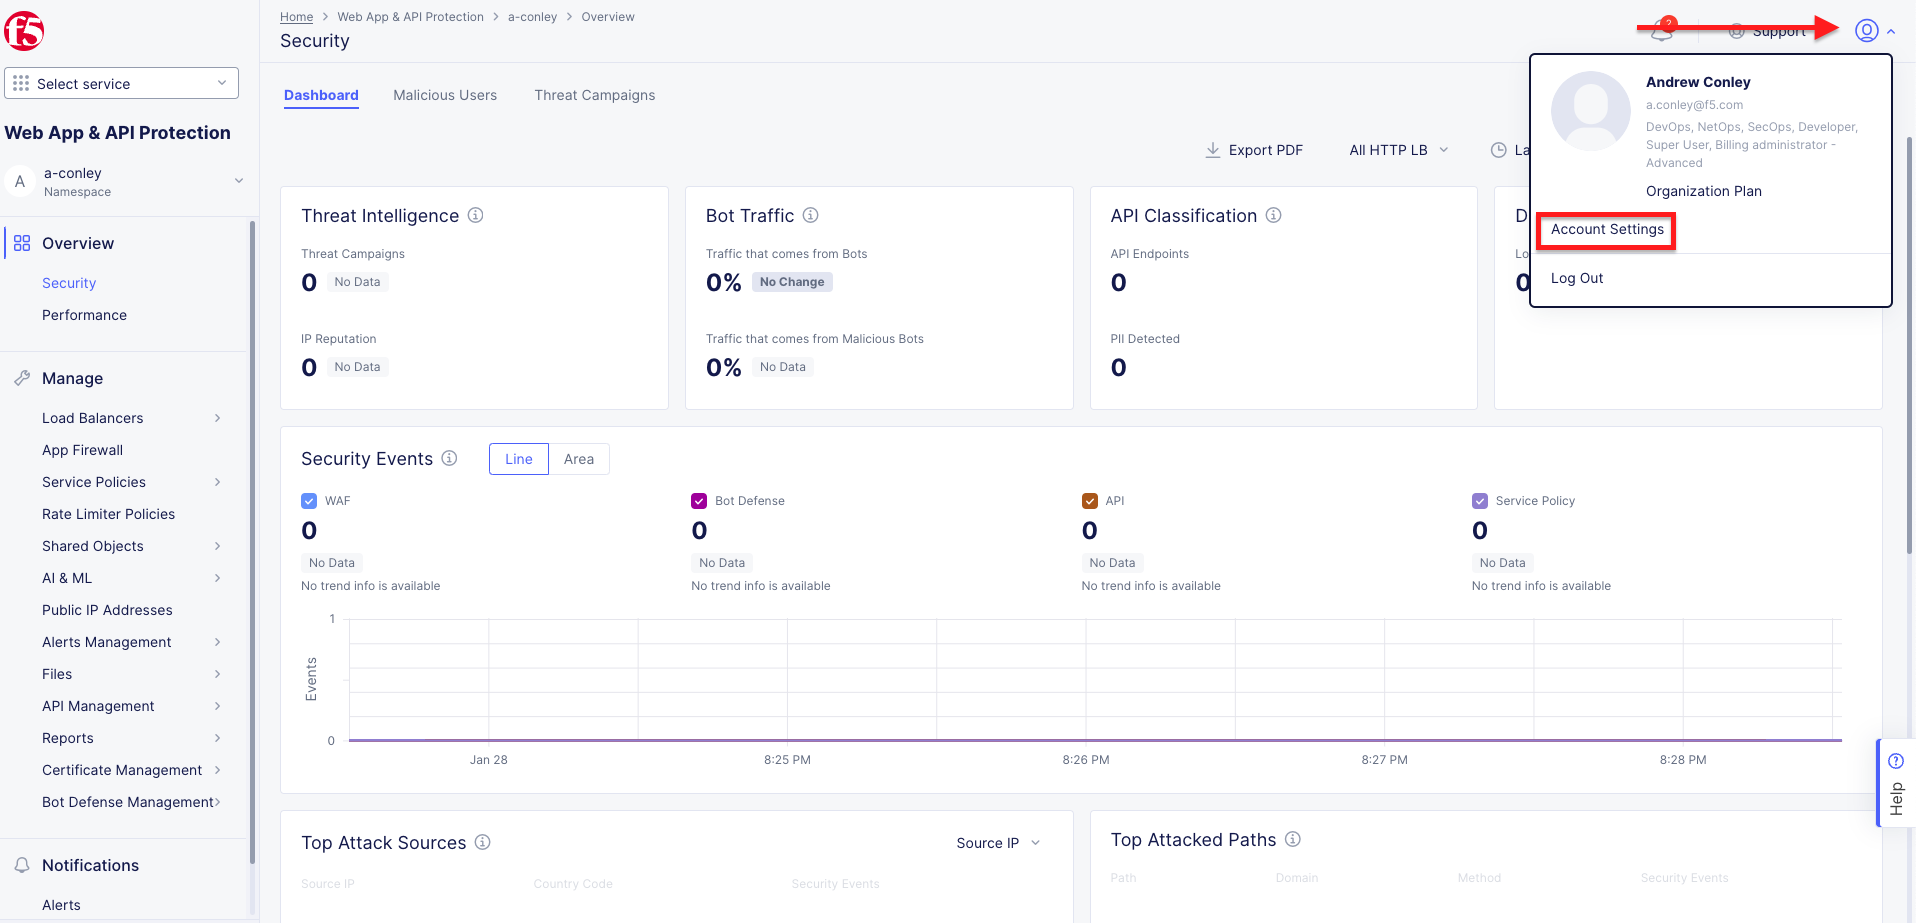
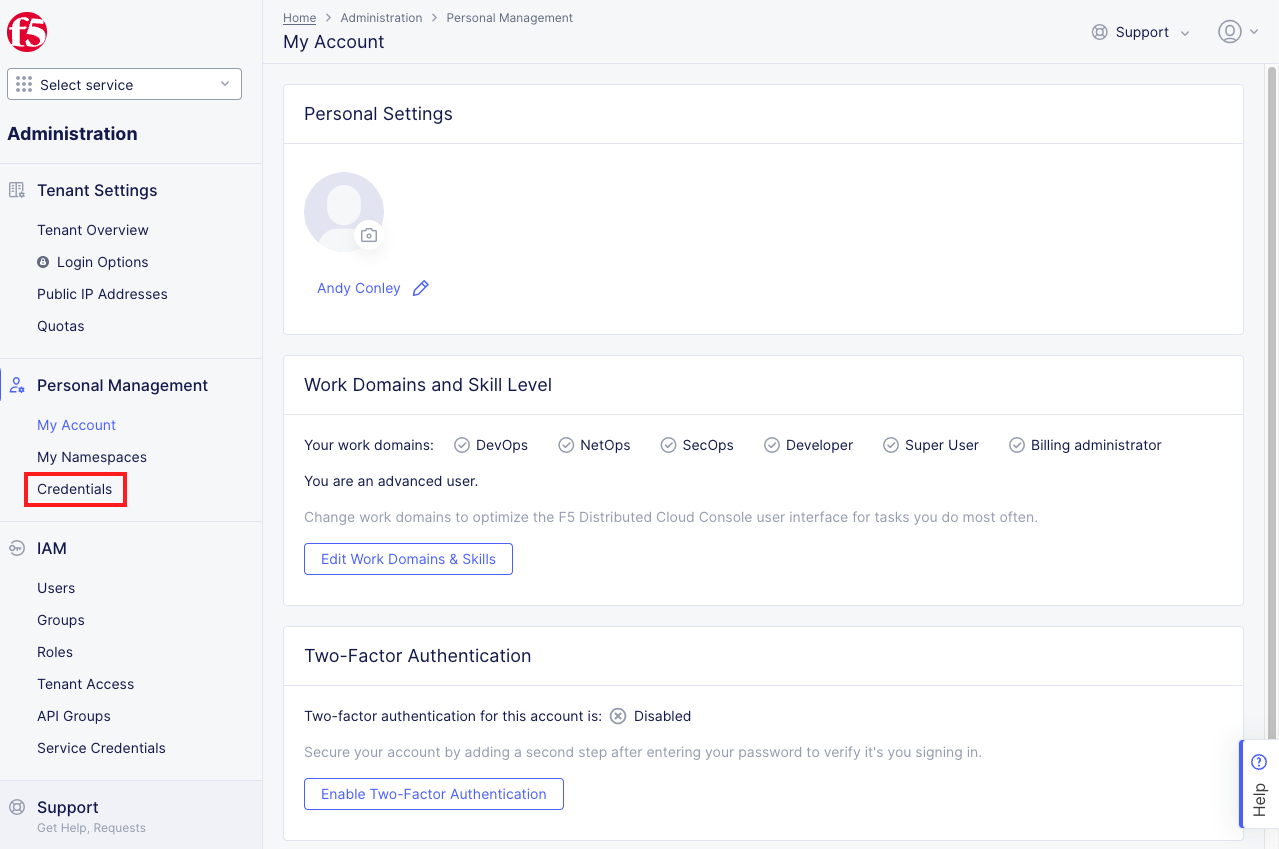
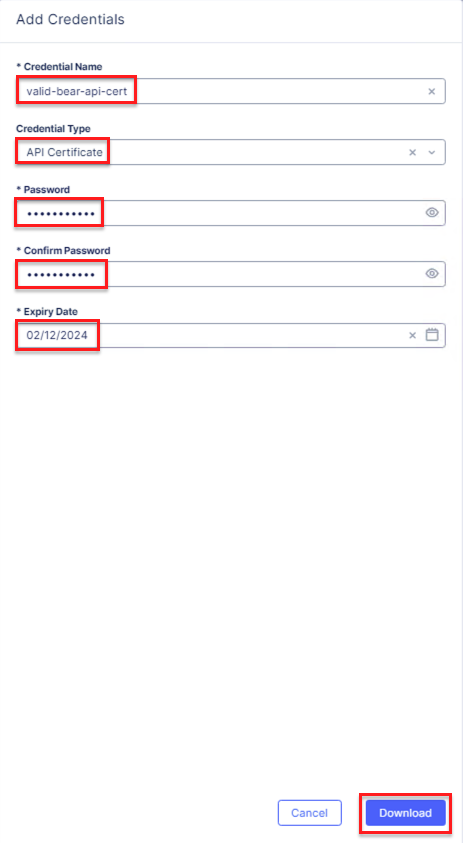
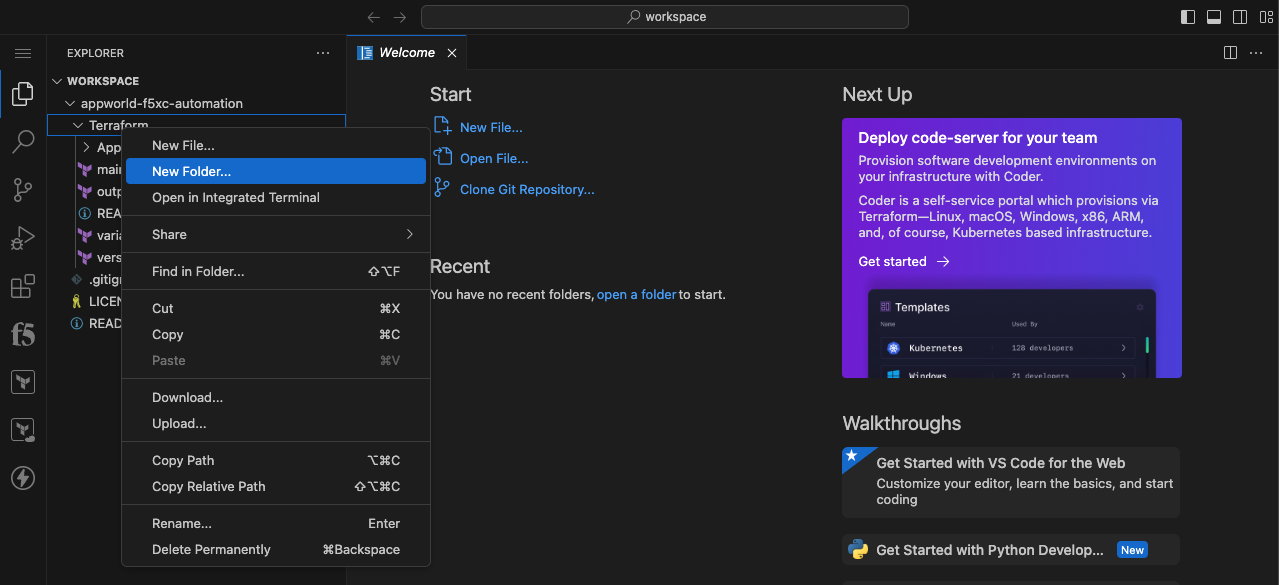
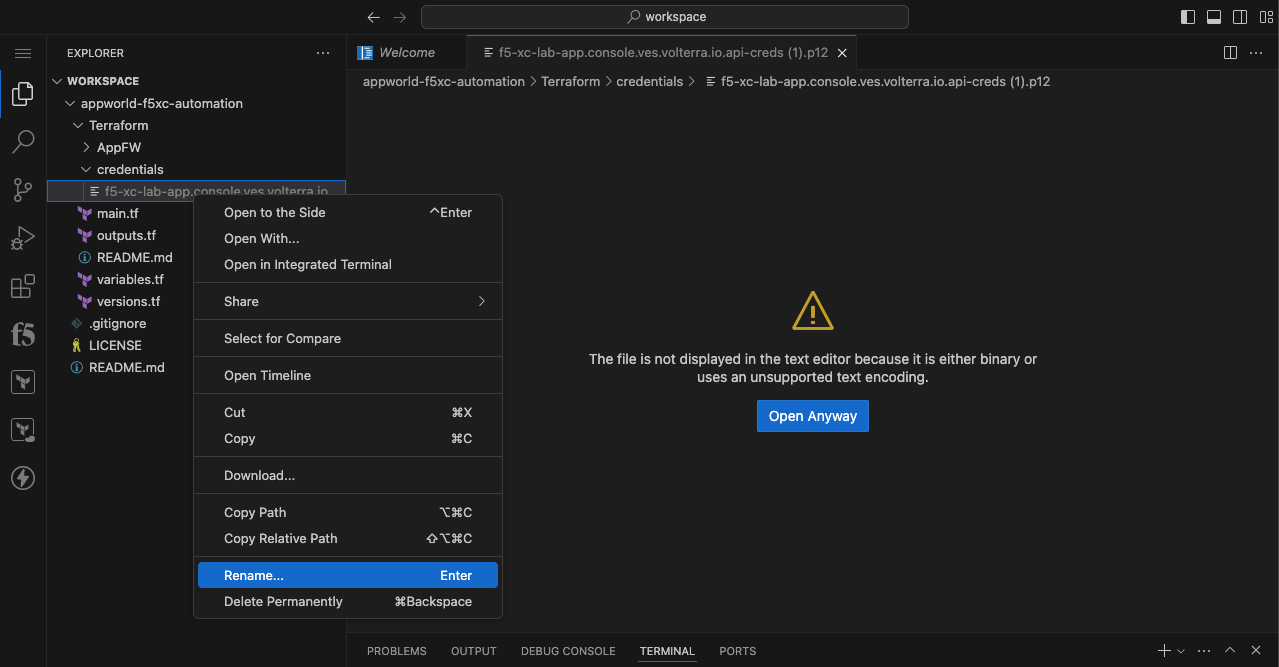
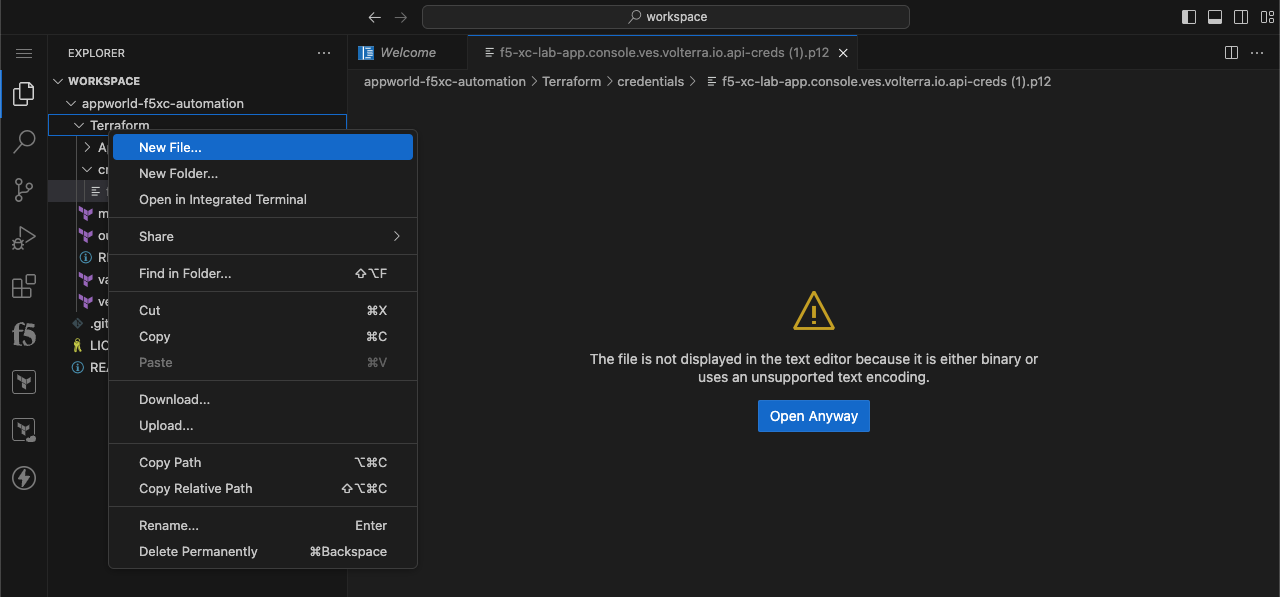
Create API Certificate from the Distributed Cloud Console |
|---|
|
|
|
|
Note Use a password that you will remember for the certificate, if you don’t remember your API cert password, you will need to generate a new API cert. |

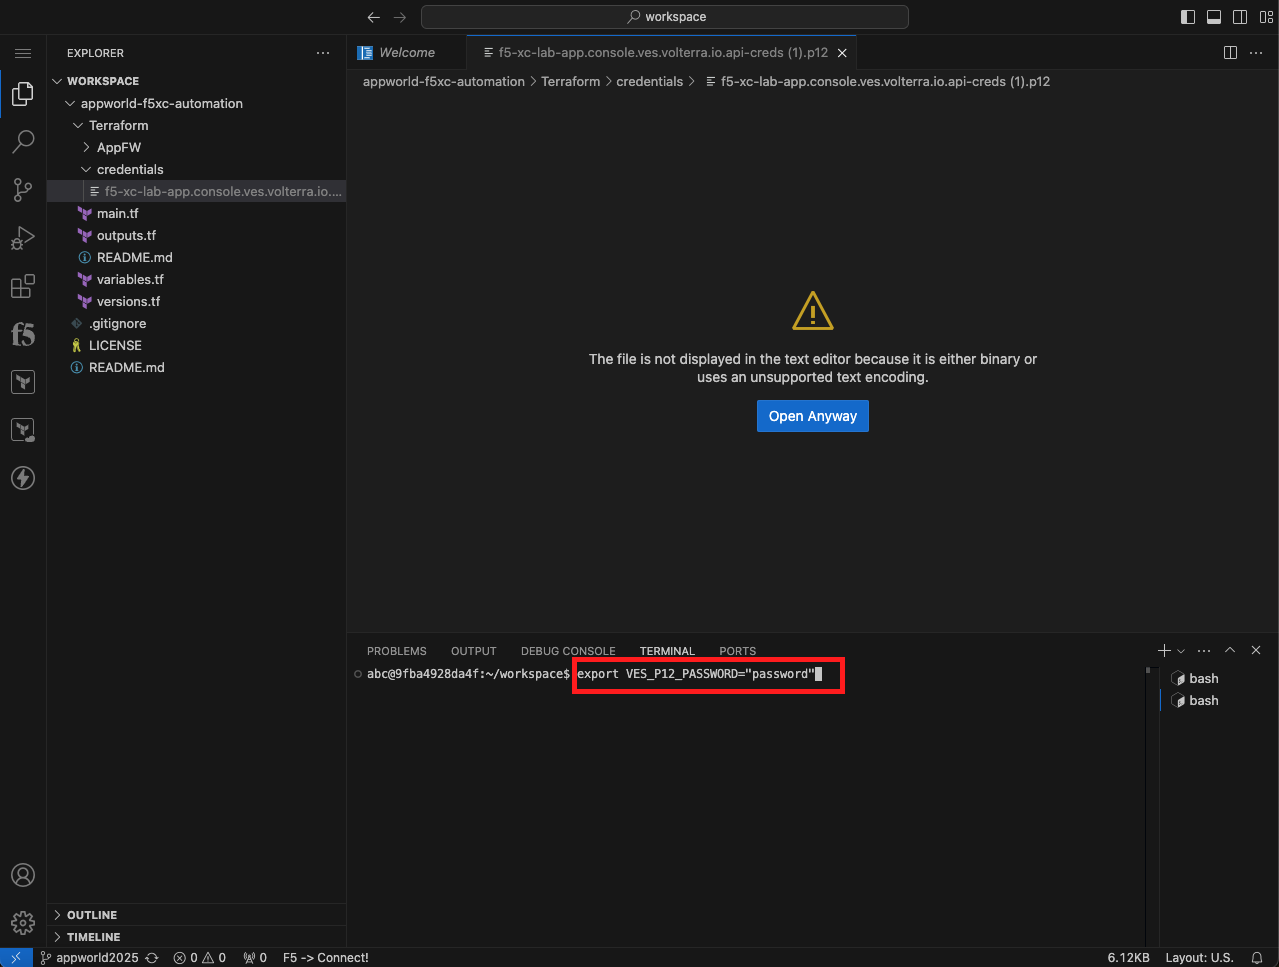
Configure Terraform to Authenticate to Distributed Cloud |
|---|
|
|
|
|
export VES_P12_PASSWORD="<some_password>"
Note Replace <some_password> with the password you entered when creating the API certificate. You need to wrap the password in “”. If your password is password, enter: export VES_P12_PASSWORD=”password” |
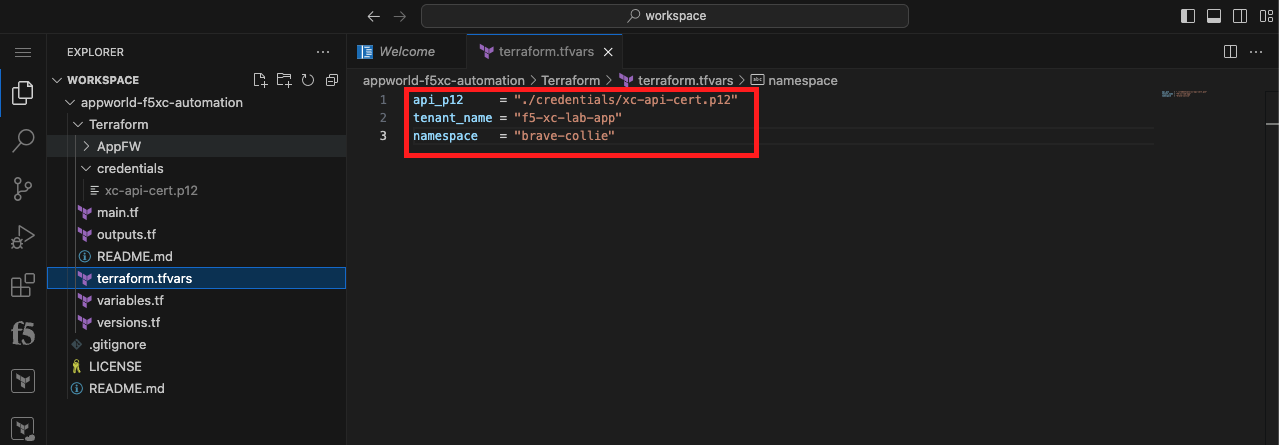
Create a tfvars File for Specifying Environment Specific Variables |
|---|
|
api_p12     = "./credentials/xc-api-cert.p12"
tenant_name = "f5-xc-lab-app"
namespace   = "<namespace>"
Note Replace <namespace> with your assigned namespace. You need to wrap the namespace in “”. If your assigned namespace is brave-collie, enter: namespace = “brave-collie” |
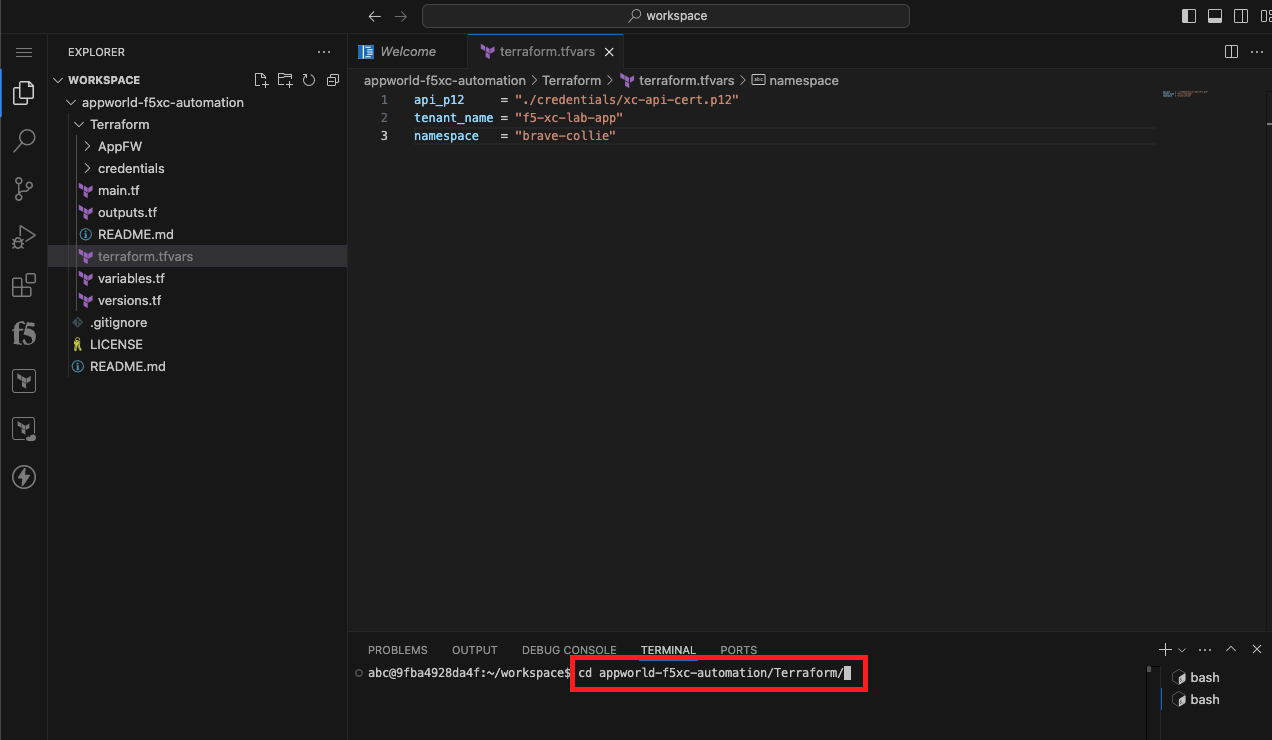
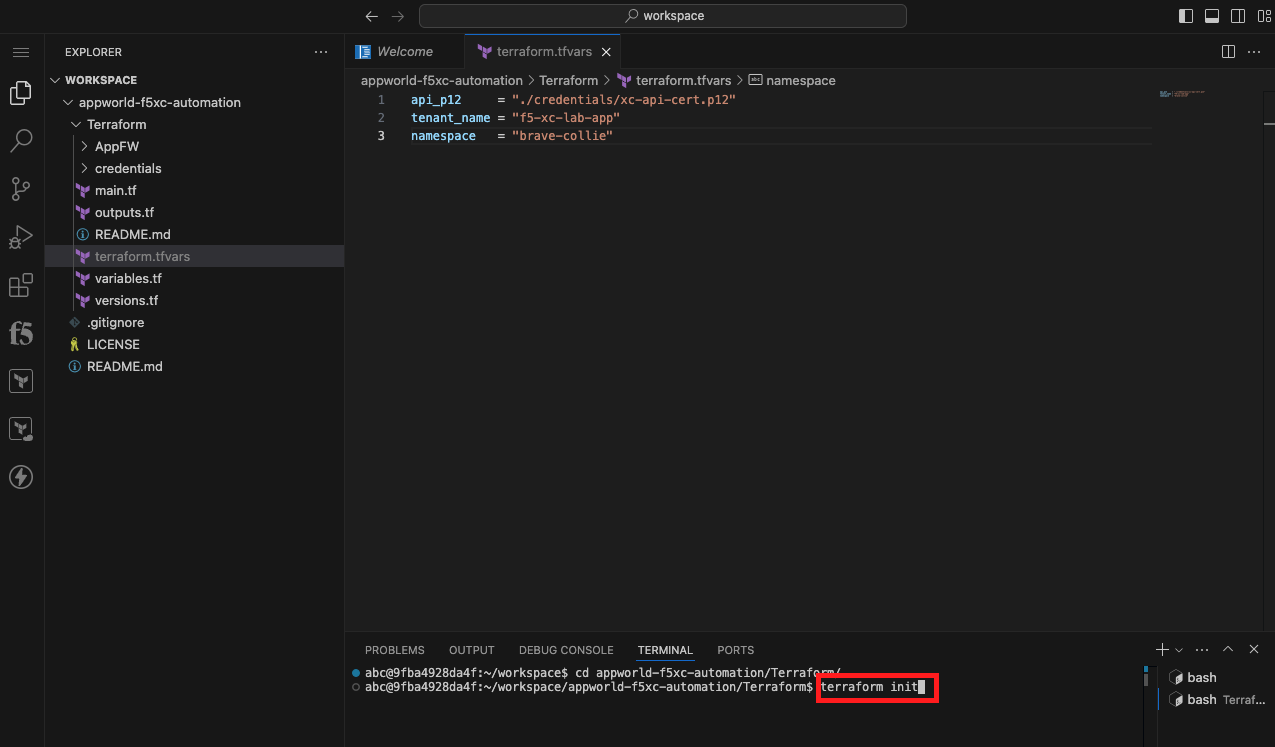
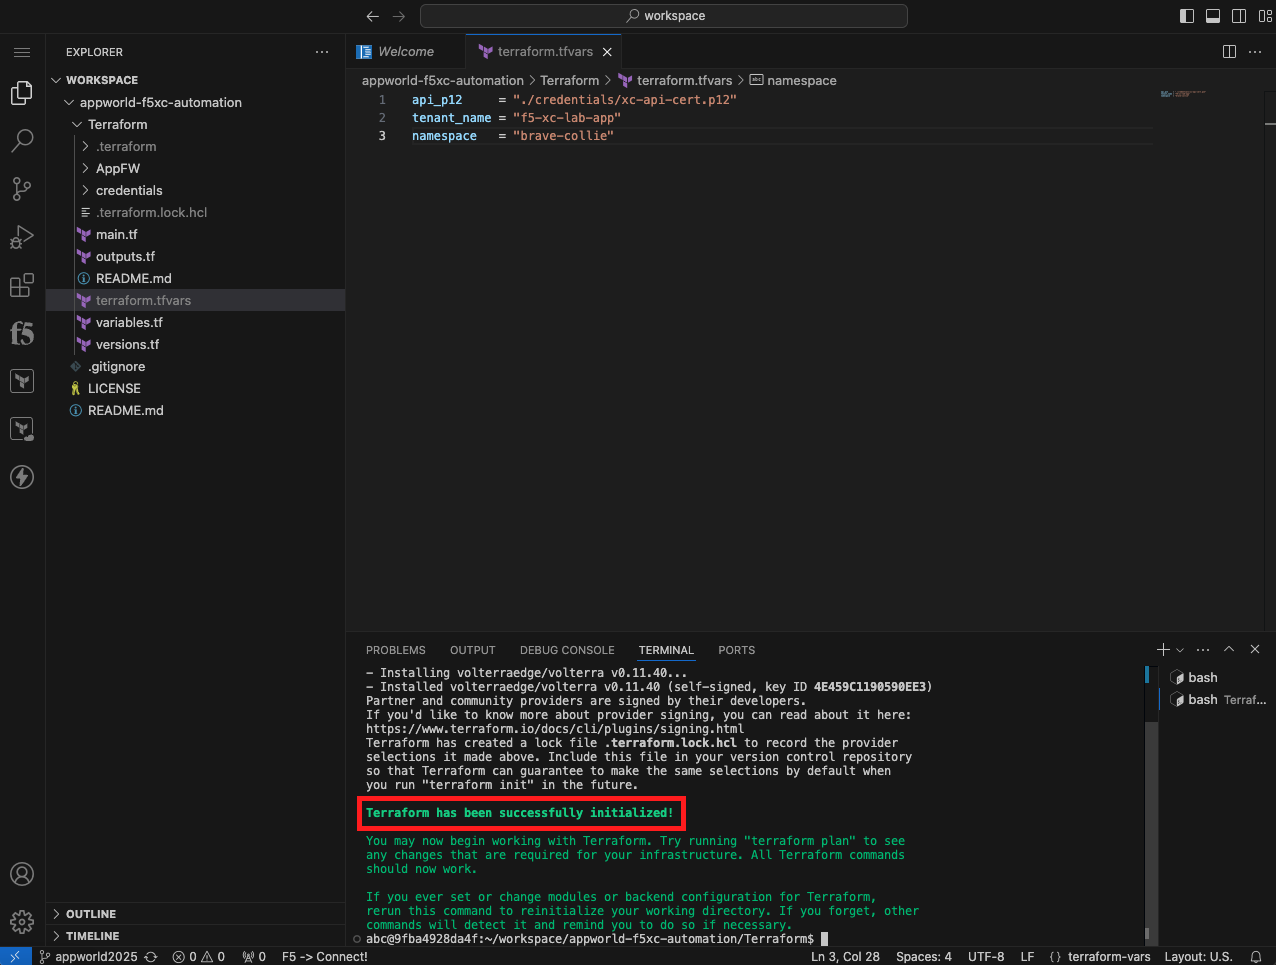
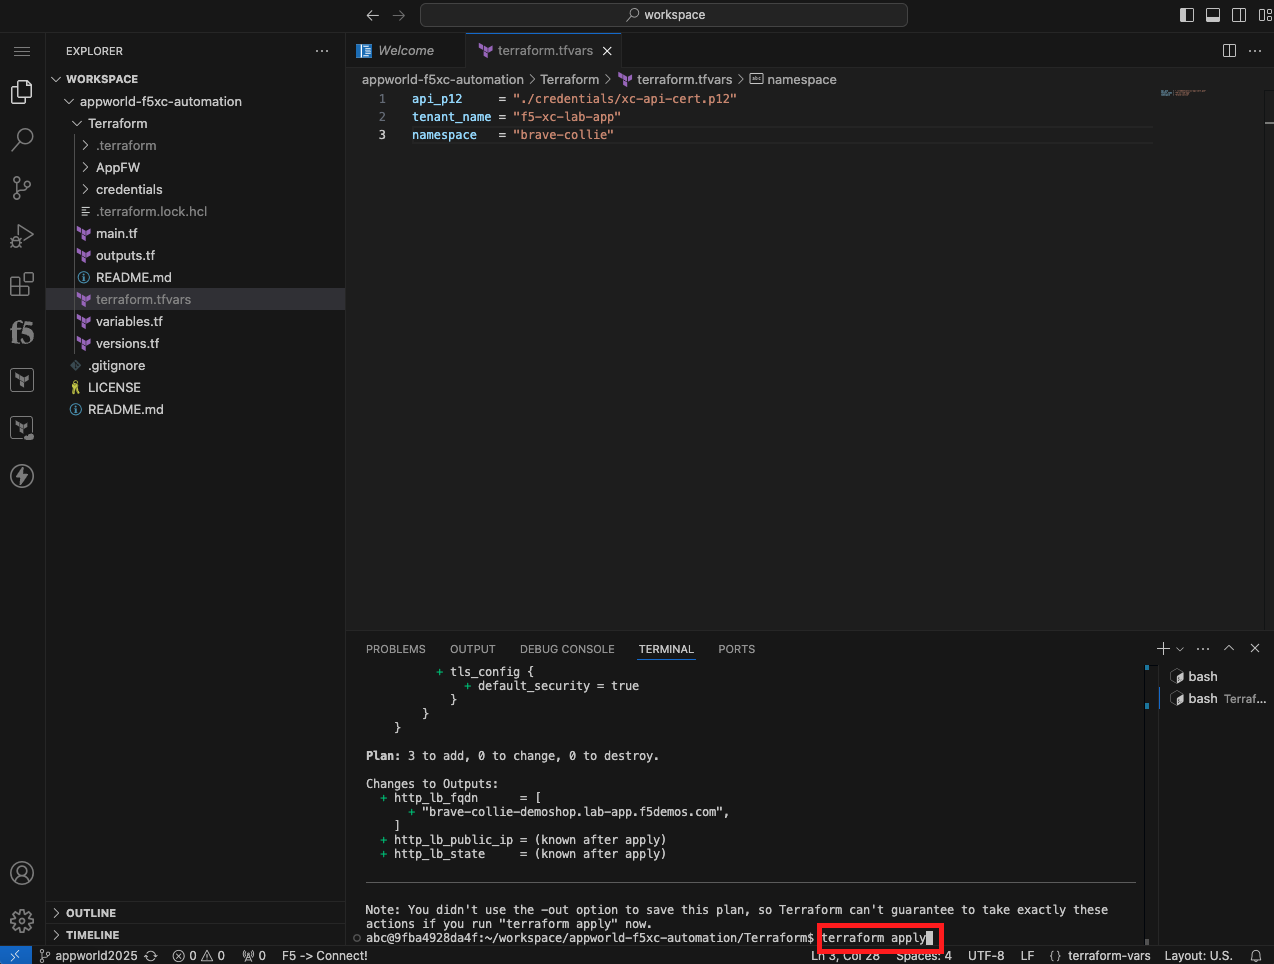
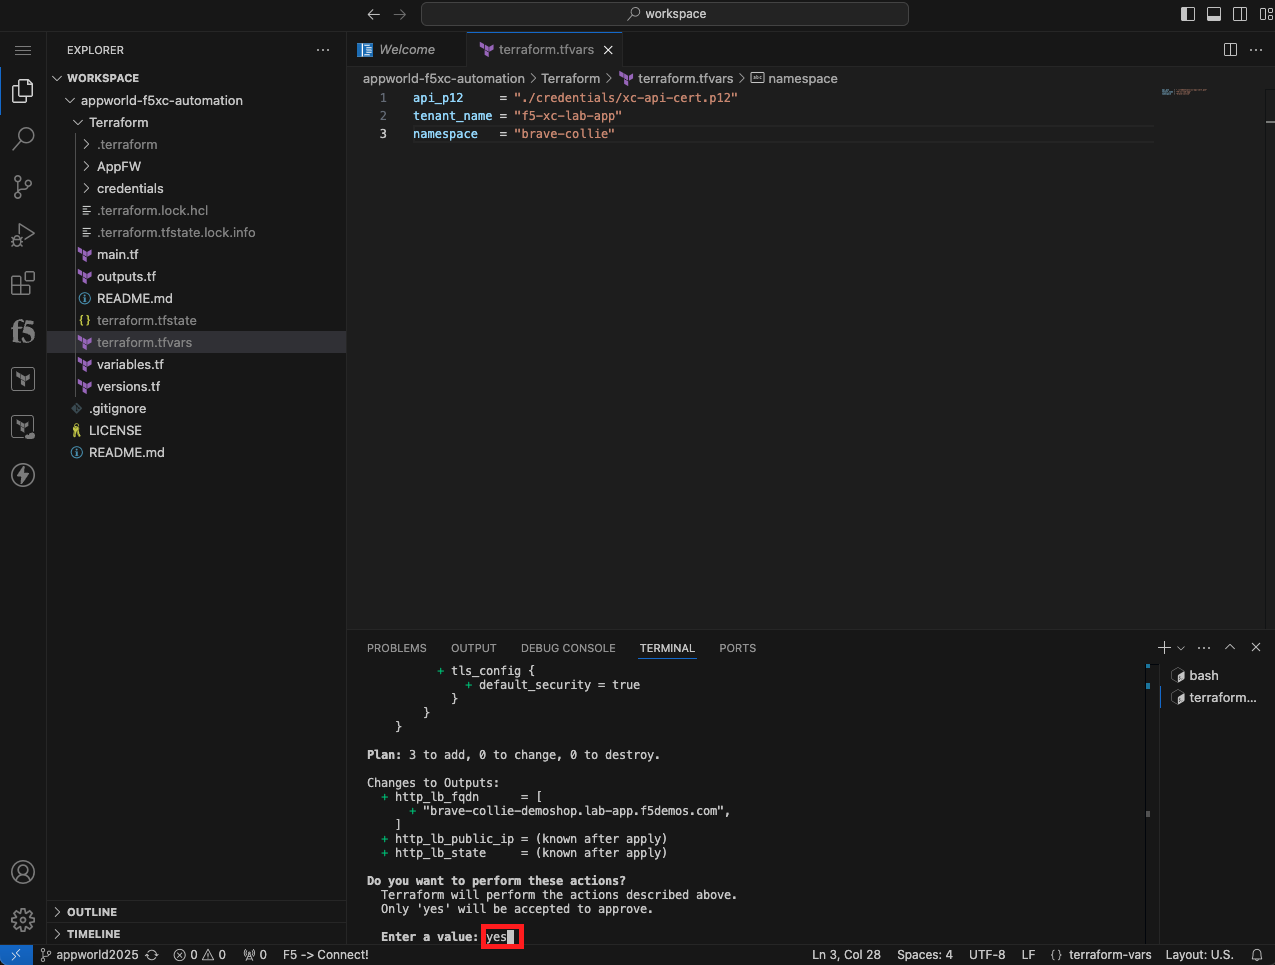
Initialize, Plan, and Apply Your Terraform Code |
|---|
cd appworld-f5xc-automation/Terraform
|
terraform init
|
|
terraform plan
|
|
terraform apply
|
|
|


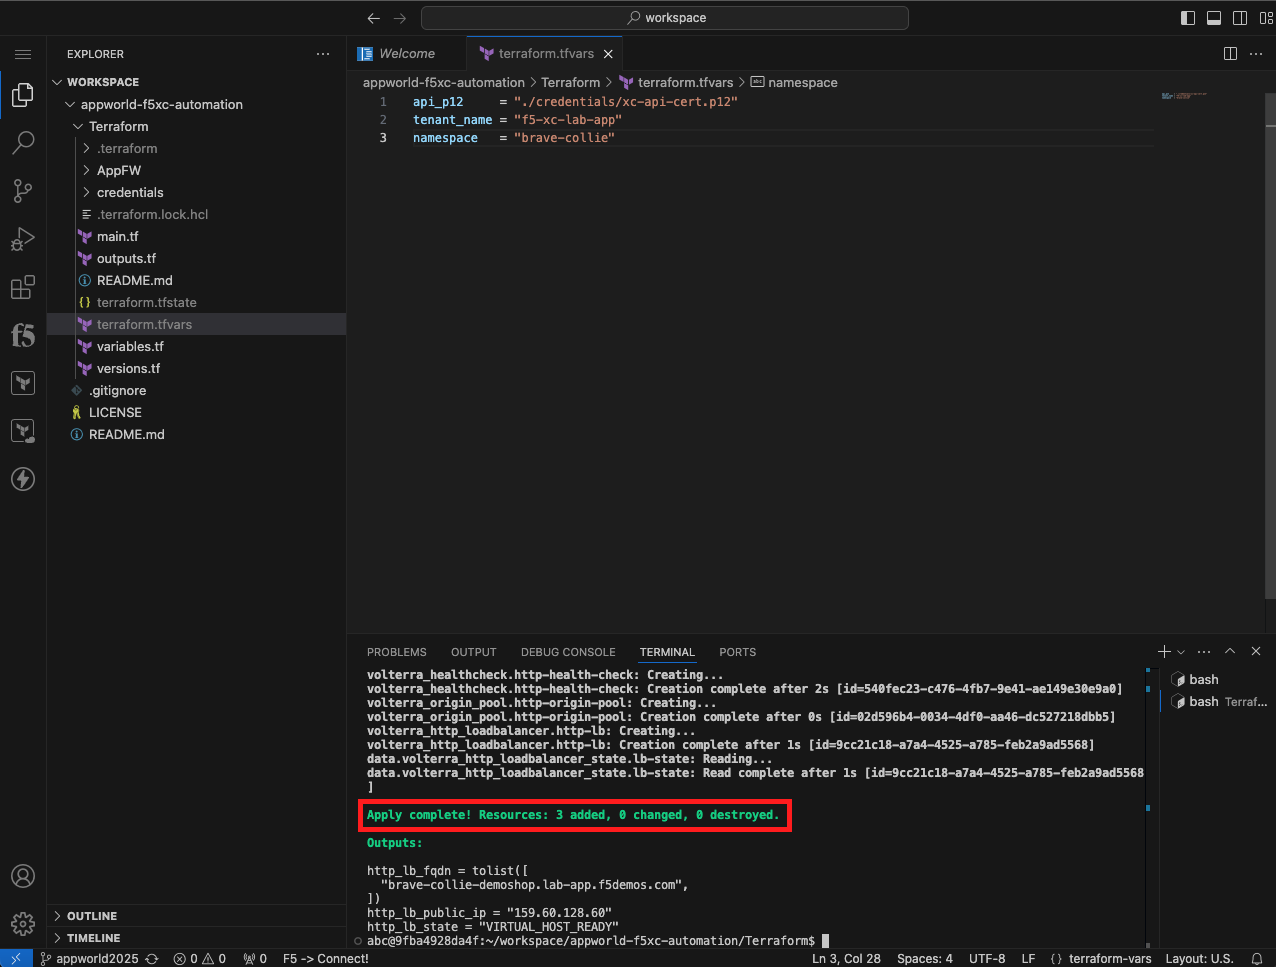
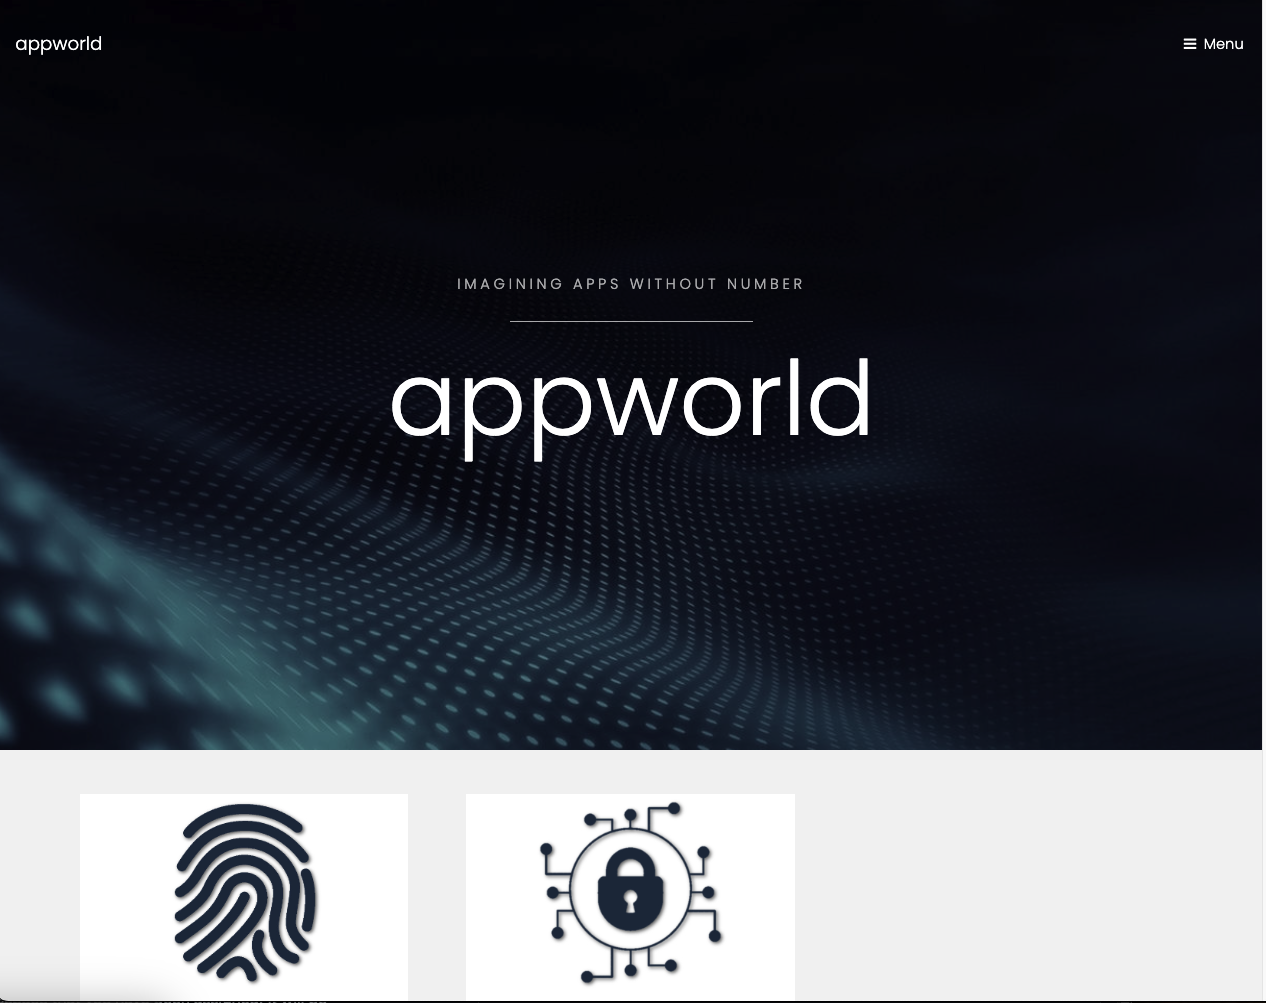
Verify the Appworld App is Accessible Via a Web Browser |
|---|
Note This illustrates that you are able to configure the delivery of an application via the Distributed Cloud API utilizing Terraform. |
|
Task 2: Create & Attach WAF Policy
In this task, you will modify your Terraform configuration to create and apply an Application Firewall policy with the default settings. Since Terraform tracks state, the apply command is used to modify the required existing objects within Distributed Cloud.
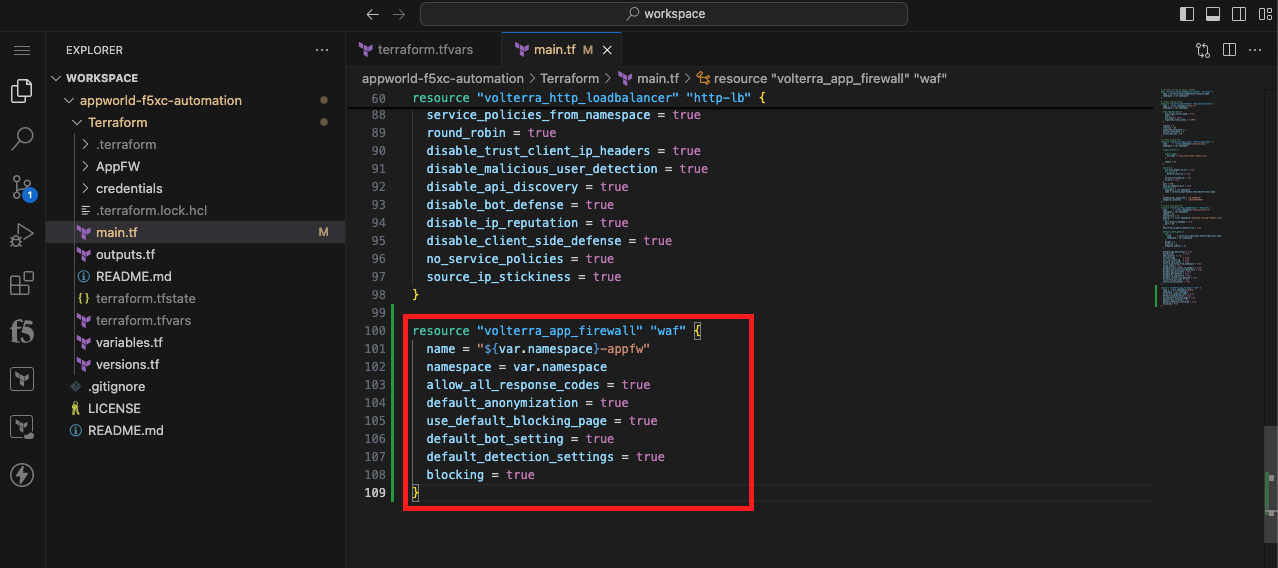
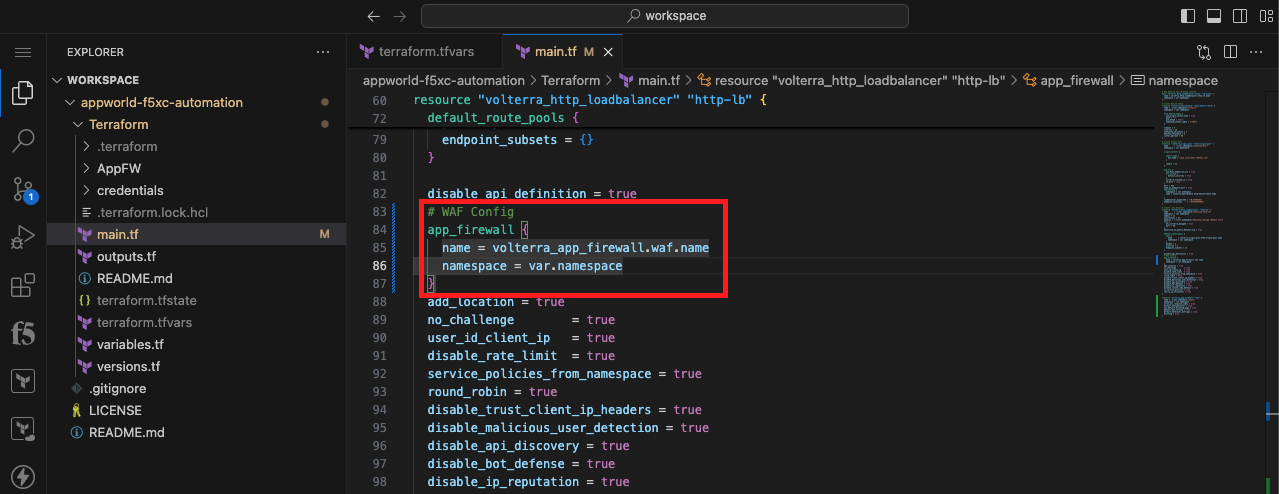
Edit Your Terraform Code to Create an Application Firewall and Add It to the Load Balancer |
|---|
|
# Create WAF Policy
resource "volterra_app_firewall" "waf" {
  name = "${var.namespace}-appfw"
  namespace = var.namespace
  allow_all_response_codes = true
  default_anonymization = true
  use_default_blocking_page = true
  default_bot_setting = true
  default_detection_settings = true
  blocking = true
}
|
# WAF Config
app_firewall {
  name = volterra_app_firewall.waf.name
  namespace = var.namespace
}
Note The WAF Config should be indented two spaces under the Load Balancer configuration to maintain nesting style conventions. |
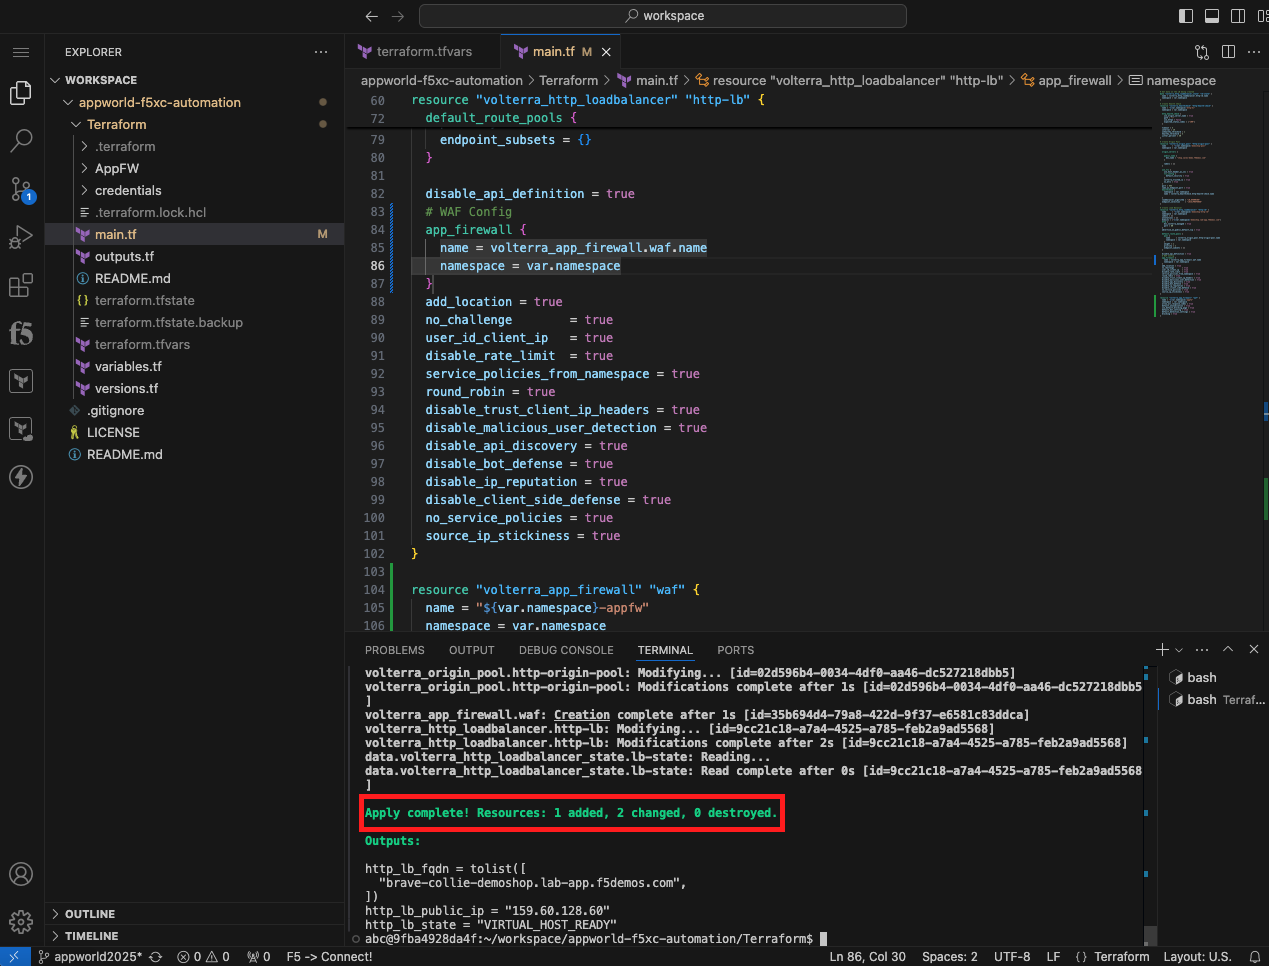
Plan and Apply Your New Terraform Code to Create an Application Firewall and Associate It to Your LB |
|---|
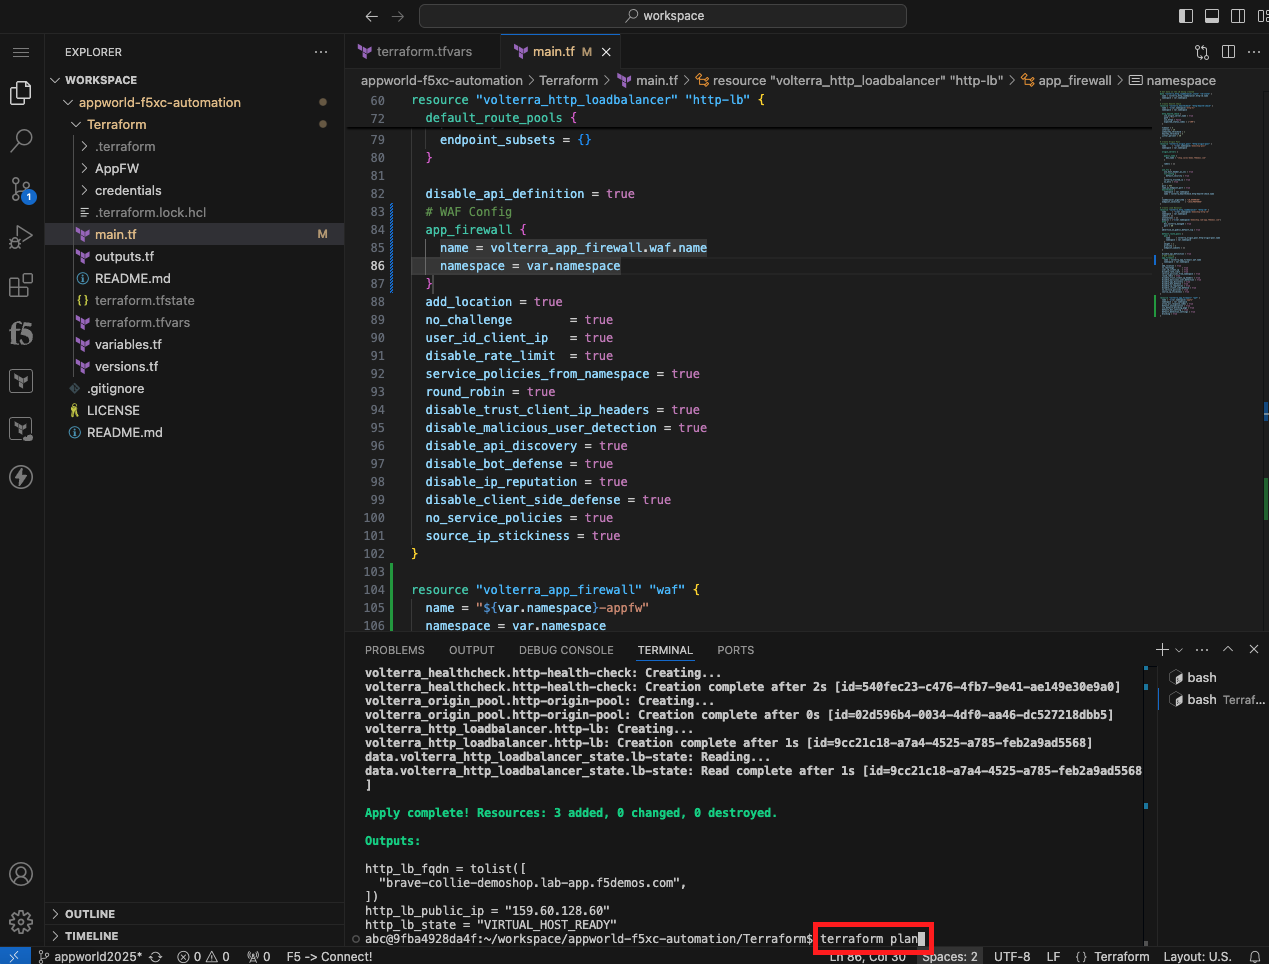
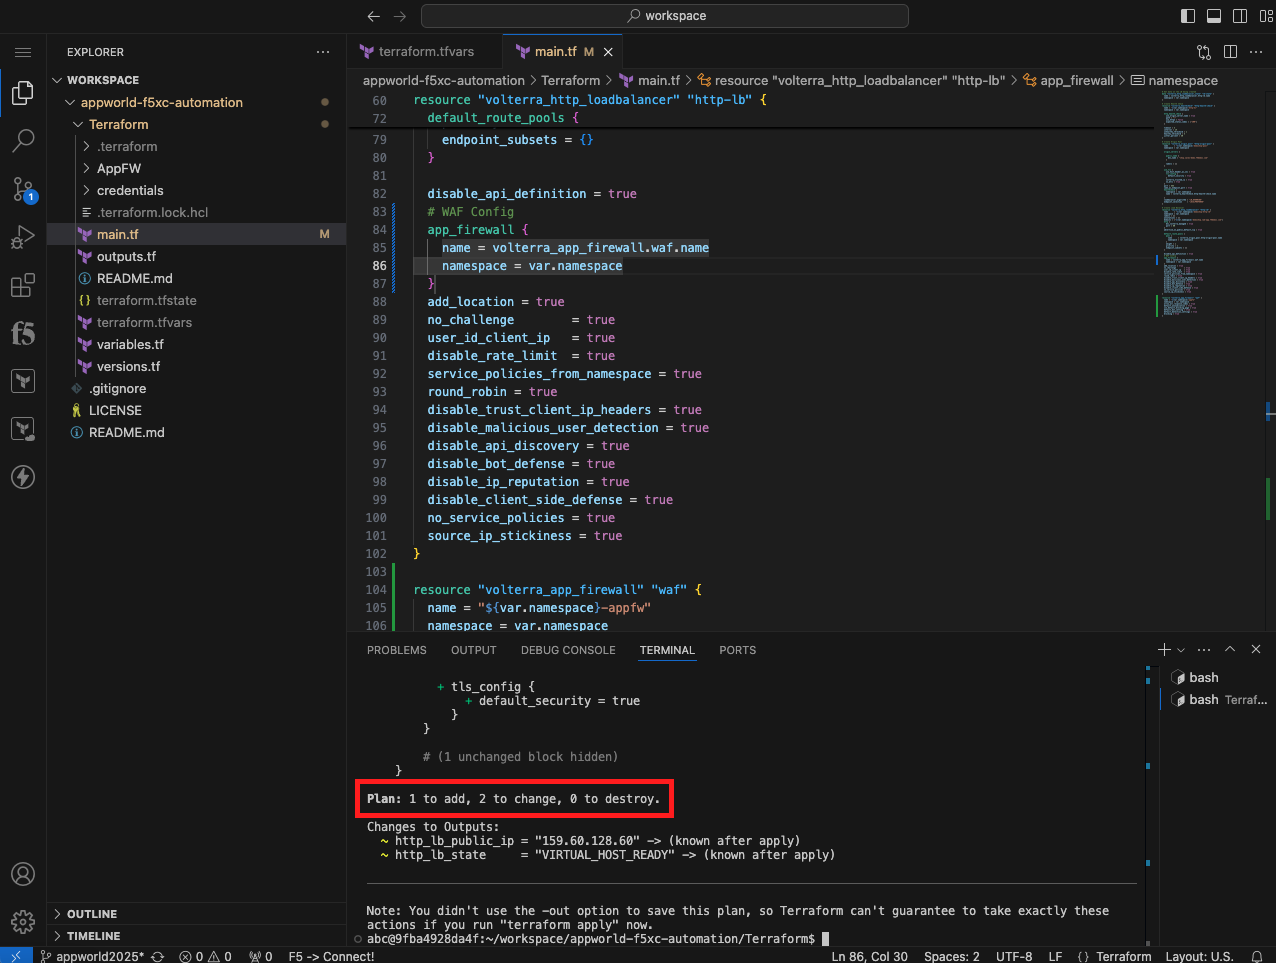
terraform plan
|
|
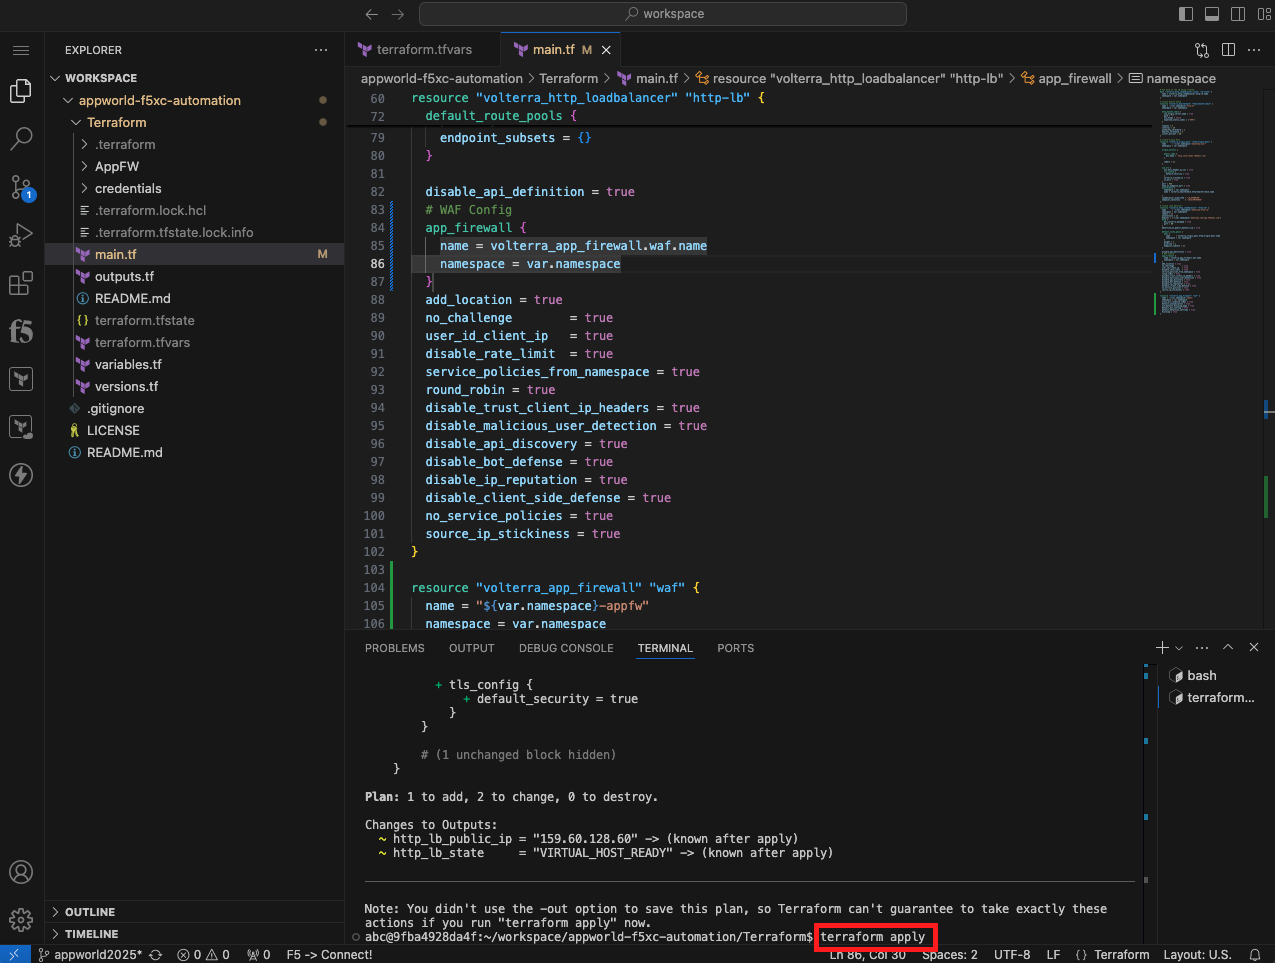
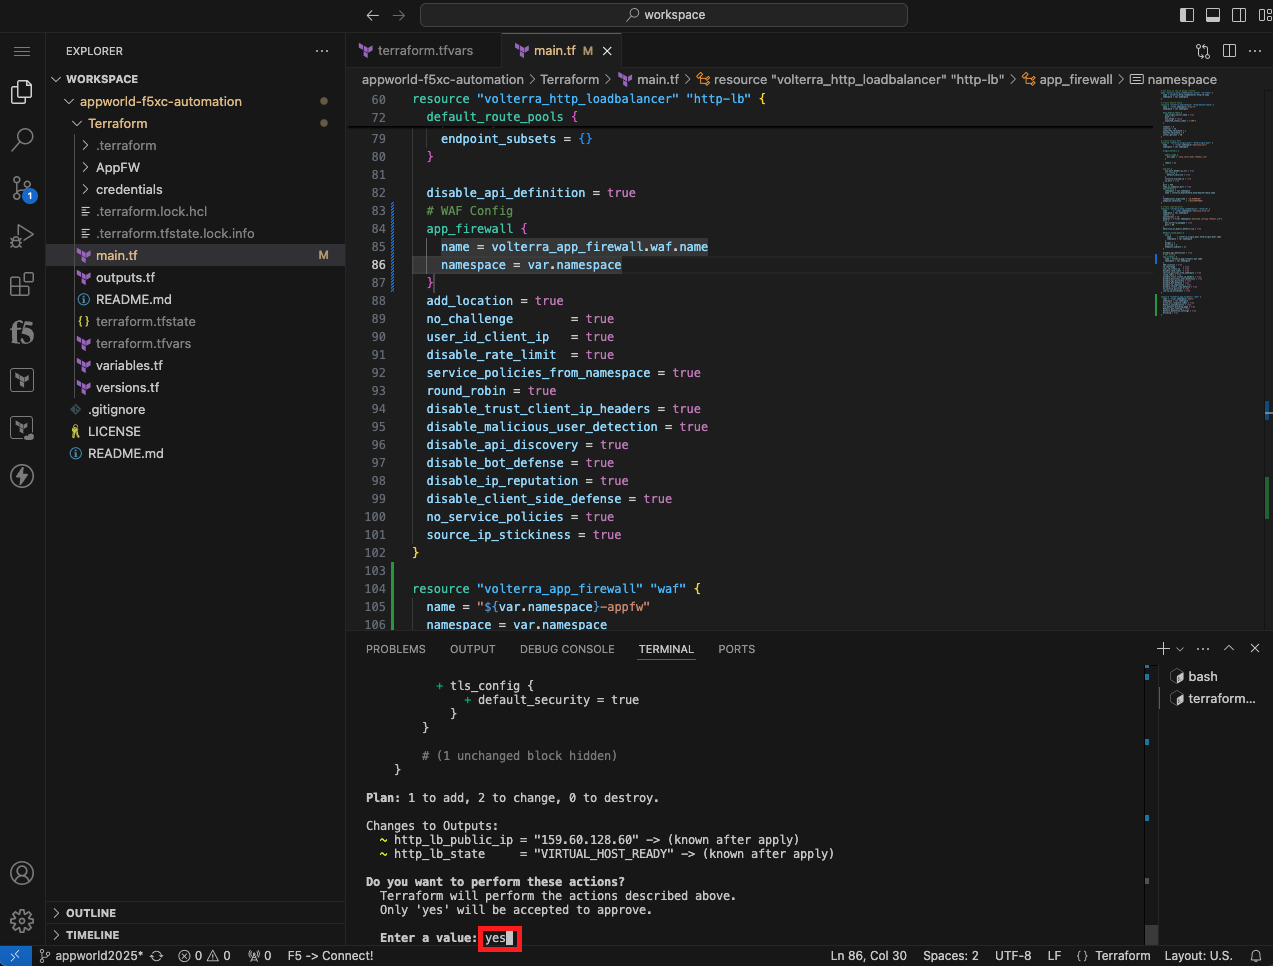
terraform apply
|
|
|
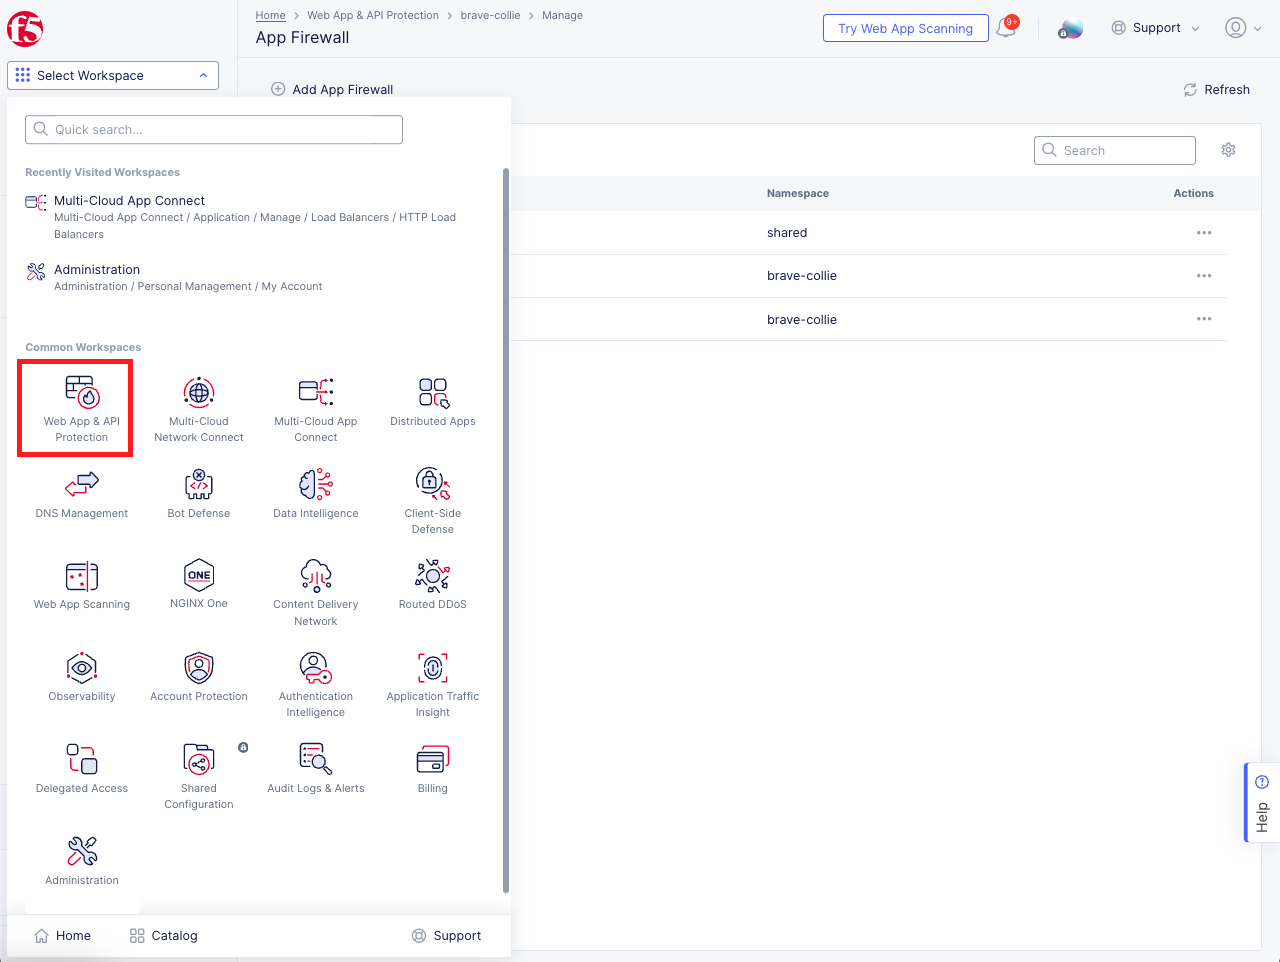
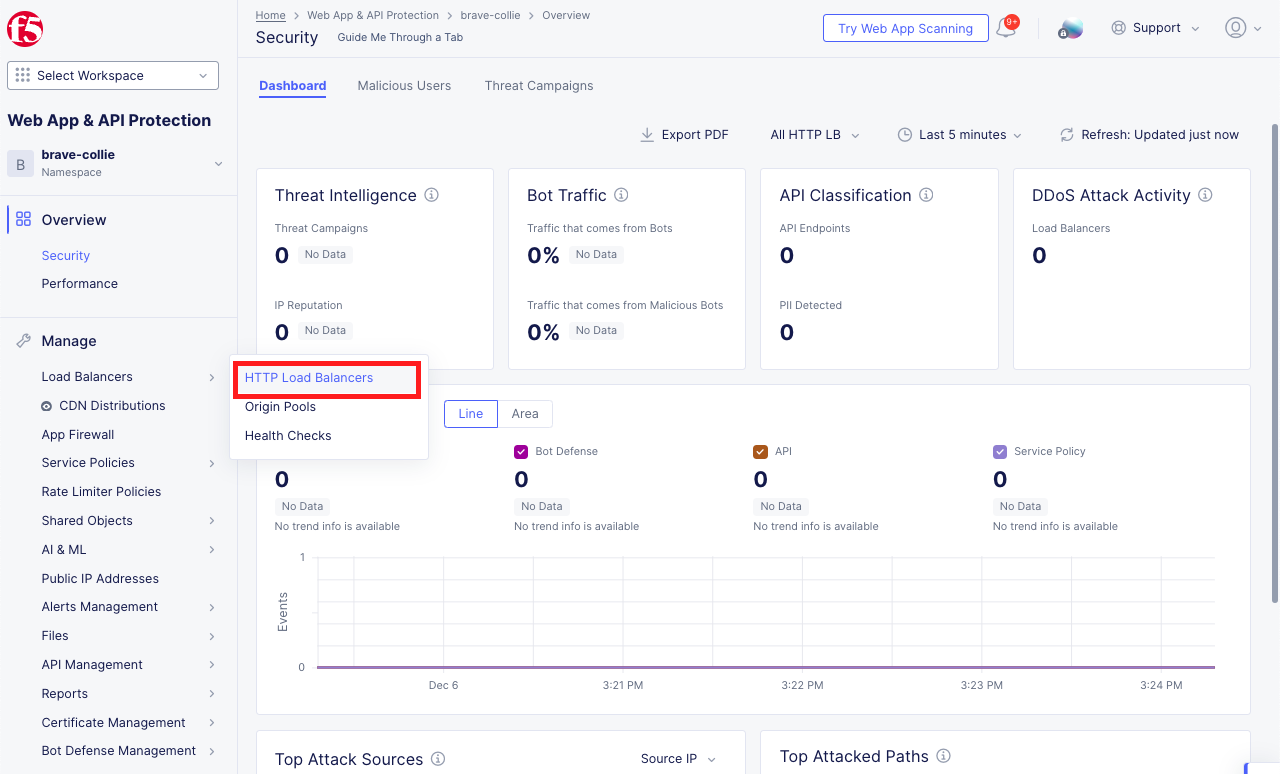
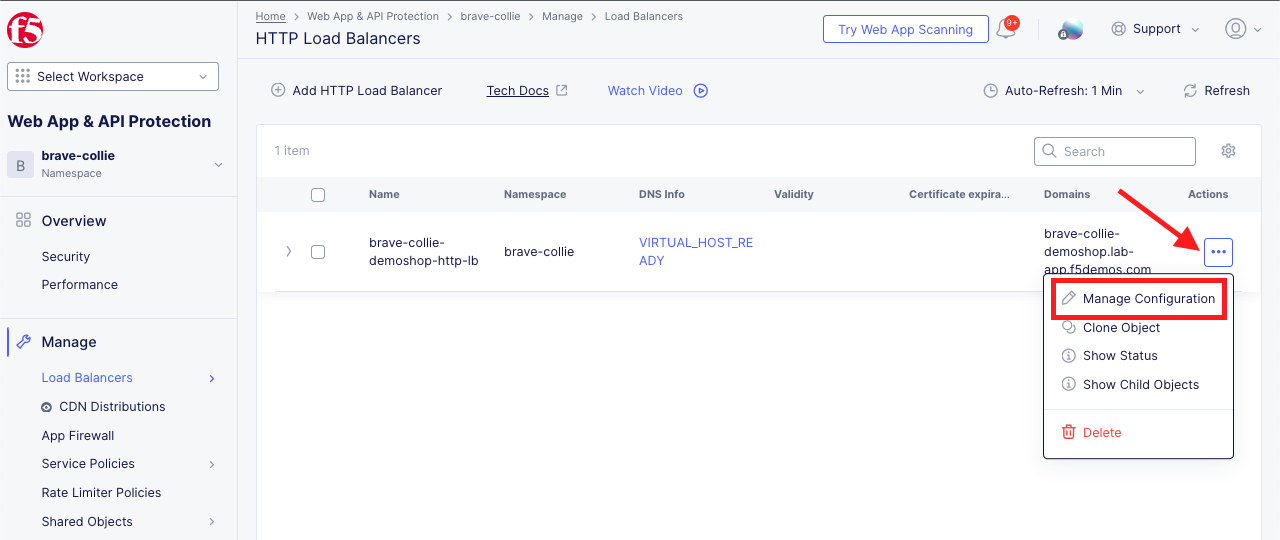
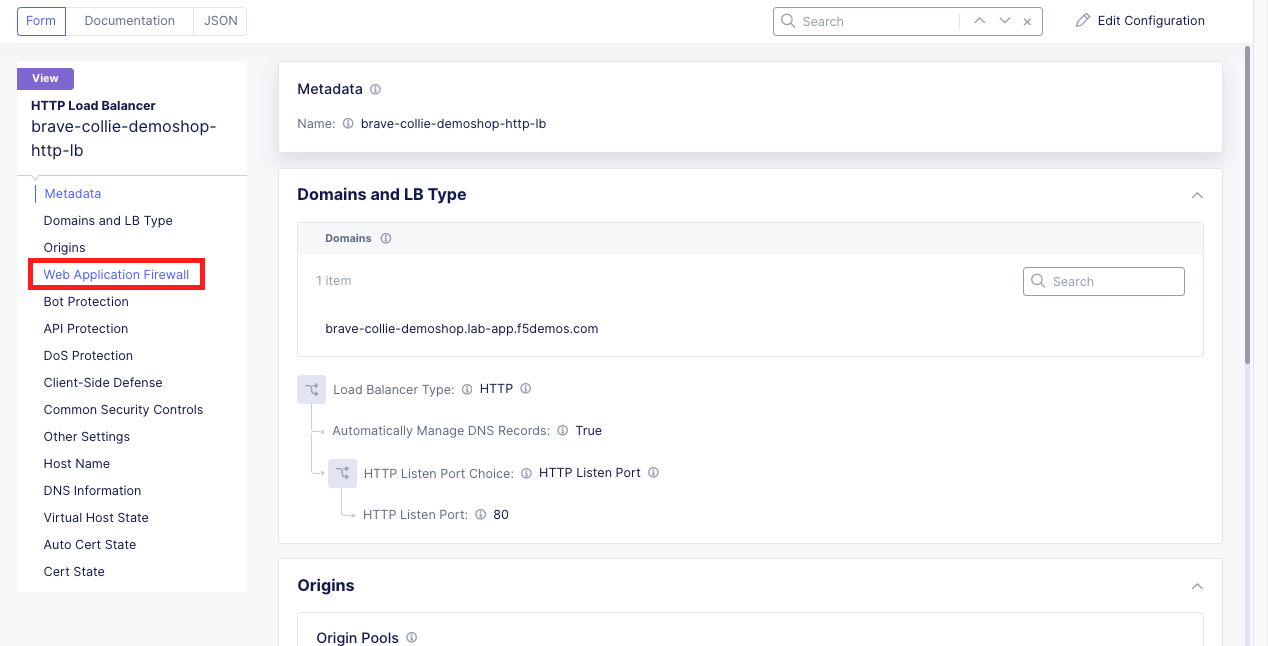
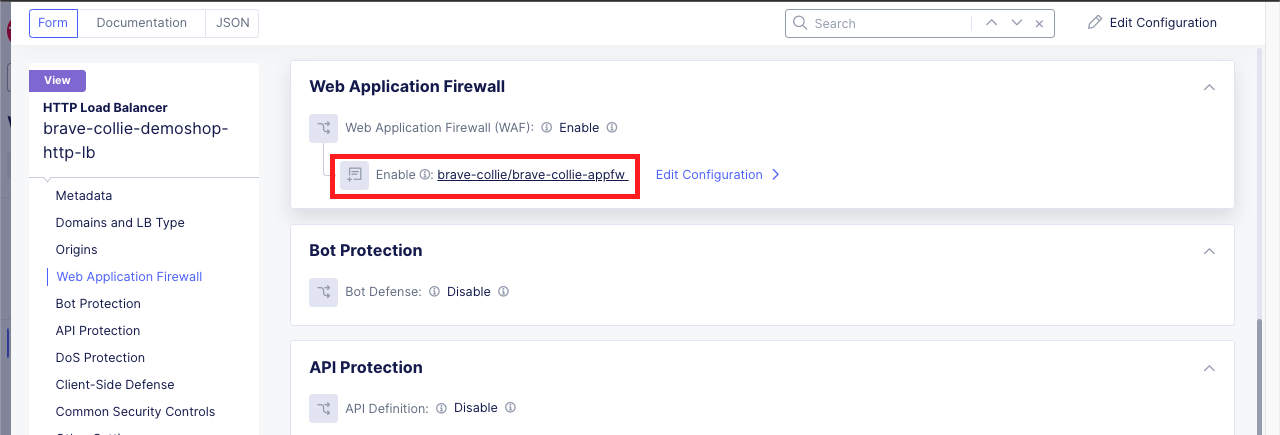
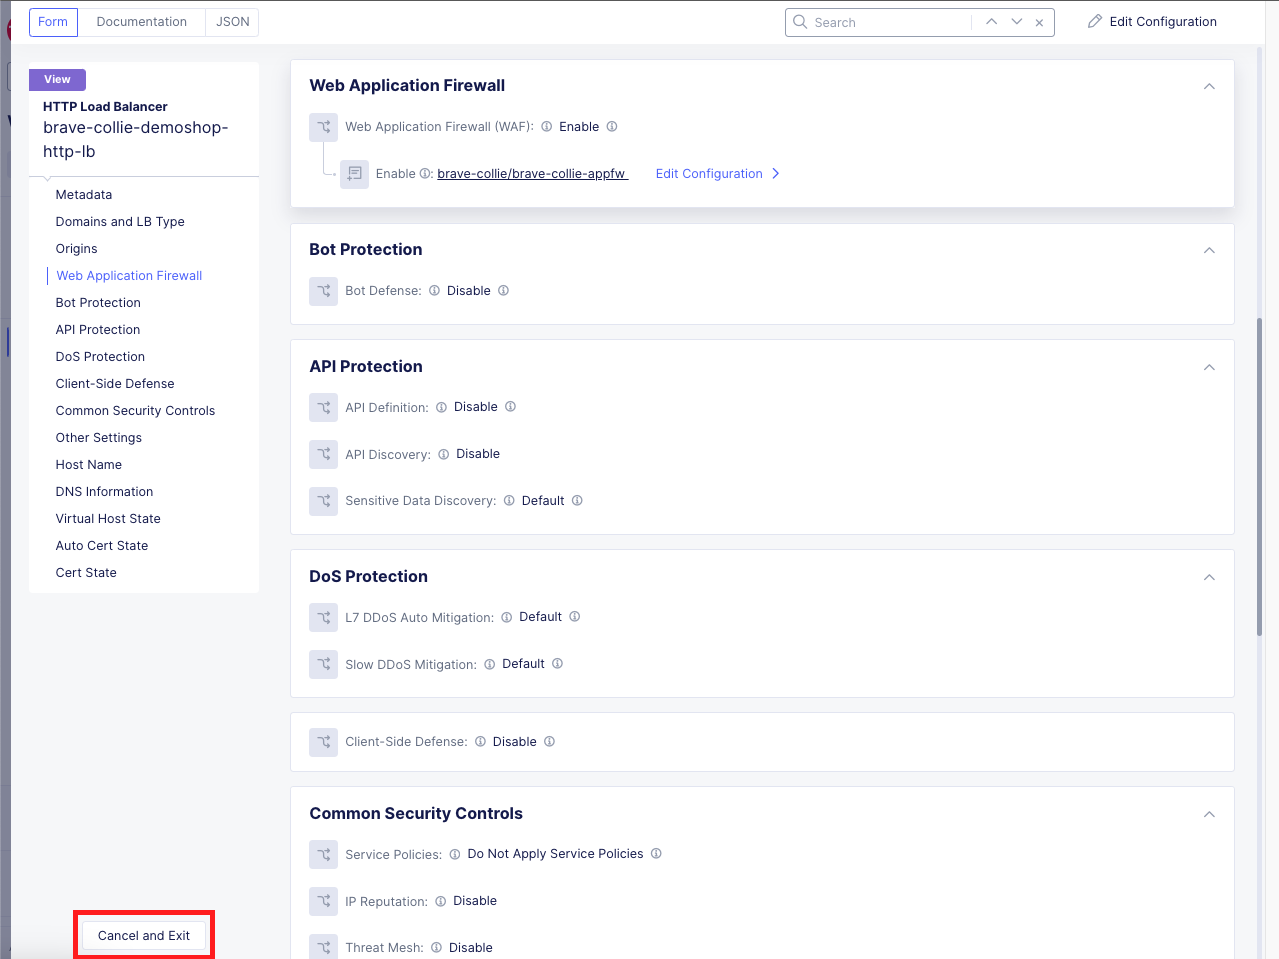
Verify the Application Firewall was Created and Applied Within the Distributed Cloud Console |
|---|
|
|
|
|
|
|
|
End of Lab 2 |
|---|
This concludes Lab 2. In this lab, you learned how to set up Terraform to authenticate to the F5 Distributed Cloud API with an API Certificate. You then created a tfvars file to customize the deployment to match your environment. After that, you used Terraform to deploy an HTTP Health Check, Origin Pool, and HTTP Load Balancer. The Terraform configuration was then modified to create a Web Application Firewall policy and apply it to the HTTP Load Balancer. |
|