NGINX Modern Apps > Class 14 – Operationalize NGINX One Configuration and Enable Self-Service through Templates > Introduction Source | Edit on
Understanding the NGINX Instance Manager solution
Login to NIM
In the first portion of the lab you will be masquerading as Paul Platops. Paul is a Platform Operator in charge of the NIM platform. In his organization, NIM is used by developers and security professionals responsible for the delivery and security of their web applications.
Begin by logging into NIM as Paul in the following steps. Paul has the NIM admin role assigned to him.
In the UDF deployment, select the FireFox access method of the JumpHost component.
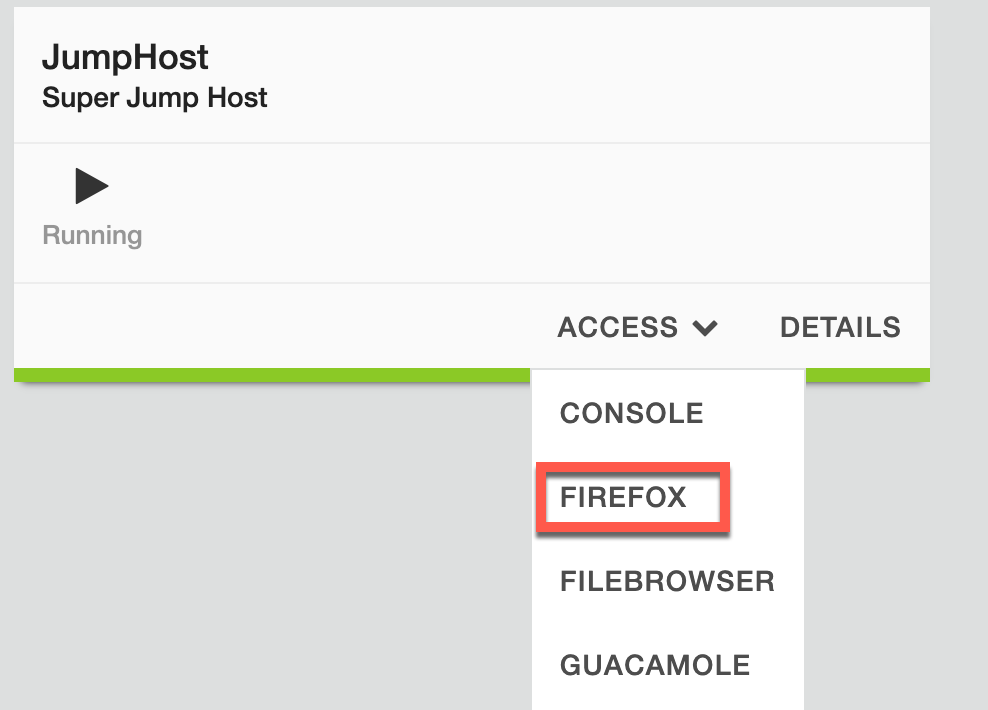
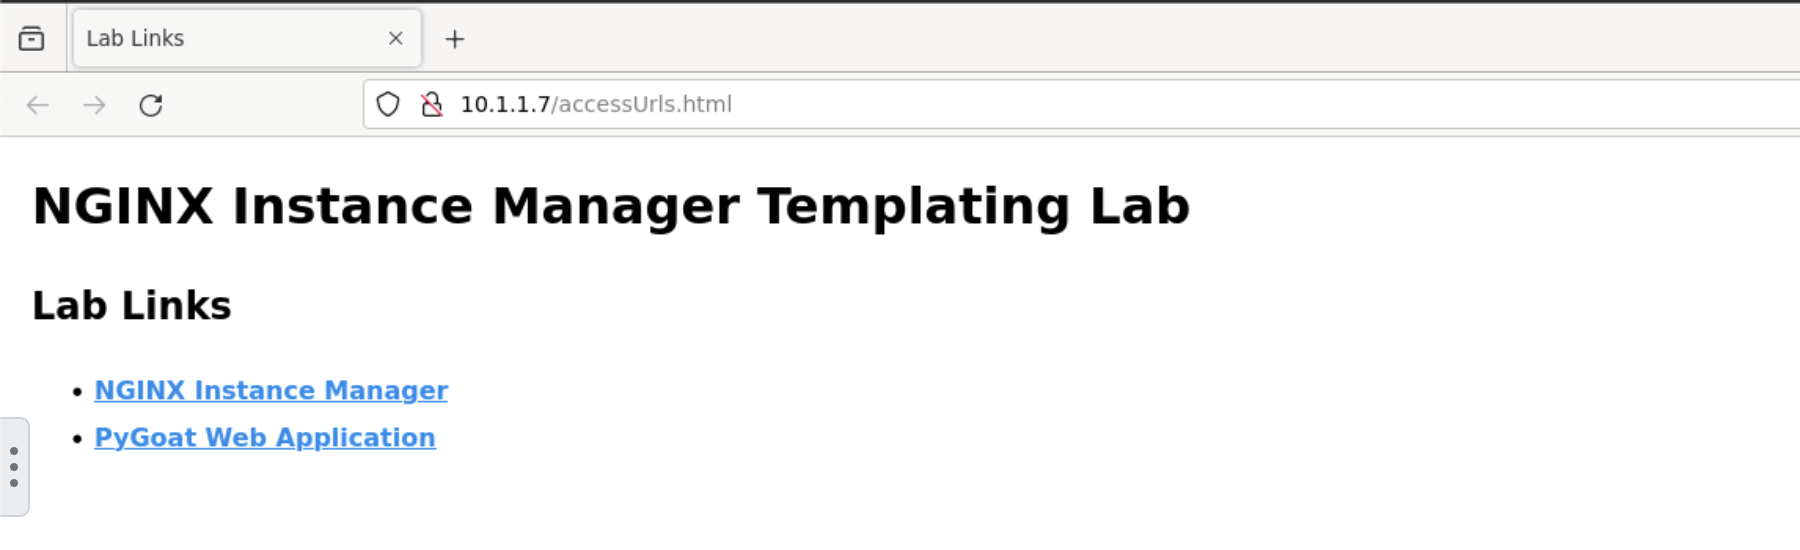
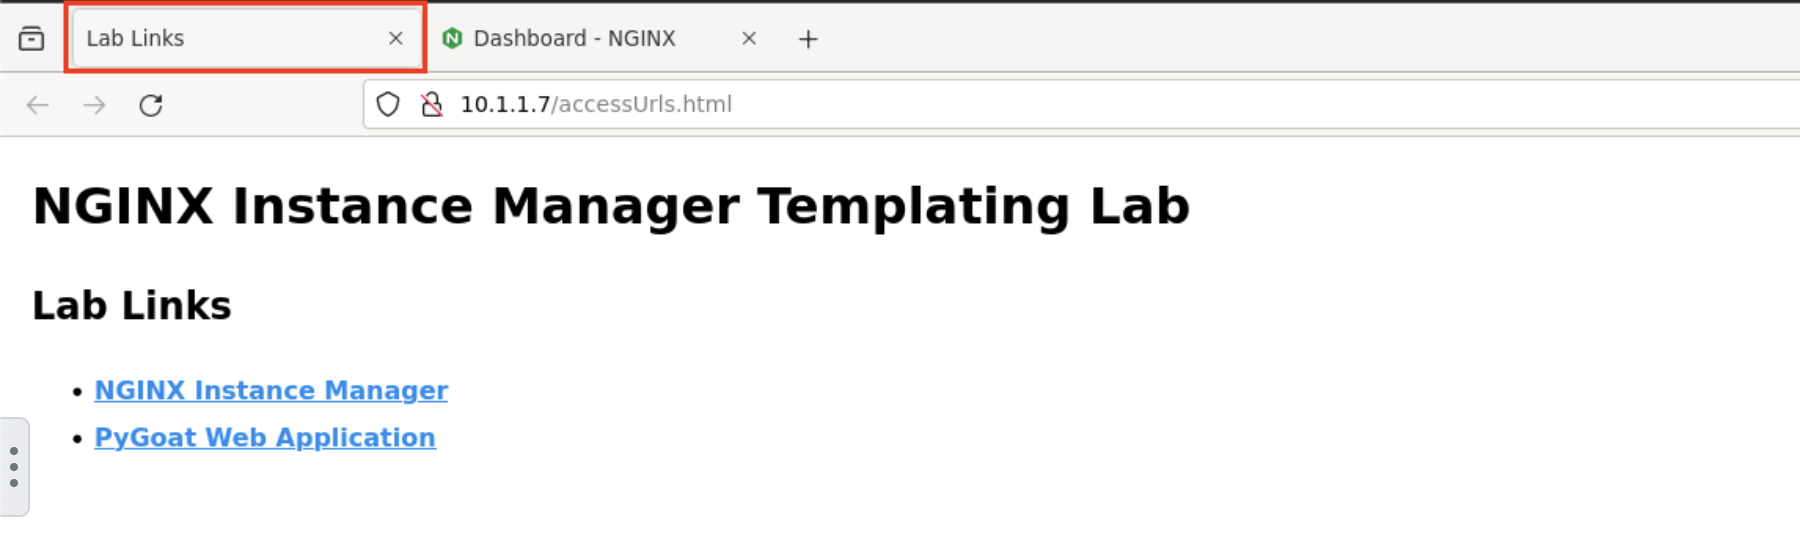
Under Lab Links, click the NGINX Instance Manager link to open NIM in a new tab.
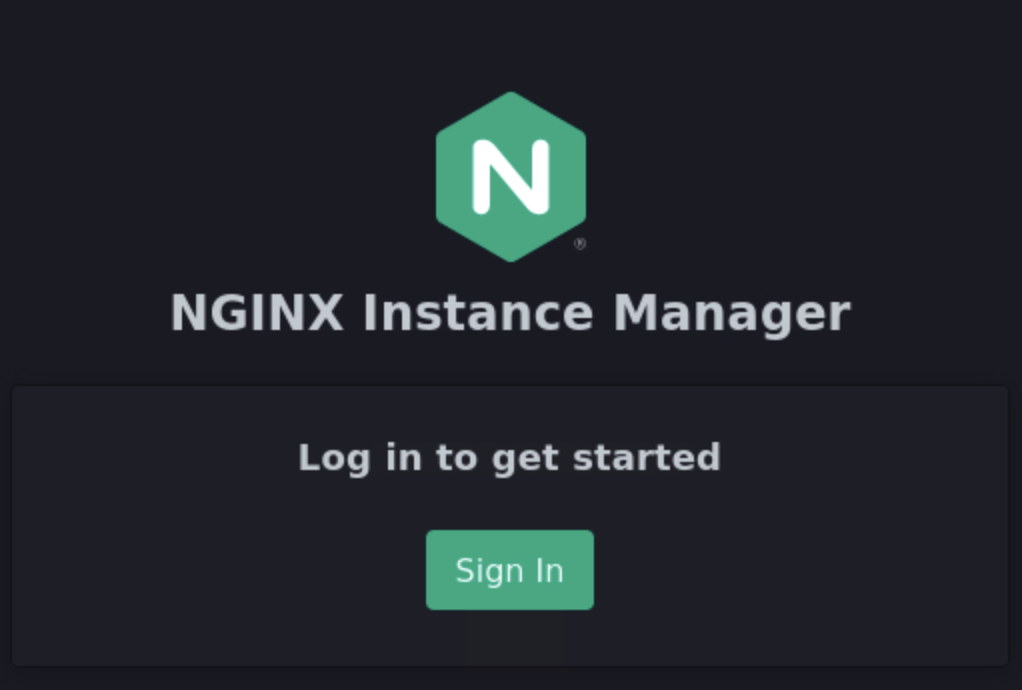
Click Sign In.
You will be redirected to KeyCloak. When prompted for credentials, enter the following:
User: paulplatopsPassword: NIM123!@#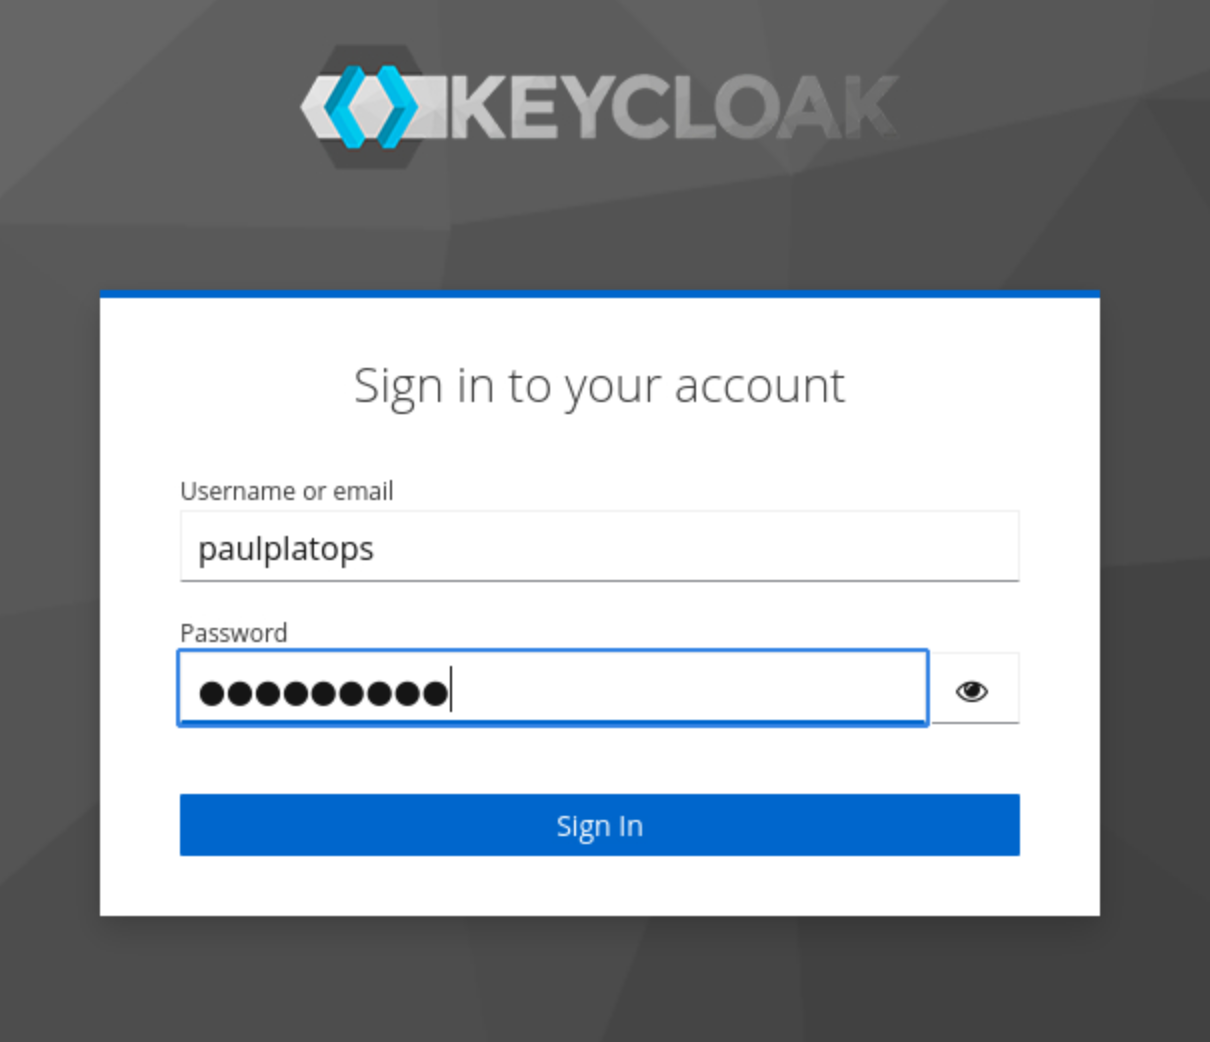
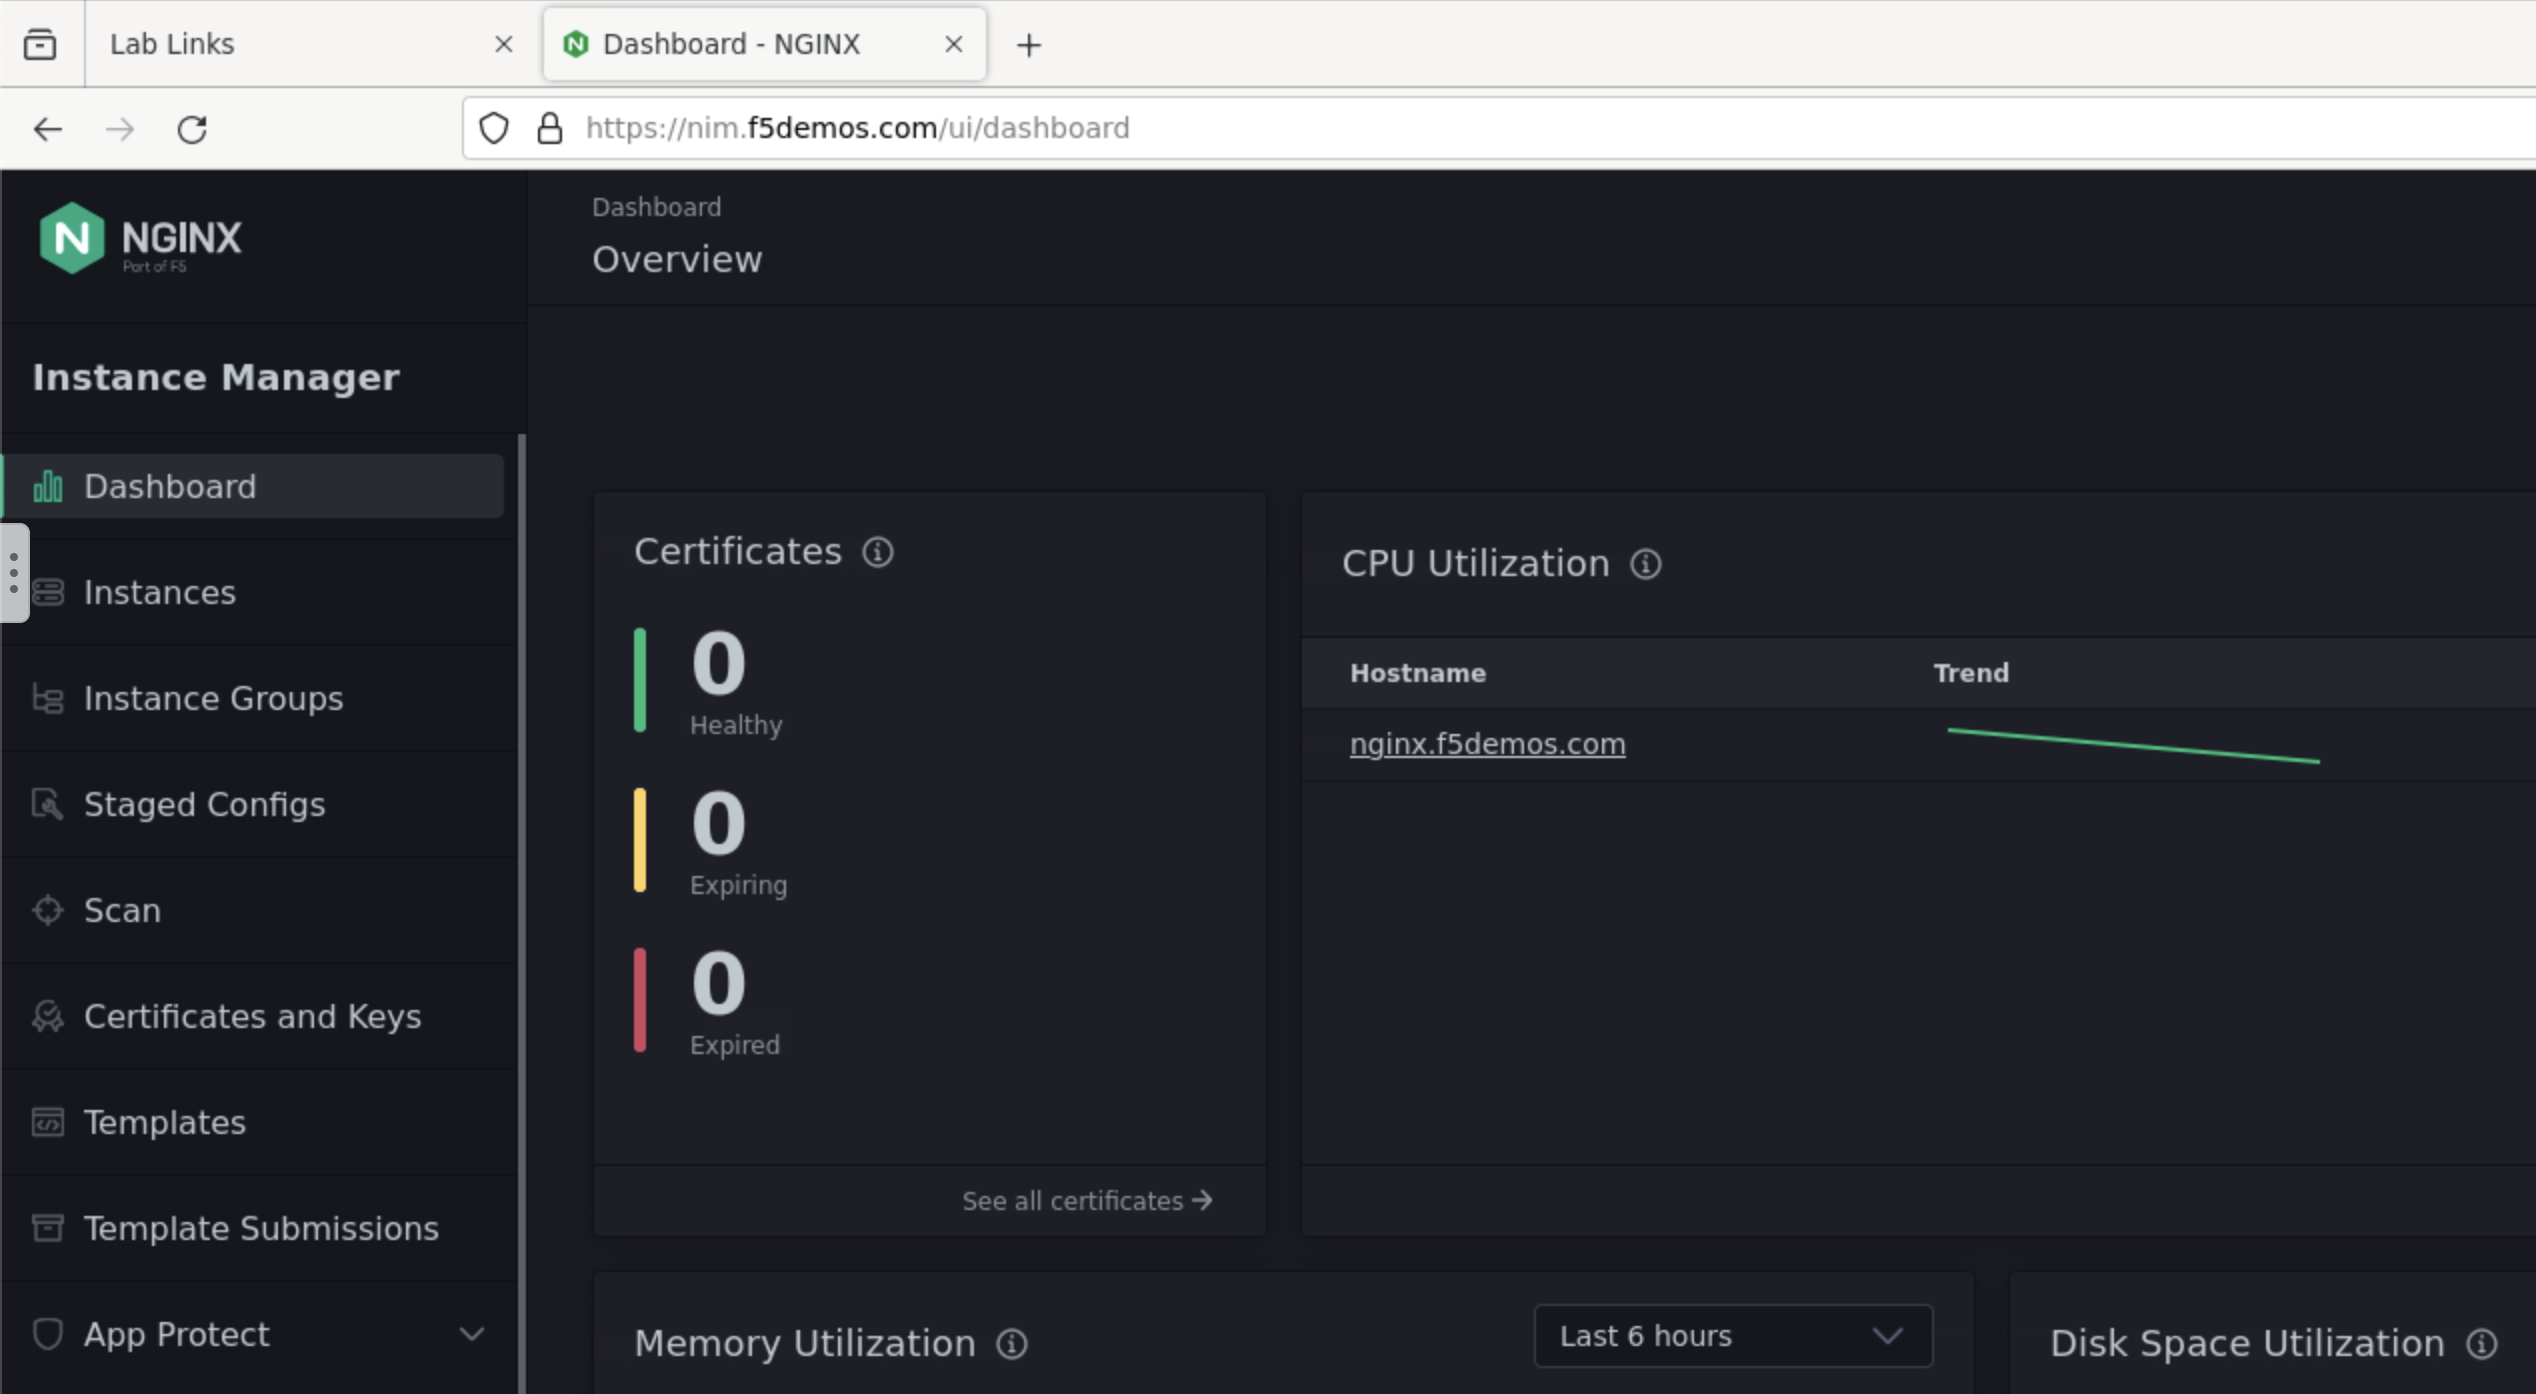
After Sign-In, you will see the NIM Dashboard.
Viewing, Monitoring and Managing NGINX
Here we will examine the default configuration of the NGINX server, and afterward generate a new one for the PyGoat application.
In FireFox, select the Lab Links tab then click PyGoat Web Application. This link uses a hostname record that references the NGINX instance.
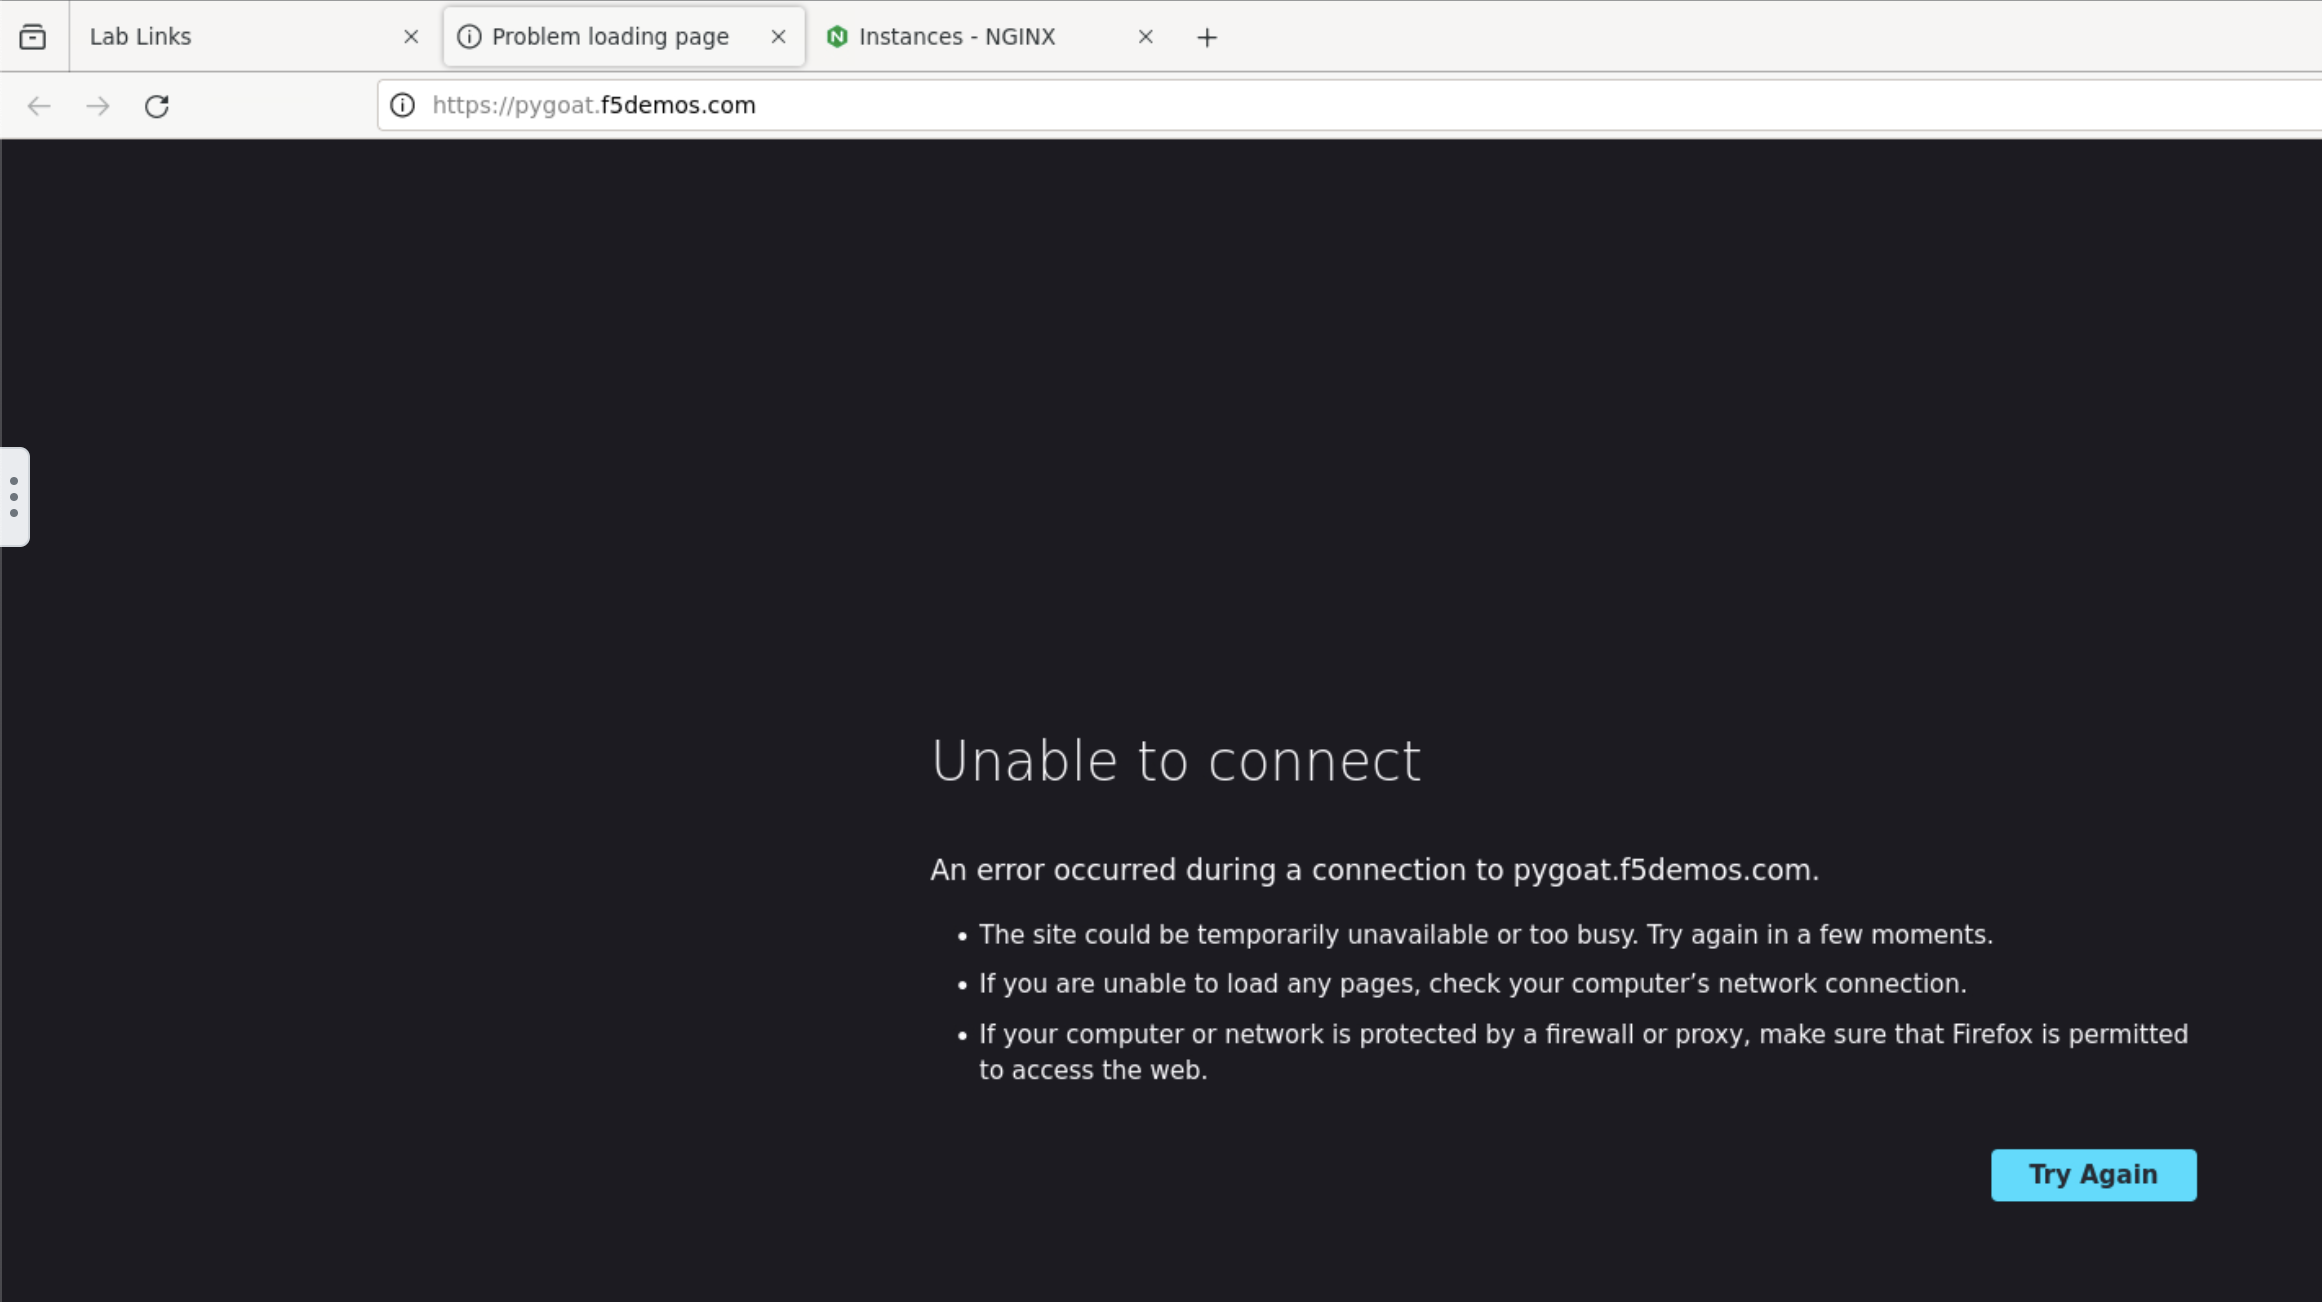
Since NGINX has not yet been configured to proxy requests to the upstream server hosting the PyGoat application, you will see an “Unable to connect” page. To make this work, we need to generate NGINX configuration that meets our requirements
Examine Default Configuration
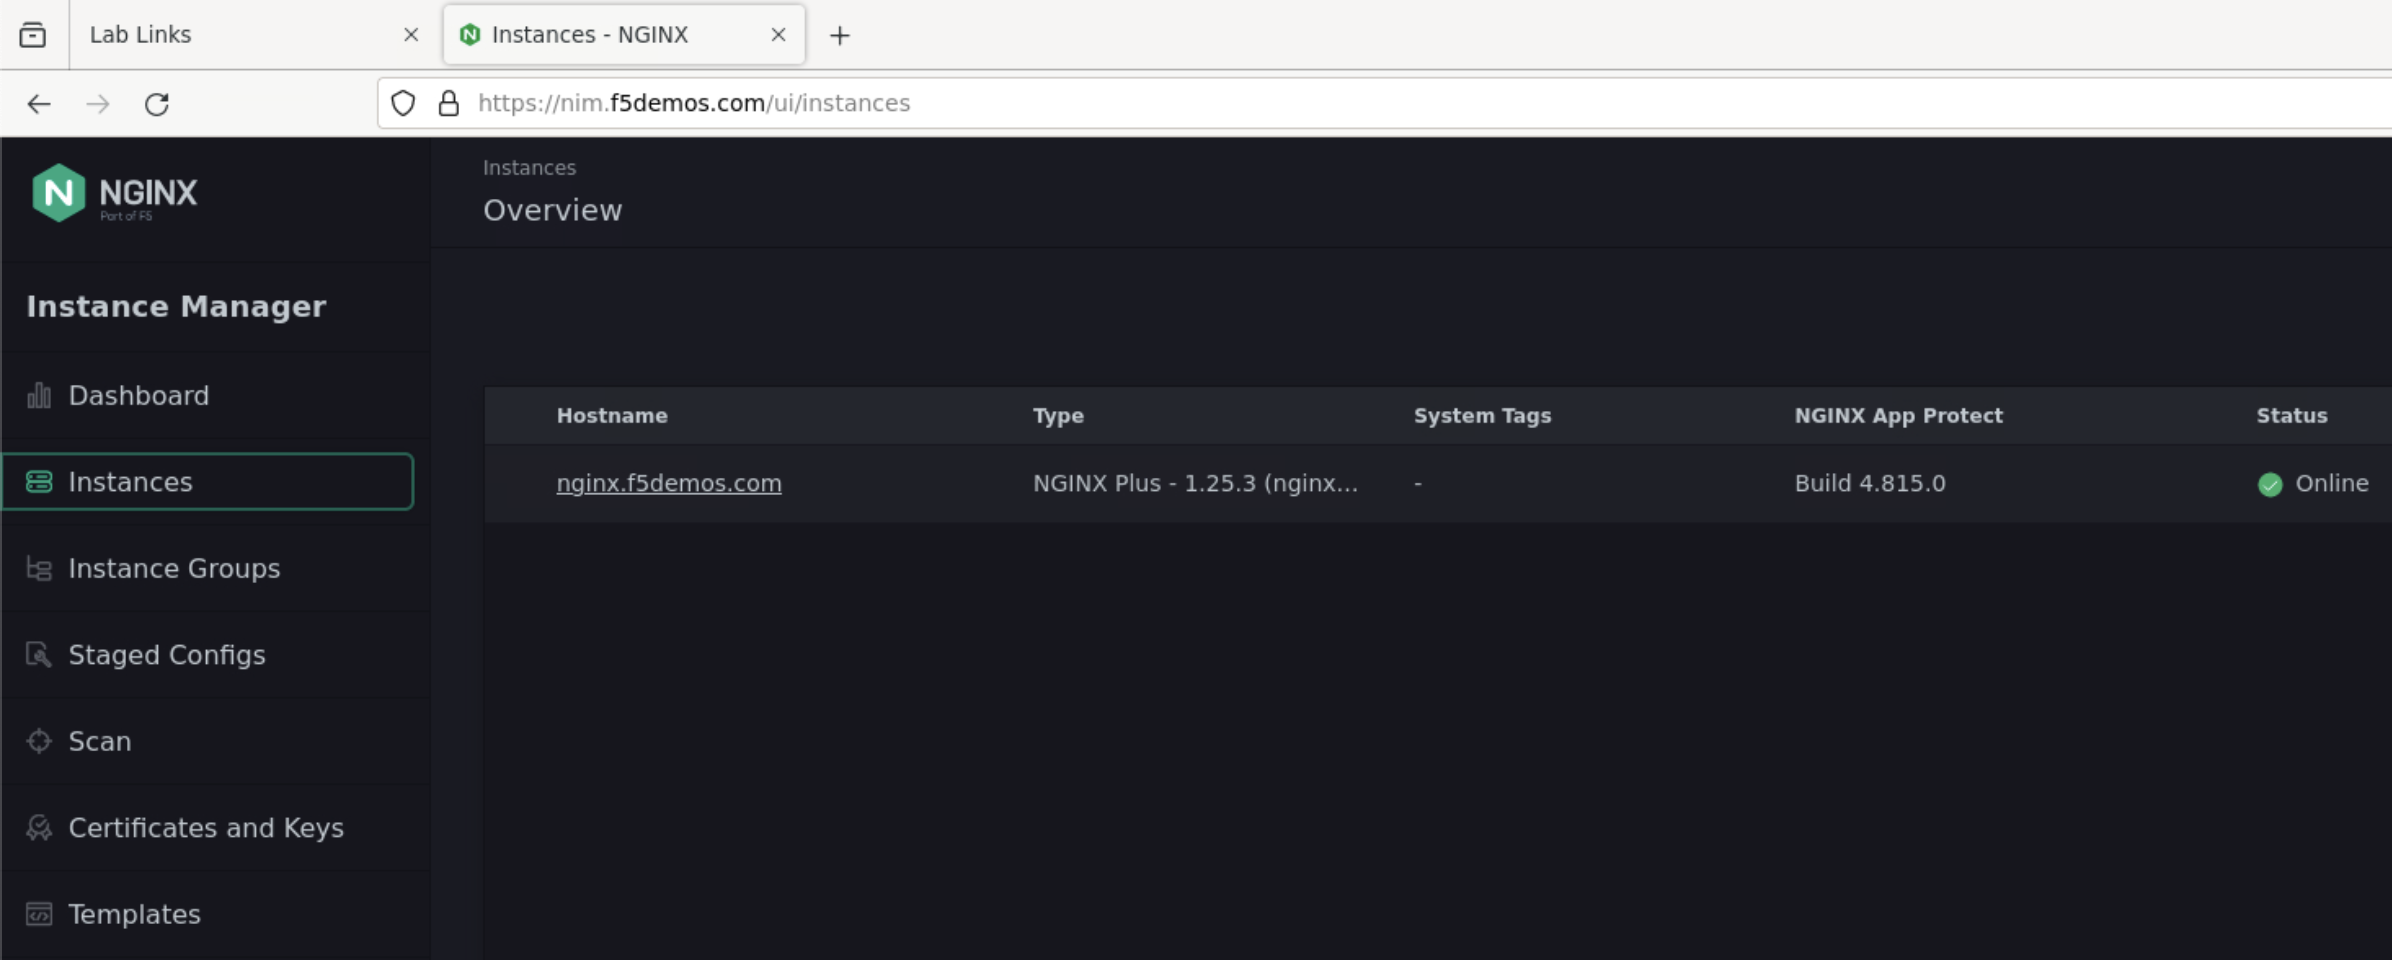
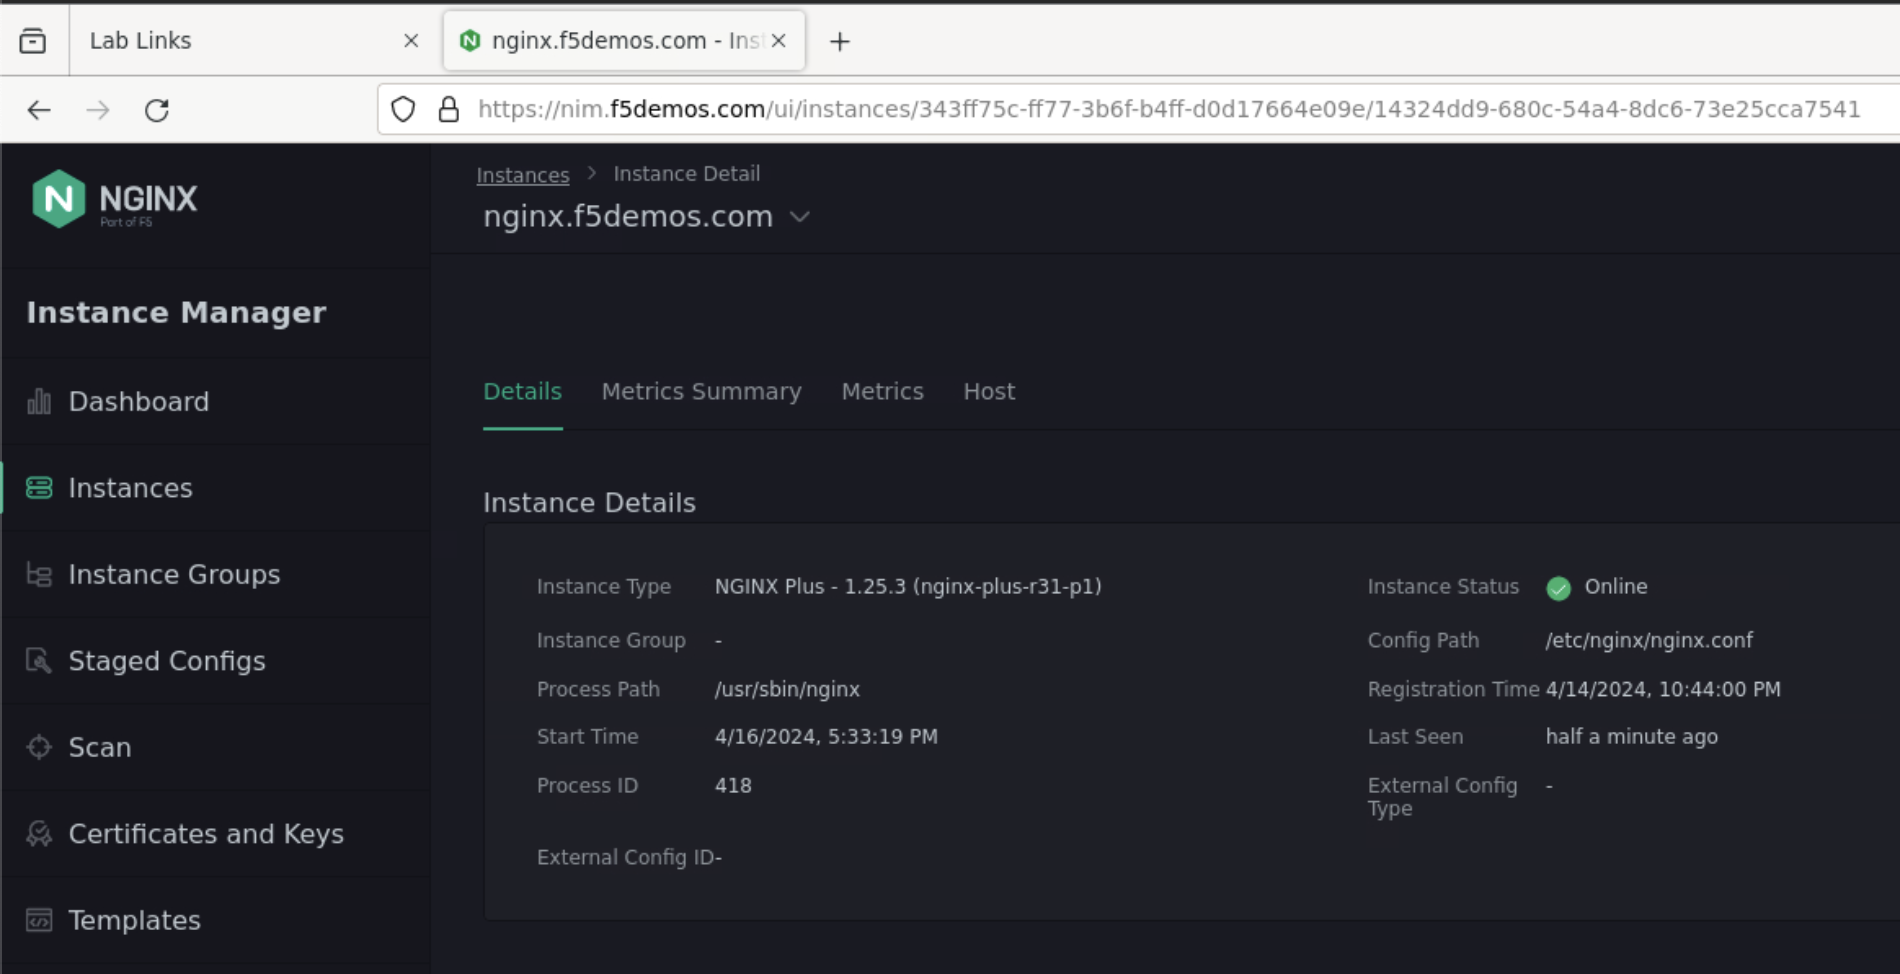
Back in the NIM tab, click the Instances link in the left navigation. You will see that NIM is currently only managing one single NGINX Instance - nginx.f5demos.com.
We won’t be adding any more instances in this lab, we can do everything we need to with one instance.
If you needed to add another instance of NGINX Plus or Open Source, click Add on the top right of the page.
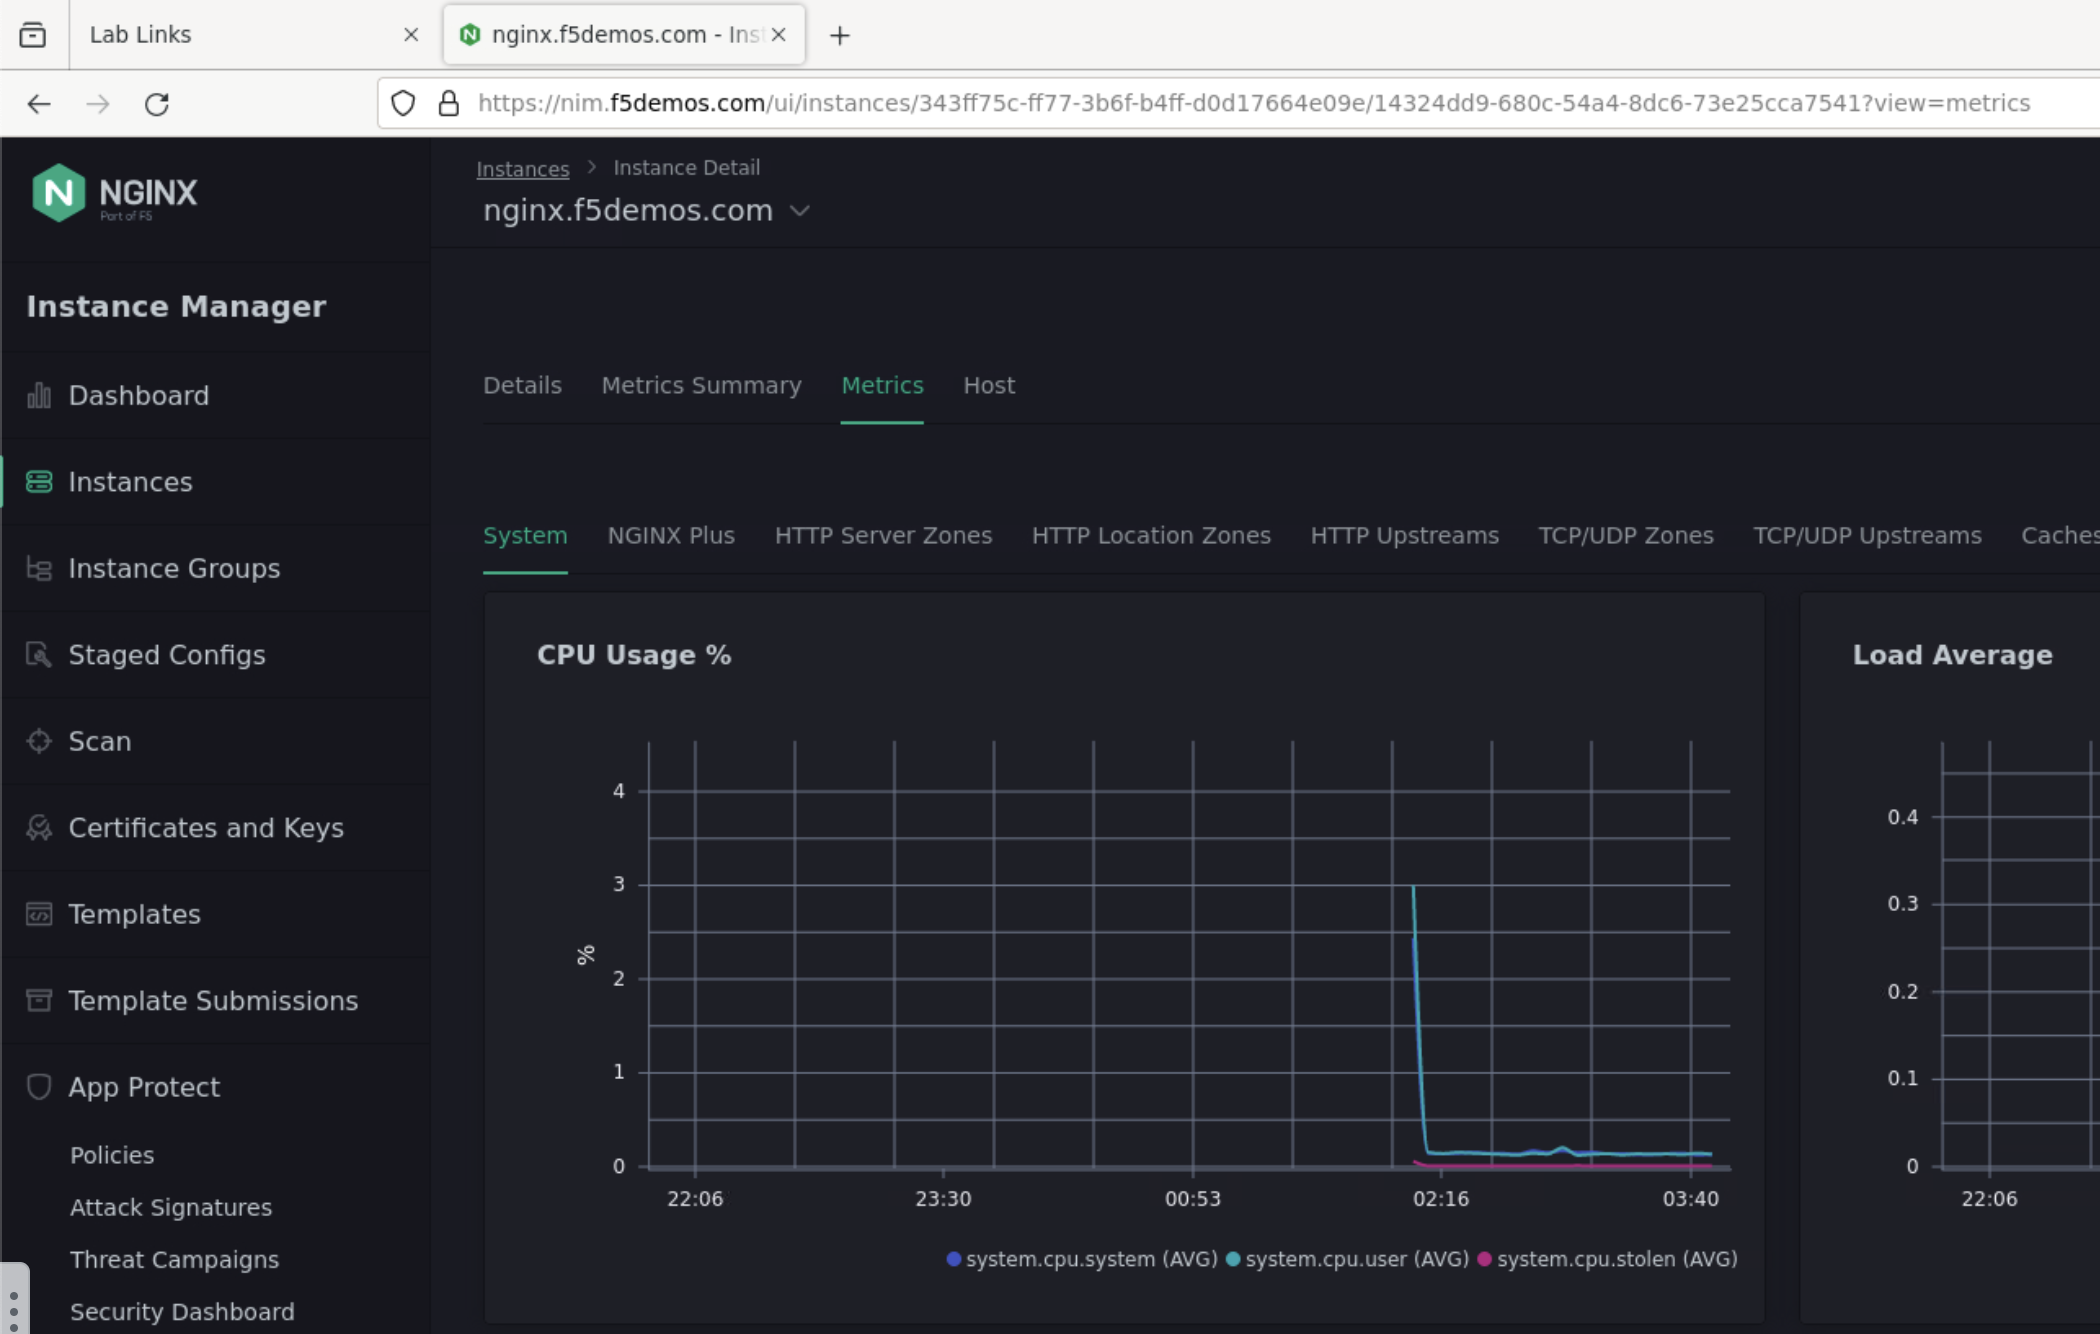
Click on nginx.f5demos.com and browse through some of the tabs, especially Metrics. Here you can see system level metrics or metrics specific to NGINX.
Go back to the Instances page.
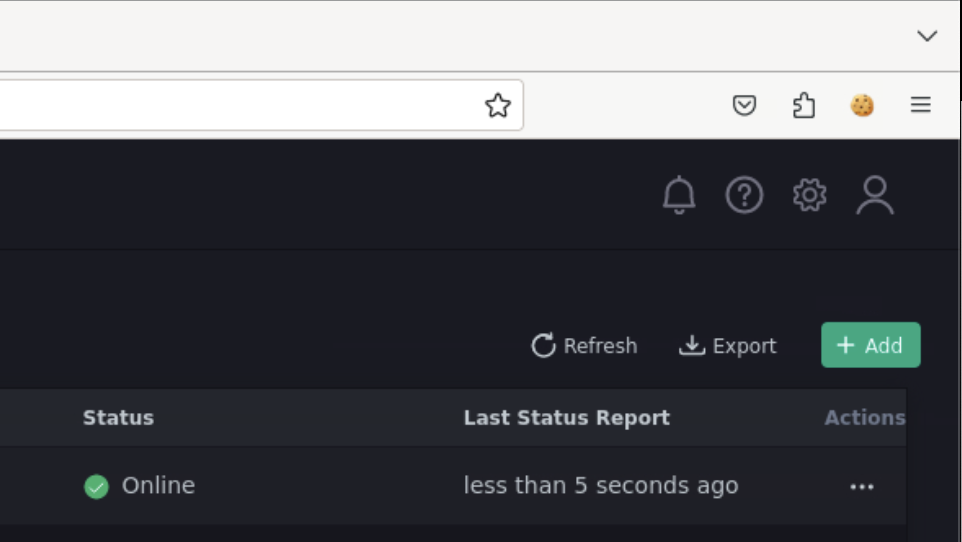
Click nginx.f5demos.com. Note that the instance Status is online, and ready to receive management commands from NIM.
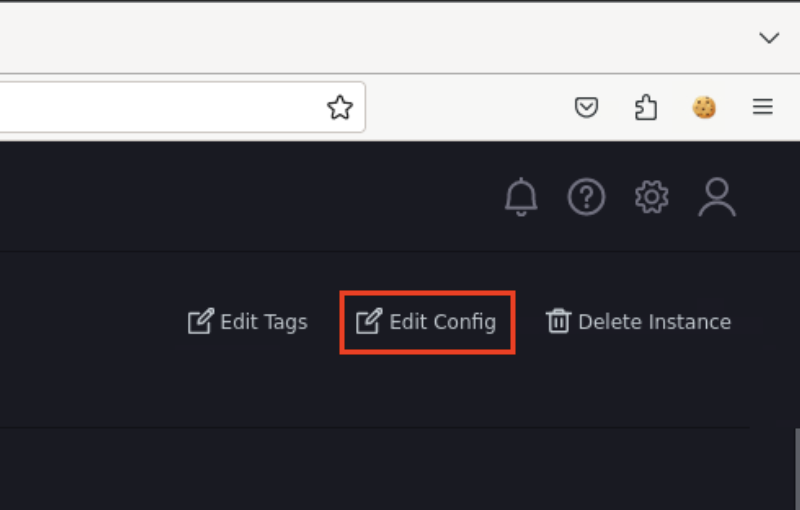
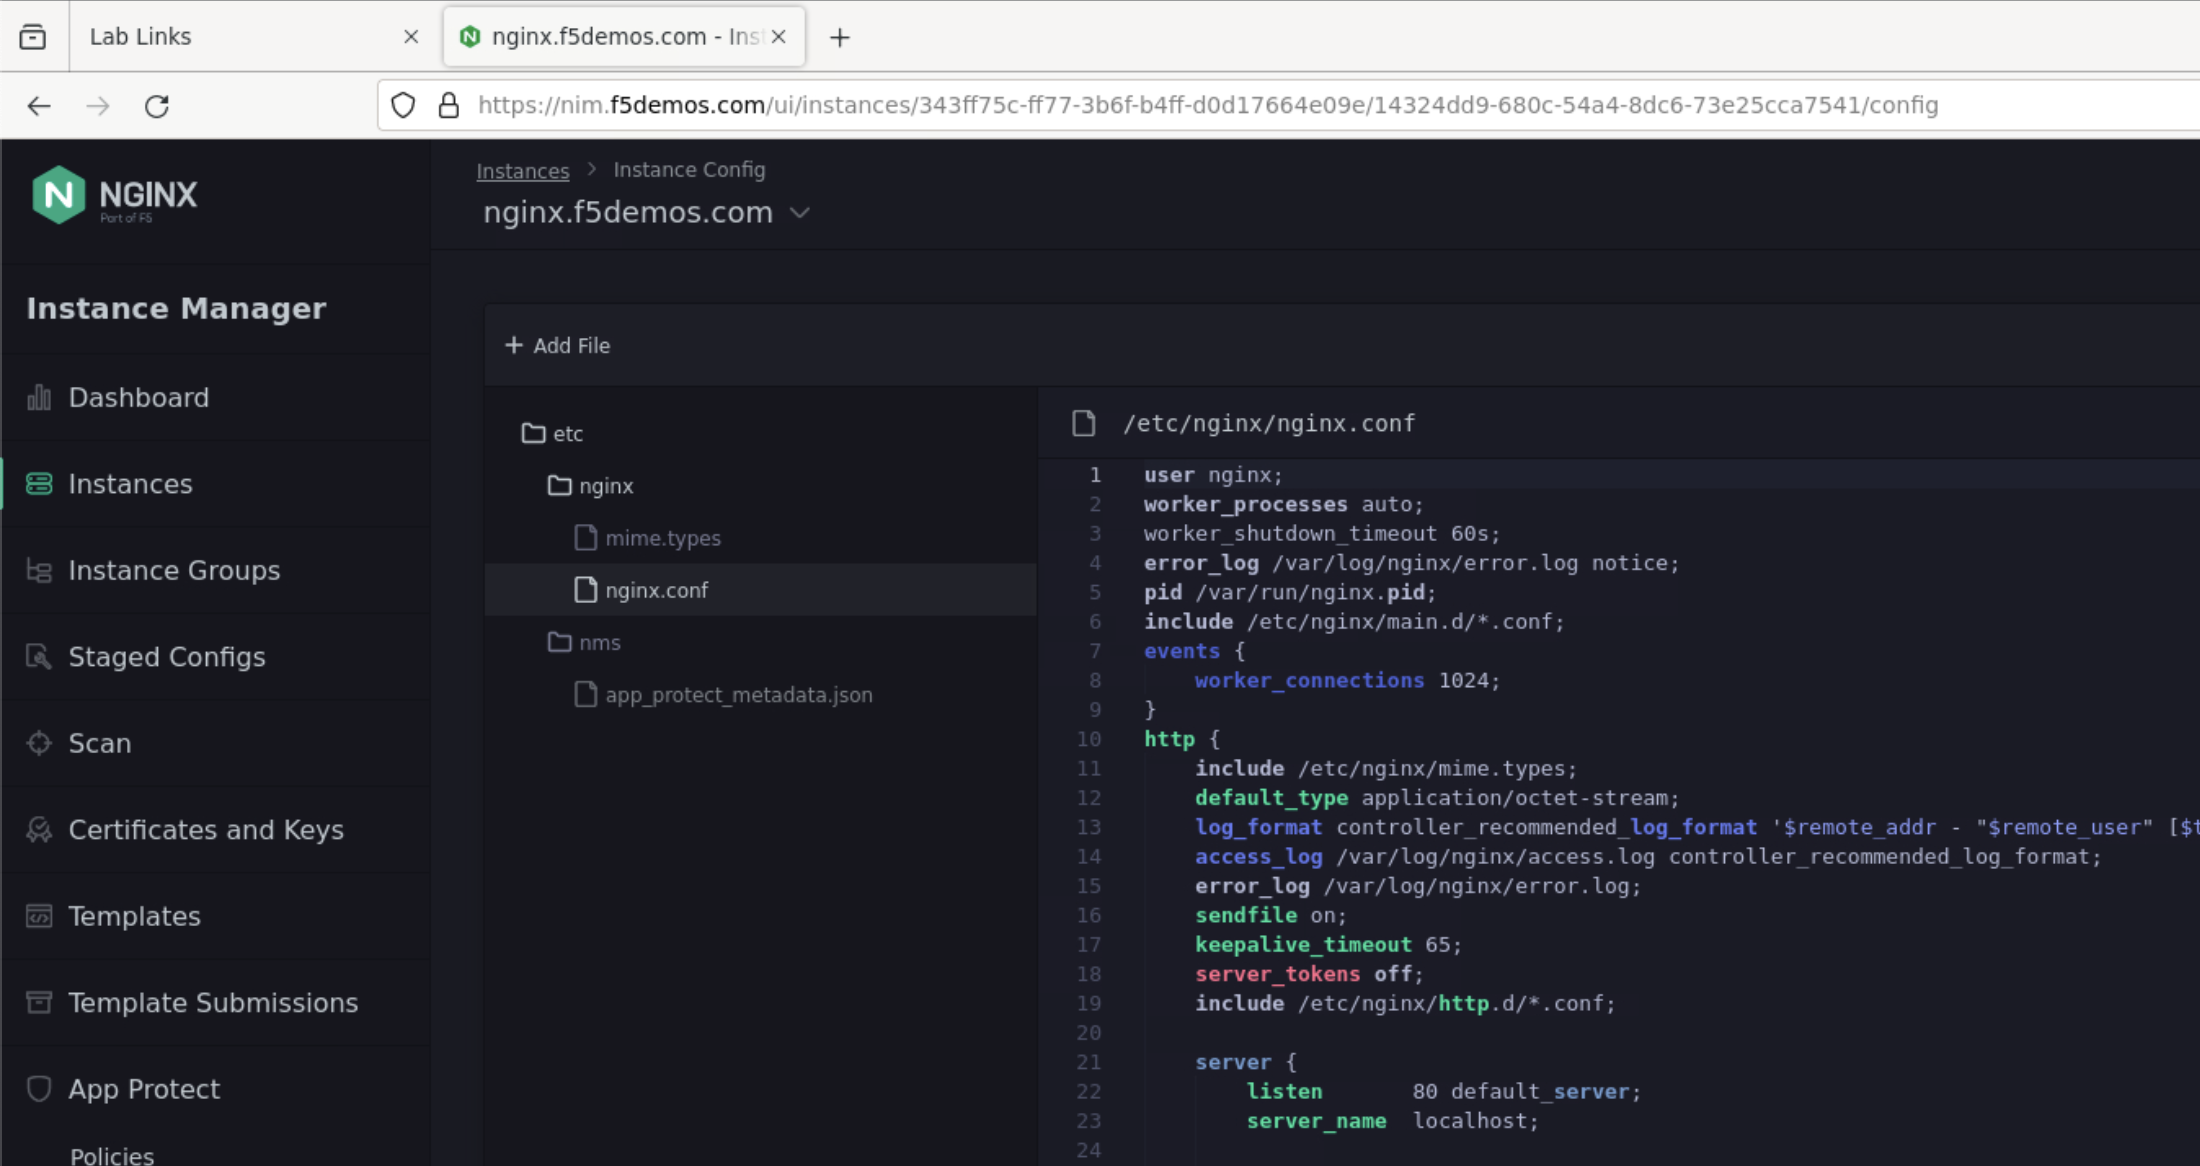
Click Edit Config near the top right of the window.
You will see the NIM config editor, displaying the existing state of the NGINX configuration files in the instance. As a reminder, the configuration has not been customized for the application we will be hosting in this lab.
Feel free to check out other tabs. There are many other options in NIM such as Certificate Management and NGINX App Protect WAF management.
Today we are focusing on Templates.