NGINX Modern Apps > Class 14 – Operationalize NGINX One Configuration and Enable Self-Service through Templates > Introduction Source | Edit on
Configure NGINX Using a Template
Paul has been interested in ways to make his job easier while enabling others in his organization to be self-sufficient. To this end, Paul has developed a base template for NIM to deploy proxy services for applications using his organizations preferred configuration practices. Paul is one of a few in his organization that is comfortable with NGINX configuration, so he wants to make it easy for others to be able to deploy their applications on NGINX.
Acting as Paul, you will test the template imported in the previous section by actually deploying it to provide an HTTP proxy for the Juice Shop application. We will then use the template to configure and deploy the PyGoat application. The PyGoat application has already been installed on the workloads server for you.
Application 1 - Basic Proxy for Juice Shop
In a new Firefox tab, enter nginx.f5demos.com, which is the hostname of the NGINX server.
You will see a generic Welcome to nginx page.
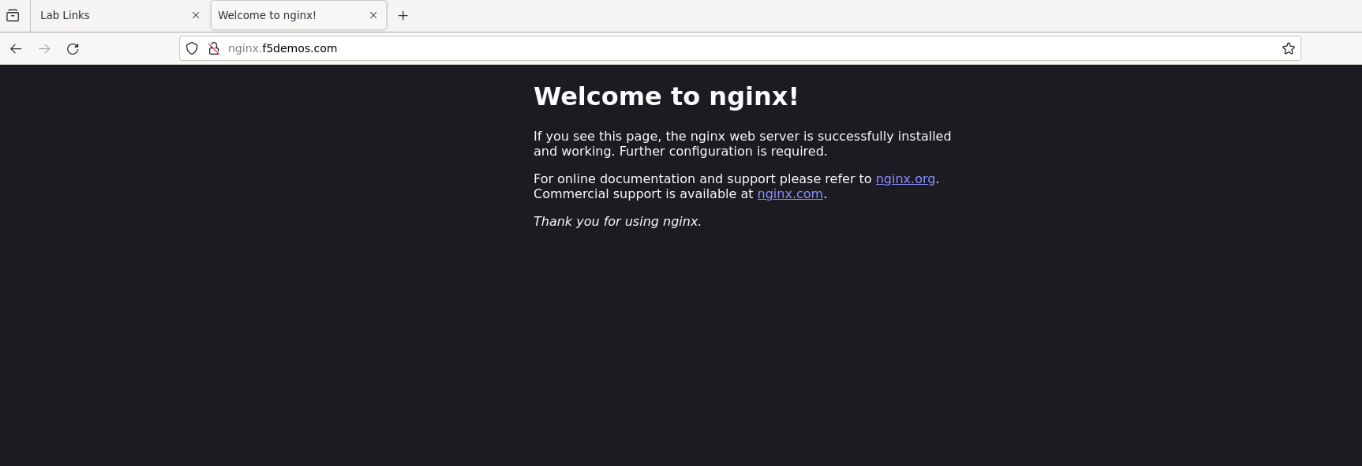
NGINX (nginx.f5demos.com) has not been configured to proxy traffic to any of our applications, and it is configured as a basic web server by default. We will configure port 8080 on the nginx.f5demos.com host to do this.
Back in the NIM tab, click Templates in the left navigation.
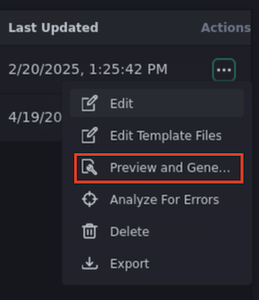
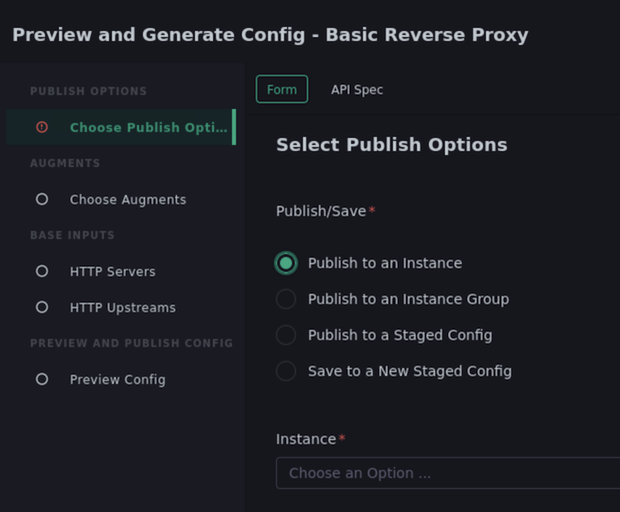
At the right side of the Basic Reverse Proxy template there will be a … menu in the Actions column. Click that, then select Preview and Generate. This will present a series of input forms to collect information for the new NGINX HTTP proxy configuration deployment.
Select the Publish to an instance radio button.
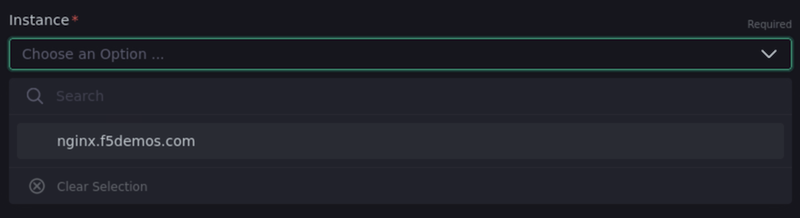
In the instance dropdown menu, select nginx.f5demos.com. This is an NGINX Plus instance that we accessed earlier and is already managed by NIM.
Click Next at the bottom right of the page.
We are not using Augment Templates in this section of the lab so click Next for Choose Augments.
In the HTTP Servers view, click the Add HTTP Servers link. This will reveal a new form to collect server information.
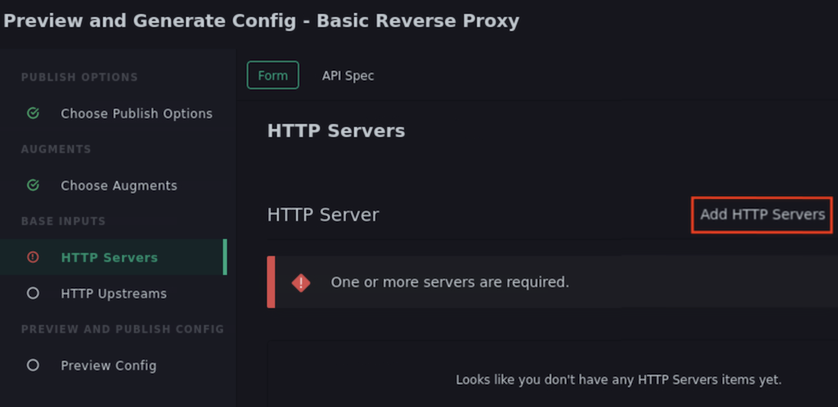
Enter the following data in the Listen section:
Item Value Listen Port 8080 Default Server true Scroll down to Server Locations and click Add Server Locations.
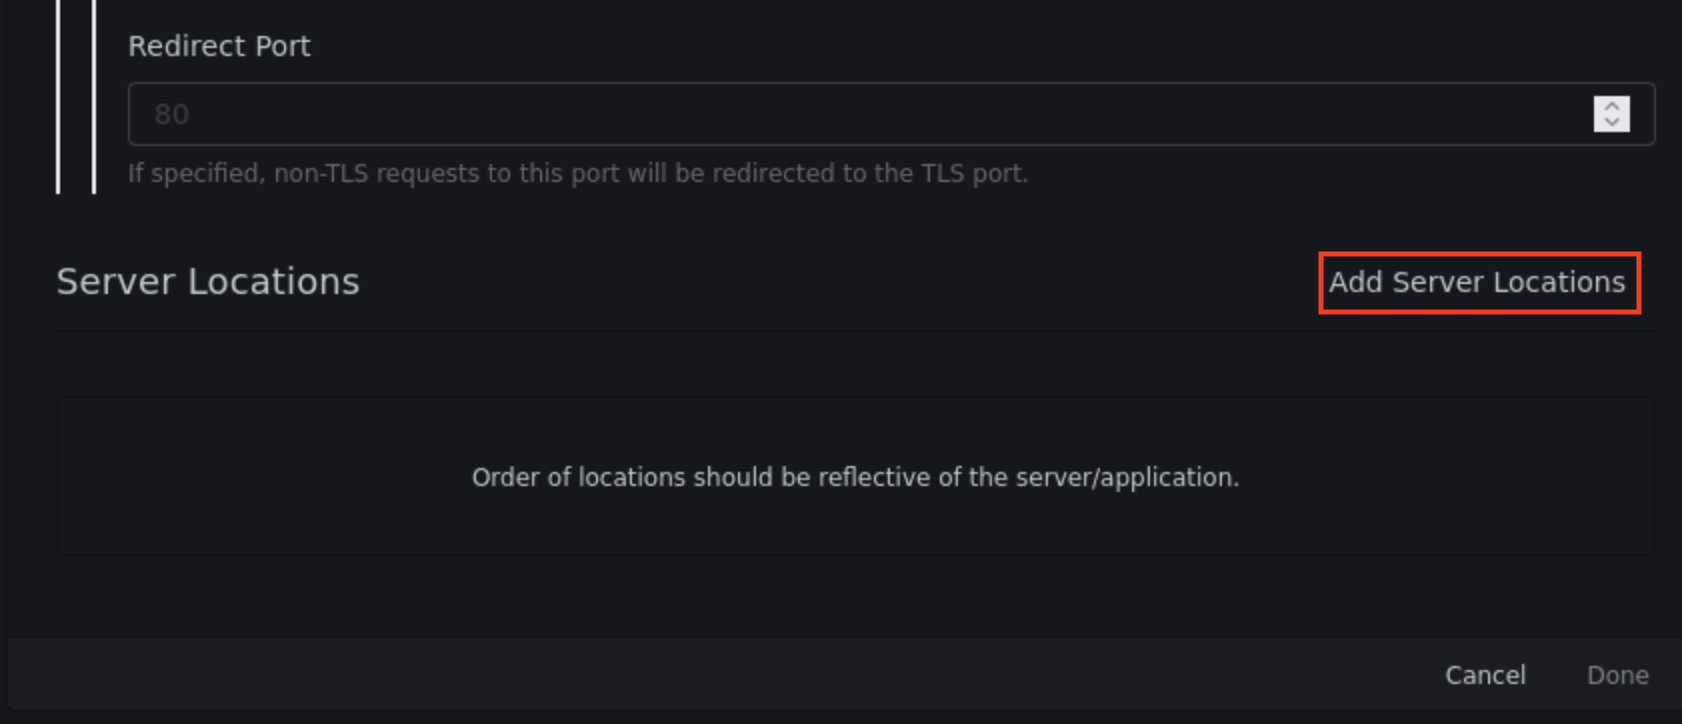
Enter the following data in this section (workloads.f5demos.com:9000 is the host that contains one of our applications):
Item Value Location Match Strategy Prefix URI / Upstream Name workloads.f5demos.com:9000 Click Next. We won’t configure an HTTP Upstream for this example.
Click Next. This will show you a preview of the config generated from the templates.
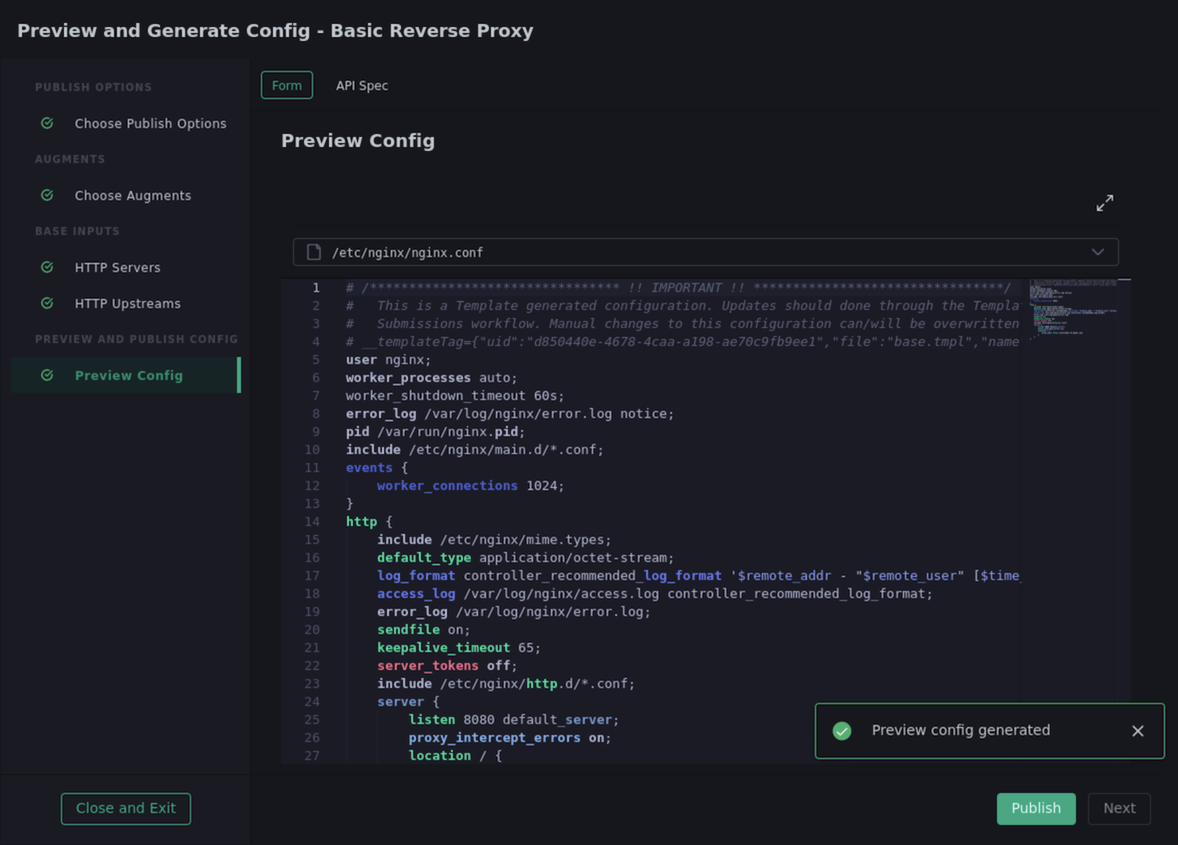
Click the filename dropdown (currently displaying /etc/nginx/nginx.conf) at the top of the screen. Click /etc/nginx.mime.types file. As a convenience, this base template also creates this file for you, and will publish it to the instance in addition to the main nginx.conf file.
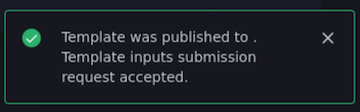
Click the Publish button. If successful, you should see a message indicating so.
Click Close and Exit at the bottom middle of the page to close the Templates window.

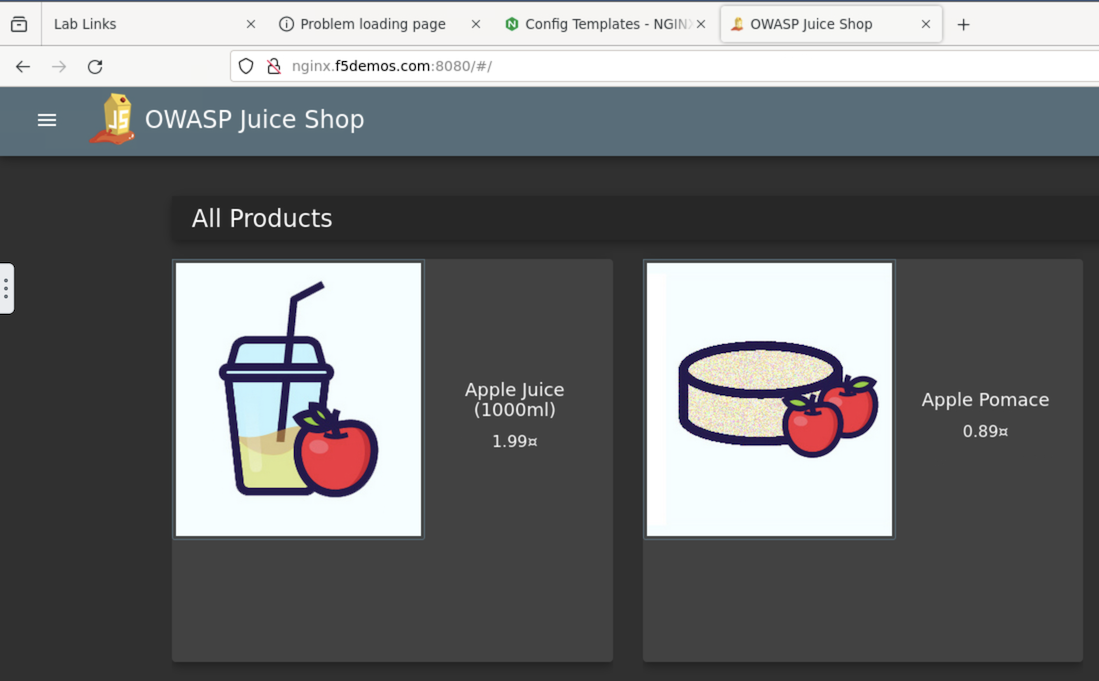
In a new Firefox tab, enter http://nginx.f5demos.com:8080, which is the hostname and port of the applciation we just published. You should see the Juice Shop application.
You can close the Juice Shop tab in Firefox.
What did we just do? Based on the data we entered, we intend to configure an NGINX configuration file that:
- Creates a new HTTP Server
- Listens on port 8080
- Will be the default HTTP server
- Creates a single location using the / path prefix
- Ensure requests made to this location will pass traffic to a Juice Shop application running on the workloads.f5demos.com server