NGINX Modern Apps > Class 14 – Operationalize NGINX One Configuration and Enable Self-Service through Templates > Introduction Source | Edit on
Configure PyGoat Application Using a Template
Application 2 - PyGoat
In this section, let’s configure NGINX with some additional parameters for the PyGoat application. Since the steps are mostly the same as in the previous section, we will not include all of the screenshots.
In the left navigation, click Templates.
At the right side of the Basic Reverse Proxy template there will be a … menu in the Actions column. Click that, then select Preview and Generate. This will present a series of input forms to collect information for the new NGINX HTTP proxy configuration deployment.
Select the Publish to an instance radio button.
In the instance dropdown menu, select nginx.f5demos.com. This is an NGINX Plus instance that is already managed by NIM.
You will see a message stating the Existing config will be replaced. This is expected in our lab since we just used the template to publish Juice Shop

Click Next.
In the Choose Augments view, click Next.
On the HTTP Servers view, click the Add HTTP Servers link. This will reveal a new form to collect server information.
Enter the following data in this section:
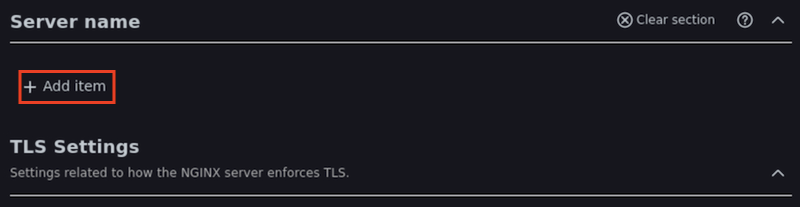
Item Value Server Label pygoat Listen Port 443 Default Server true Under Server name, click + Add item.
Enter the following data:
Item Value Server name pygoat.f5demos.com 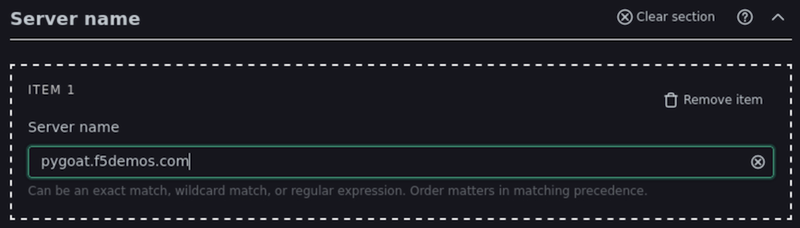
In the TLS Settings section, enter the following data:
Item Value Enable TLS TRUE TLS Certificate Path /etc/ssl/certs/wildcard.f5demos.com.crt.pem TLS Keyfile Path /etc/ssl/private/wildcard.f5demos.com.key.pem Redirect Port 80 
In the Server Locations section, click the Add Server Locations link.
Enter the following data in this section:
Item Value Location Match Strategy Prefix URI / Upstream Name pygoat-upstream Note: Do not enter any information into the Proxy Headers portion of the template form.
That was a lot of data entry! But what did we just do? Based on the data we entered into the HTTP Servers template, we intend to:
- Create a new HTTP Server called pygoat.f5demos.com
- This server should listen on port 443
- Will be the default HTTP server
- Will encrypt communications using TLS
- Reference an existing certificate and key for TLS
- Will redirect any HTTP traffic to HTTPS
- Create a single location using the / path prefix
- Requests made to this location will pass traffic to an upstream called pygoat-upstream
- No Proxy Headers were configured
But where is the upstream itself defined?
Click Next. You will be presented with a form to collect the details of the upstream server for the PyGoat application, which is hosted on the workloads.f5demos.com server.
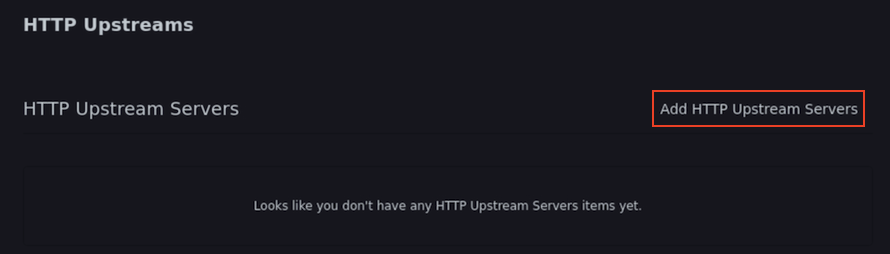
In the HTTP Upstreams section, click the Add HTTP Upstream Servers link.
Enter the following data in this section:
Item Value Upstream Name pygoat-upstream Load balancing strategy Round Robin In the Servers section, click +Add item.
Enter the following data in this section:
Item Value Host workloads.f5demos.com Port 8000 Down False Backup False Note: Do not enter any information into the Zone portion of the template form.
What did we configure in the HTTP Upstreams portion of the template?
- An upstream that is configured with a Round Robin load balancing strategy (unused now, but would be relevant if we had multiple upstream servers configured)
- A single upstream server, located at workloads.f5demos.com on port 8000 was configured
- This server was not set to Down
- This server was not set as a Backup server
- No Zones were configured
> Note: the value pygoat-upstream was entered into both the HTTP Servers and HTTP Upstreams templates. Why? This unique identifier needed to match so the templating system could properly correlate these objects together even though they were configured on different pages of the template.
Click Next. This will show you a preview of the config generated from the templates.
Click the filename dropdown (currently displaying /etc/nginx/nginx.conf) at the top of the screen. Click /etc/nginx.mime.types file. As a convenience, this base template also creates this file for you, and will publish it to the instance in addition to the main nginx.conf file.
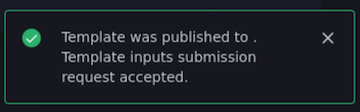
Click the Publish button. If successful, you should see a message indicating so.
Click the Close and Exit button.
Click Template Submissions in the left navigation.
You should see that the Basic Reverse Proxy has been deployed to 1 instance:
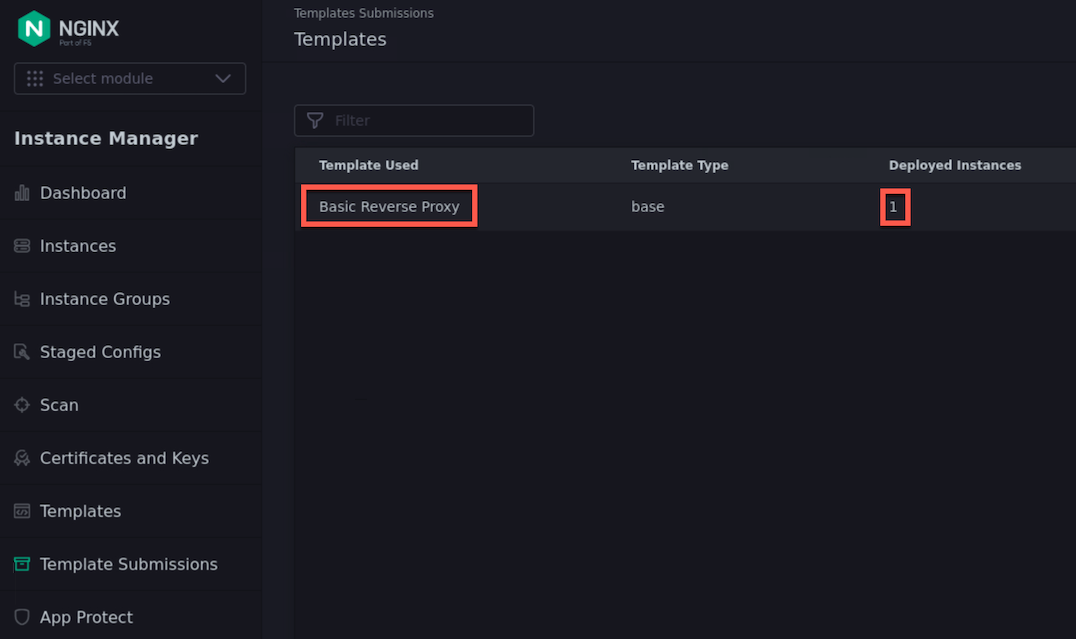
Click on the Basic Reverse Proxy row. Details of the template submission appear.
At the right side of the nginx.f5demos.com row, there will be a … menu in the Actions column. Click that, then select Edit Submission.
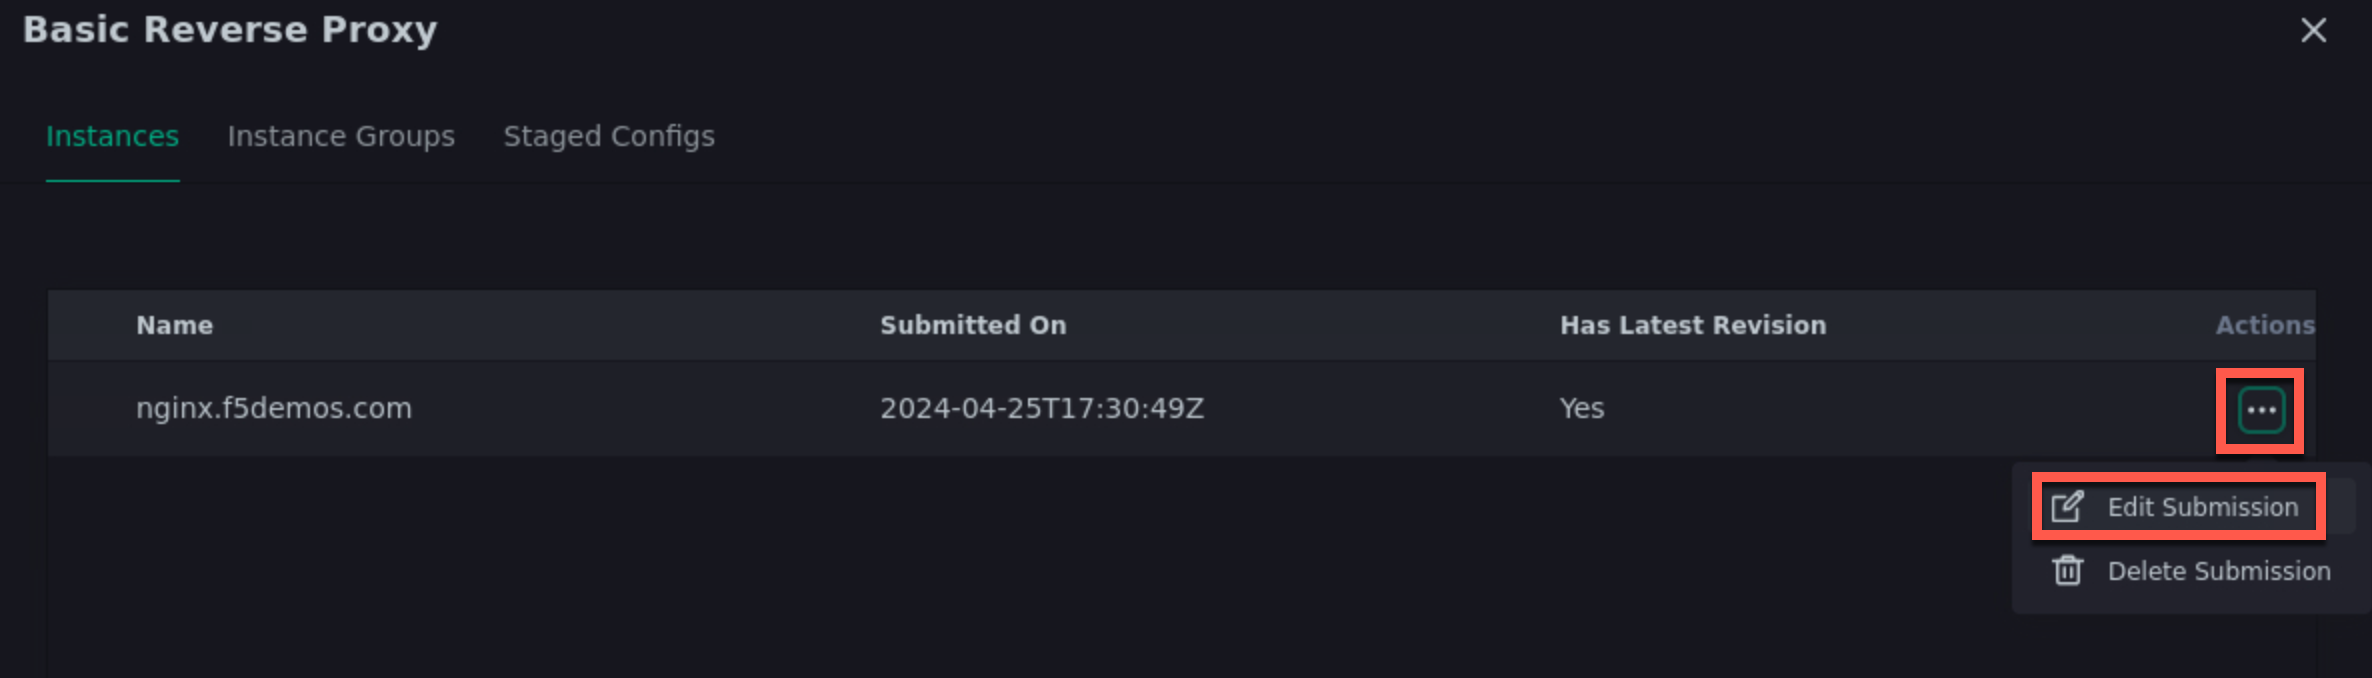
If we wanted to make changes to the submission, we could simply edit the values here, and publish configuration as we did before.
Test the Deployed Configuration
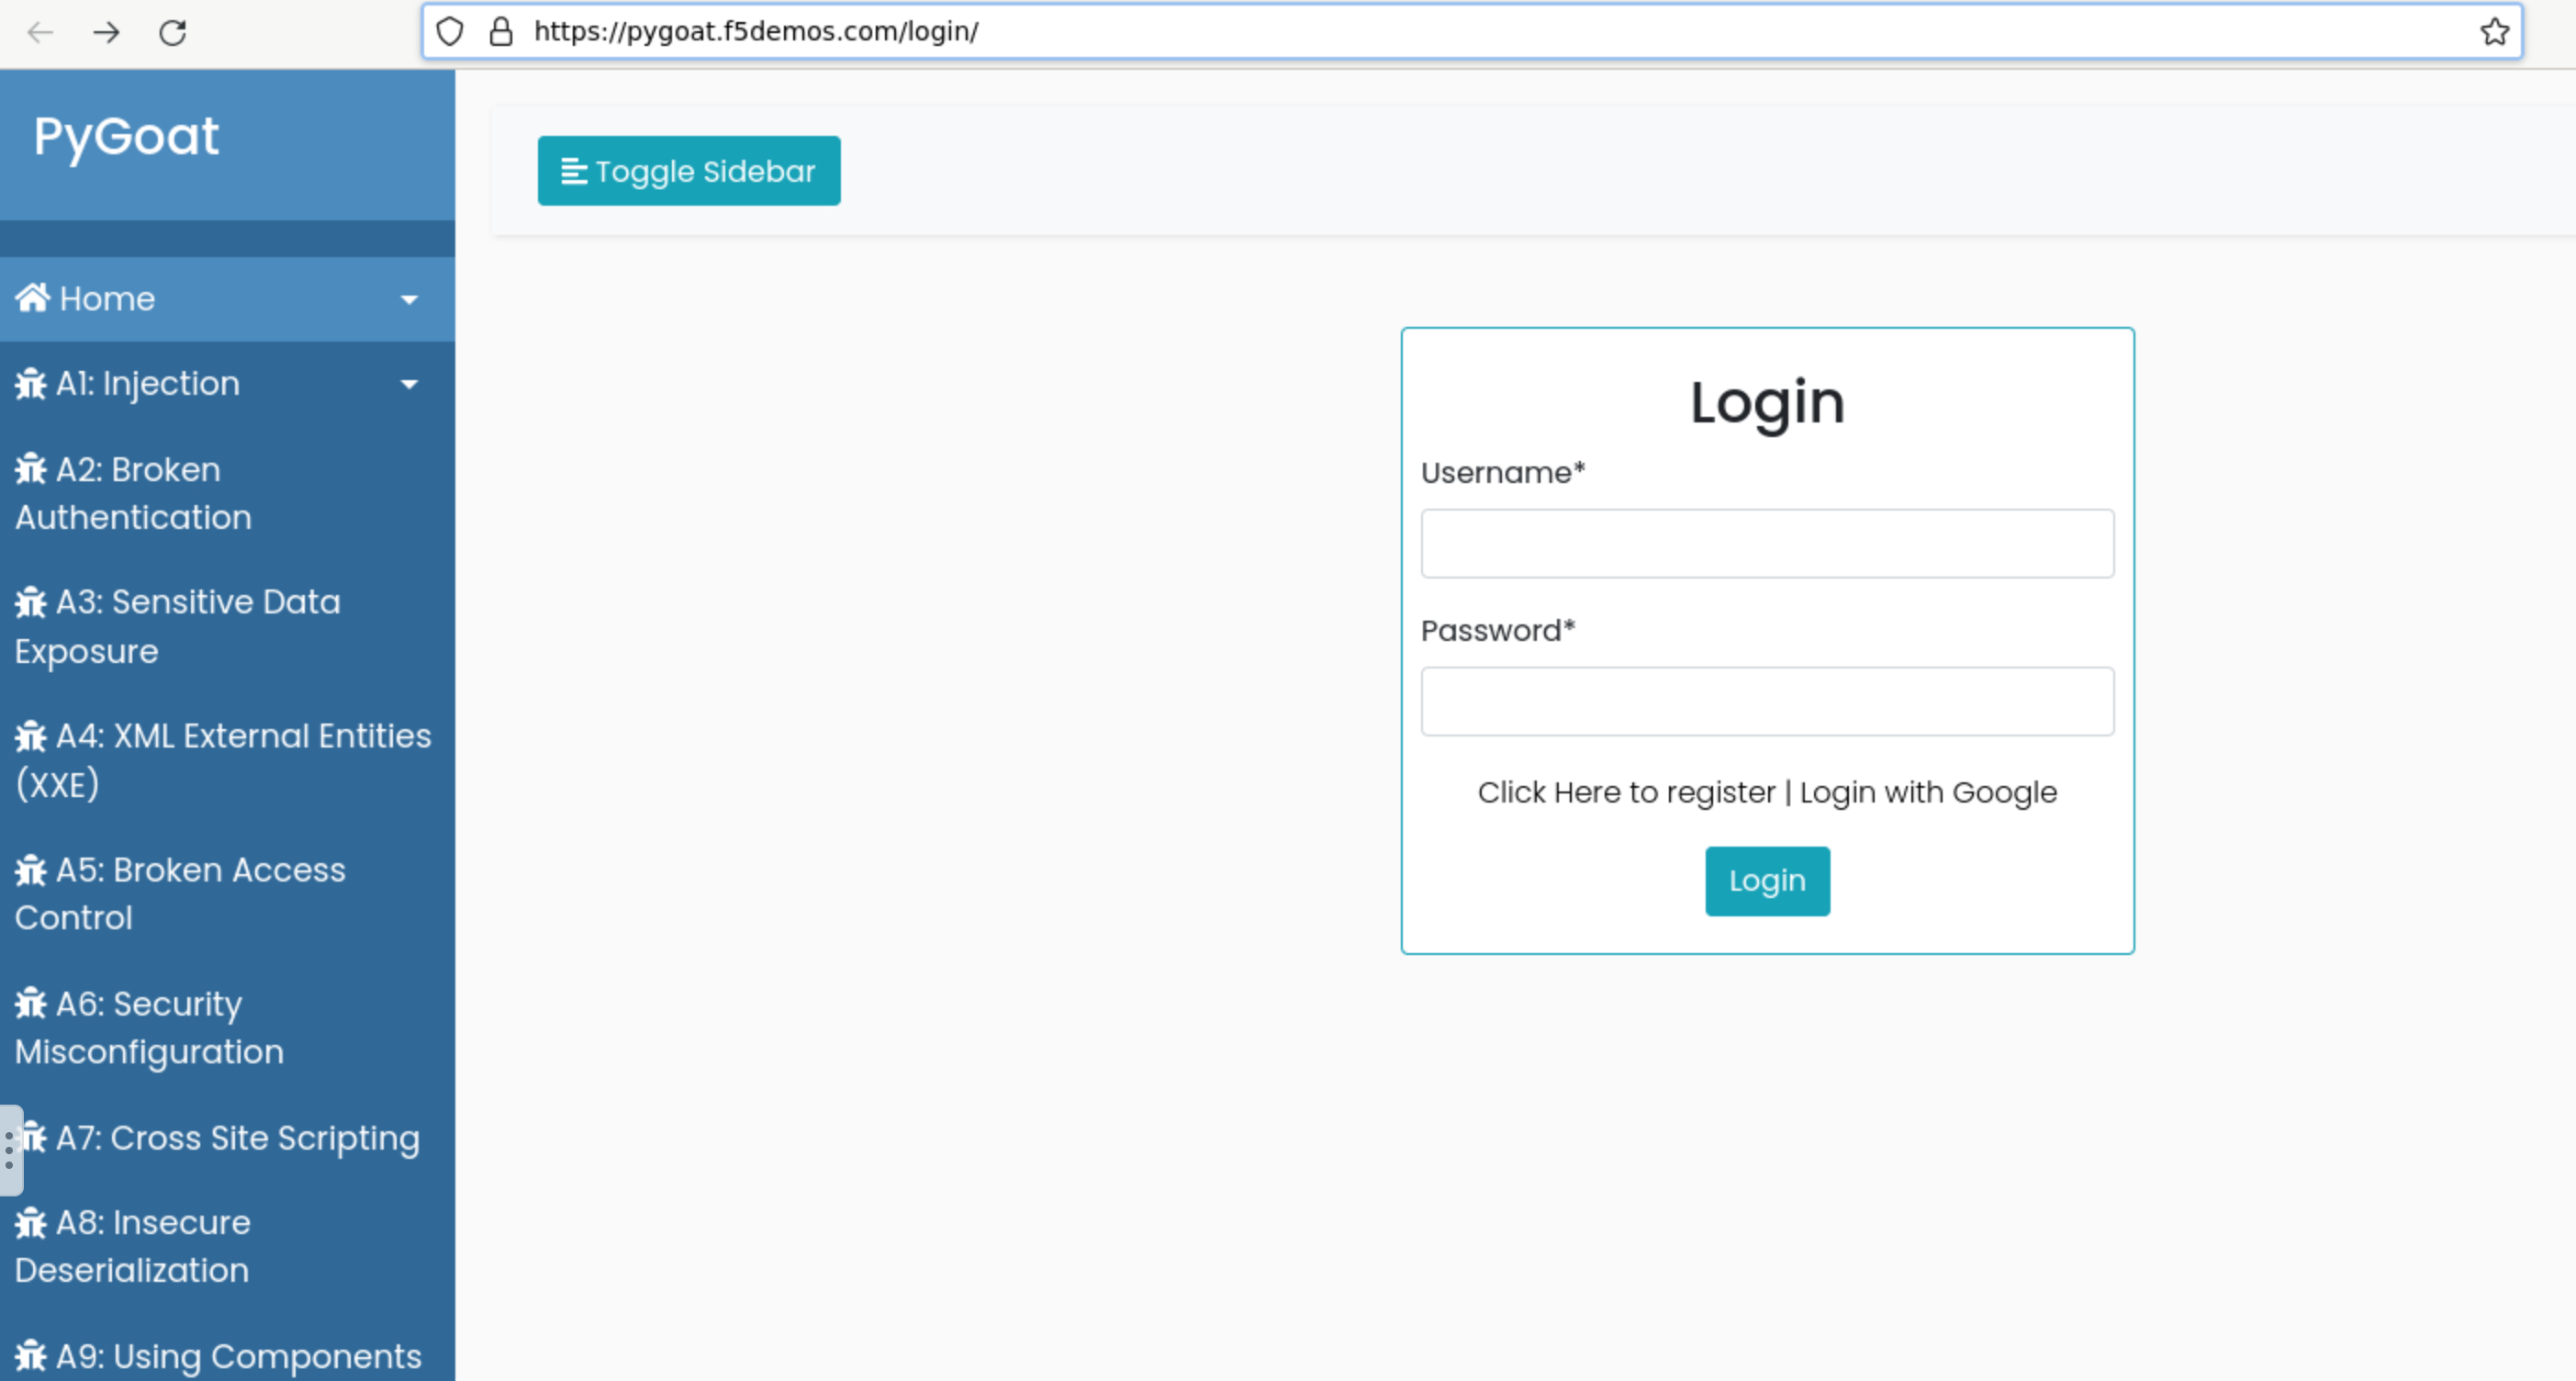
Back in the FireFox Lab Links tab, click on the PyGoat Web Application link once again. The application should load now: