NGINX Modern Apps > Class 5 - NGINX App Protect WAF & DoS > Module 1 - Test Driving NGINX Plus with App Protect WAF and NGINX Instance Manager Source | Edit on
Modify the WAF Policy to Resolve an App Issue
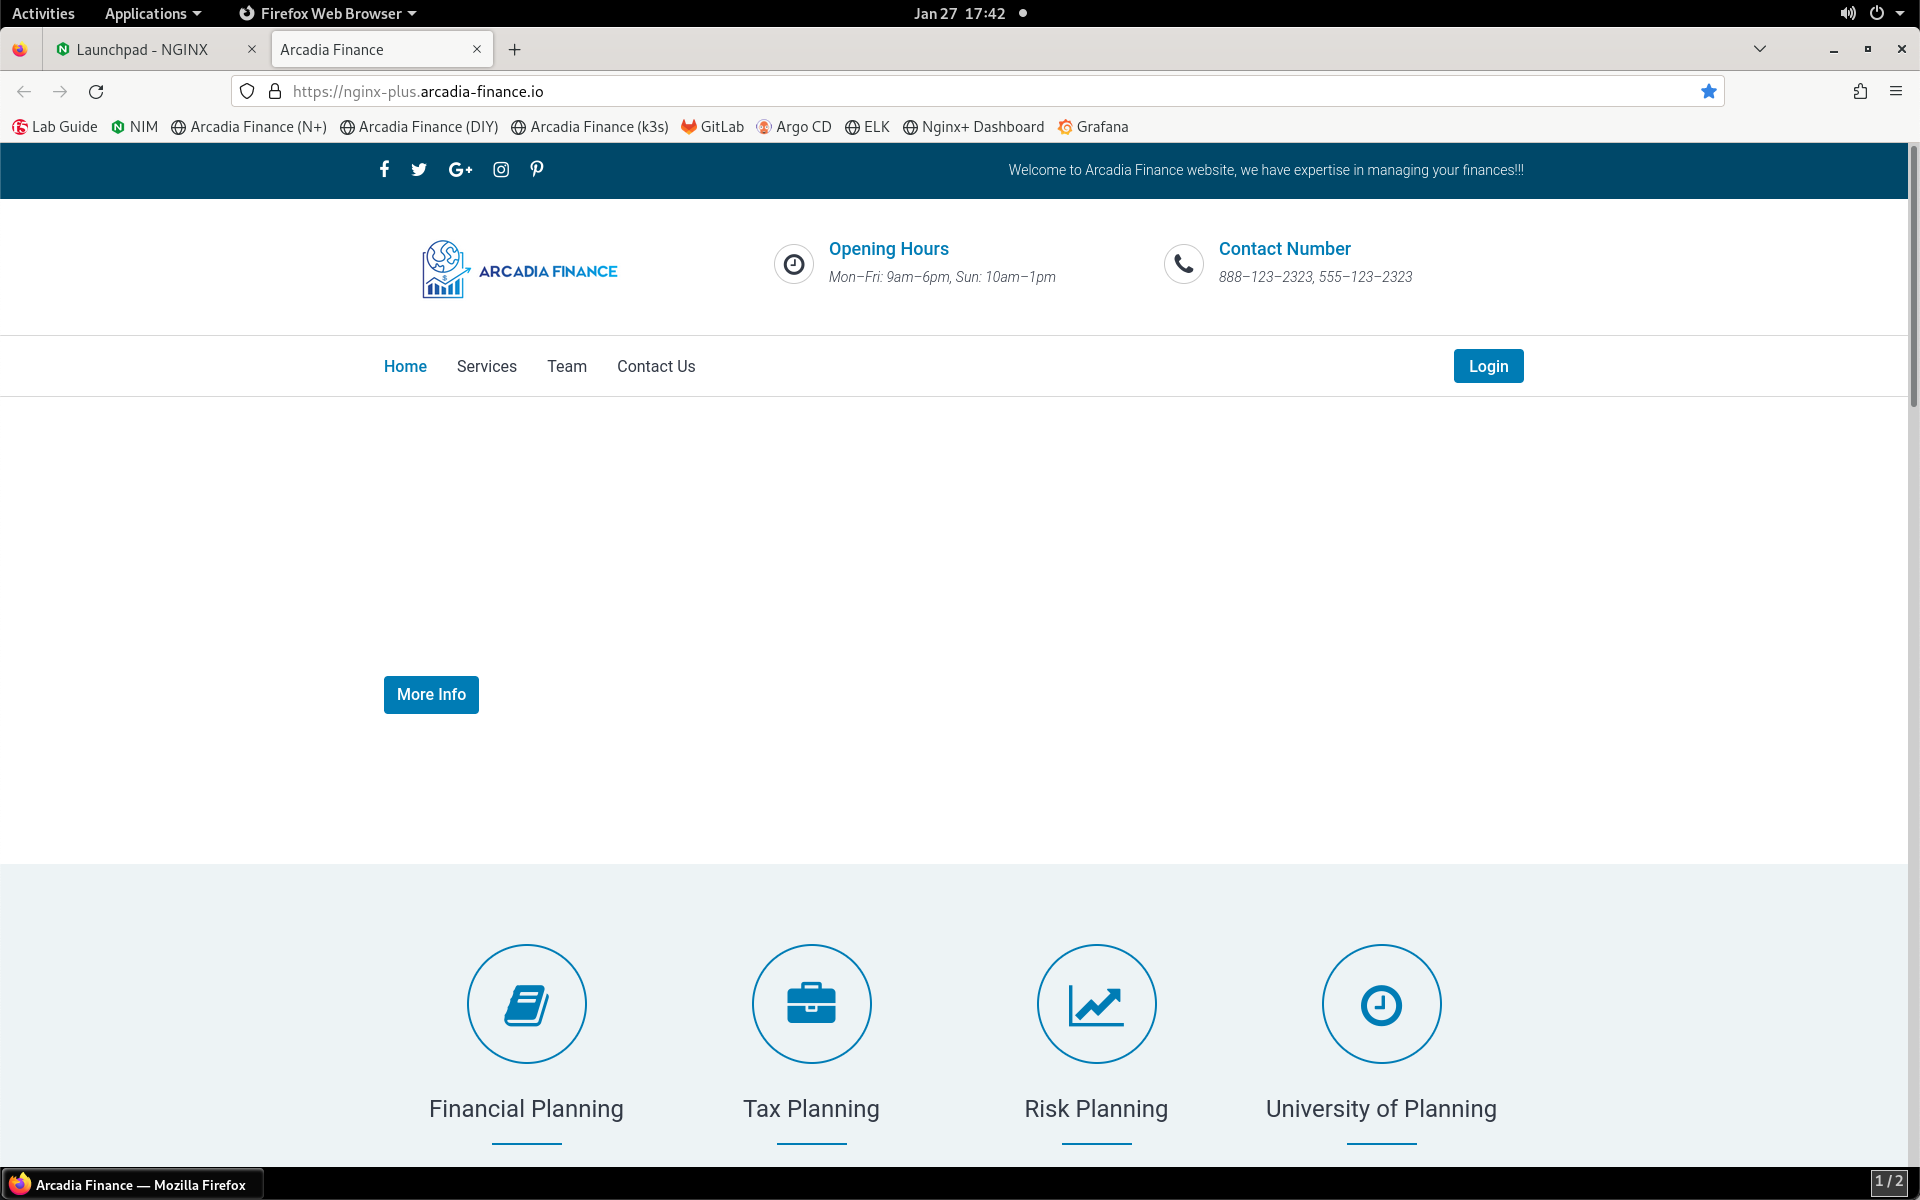
- In Firefox, open a new tab, then click the Arcadia Finance (N+) bookmark or navigate to https://nginx-plus.arcadia-finance.io/.

- You should see a partially blank page load as shown below.
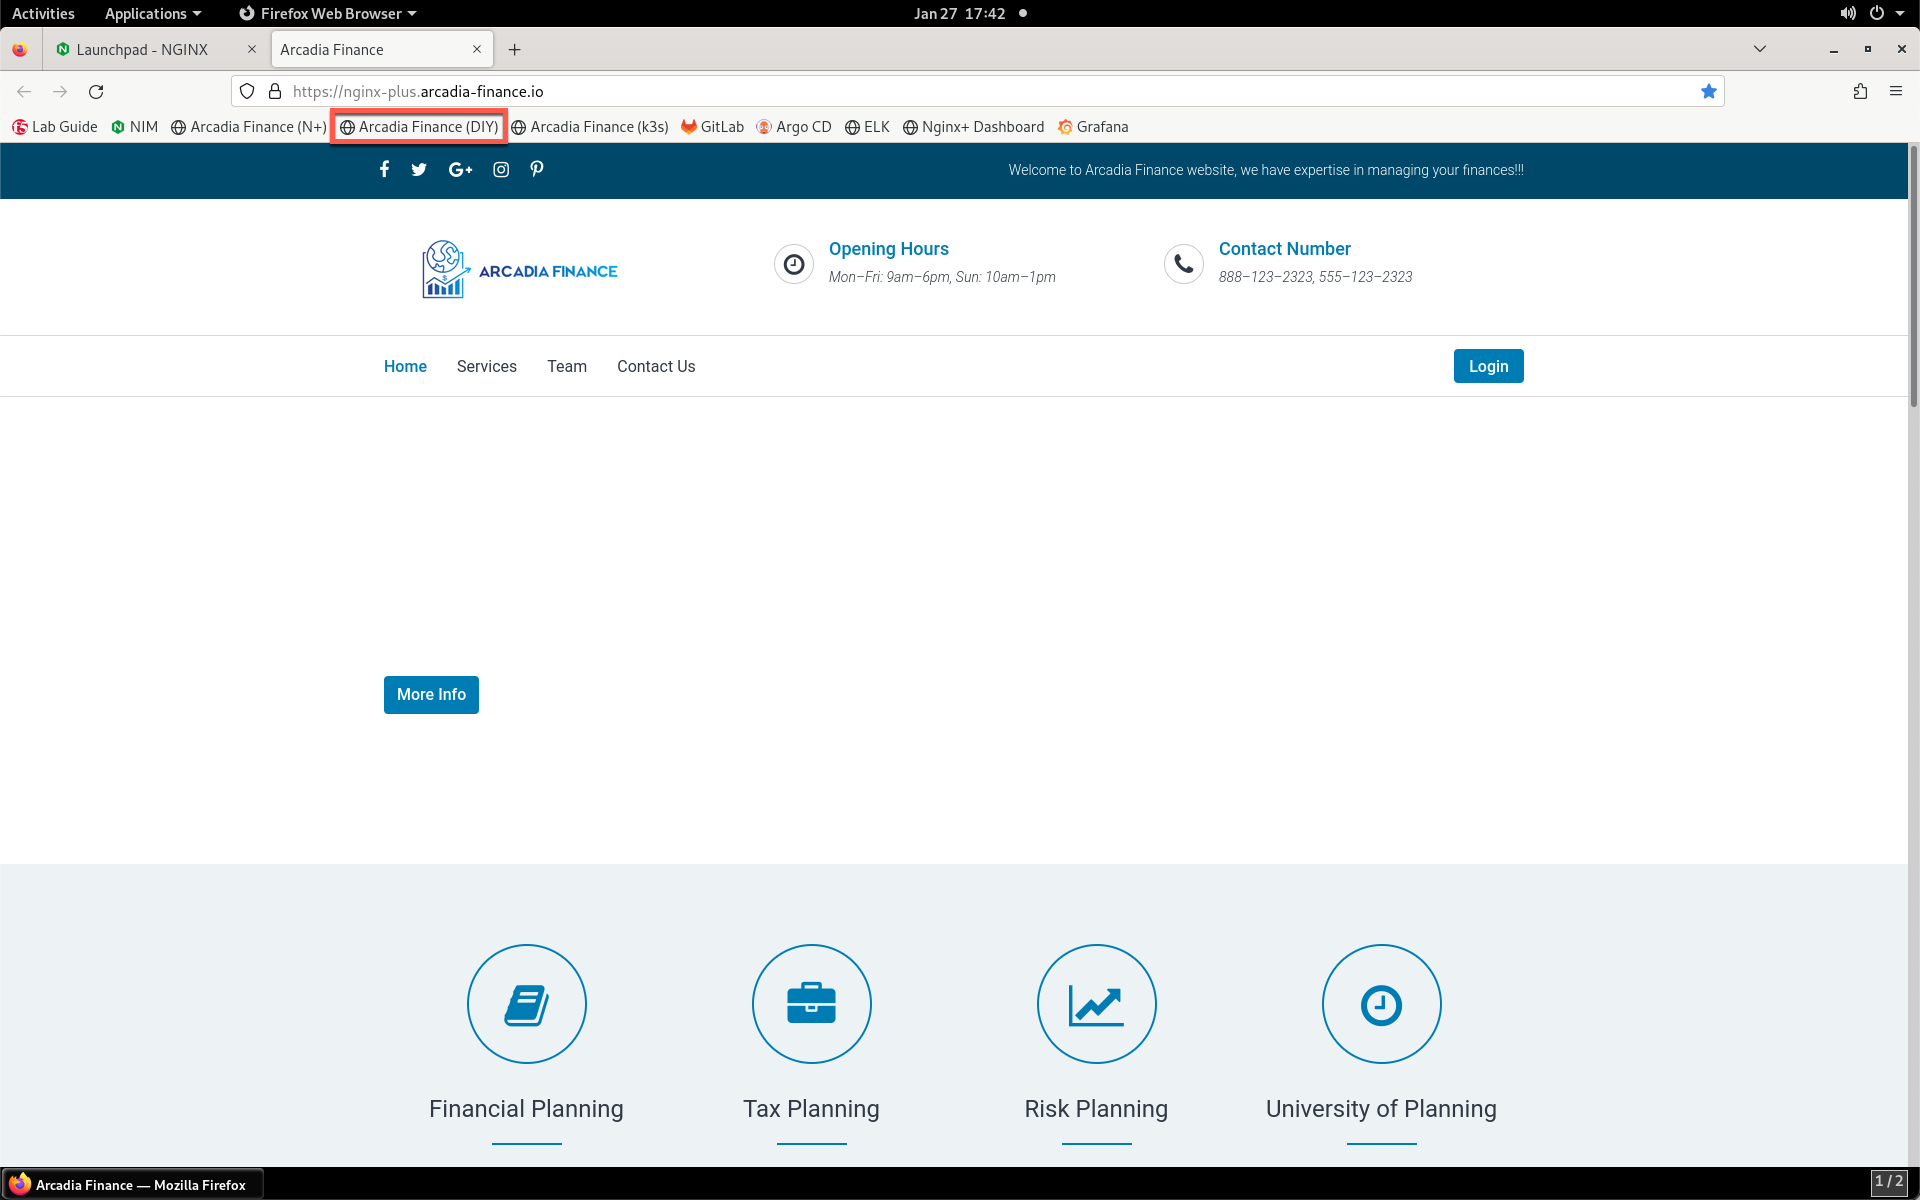
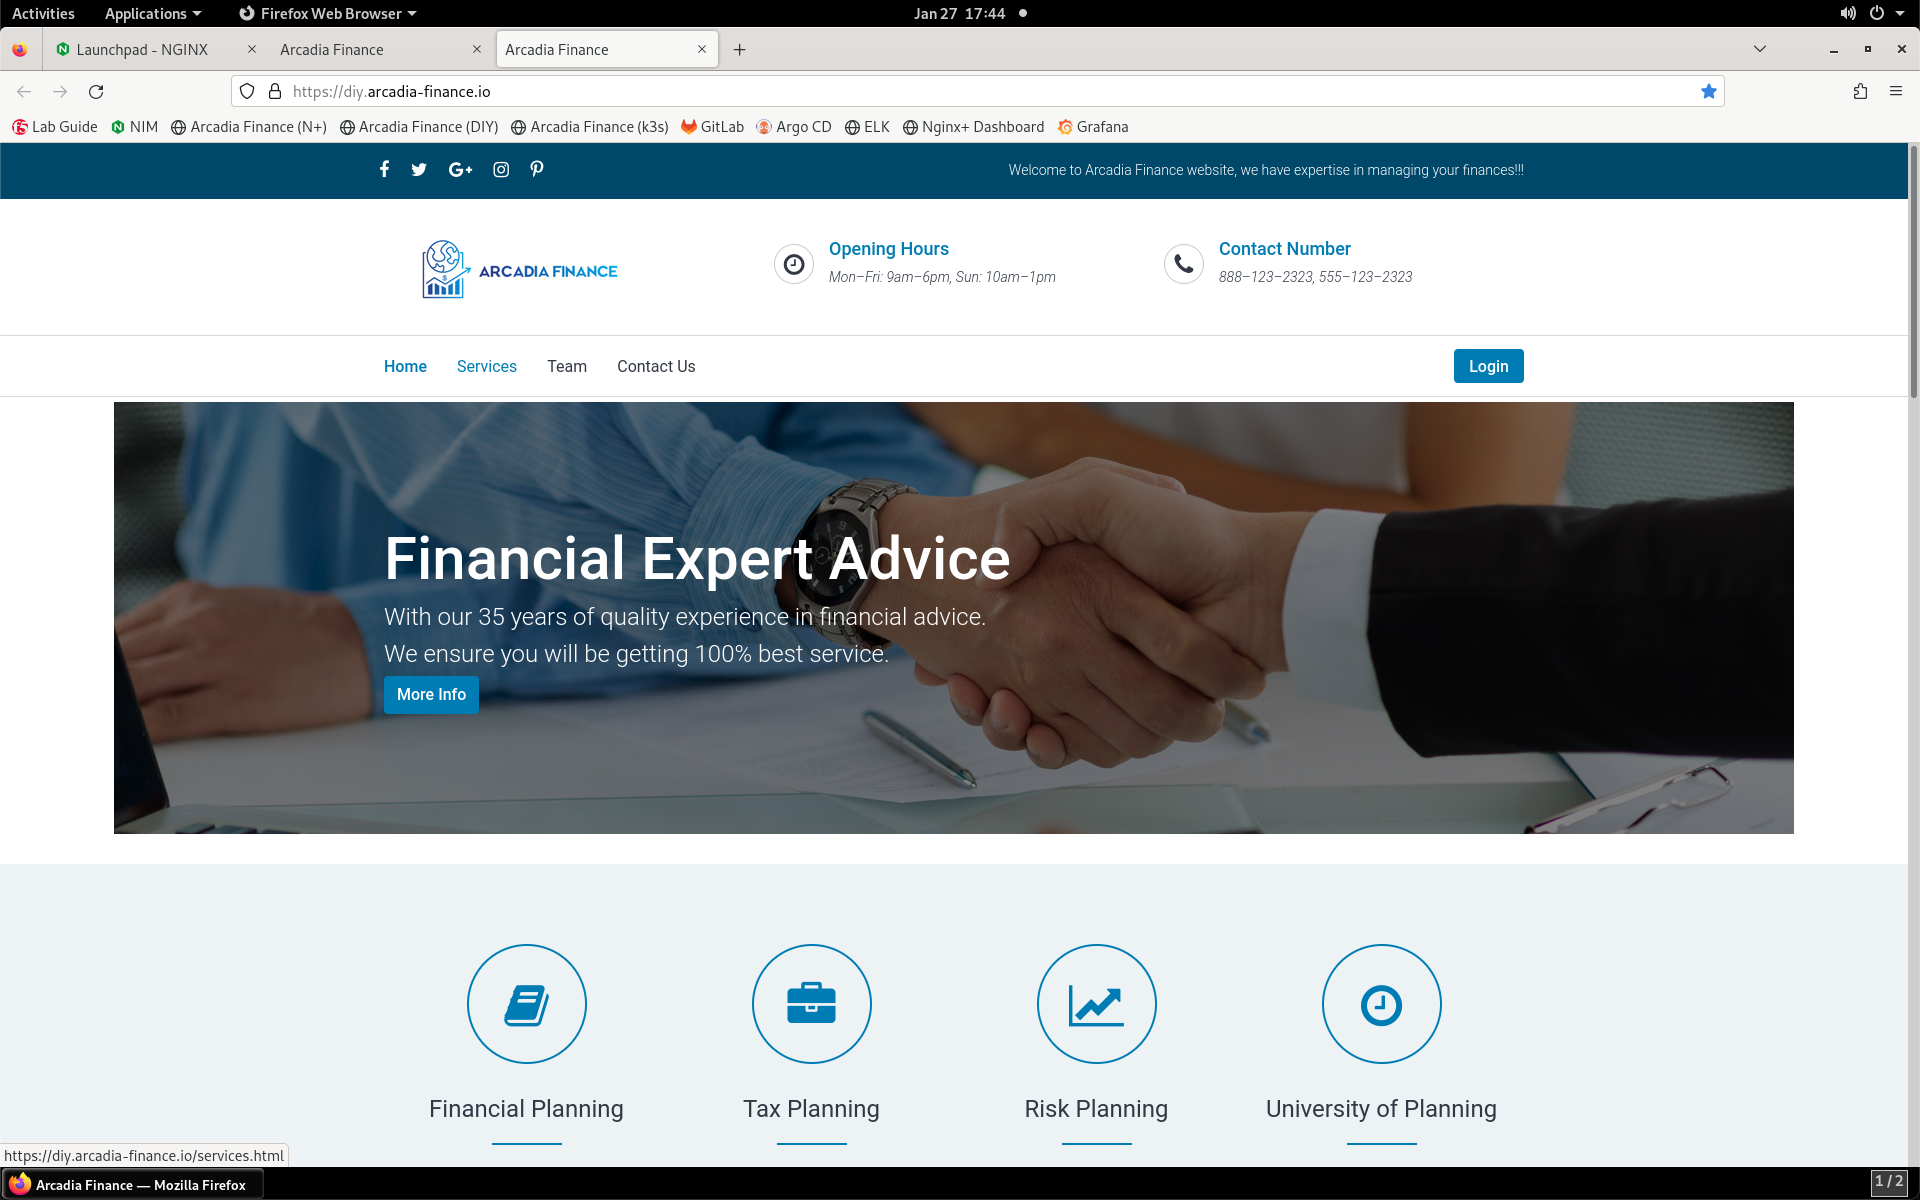
- Now, click on the Arcadia Finance (DIY) bookmark or navigate to https://diy.arcadia-finance.io/.
- Notice that this page includes more images than the Arcadia Finance (N+) page.
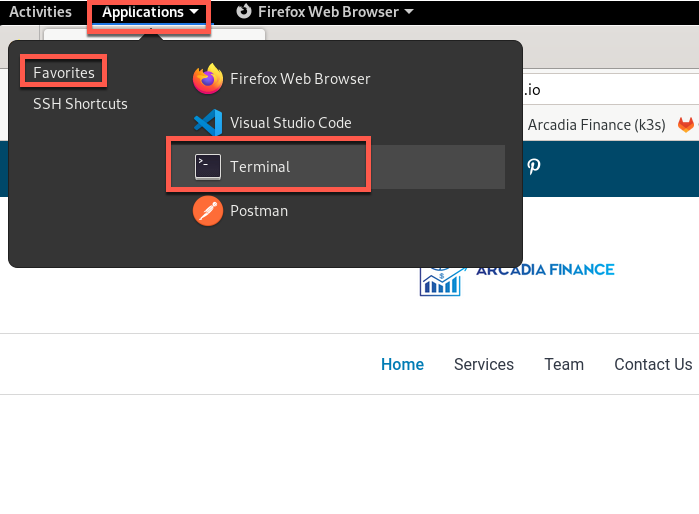
- Load the Arcadia Finance (N+) bookmark again. Now, we will make a request for the missing image in the blank section of the web page. In your Jump Server RDP session, click Applications and then Terminal.
- In the terminal window that opens, enter the command below.
curl -X POST -k -H "host: nginx-plus.arcadia-finance.io" "https://nginx-plus-1.appworld.lab/images/slider/slide-img-3.jpg" |& sed 's/>/>\n/gI'
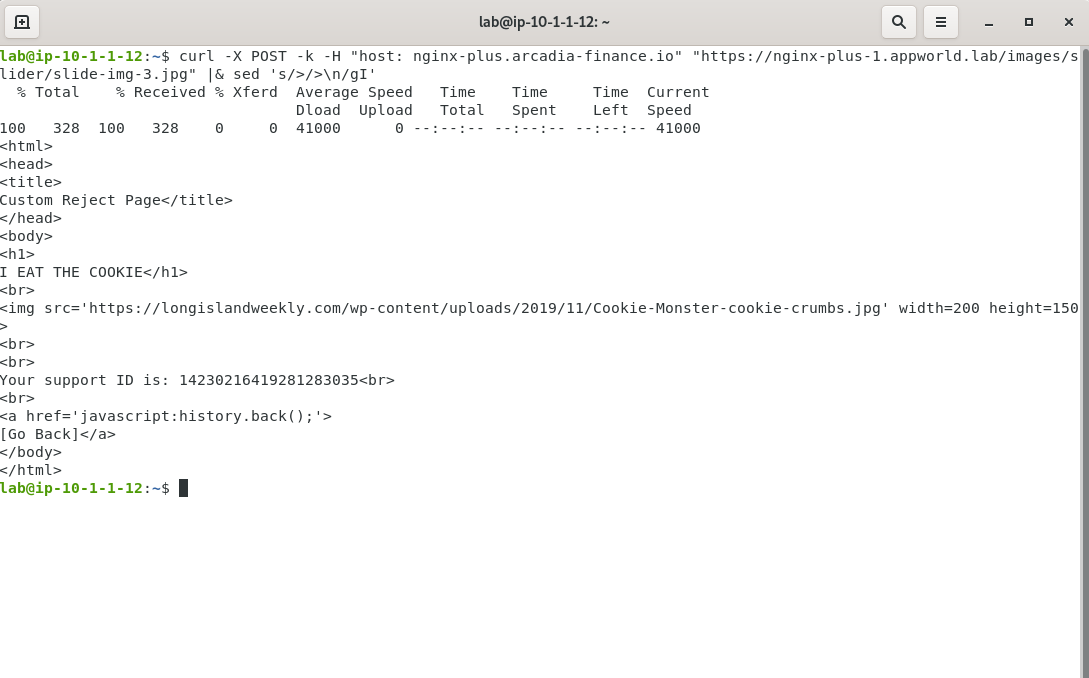
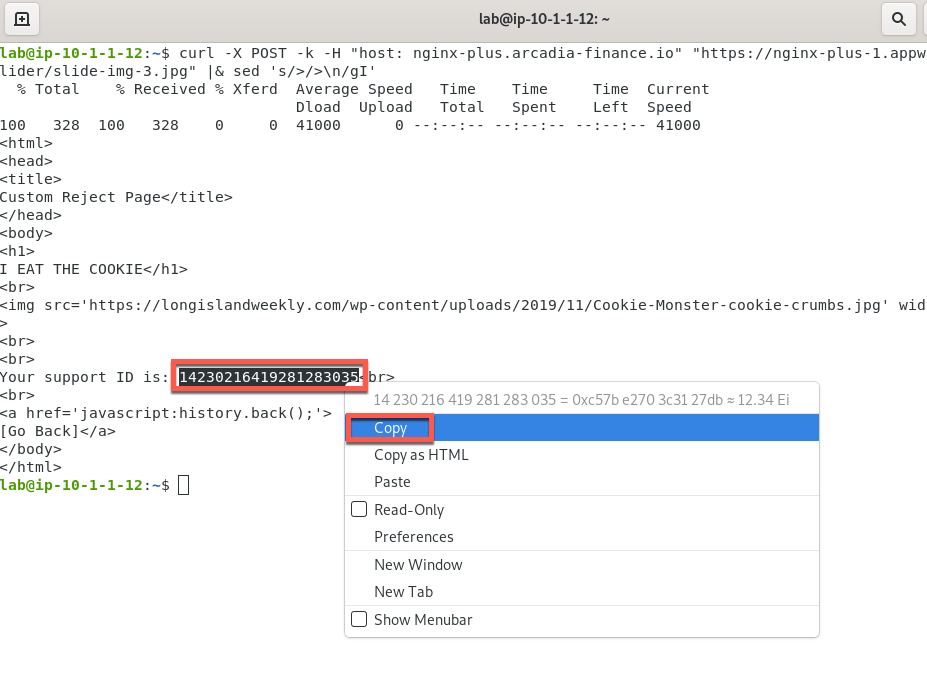
- NGINX App Protect intercepted the request and responded with this custom page. Notice that a support ID is generated in the terminal output. You can use this ID to identify the cause of the image block. Select and copy this value so that you can search for it in SM.
- Return to NIM and navigate to Security Monitoring by clicking the drop-down in the top left of the screen and selecting Security Monitoring.
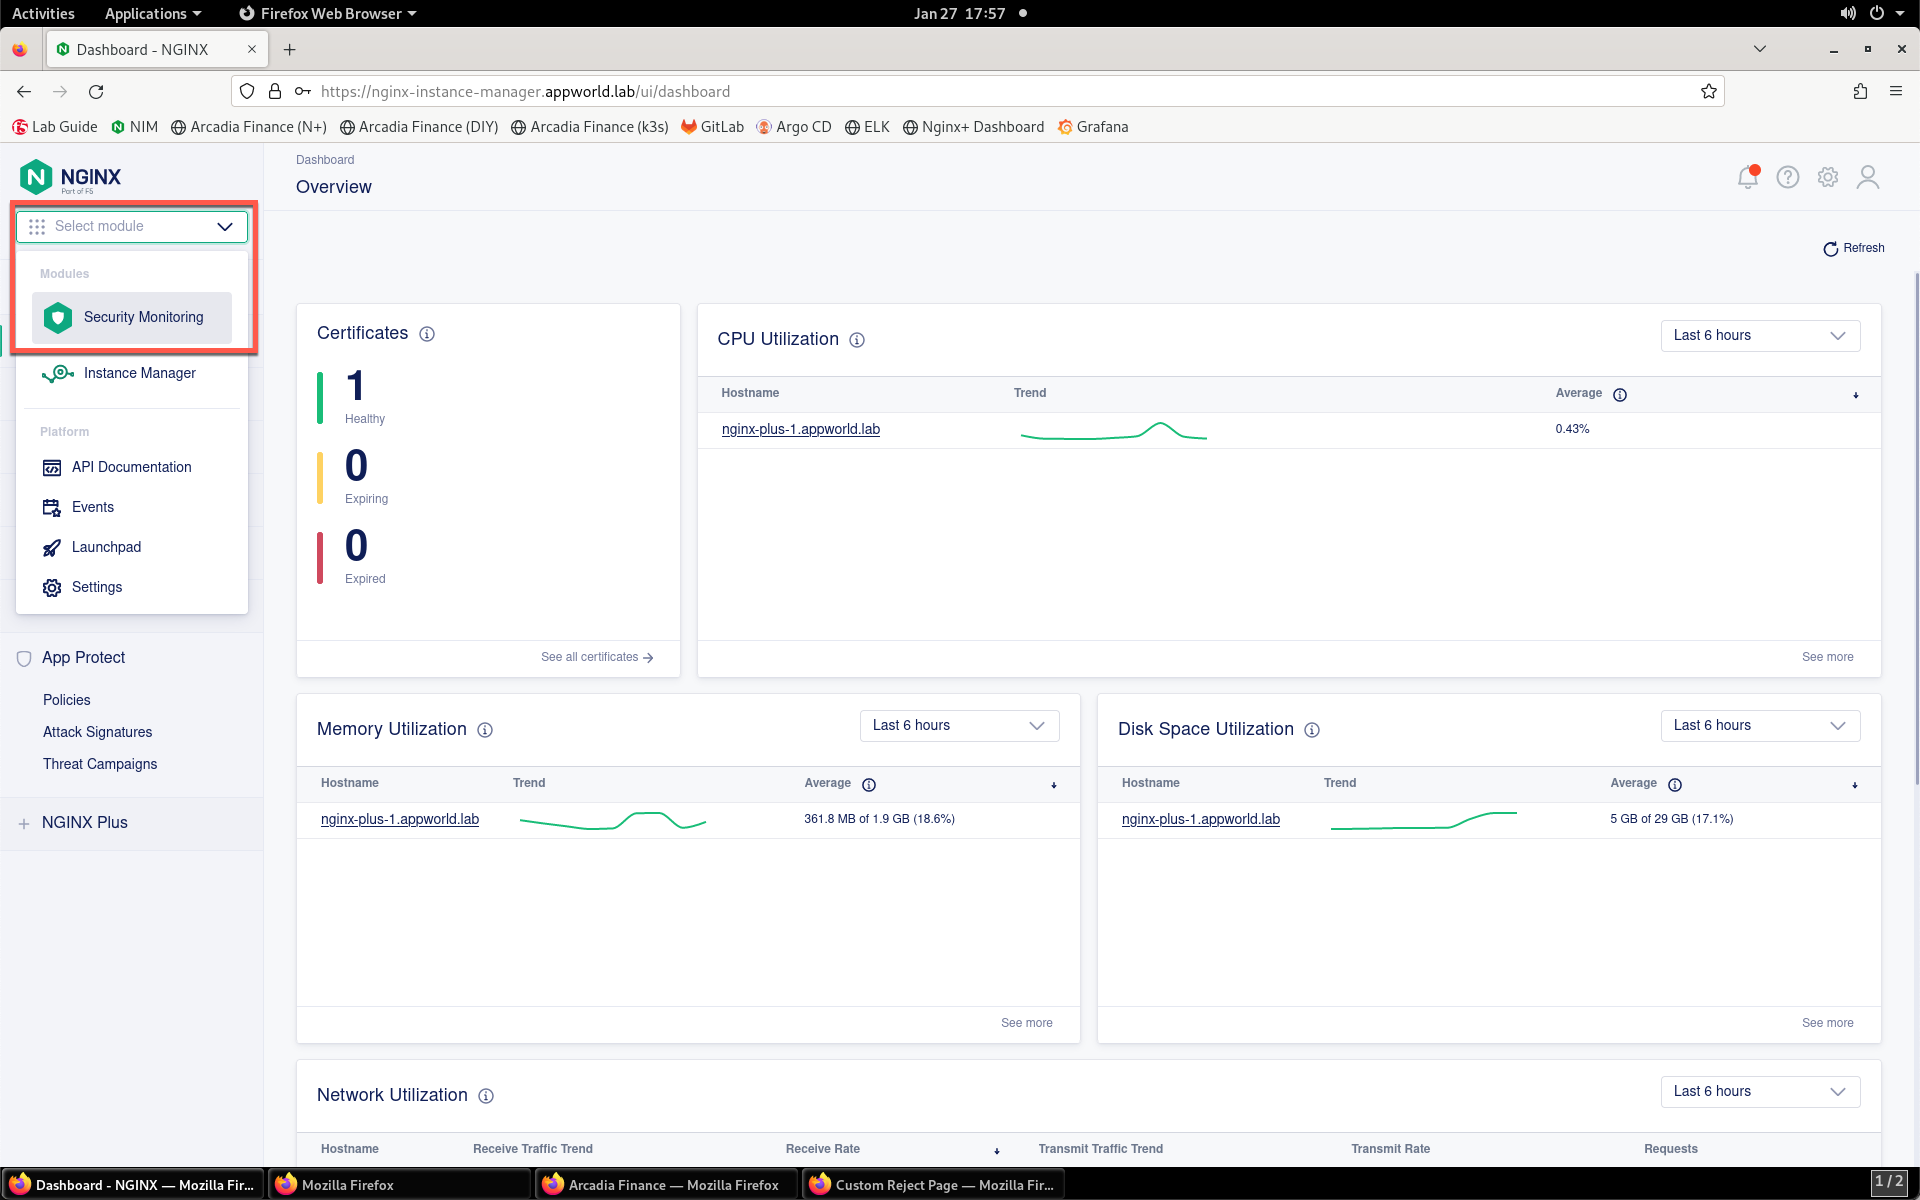
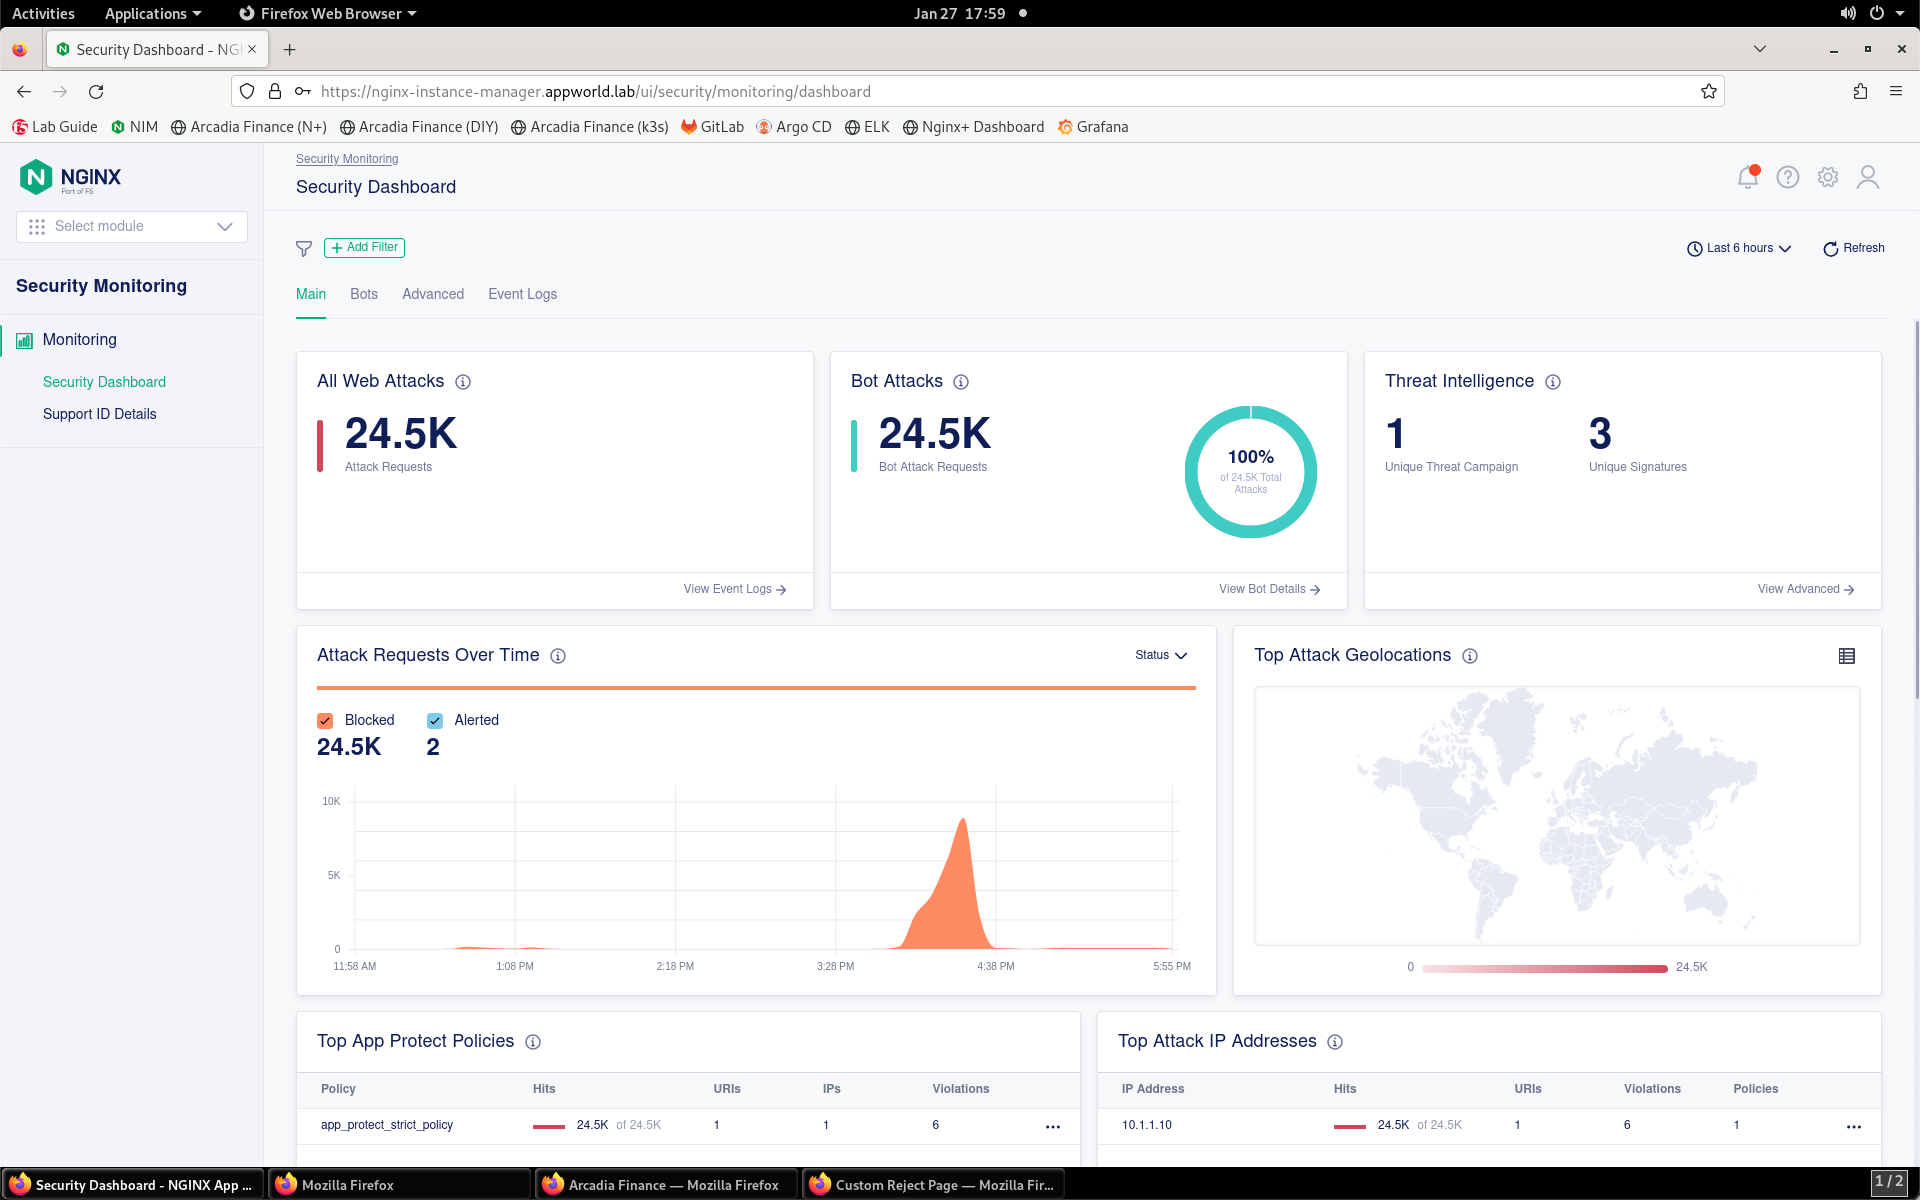
- You’ll be presented with the Security Monitoring landing page, as shown below:
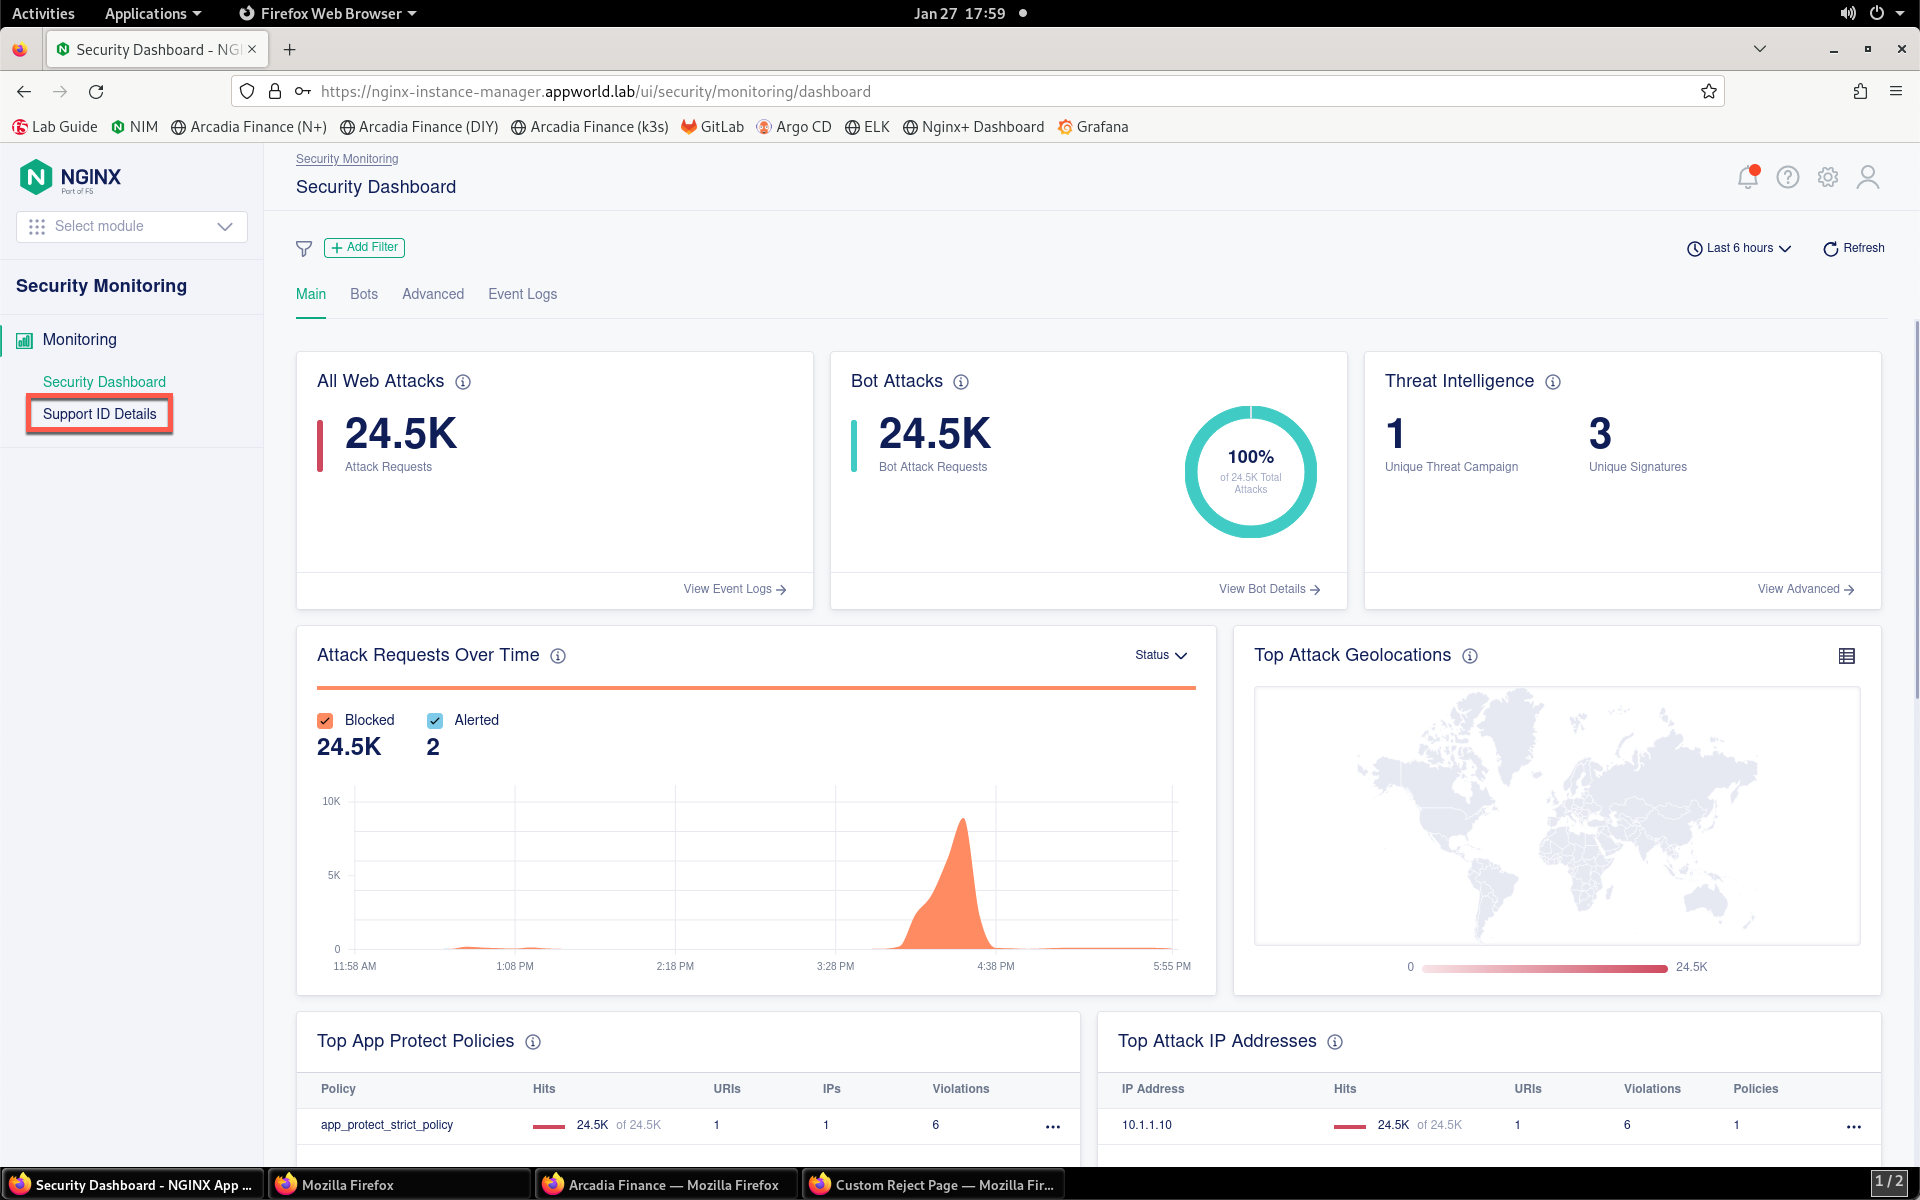
- On the left menu, select Support ID Details.
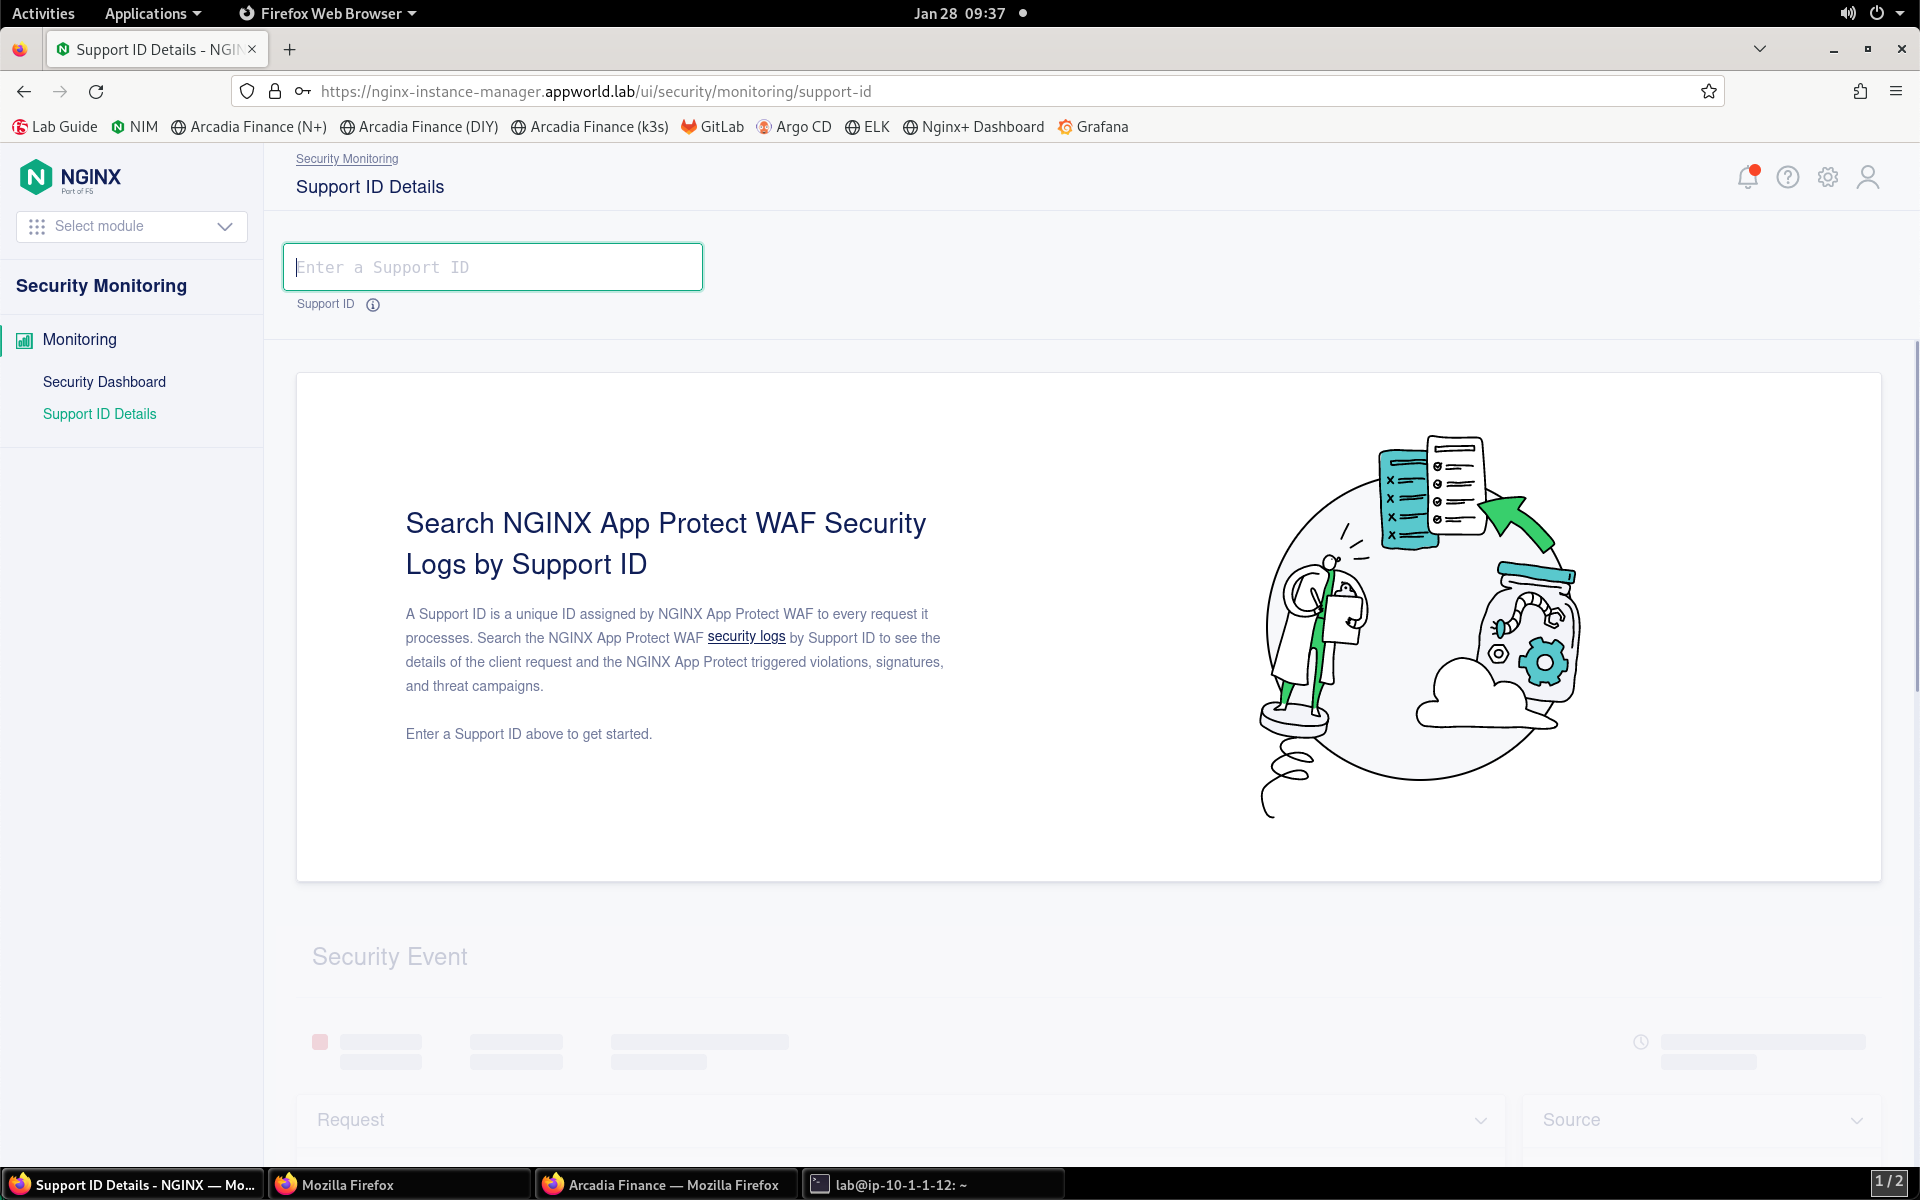
- You’ll be prompted for your support ID.
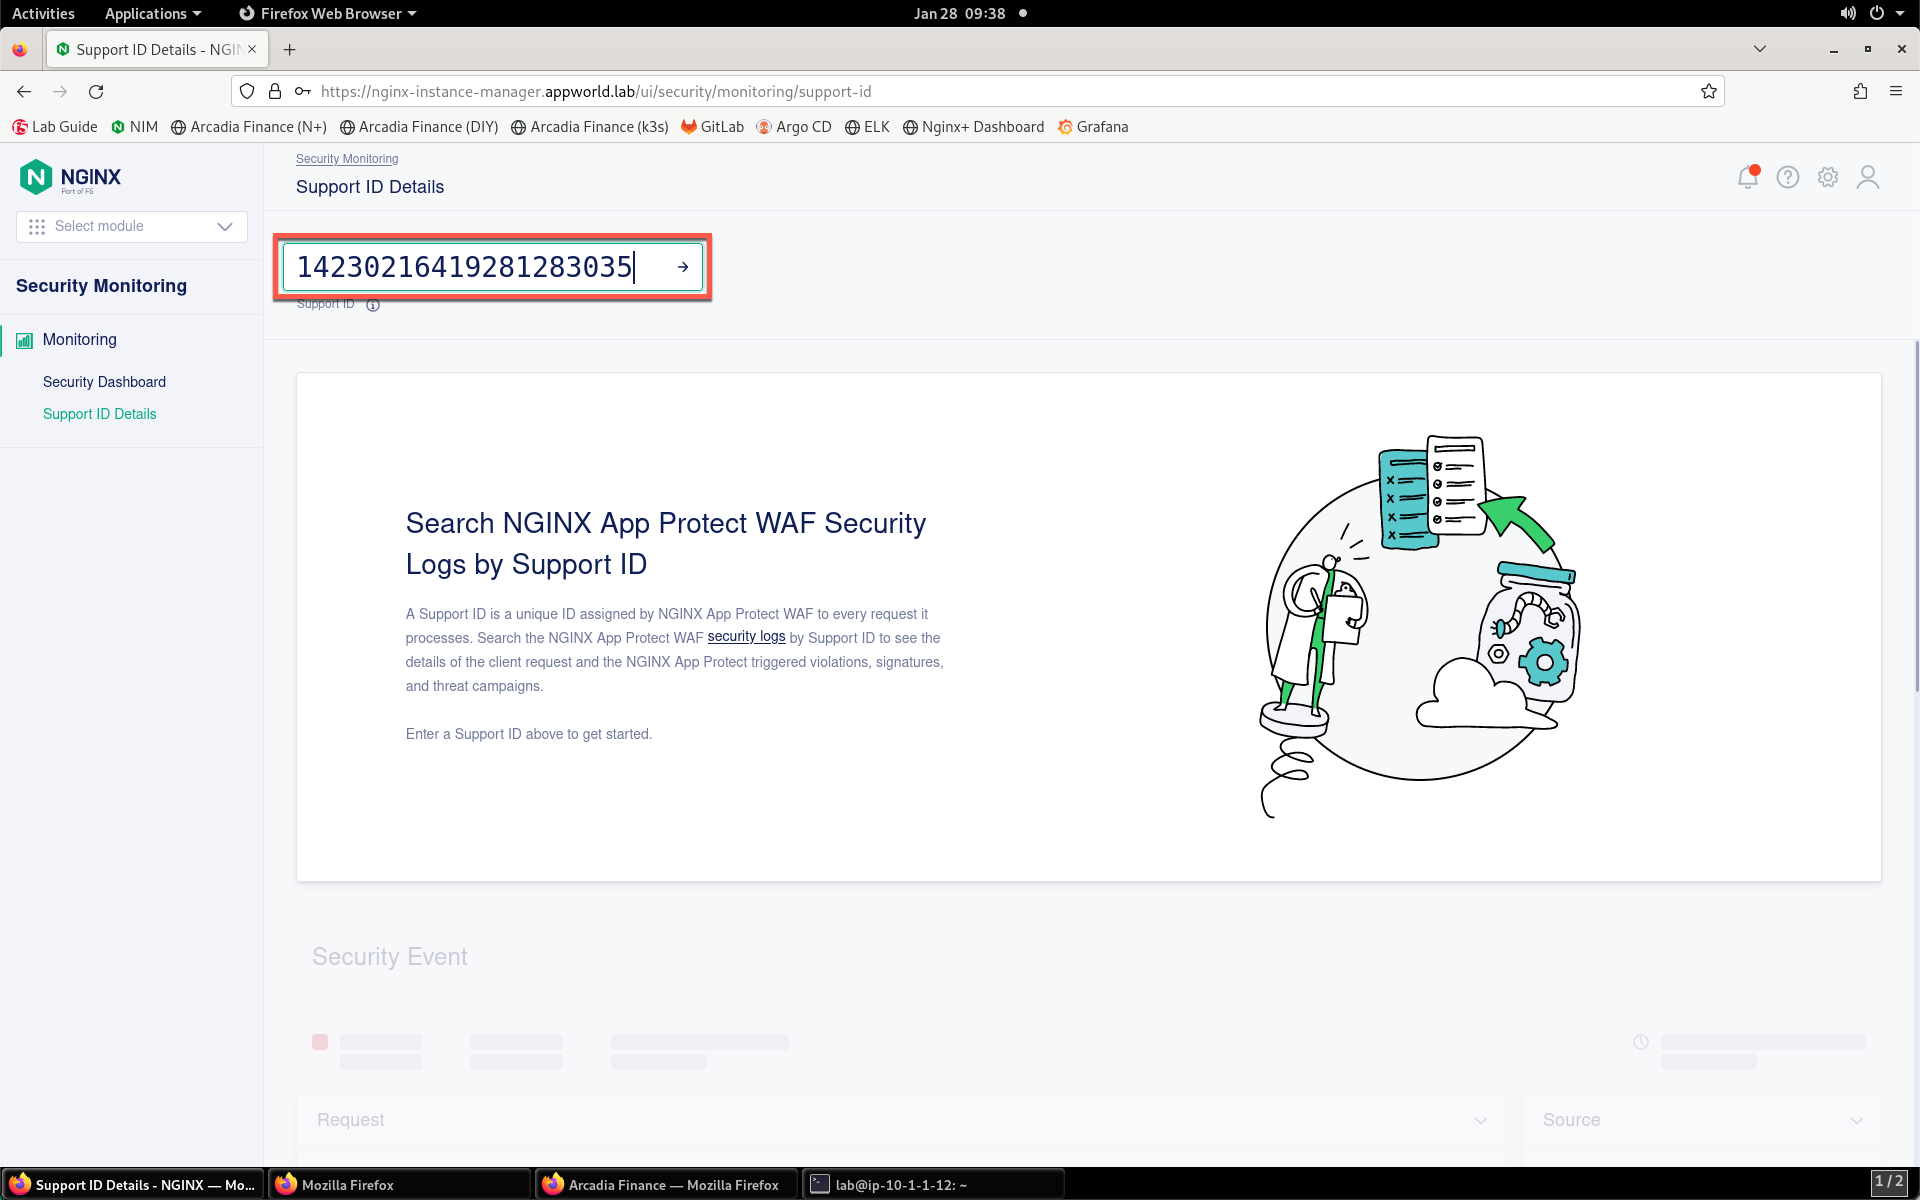
- Enter your support ID into the search field and click the arrow to search. If you receive an error, the system is still processing the alert; wait a bit and click Try Again.
Note
At anytime in this lab you encounter a support ID, feel free to return to this tool to look at the details of the attack and mitigation.
- Once the security event has loaded, you can see details surrounding the violation that is blocking images on your app.
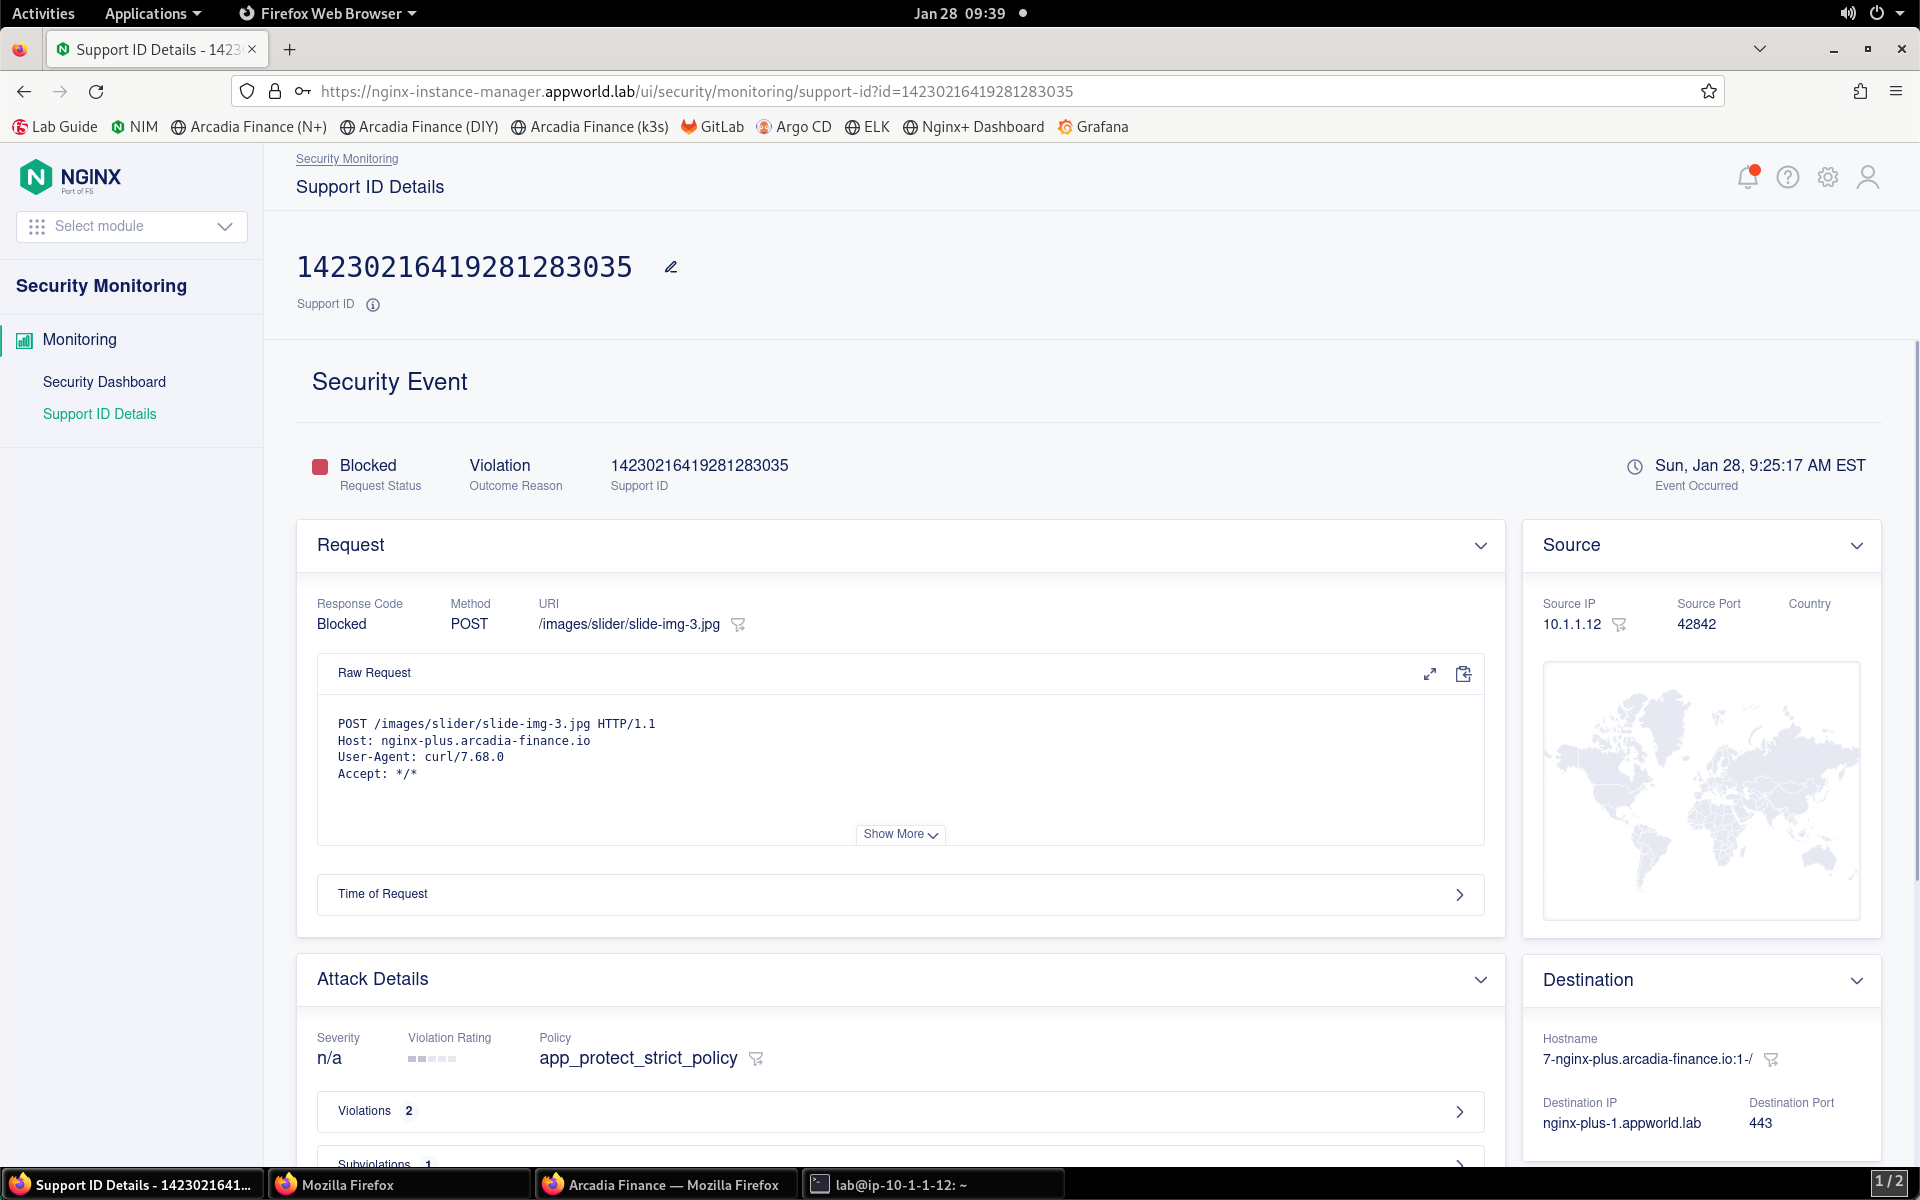
- Notice that the image URI is listed as /images/slider/slide-img-3.jpg.

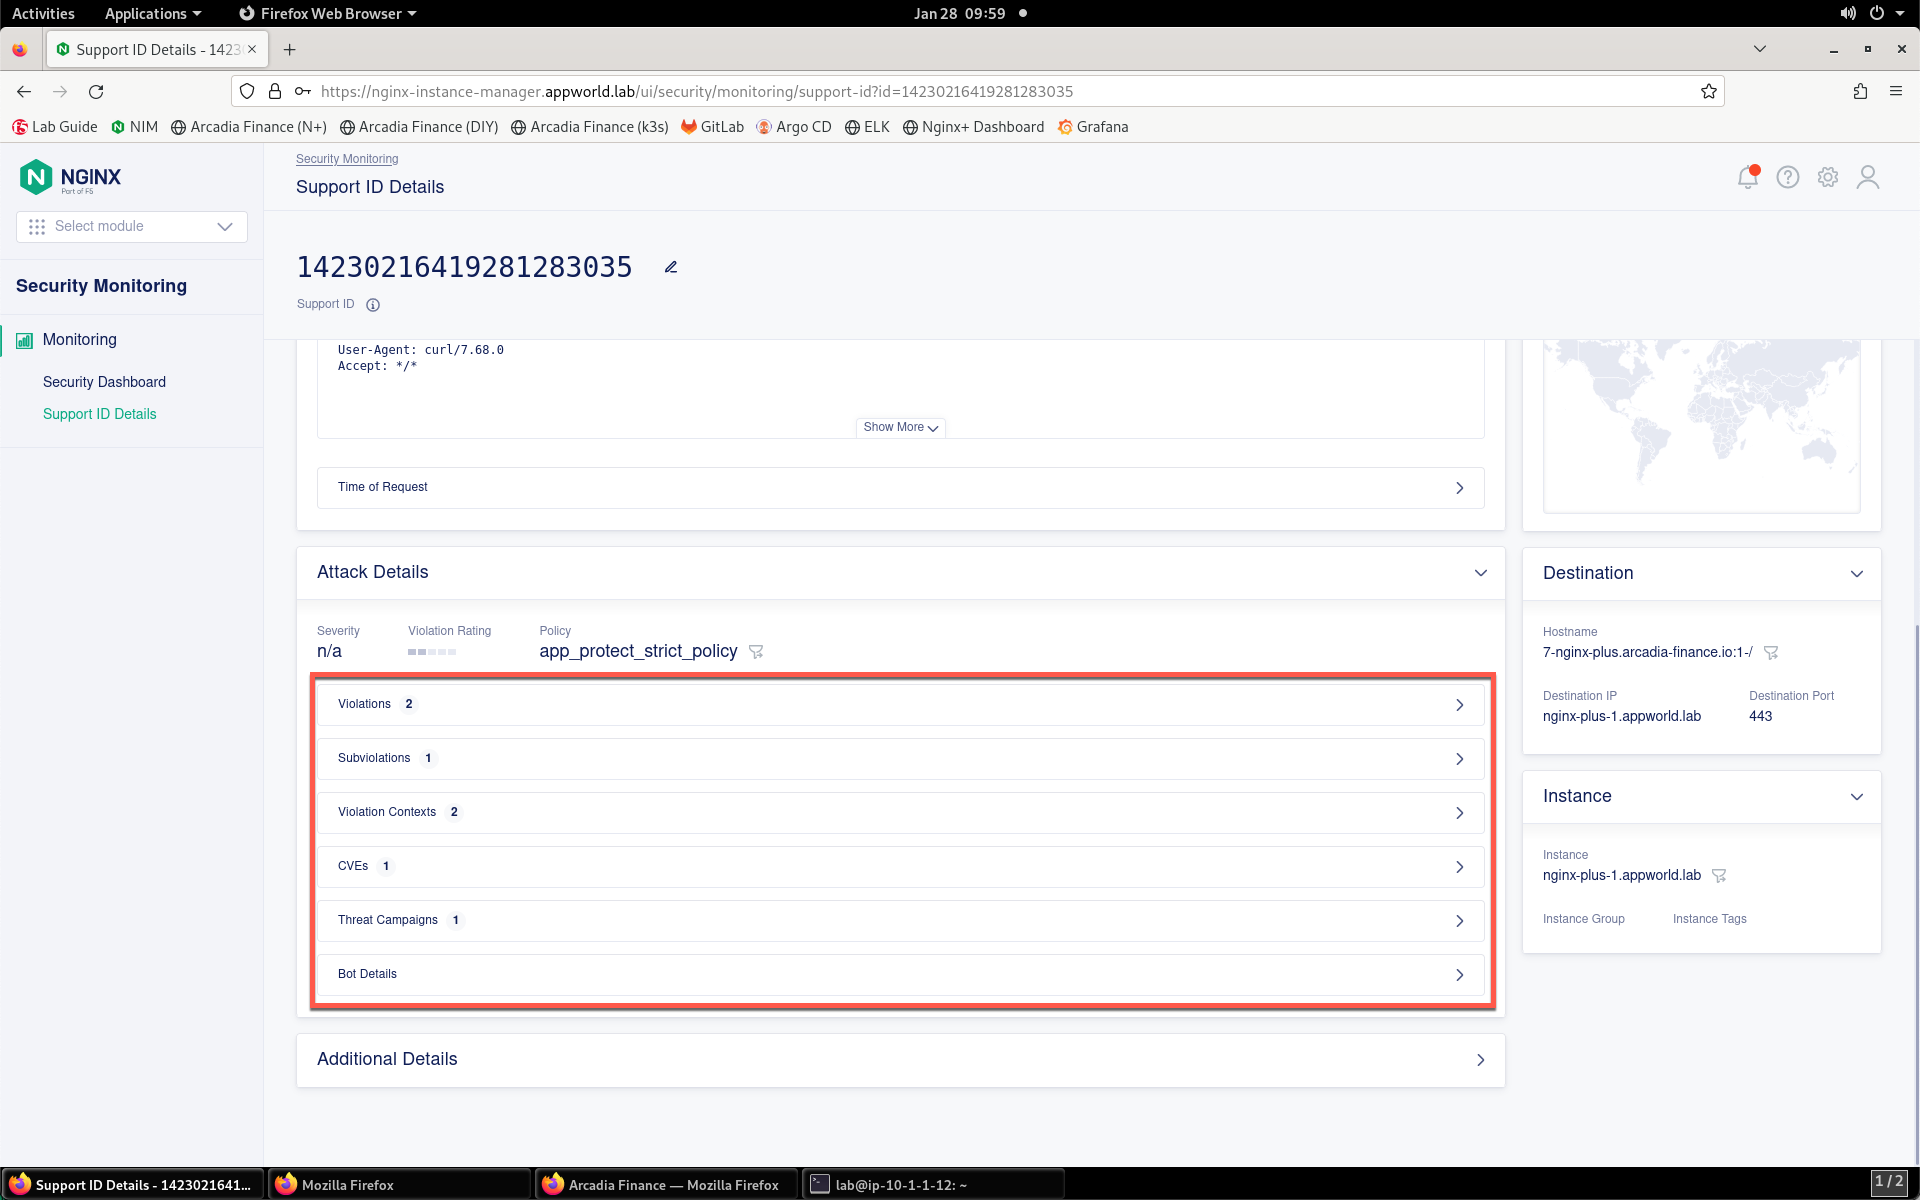
- If you scroll down to the Attack Details section, you can expand the individual sections showing Violations, Subviolations, CVEs, and Threat Campaigns.
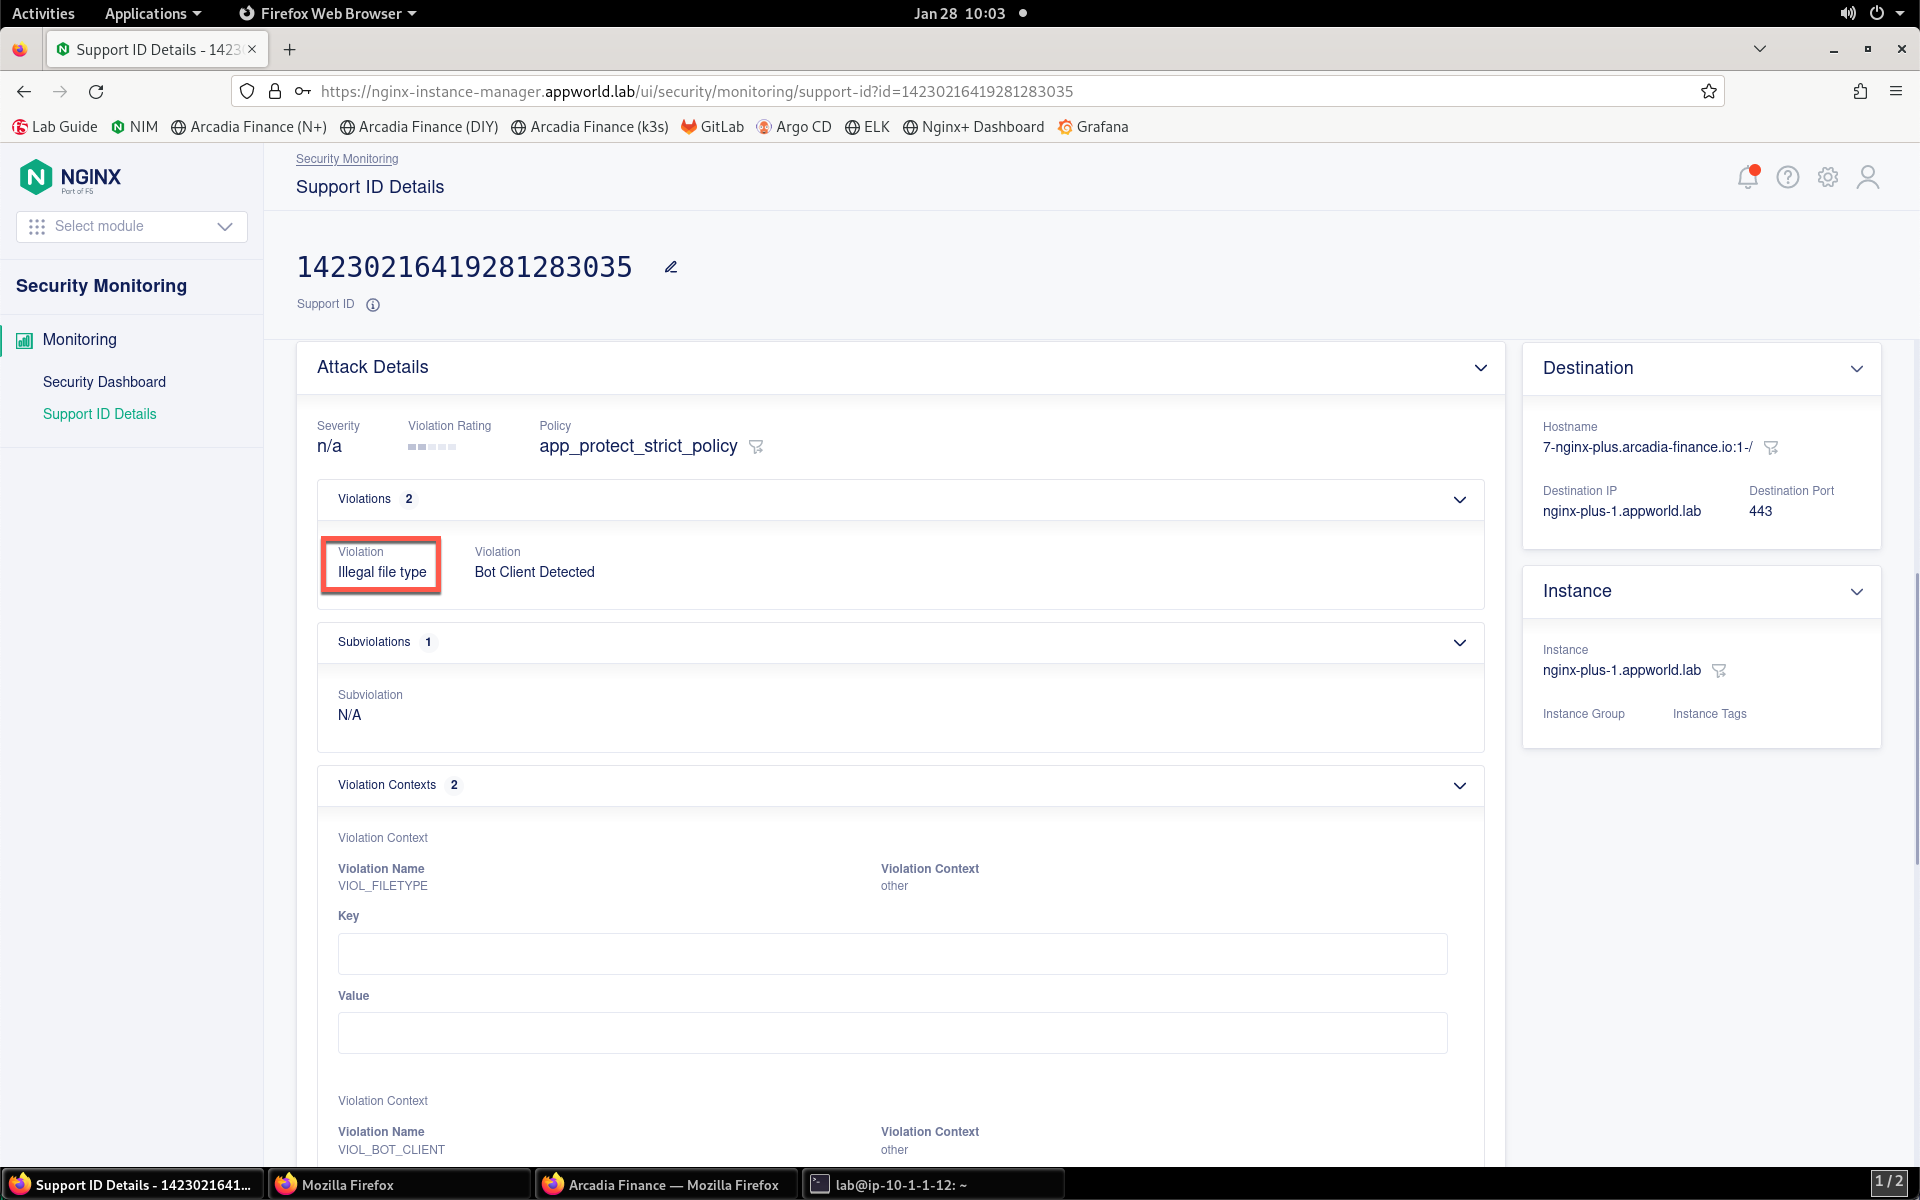
- Notice that the Violations section shows an Illegal File Type violation.
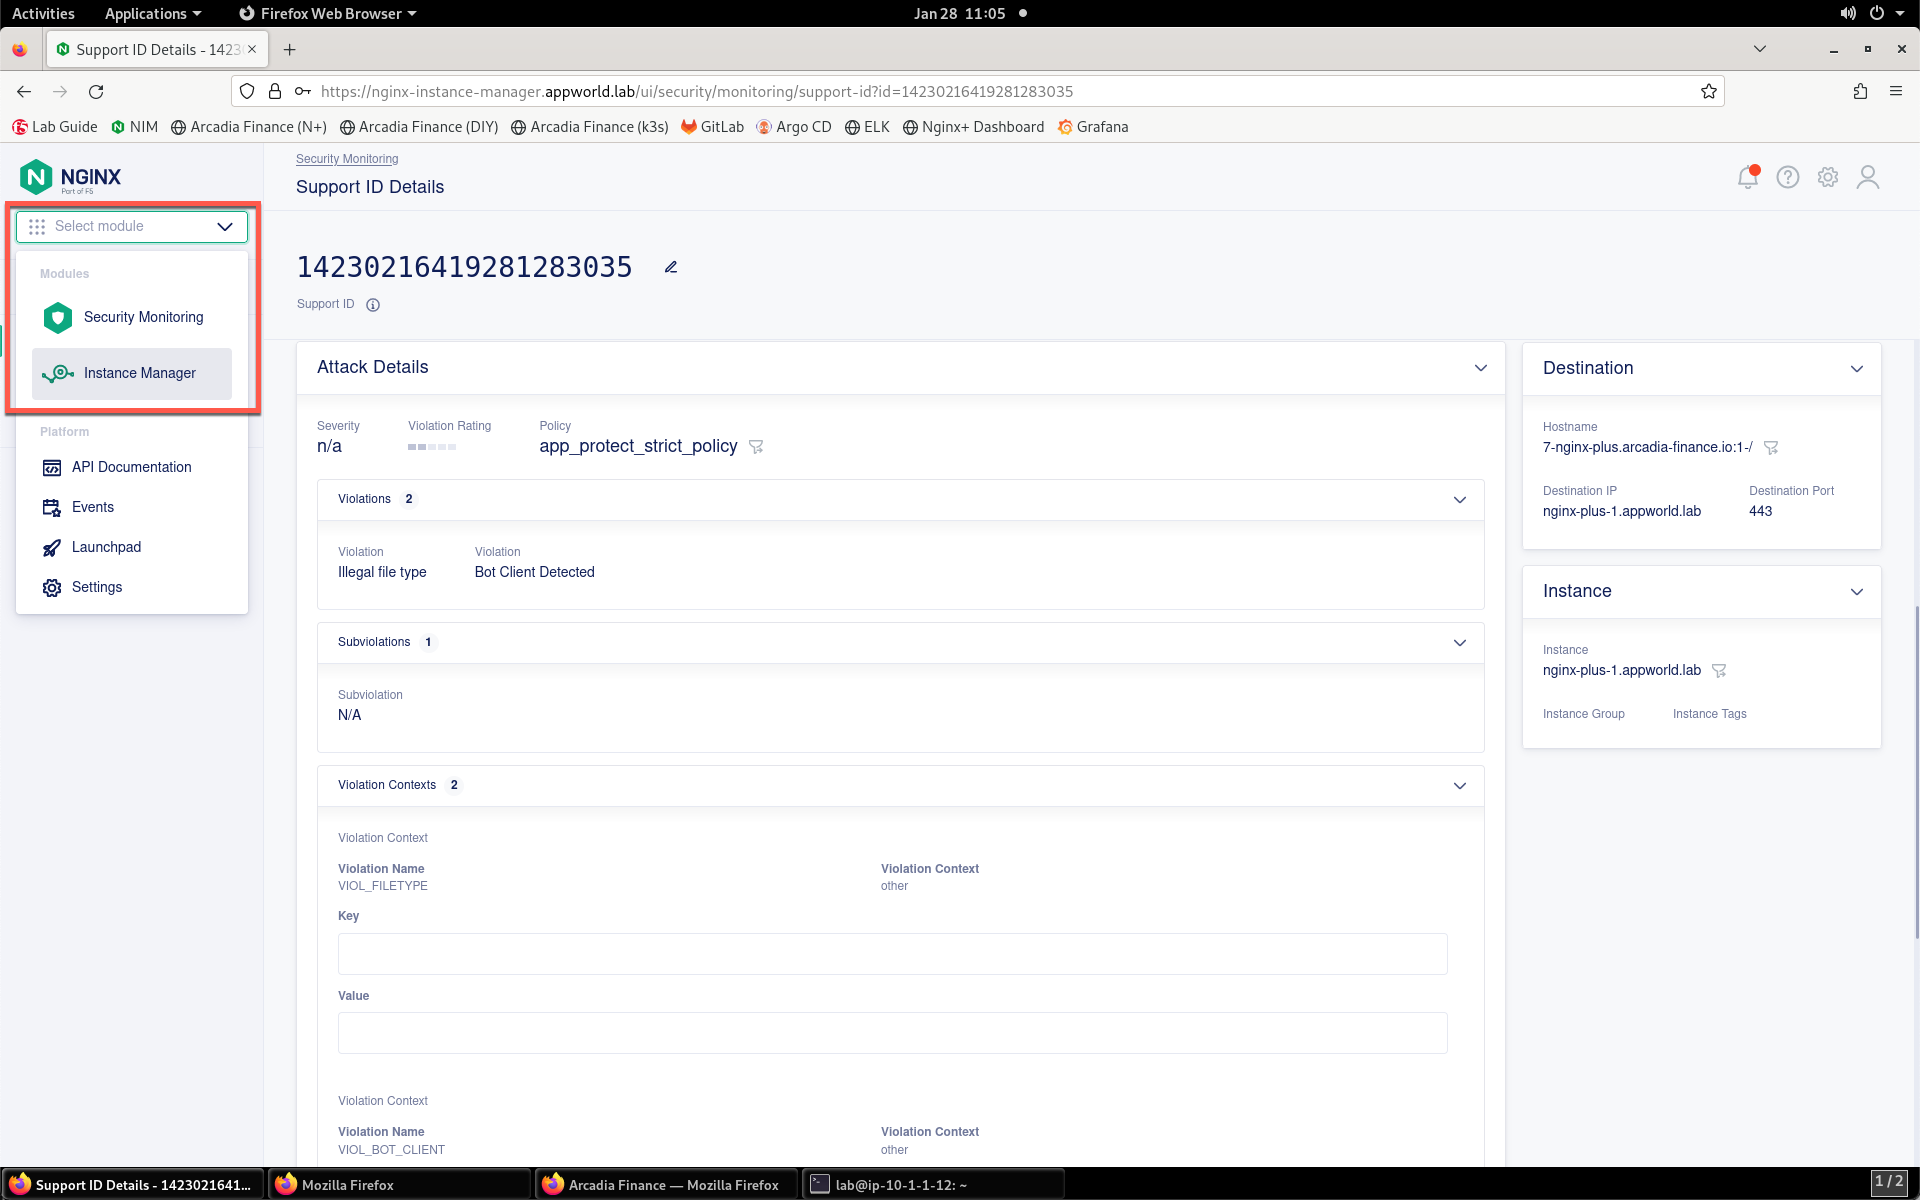
- You need to allow JPG files to enable the application to operate properly. To do this, you will need to modify the WAF policy. Start that process by navigating back to Instance Manager from the Select module drop-down at the top of the left menu bar.
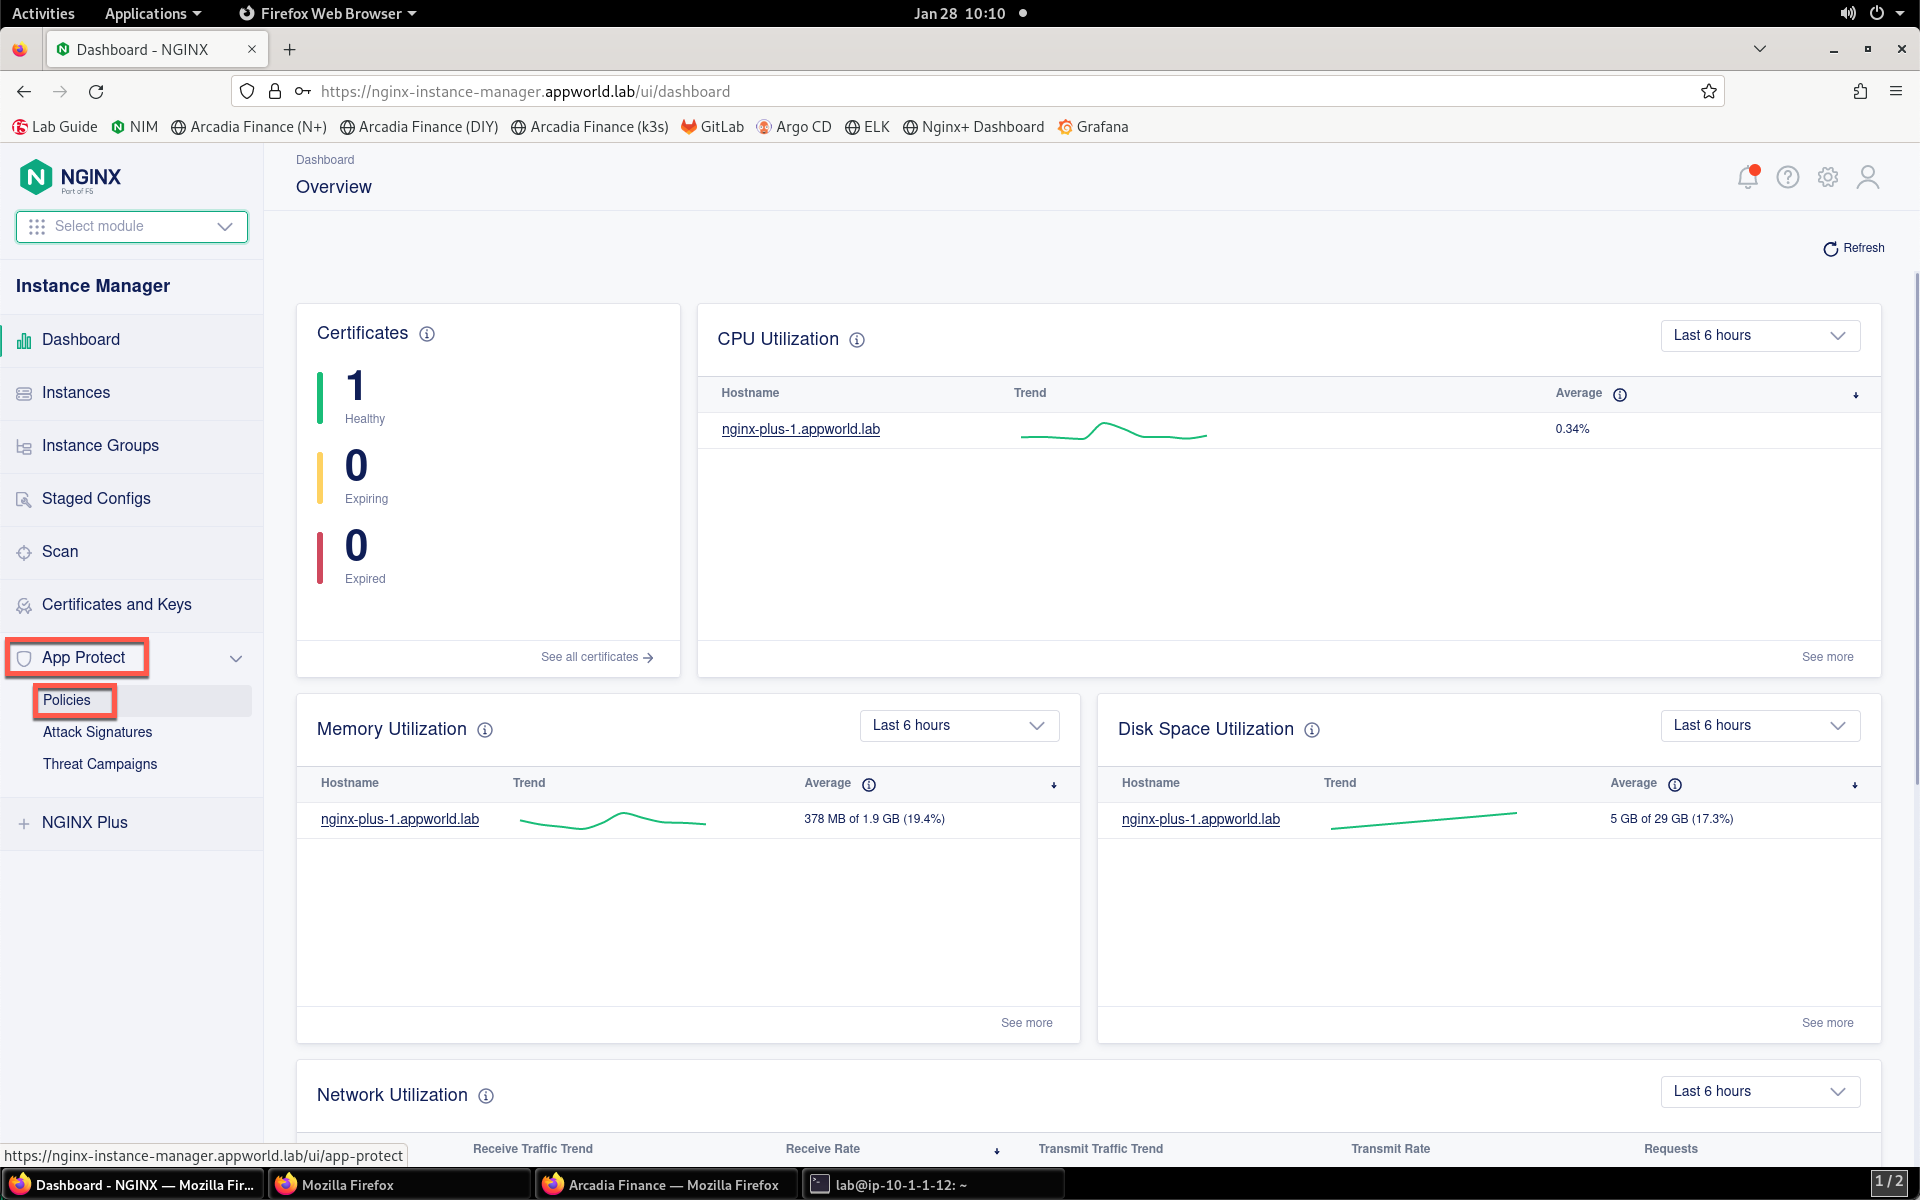
- Inside of the Instance Manager dashboard, click on App Protect, then Policies towards the bottom of the left menu bar.
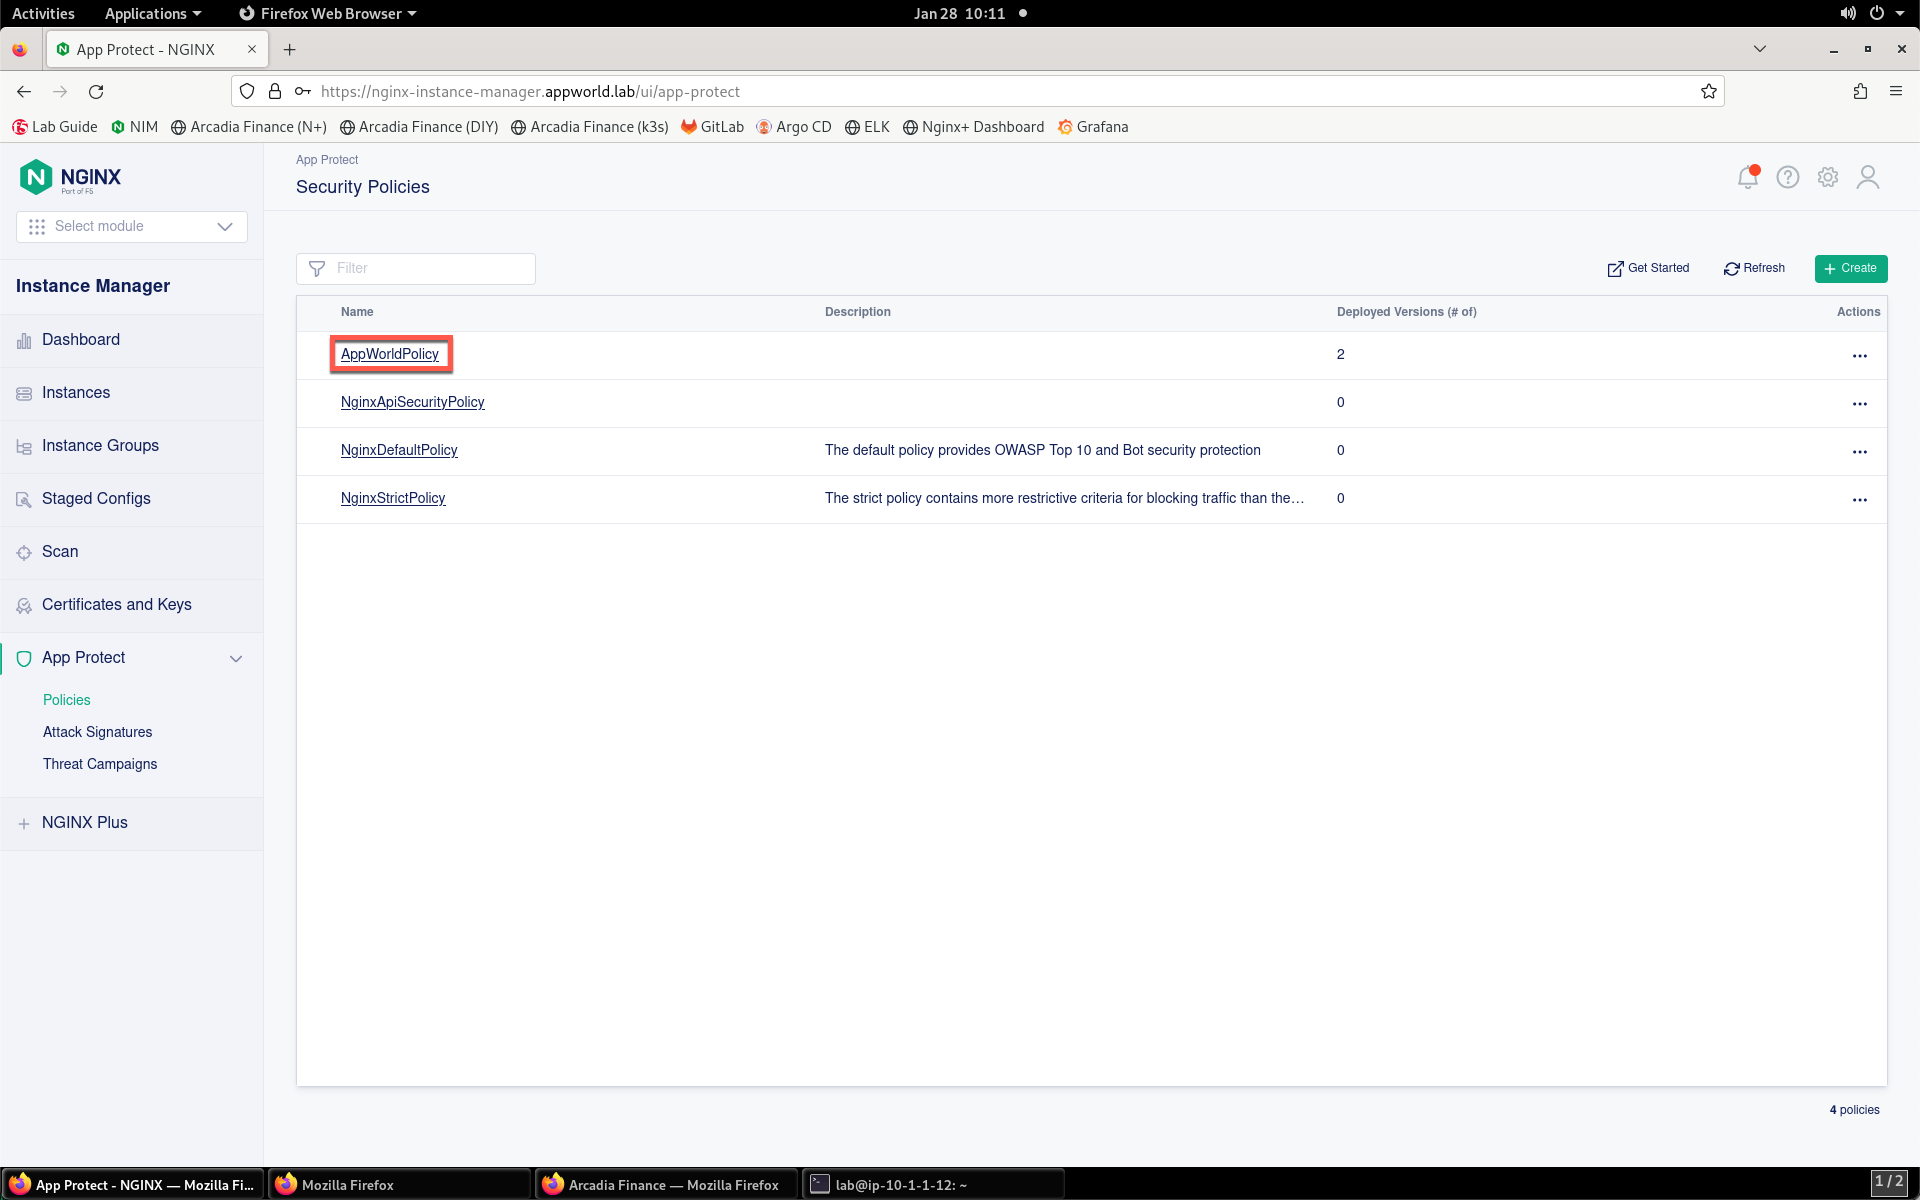
- Click on the AppWorldPolicy in the policy list.
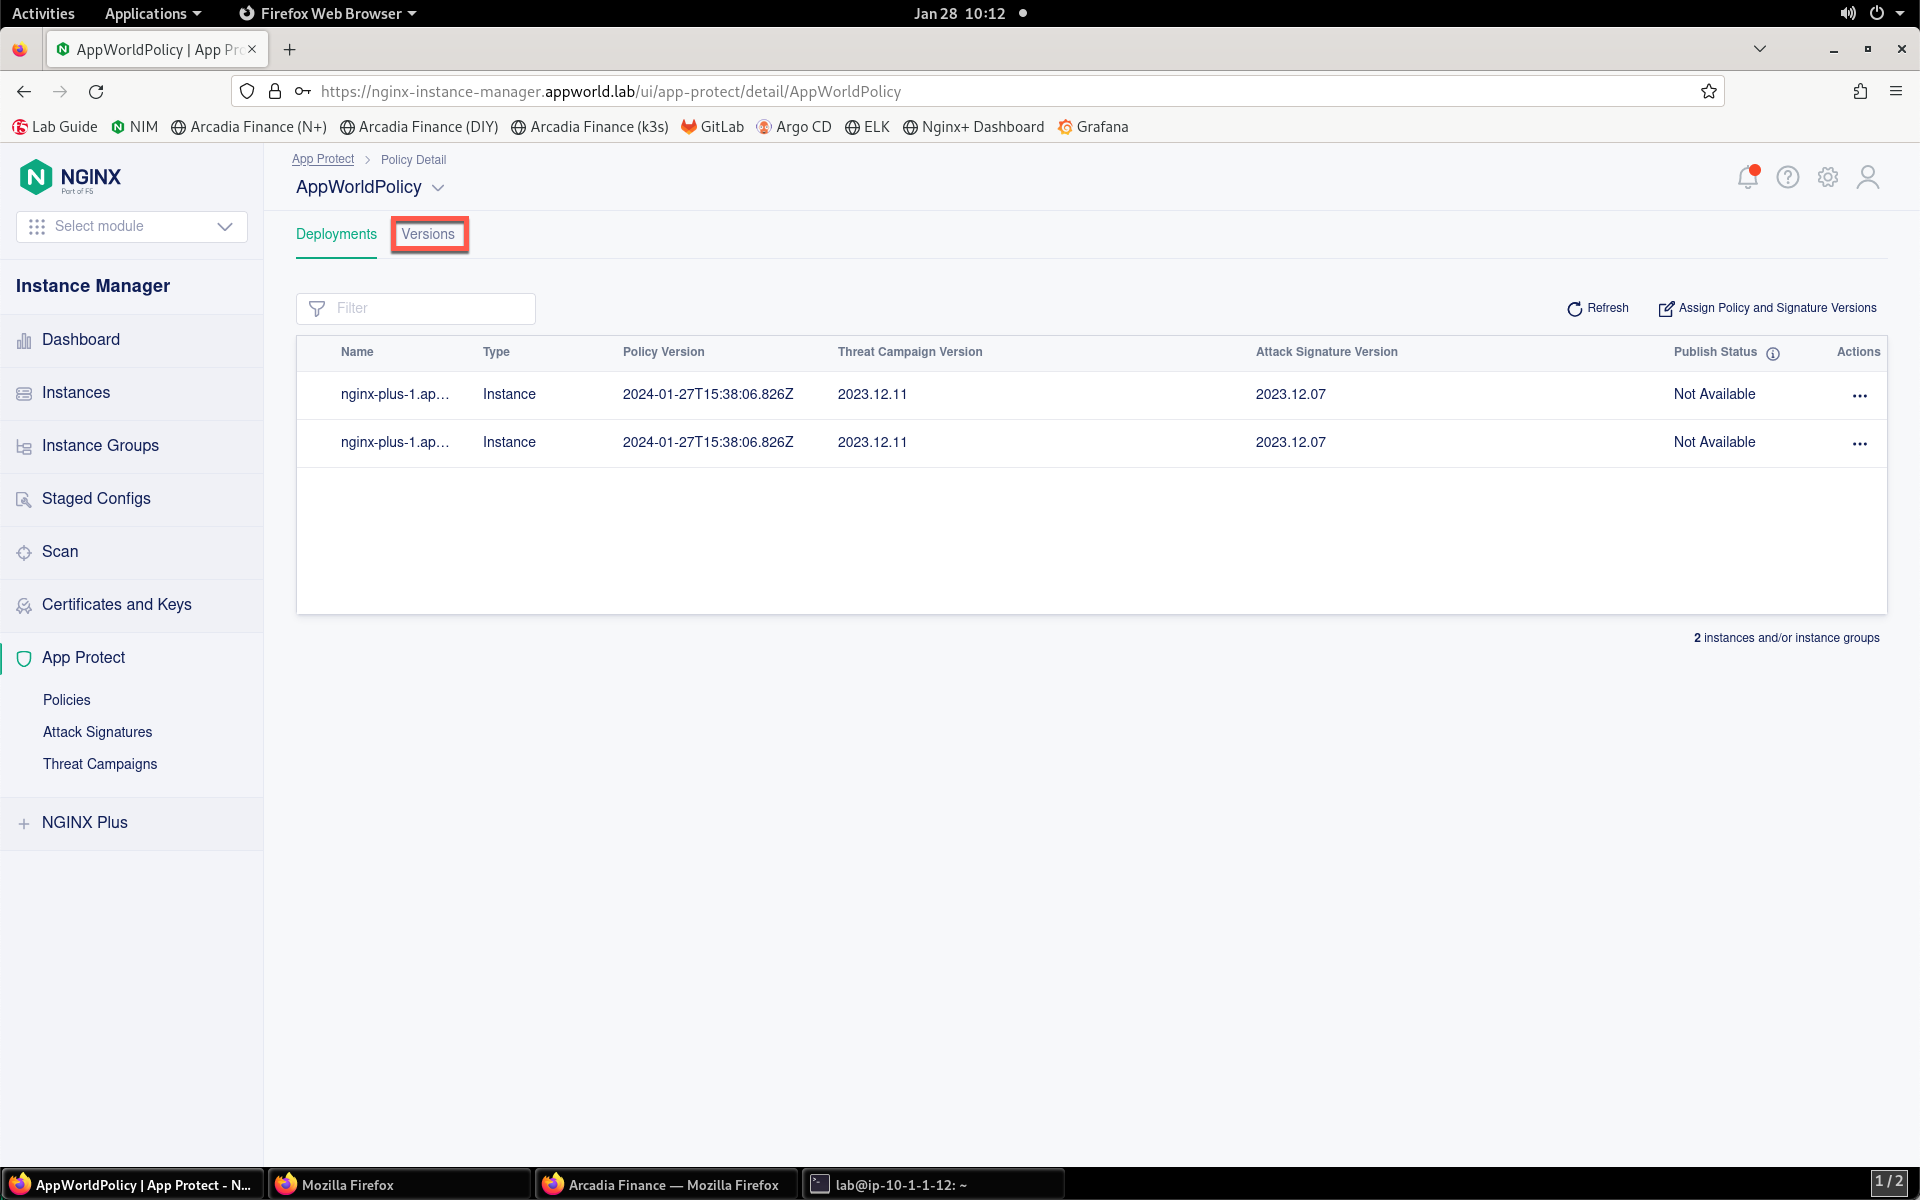
- Now, click on the Versions tab inside of the Policy Detail page.
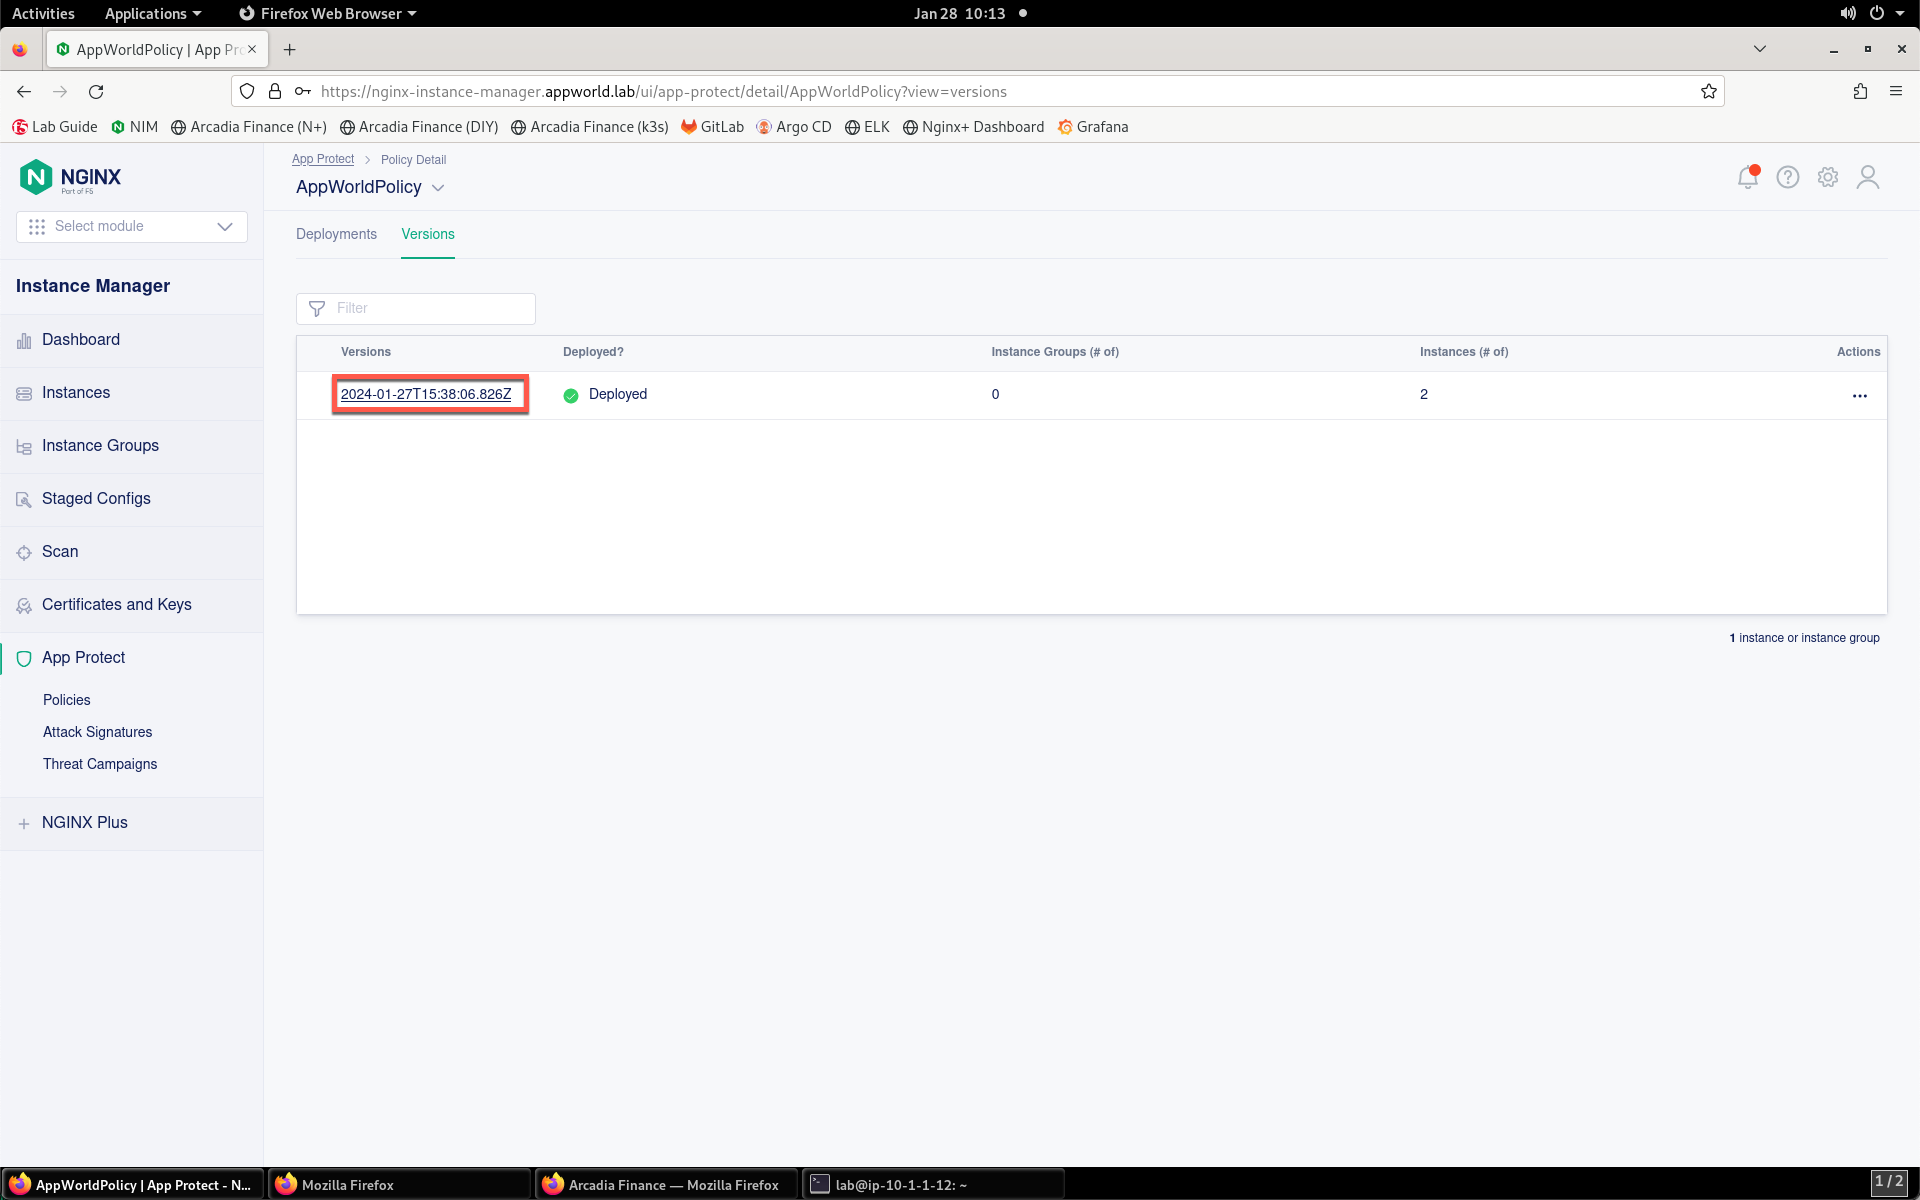
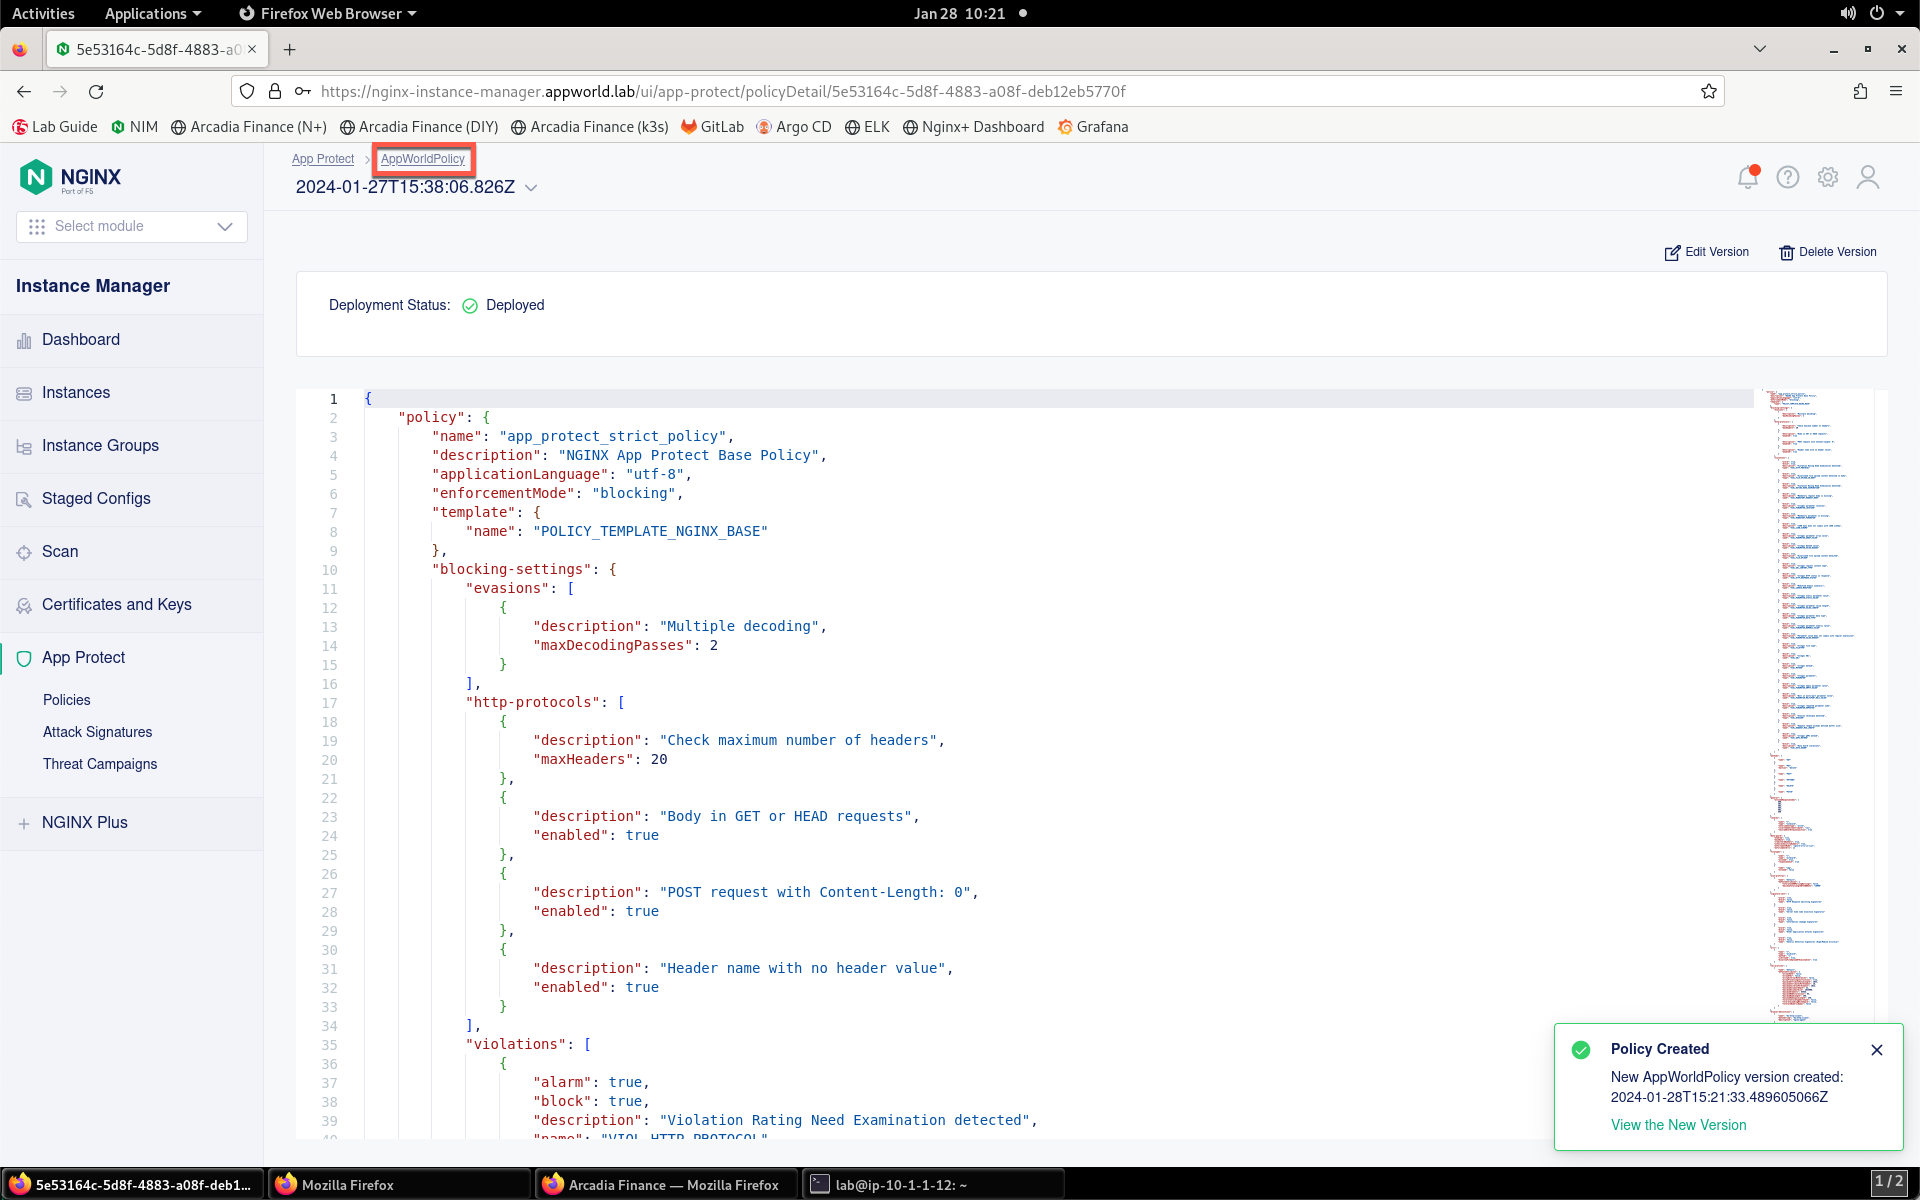
- Click on the version name under the Versions column in the list.
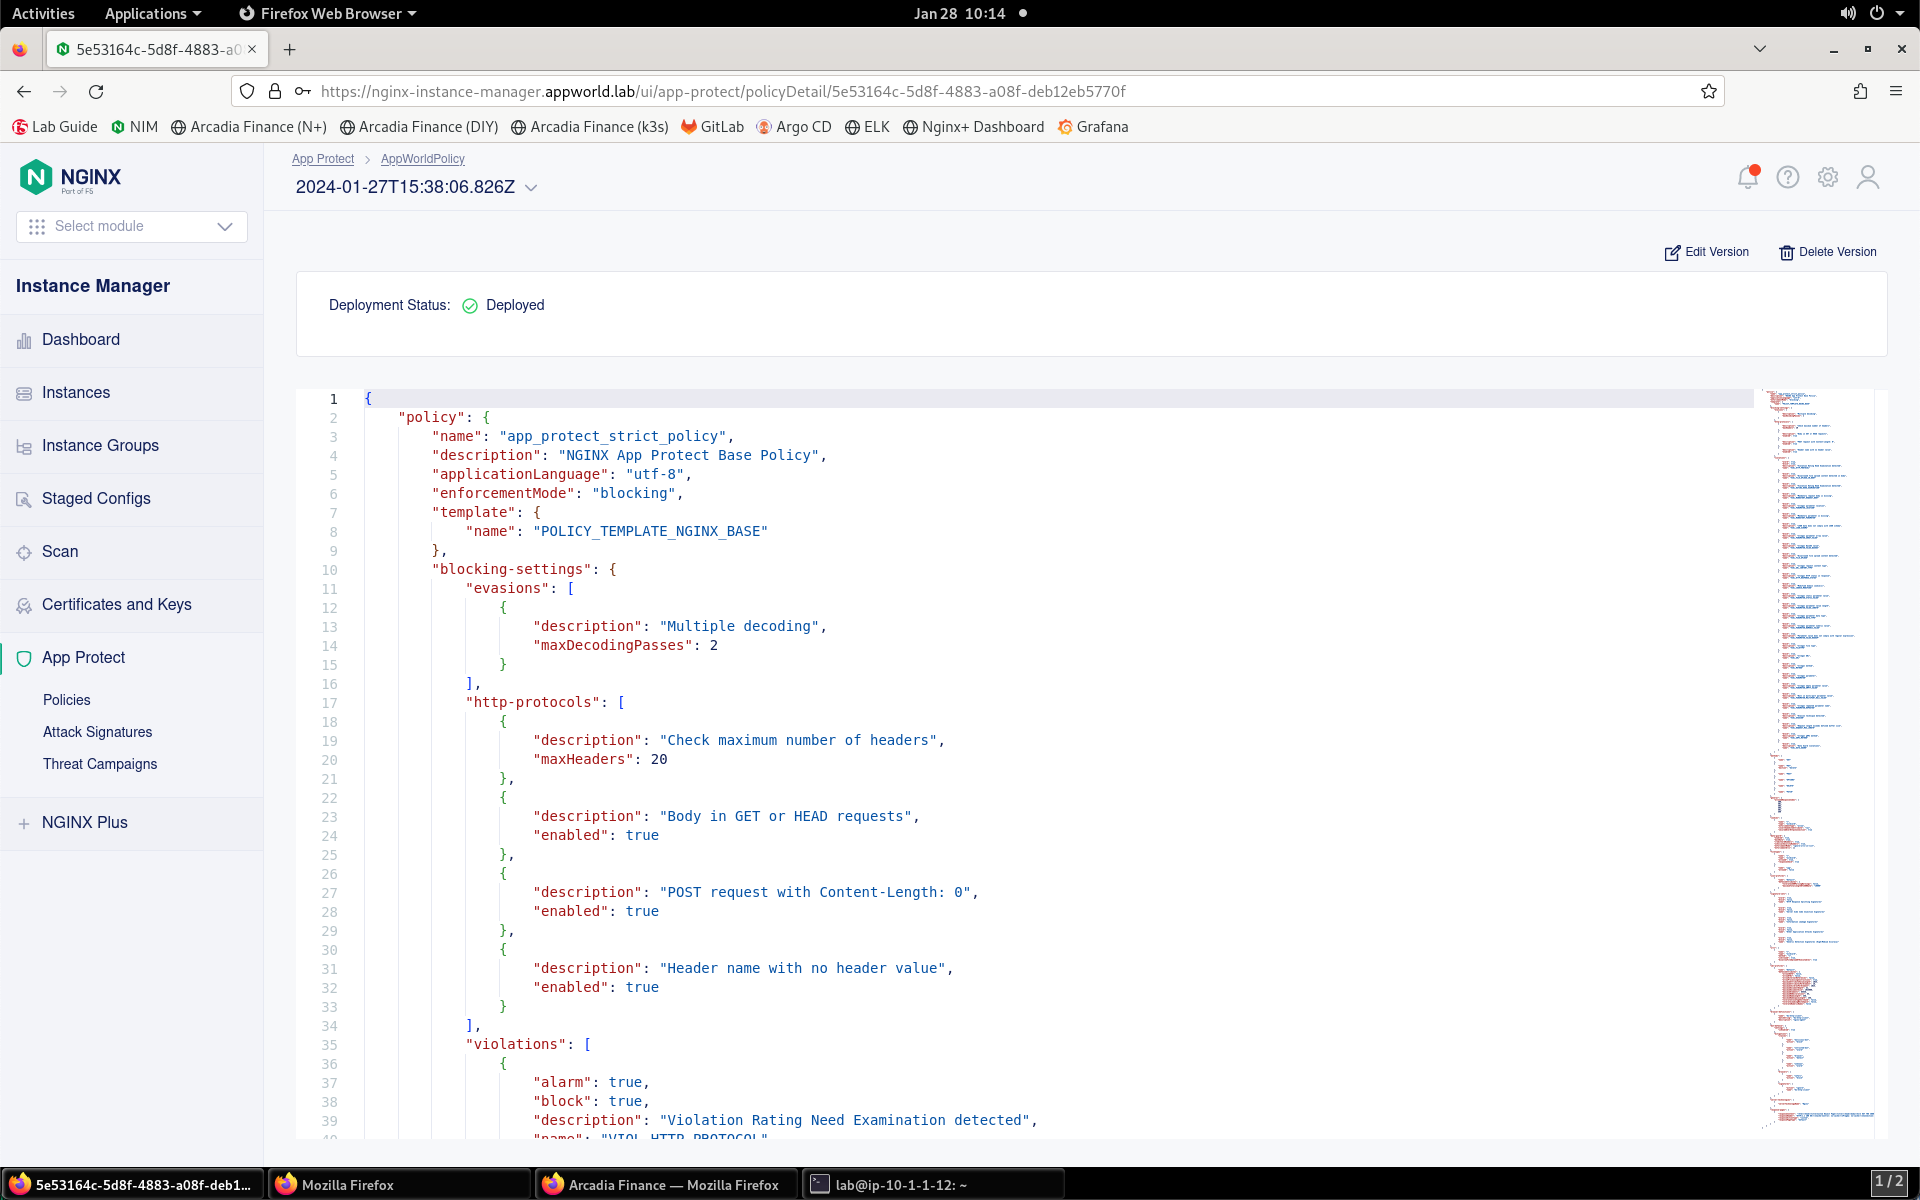
- The JSON configuration of the policy will be displayed, as shown below:
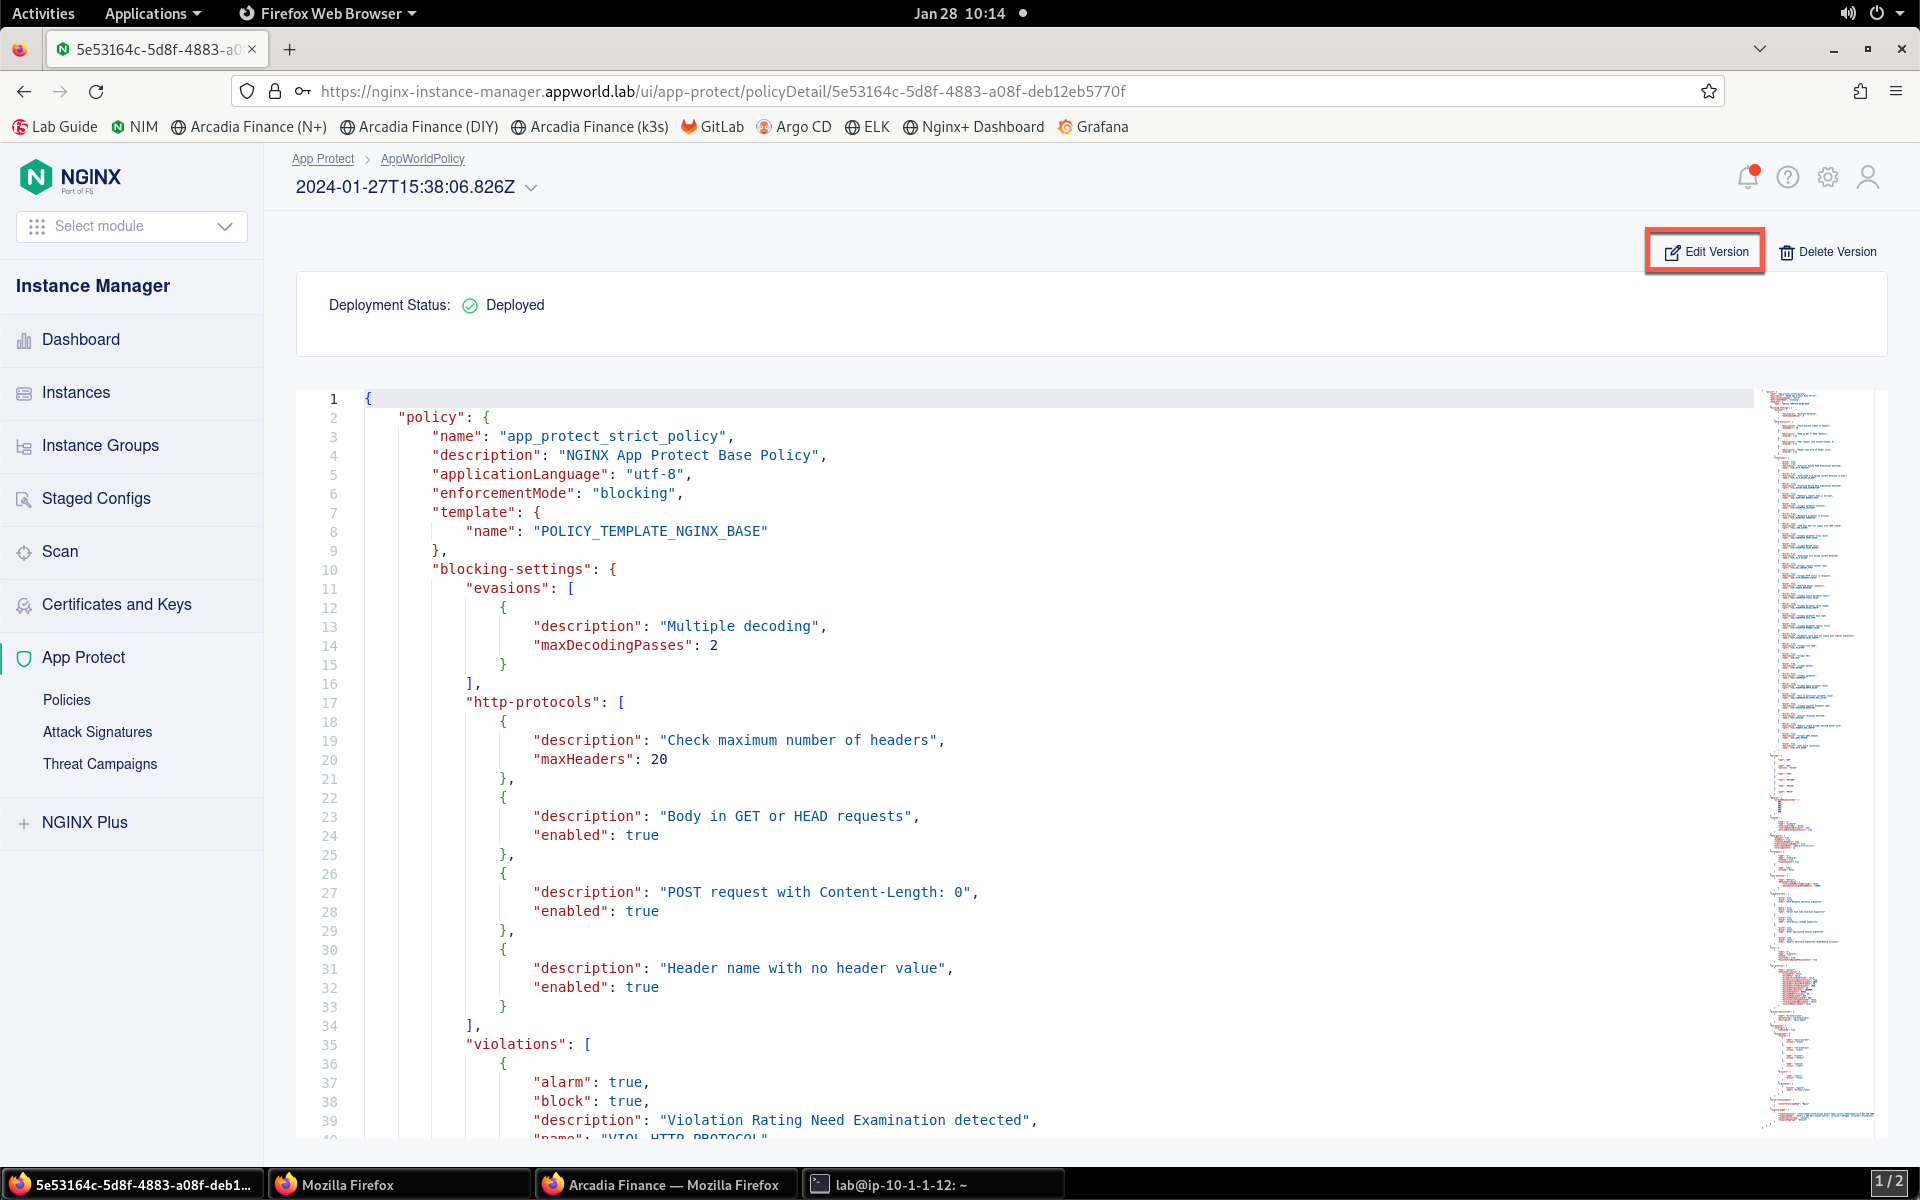
- To modify the policy based on this version of the policy, click Edit Version.
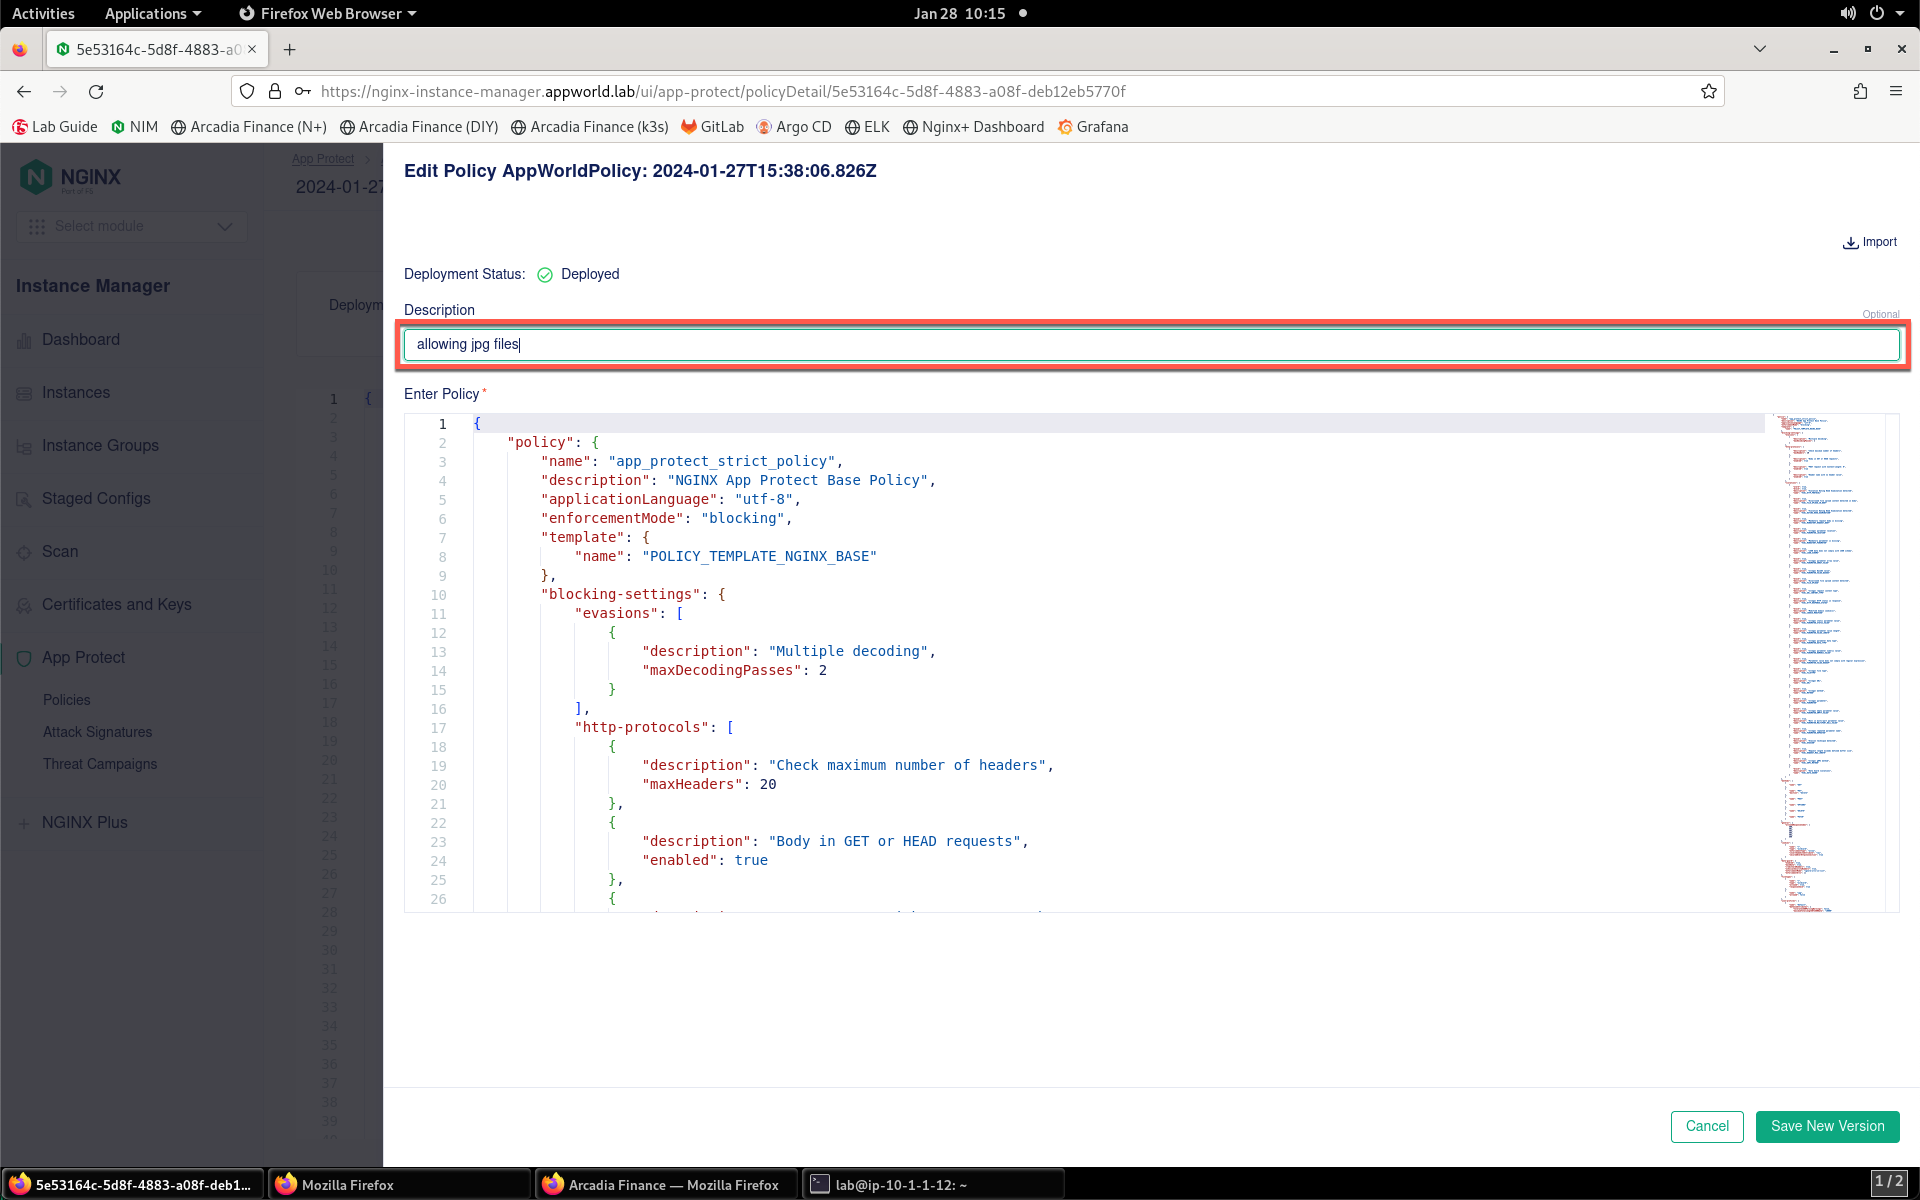
- Provide a description of the changes you’ll be making in the Description field.
- Place your mouse cursor inside the policy editor. Press CTRL+F to open the search dialog.

- Search for “jpg” and you’ll find on line 240 that JPG files are not being allowed. Modify line 241 to change
"allowed": falseto"allowed": true. Note that false and true are not encapsulated in quotation marks.
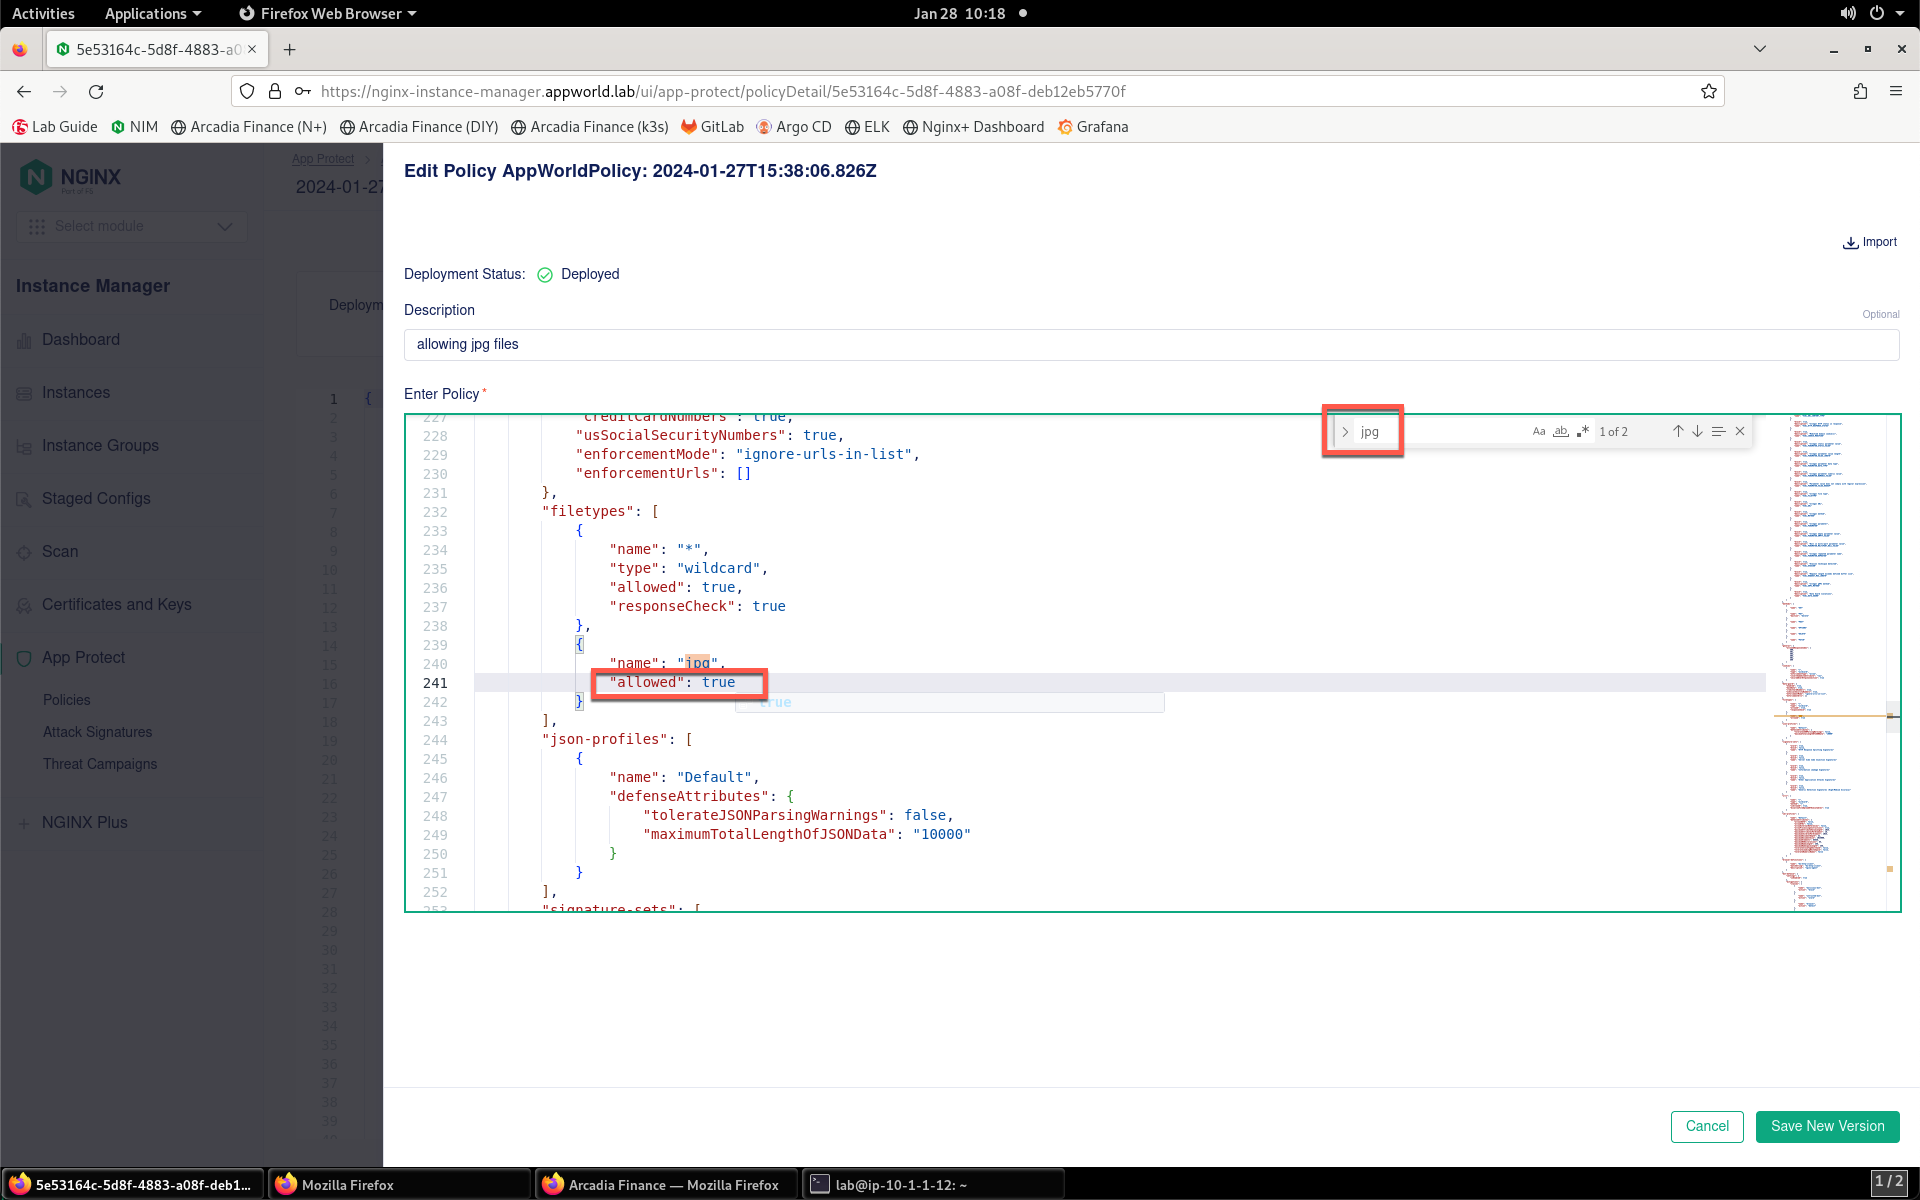
- Click the Save New Version button to create a new version of the policy.

- You will see confirmation that the new version has been created.

- Click on the policy name at the top of the screen.
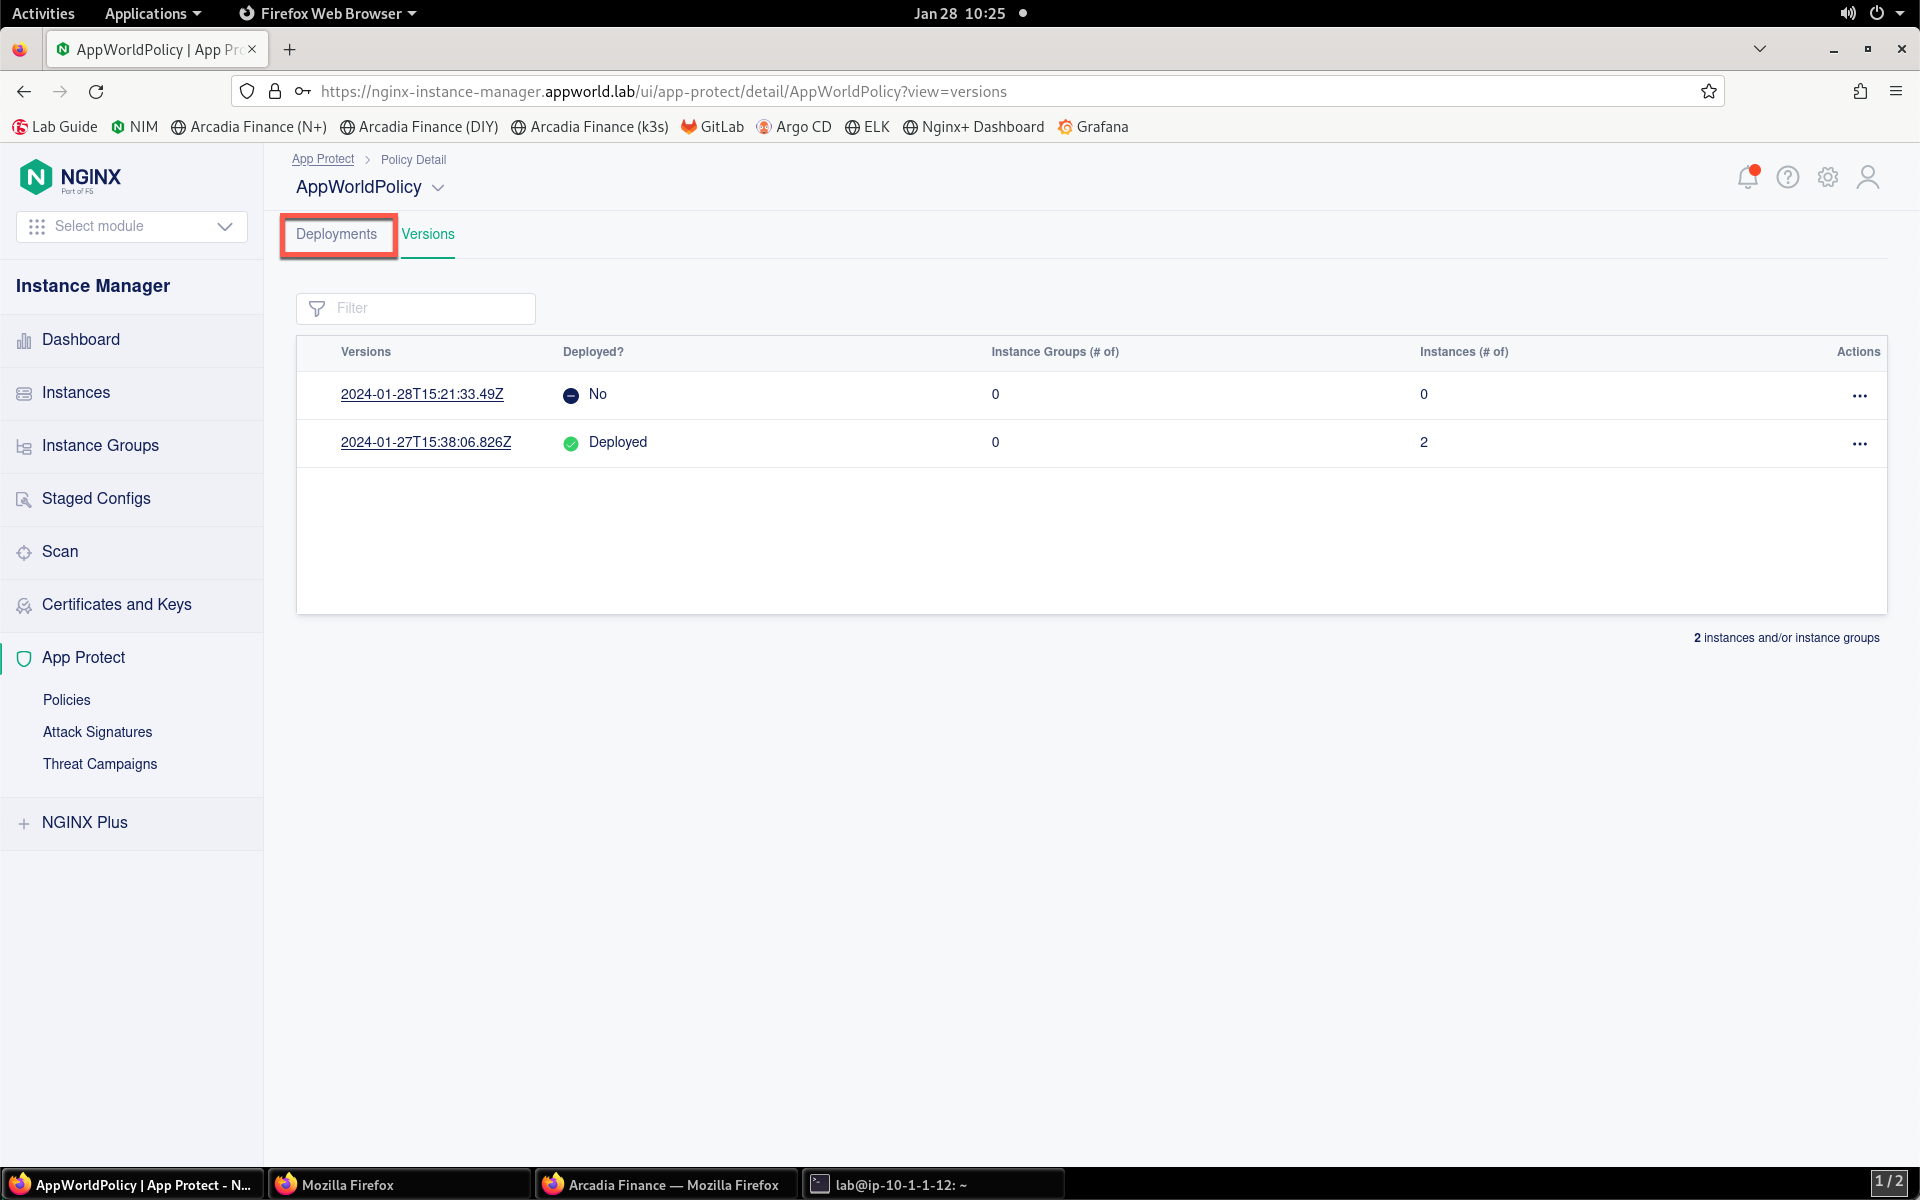
- Select the Versions tab.
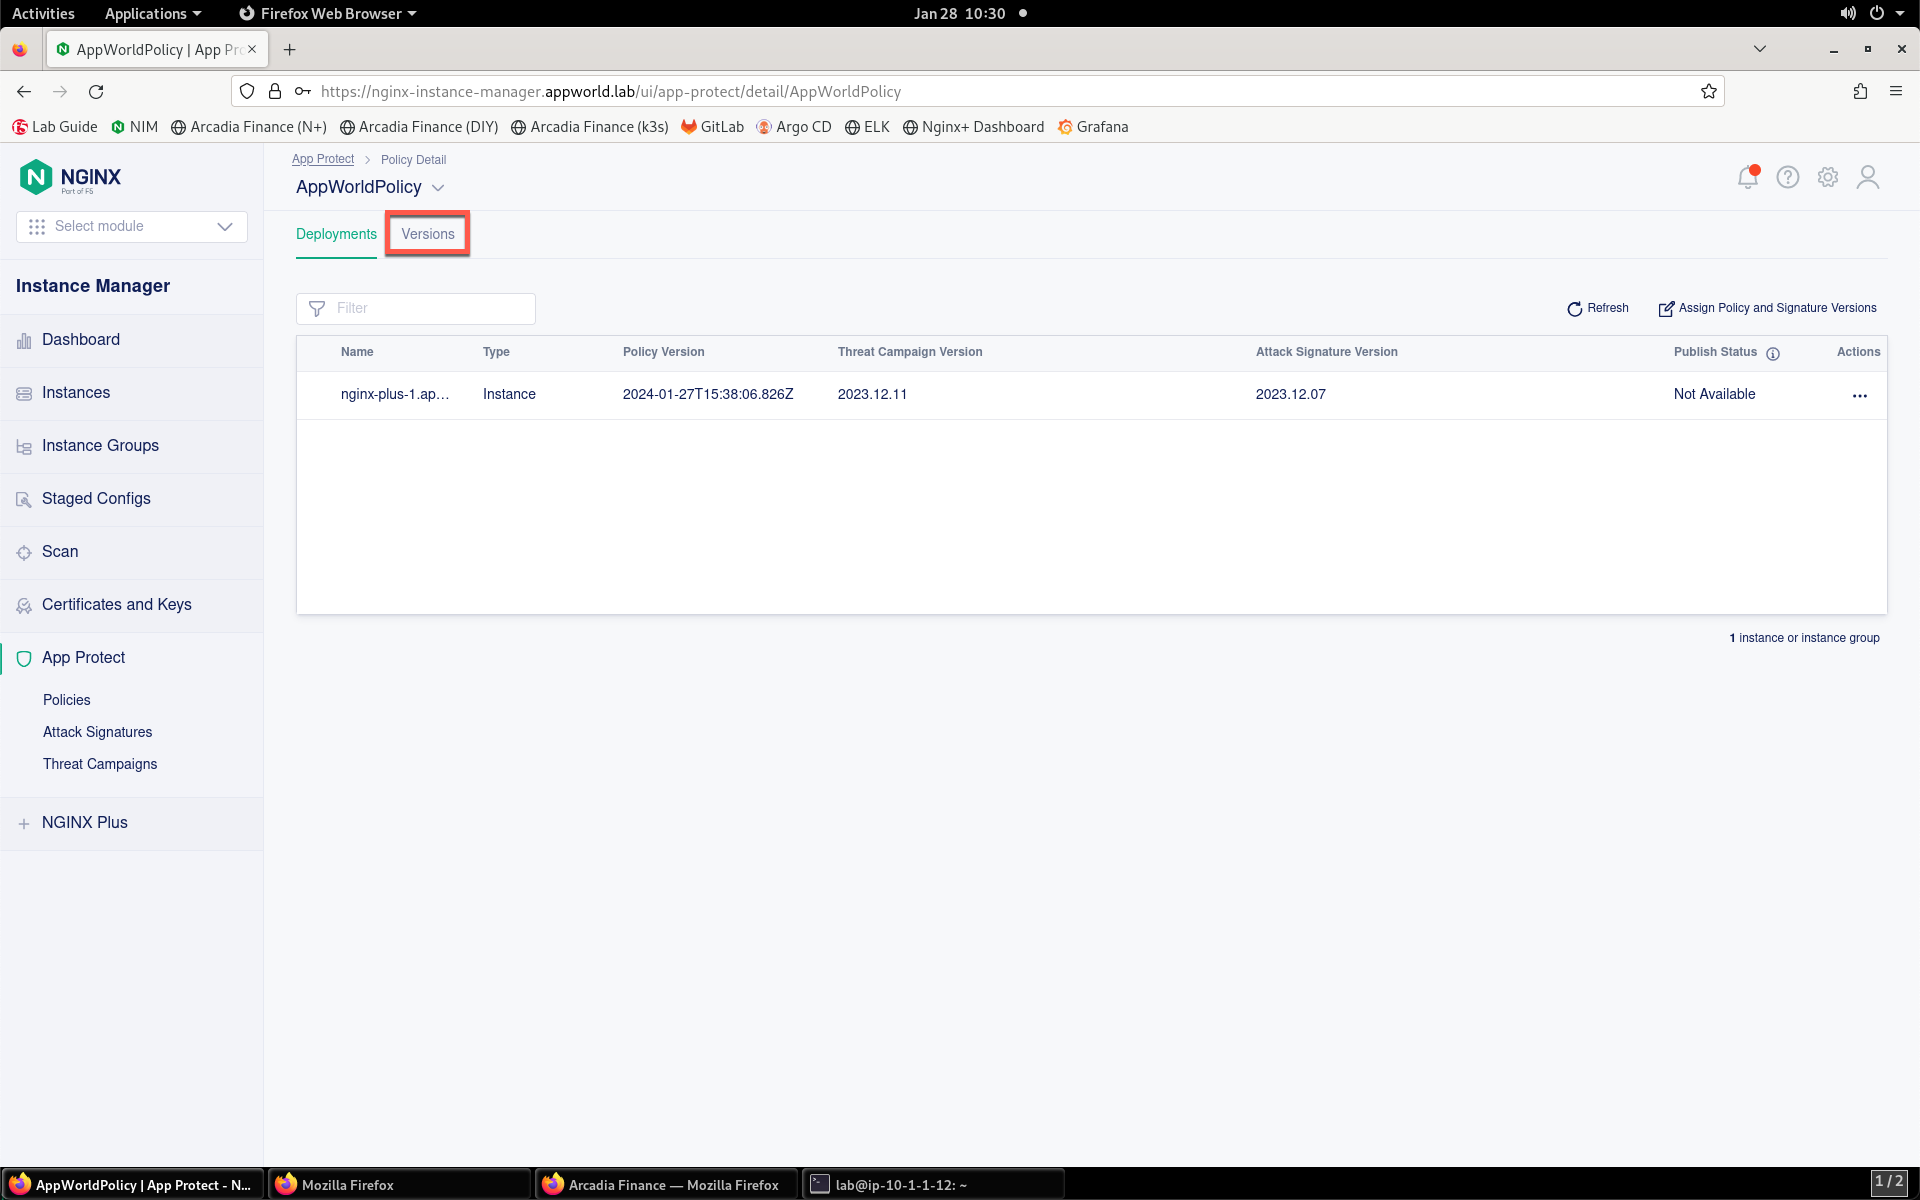
- Notice the new policy version is now listed.

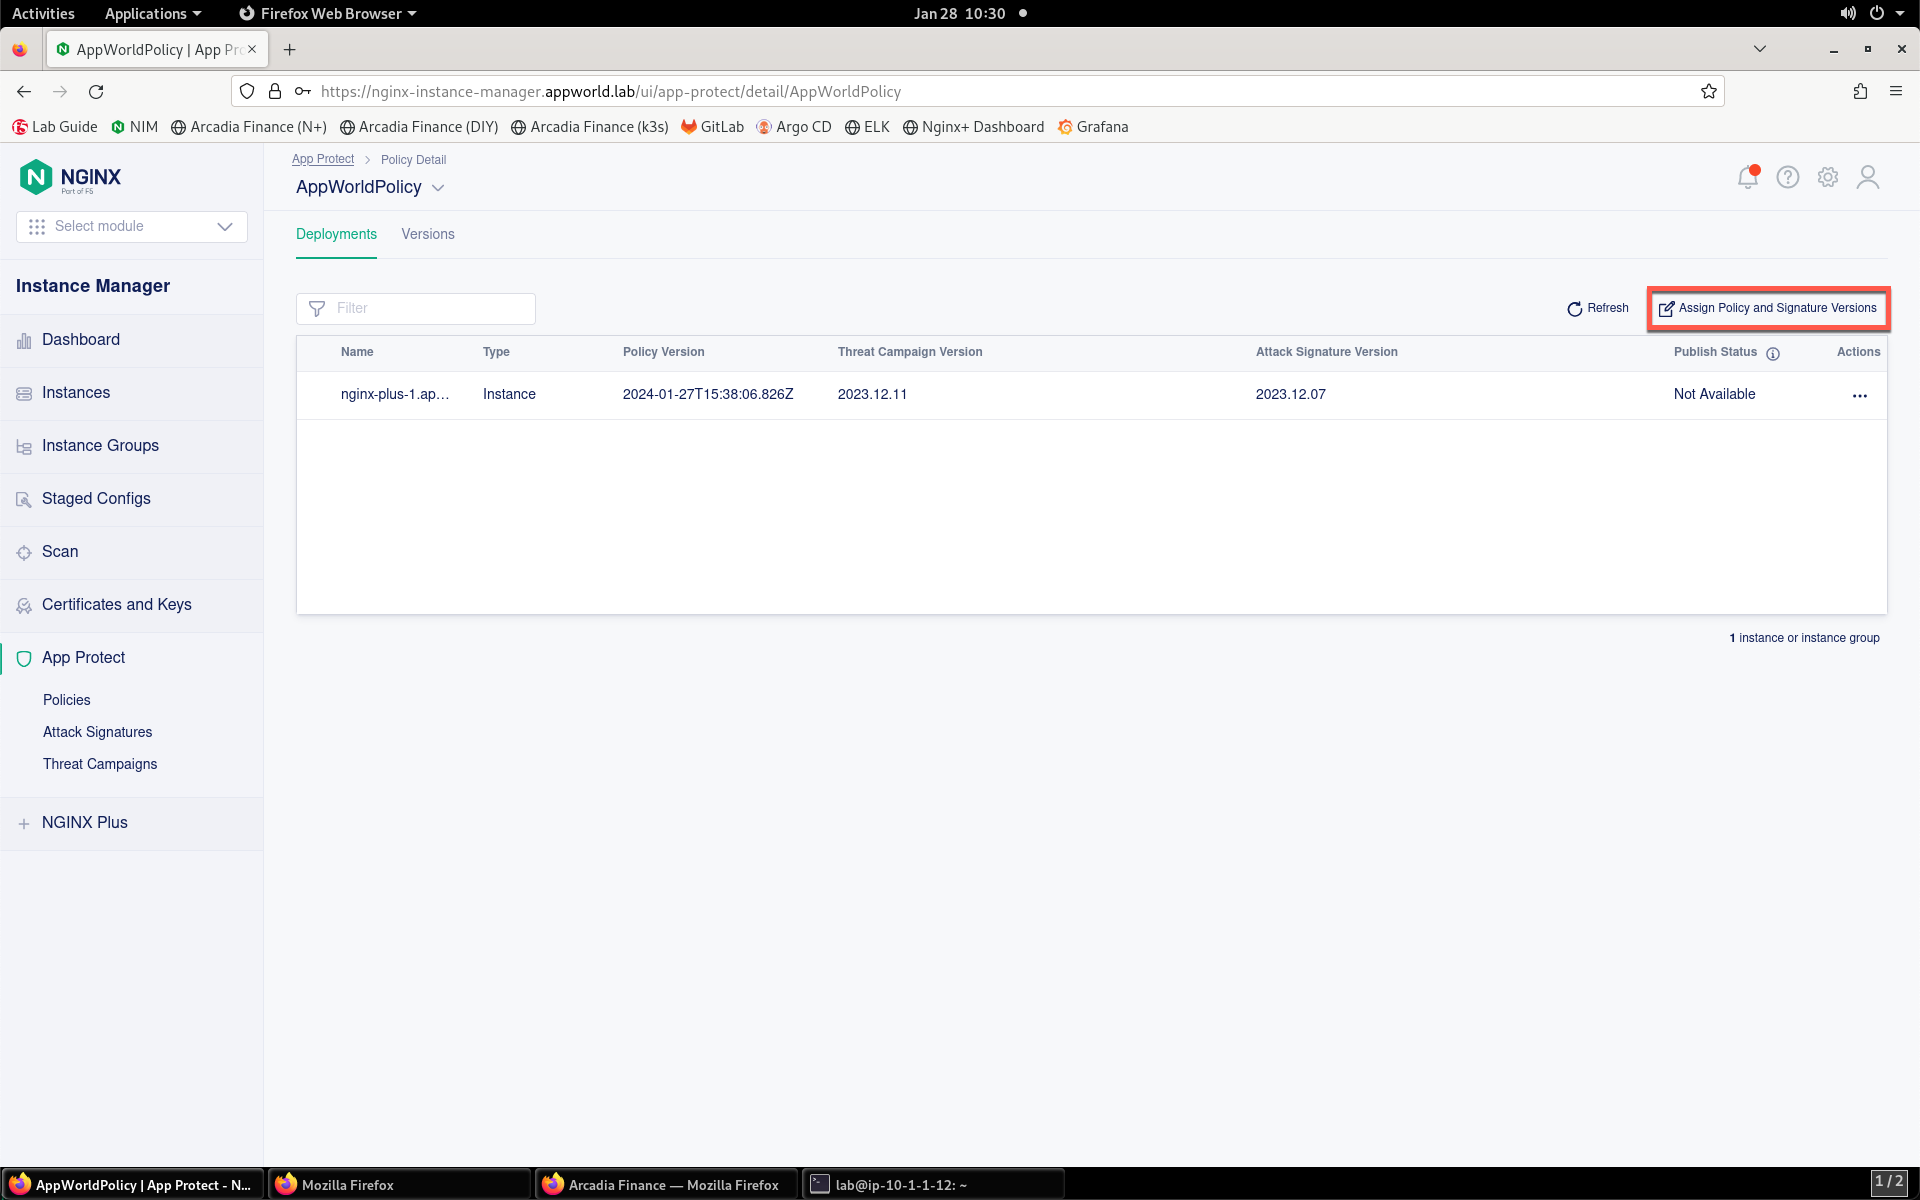
- Return to the the Deployments tab.
- Now click on the Assign Policy and Signature Versions button above the instance list.
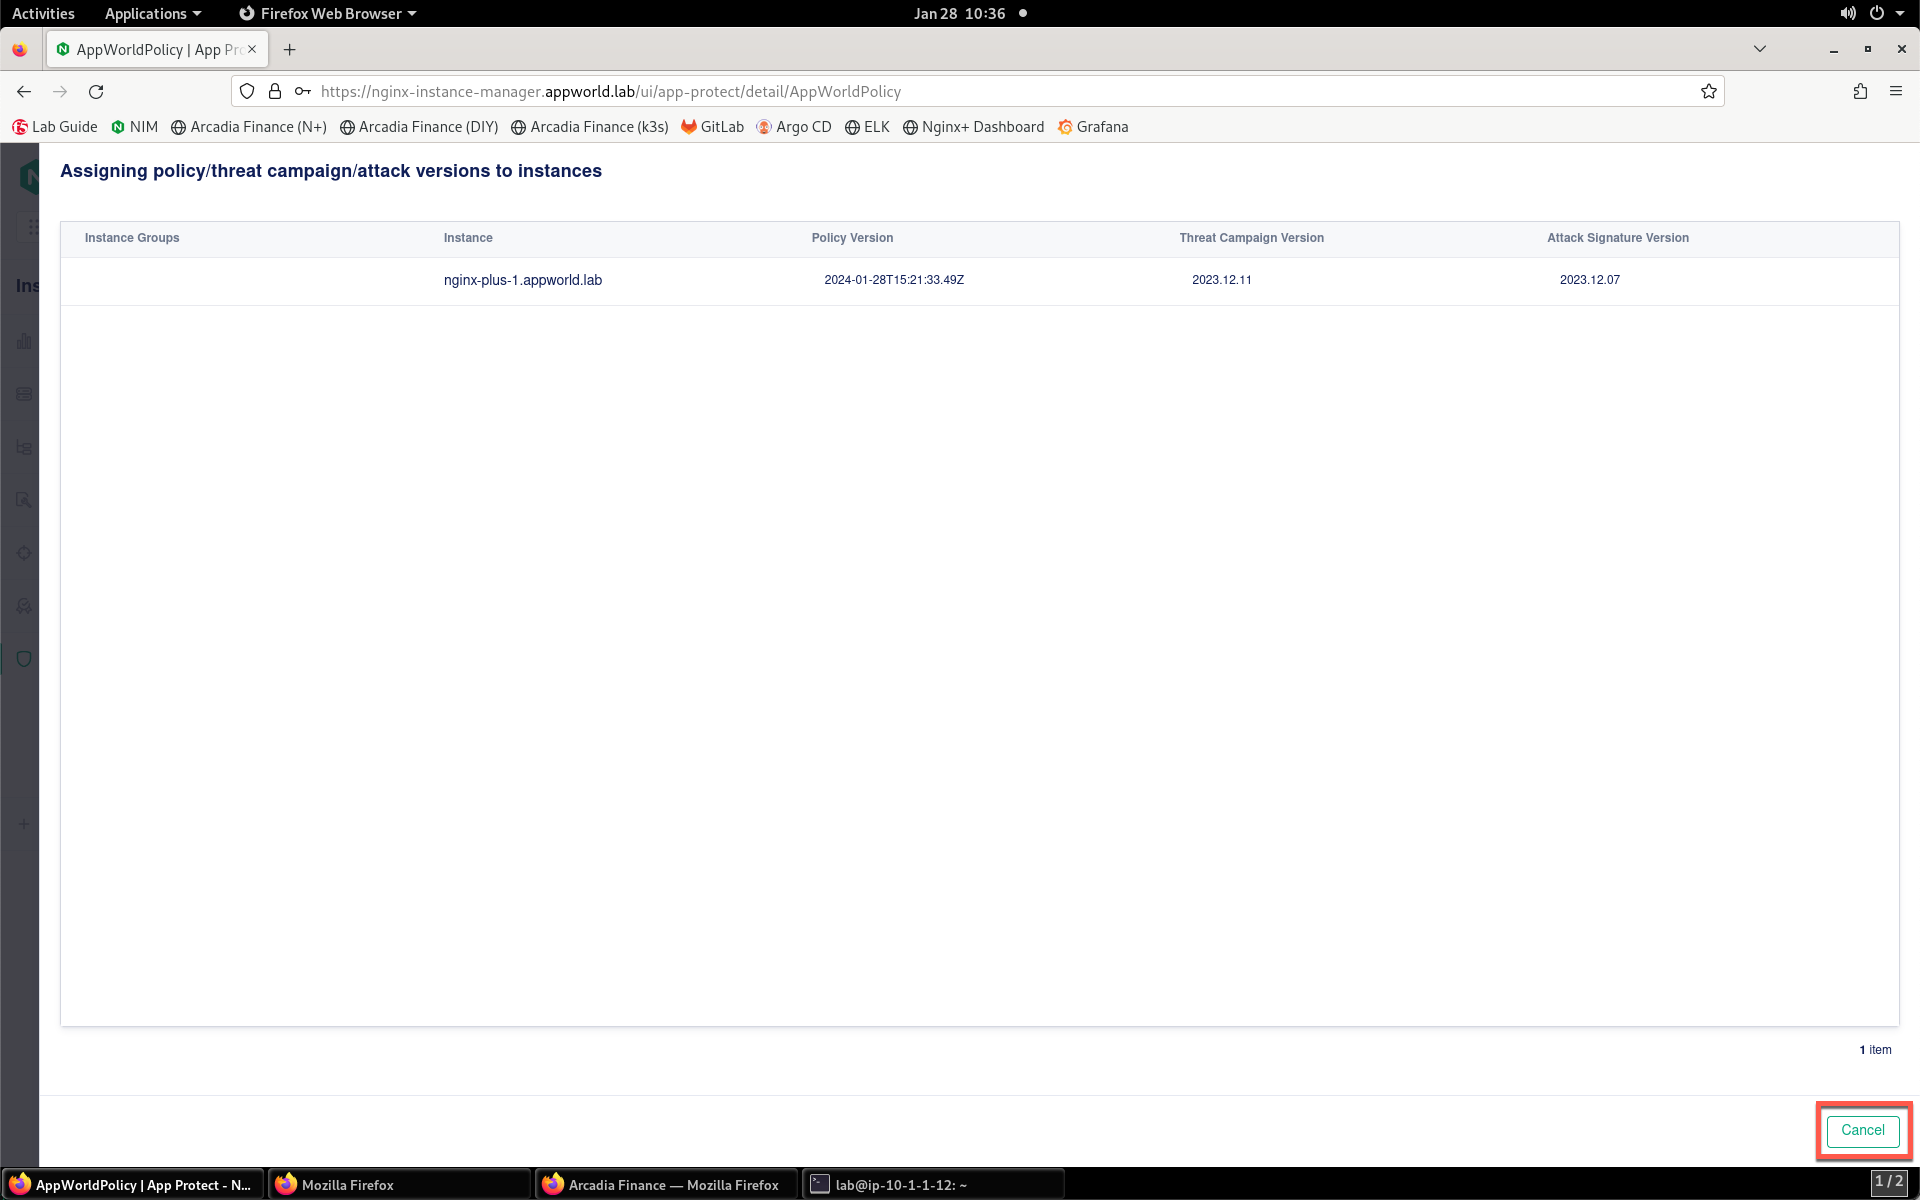
- Notice that the version listed in the Policy Version column is in a drop-down box. You may need to hover your mouse arrow over this section to see the drop-down appear.
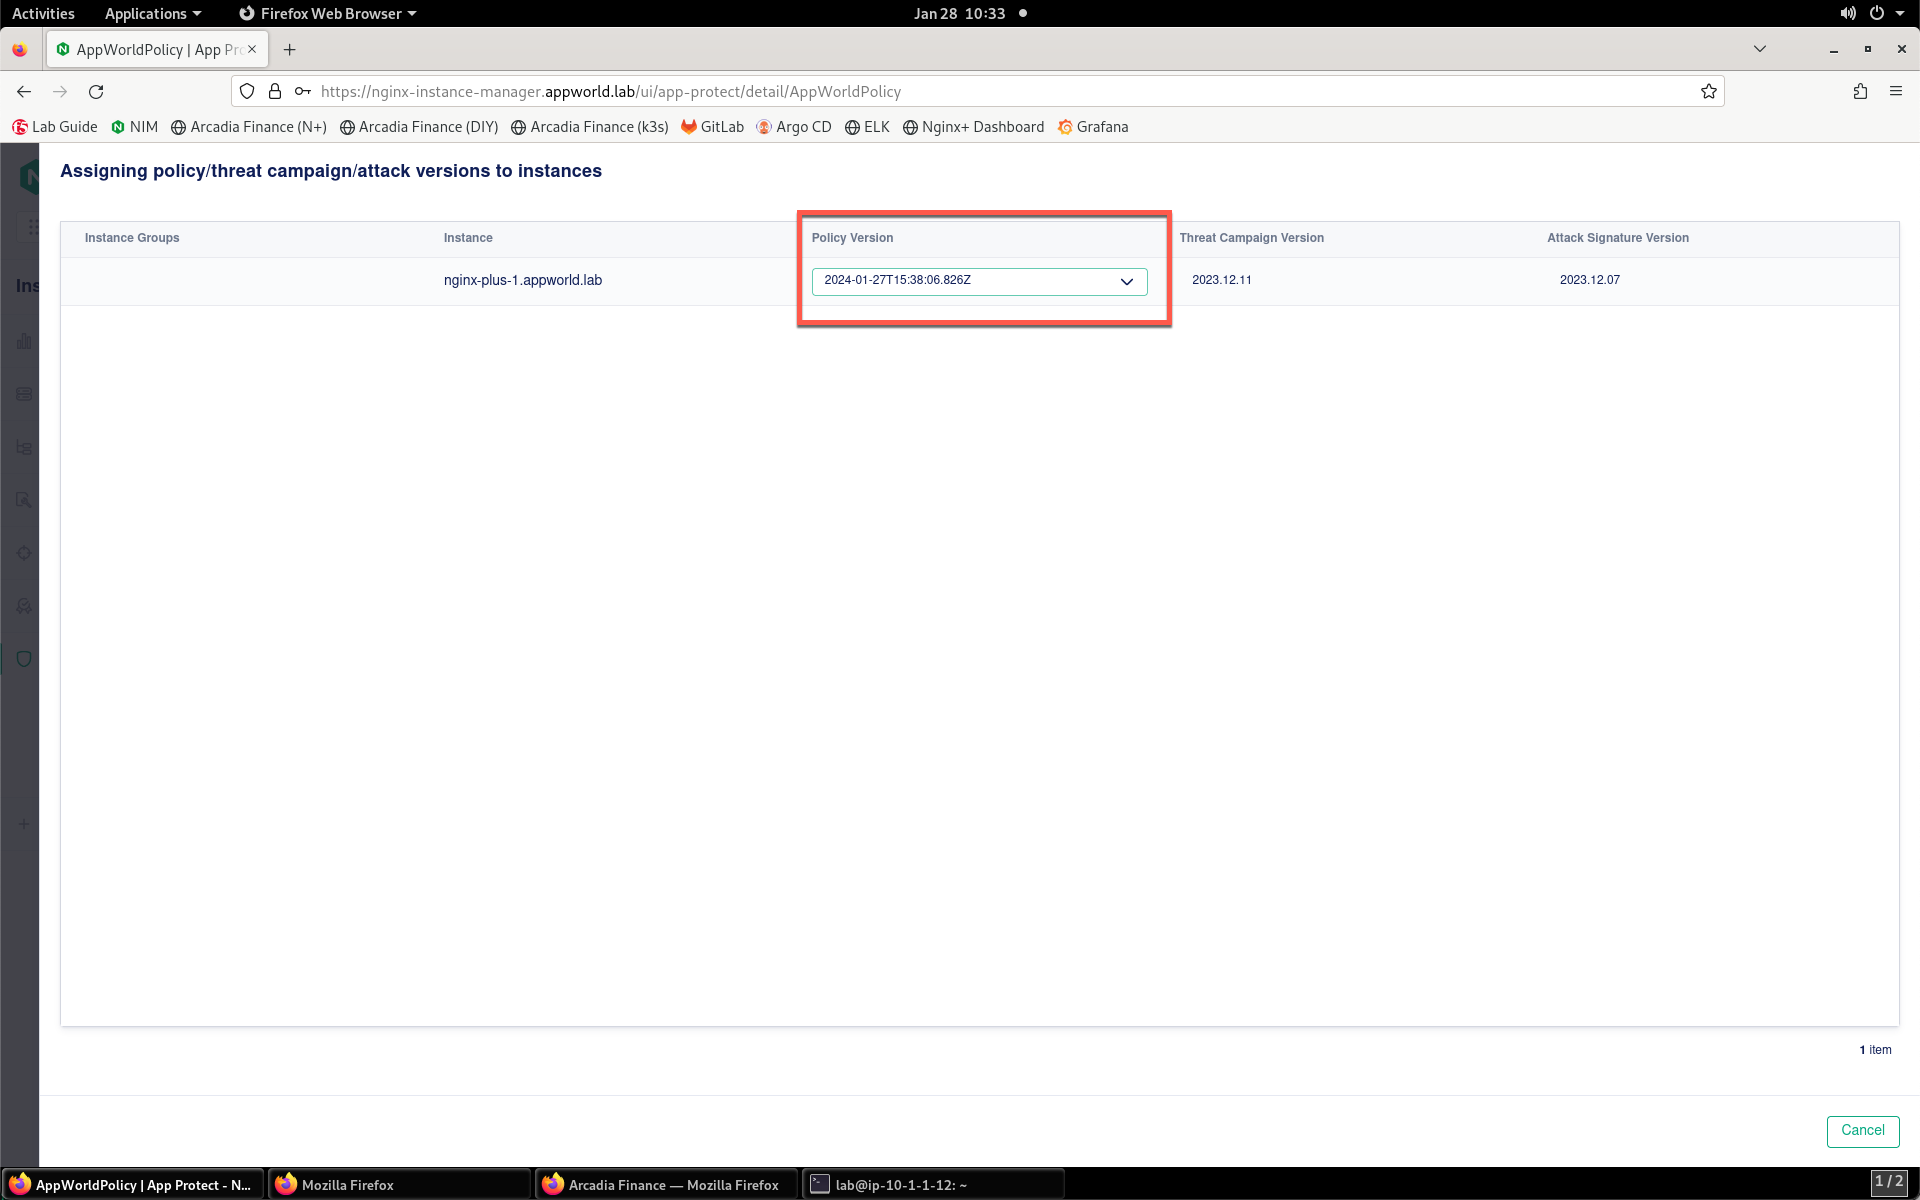
- Change this to your newer version (compare timestamps) and click Publish.
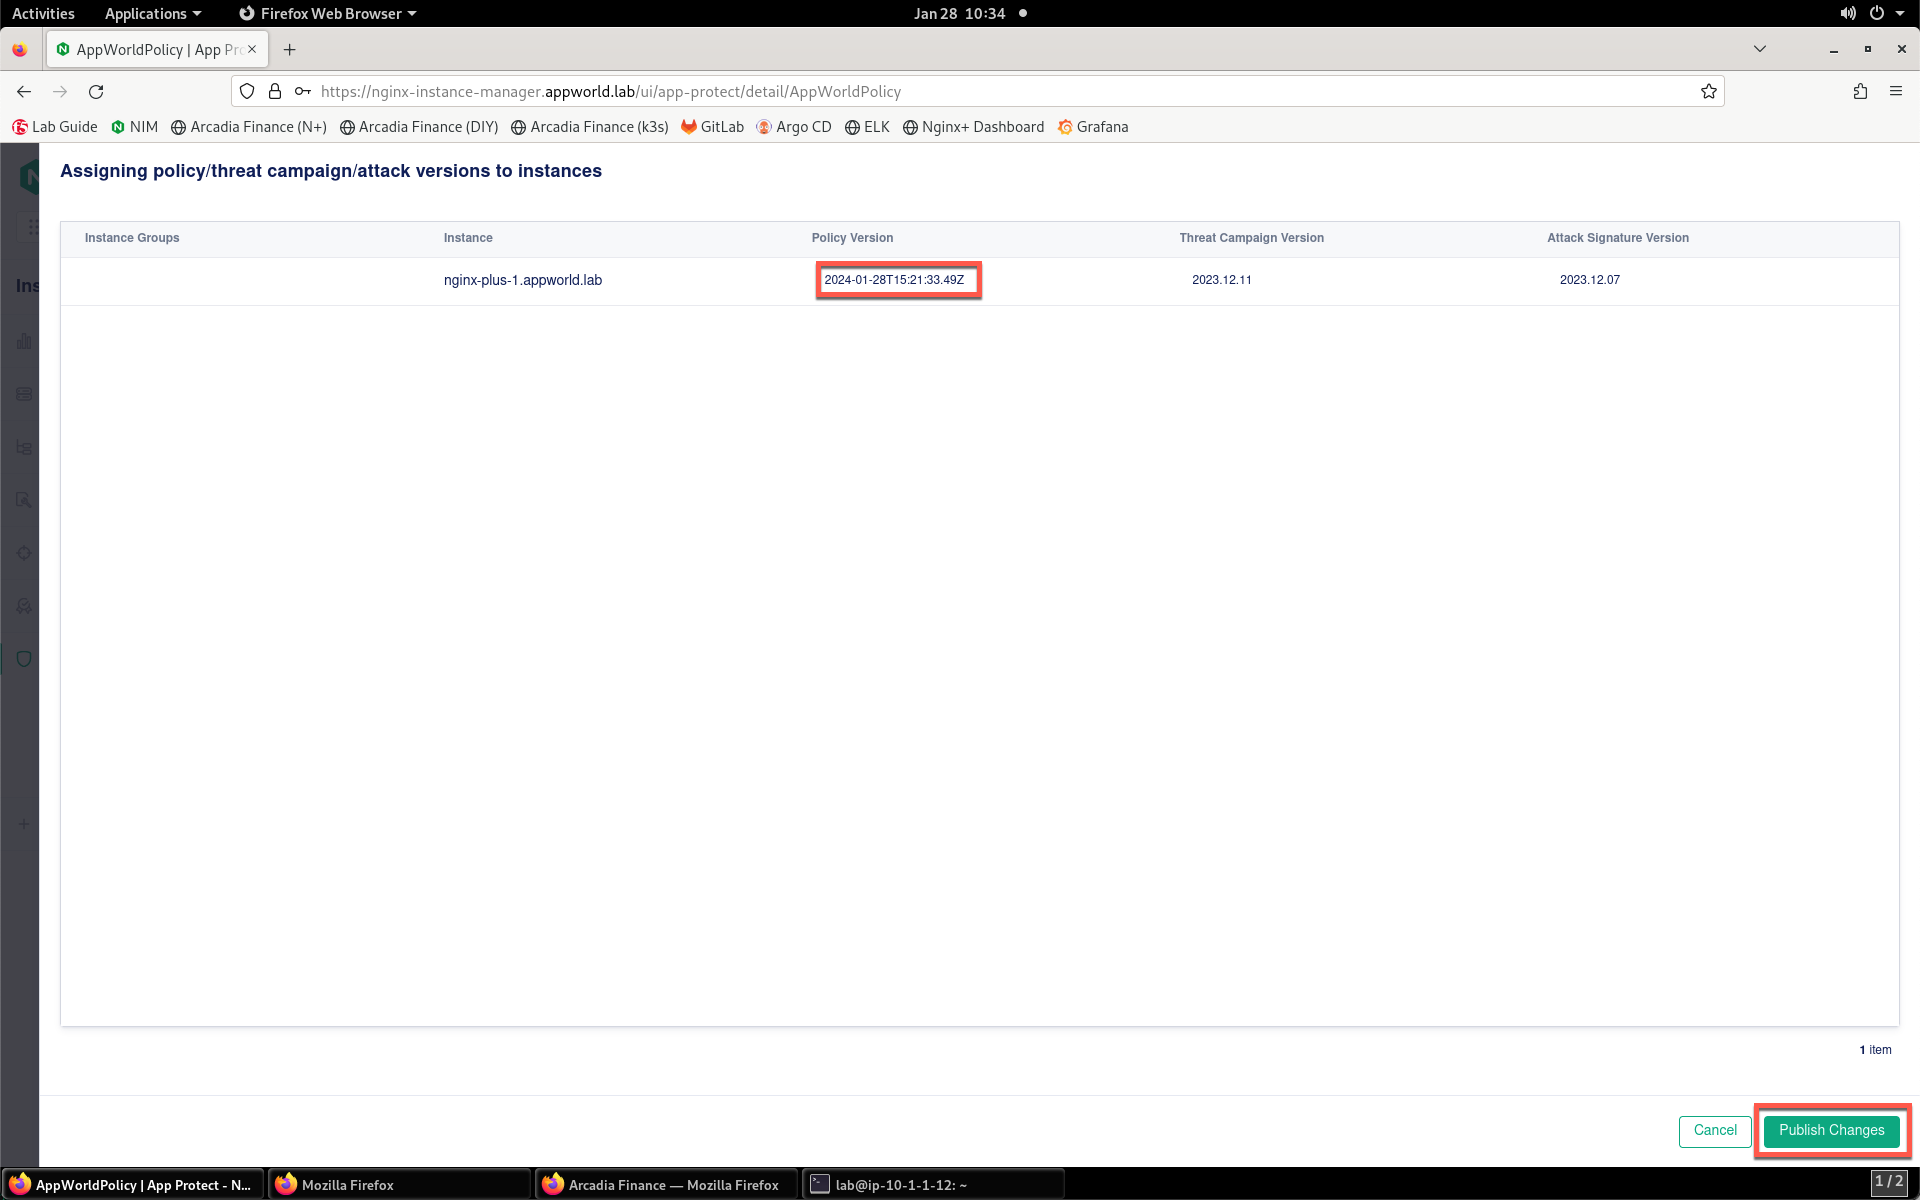
- A pop-up will confirm that you have changed the version.
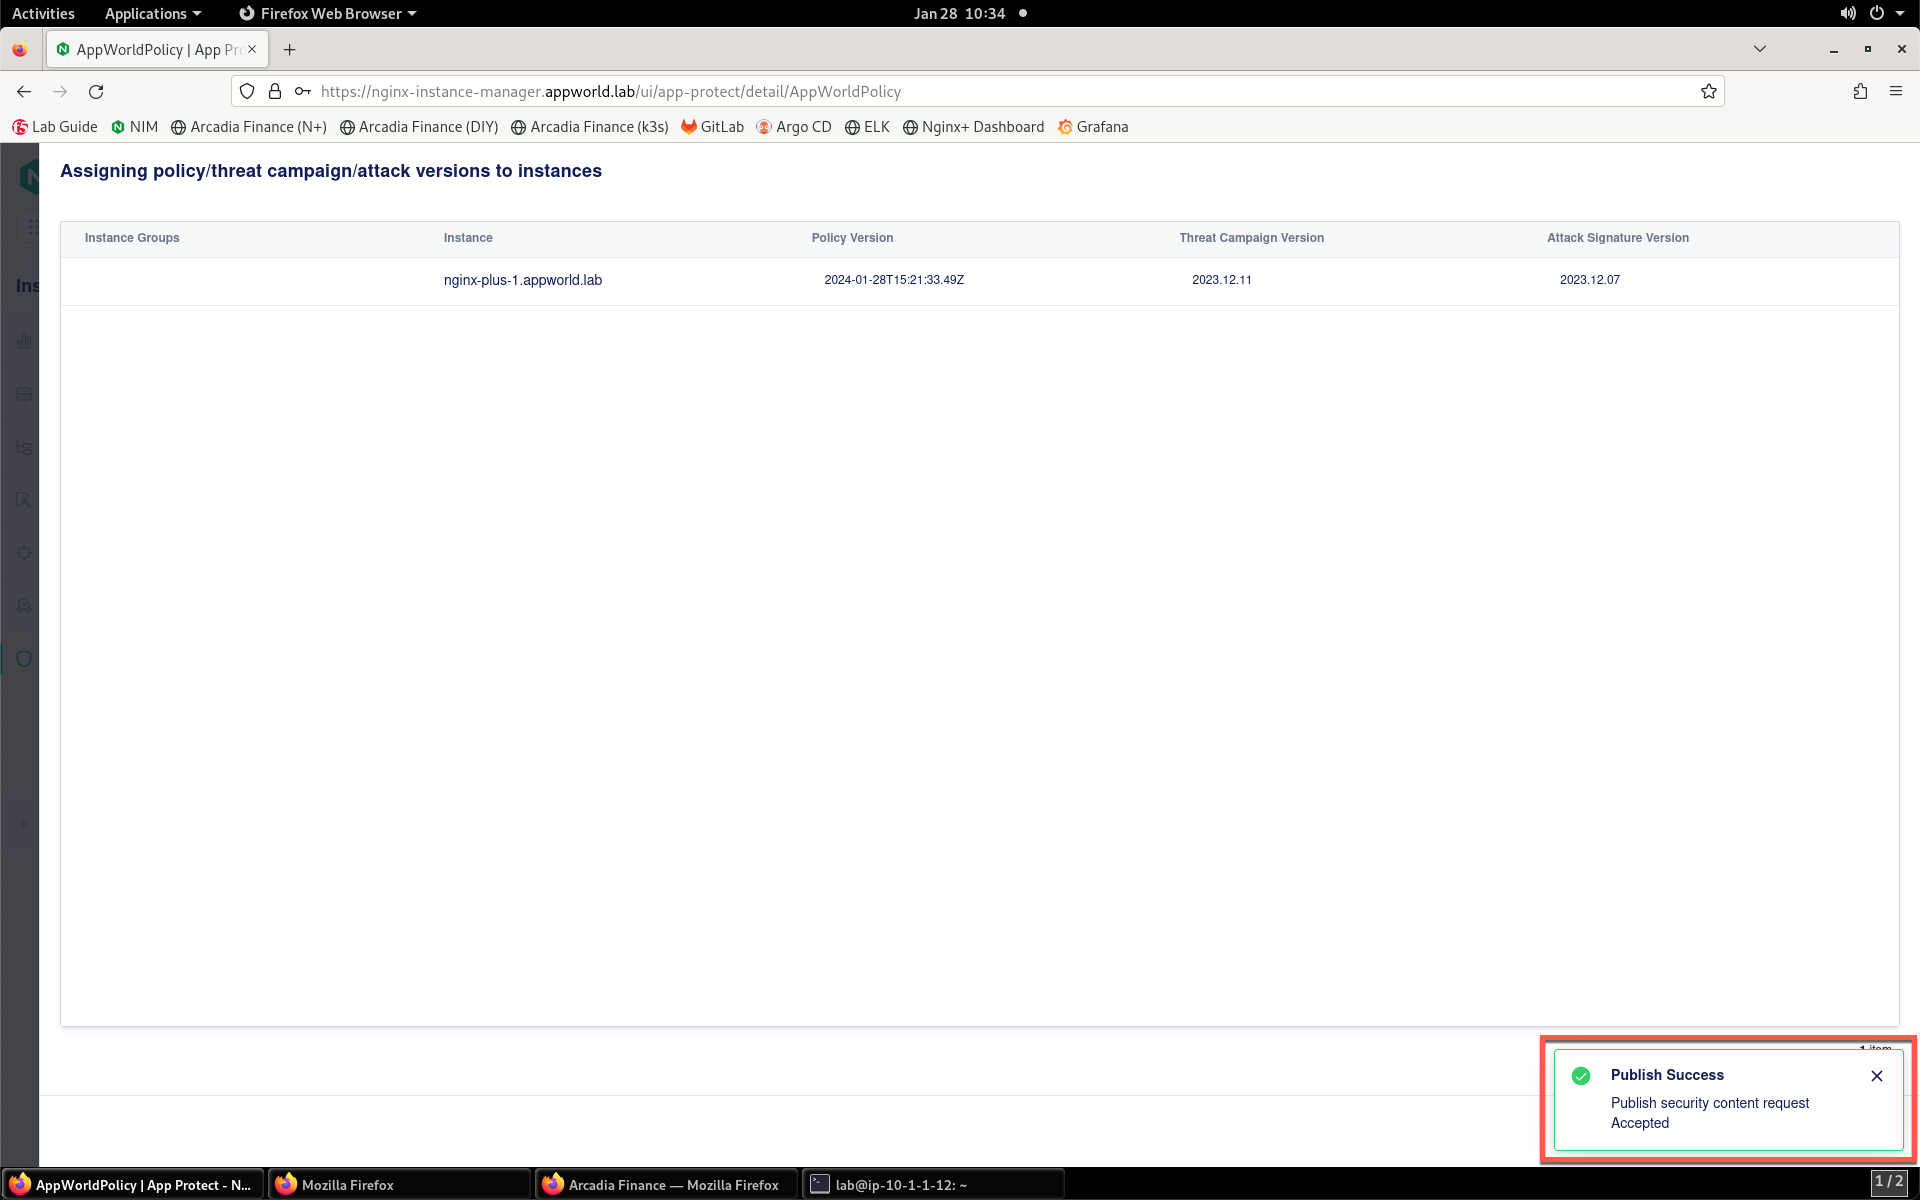
- Click X to close the confirmation window.
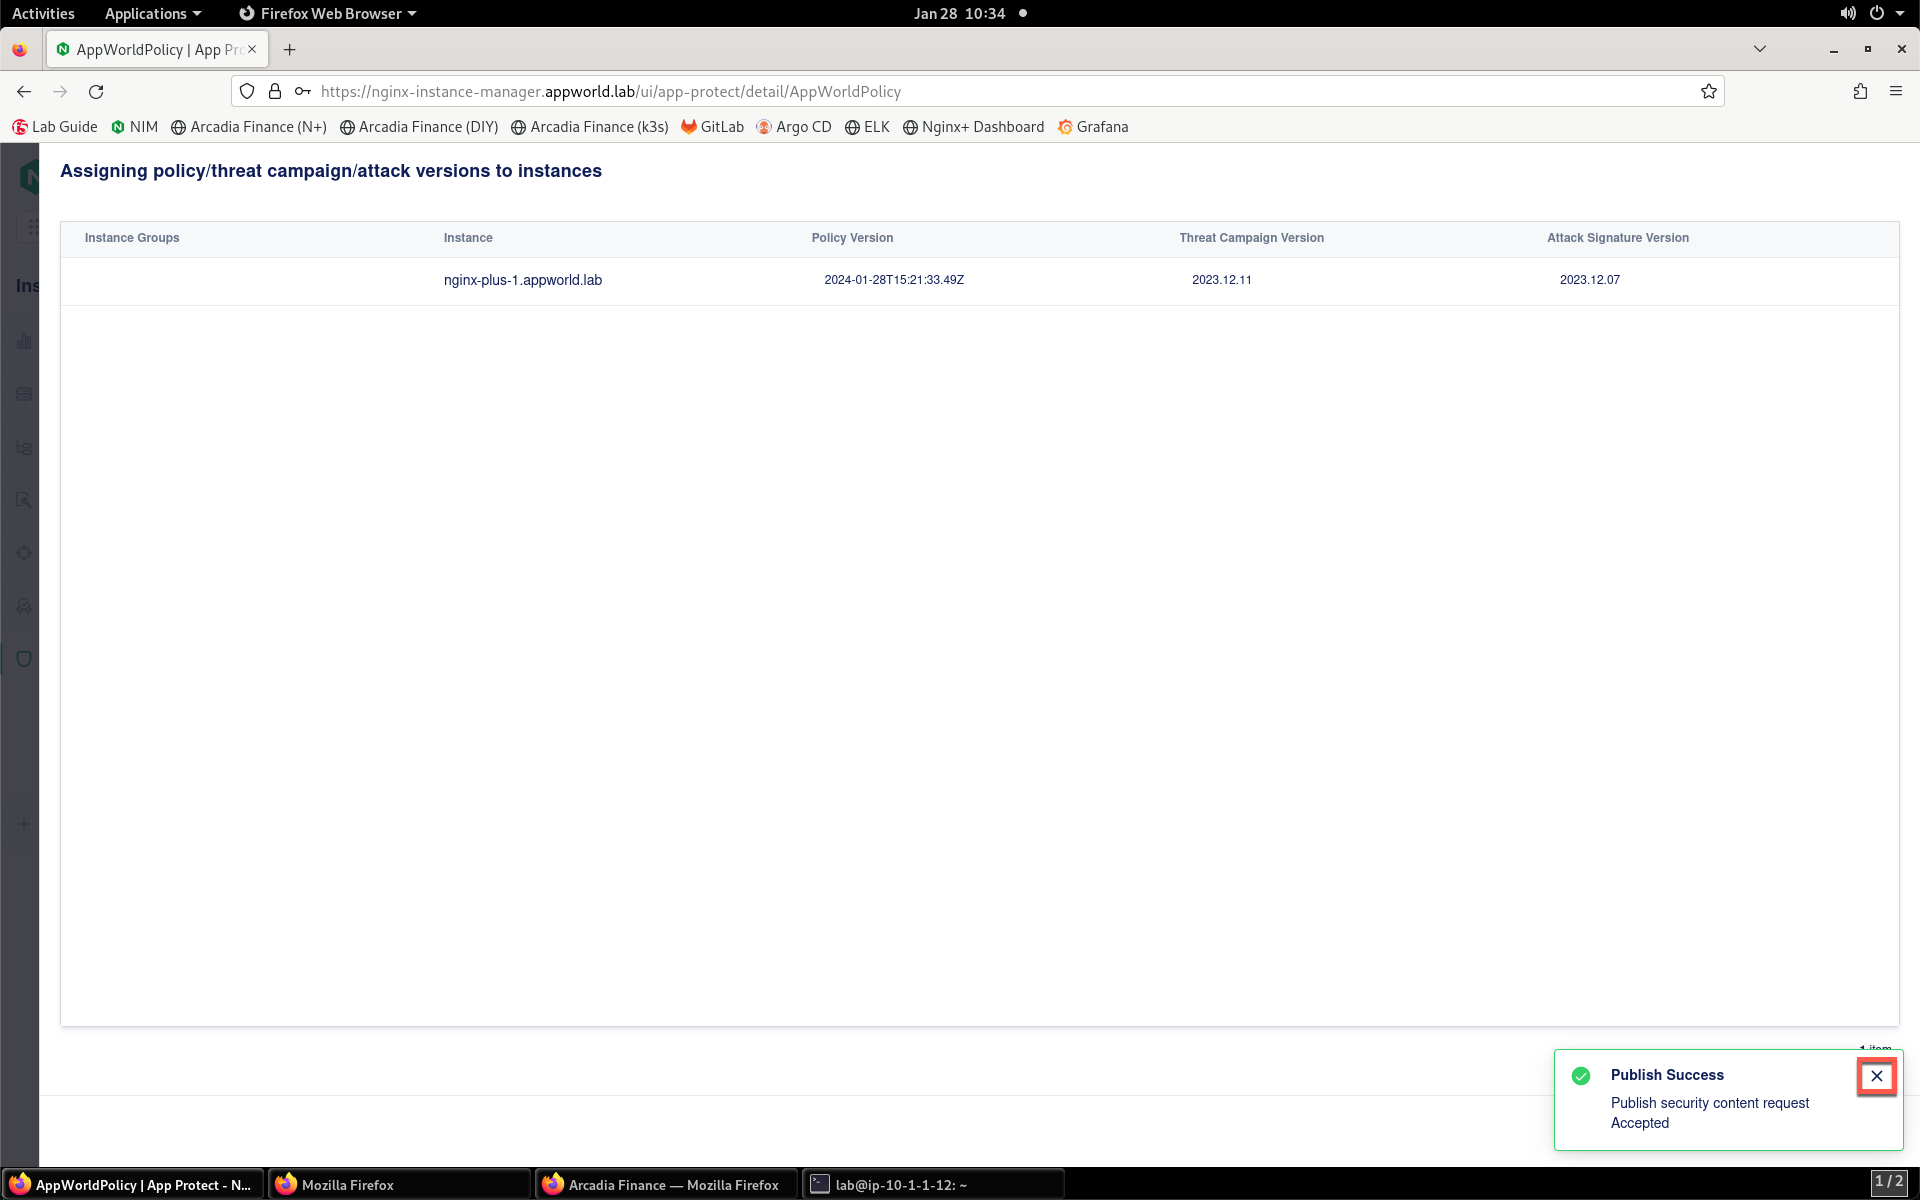
- Click Cancel to close the assignment window.
- On the top of the left menu bar, click Instances.
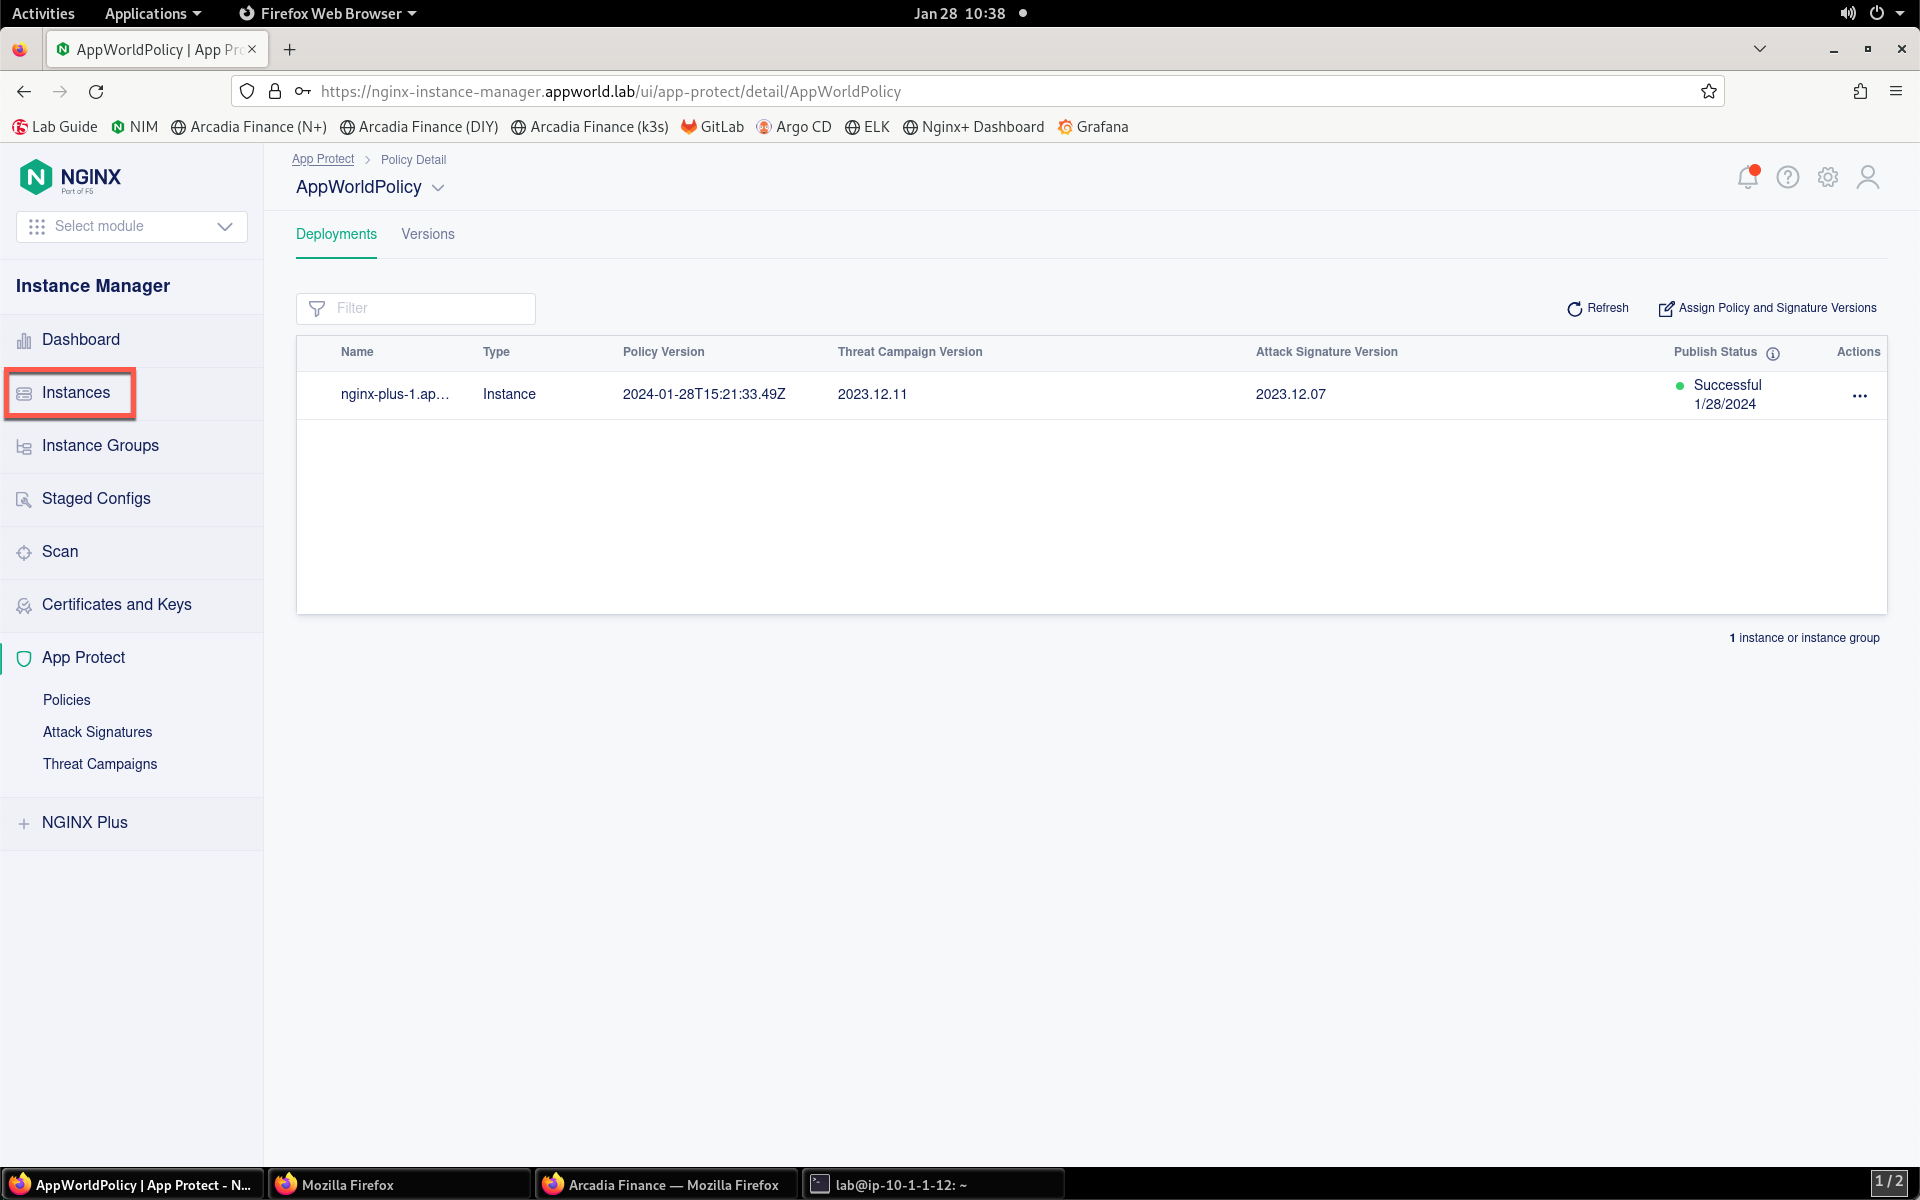
- Select the nginx-plus-1 instance from the list.

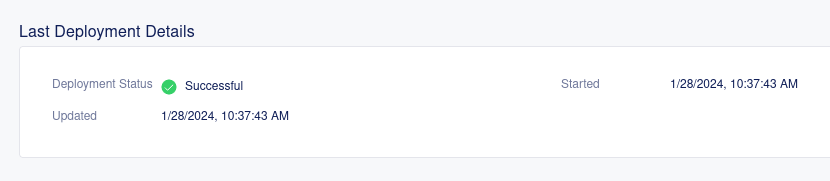
- Look for the deployment status in the Last Deployment Details section. You should see a status of Successful. If not, wait a few moments for the deployment to commence and complete. You may need to refresh your browser for the status to update.
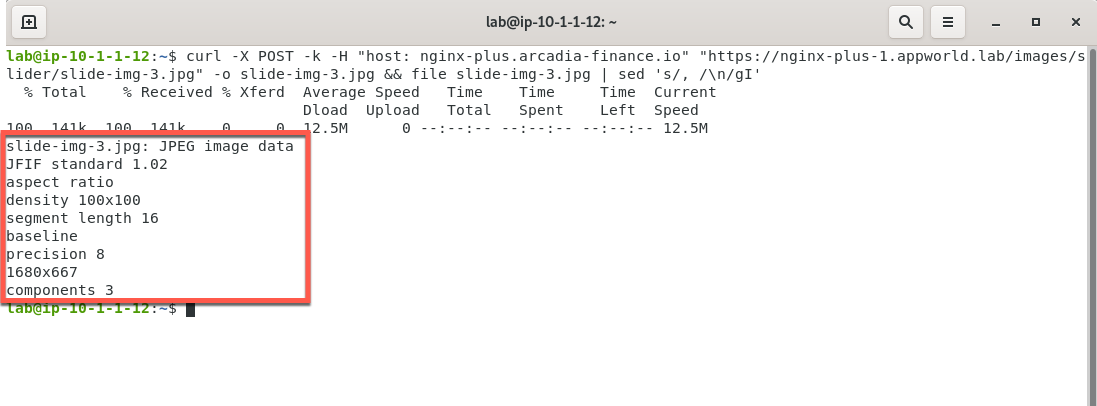
- Once the deployment has finished, check the site to see if the issue is remediated. Go back to the Terminal that is open on the Jump Server and enter the command below.
curl -X POST -k -H "host: nginx-plus.arcadia-finance.io" "https://nginx-plus-1.appworld.lab/images/slider/slide-img-3.jpg" -o slide-img-3.jpg && file slide-img-3.jpg | sed 's/, /\n/gI'
The command will attempt to download the jpg image, and inspect its contents. You should see output as in the screenshot below signifying that the file has been downloaded successfully, and is no longer being blocked by the WAF policy.
Now that you have viewed, diagnosed and remedied a false positive in a WAF policy, continue to the next section of the lab.