F5 BIG-IP SSL Orchestrator Training Lab > All SSL Orchestrator Lab Guides > SSLO 101: Introduction to SSL Visibility with SSL Orchestrator (AppWorld 2026 | 2 hours) > 3. Lab 1: Deploy an Outbound Transparent Forward Proxy Source | Edit on
3.3. SSL Orchestrator Initial Setup
Let's first get logged into the BIG-IP SSL Orchestrator system.
In the UDF Console, navigate to the Deployment tab.
Select ACCESS > TMUI for the BIG-IP SSL Orchestrator resource (Components > BIG-IP SSL Orchestrator > ACCESS > TMUI).
A new tab will open and present the BIG-IP login screen. Log in as
adminwith passwordadmin.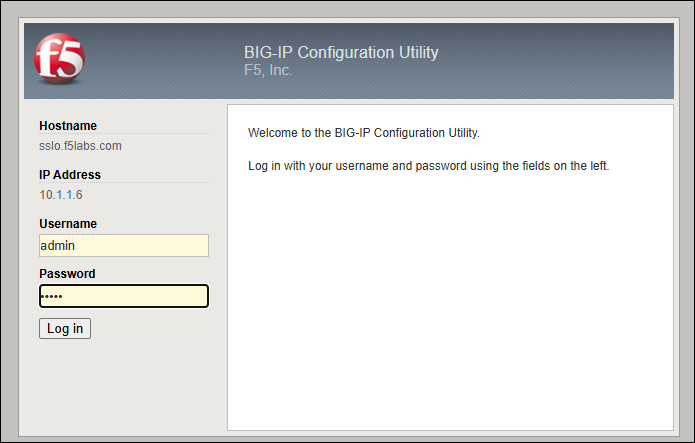
Attention
Simple passwords were used in this lab environment in order to make it easier for students to access the infrastructure. This does not follow recommended security practices of using strong passwords.
However, keep in mind that this lab environment is only accessible via an authenticated UDF login.
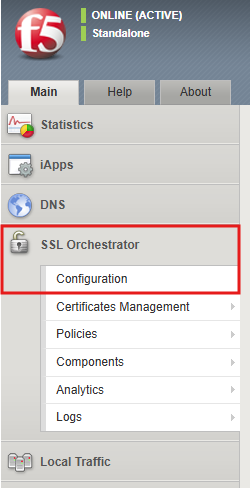
In the left-hand menu, click on SSL Orchestrator to see the available options.
Click on the Configuration menu item.
The SSL Orchestrator Guided Configuration UI will initialize.
When loading completes, you will see the initial setup screen.
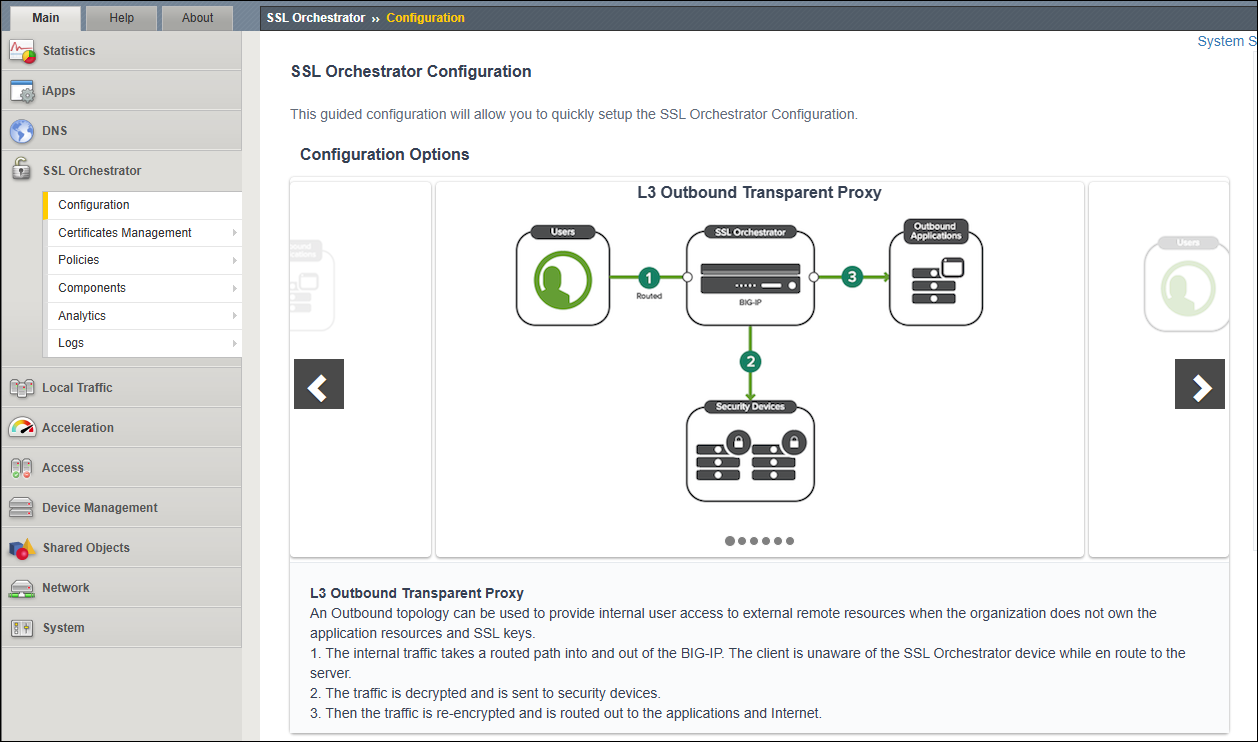
Review the Required Configuration section (to the right of the Configuration Options section). You will see that system-level DNS and Route settings have already been configured, but NTP is unconfigured.
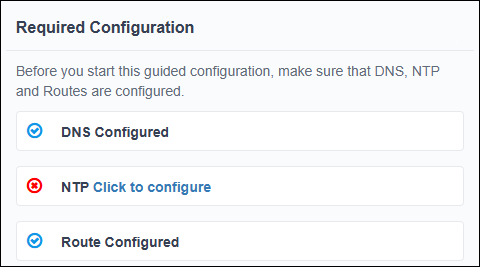
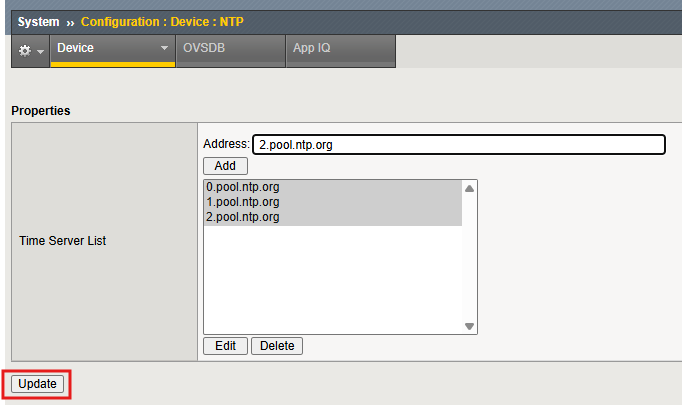
Click on the Click to configure link beside NTP. This will open a new browser tab referencing the System > Configuration > Device - NTP configuration settings.
Enter
0.pool.ntp.orgin the Address field and click on the Add button.Repeat this step with
1.pool.ntp.organd2.pool.ntp.org.Click on the Update button to apply the settings.
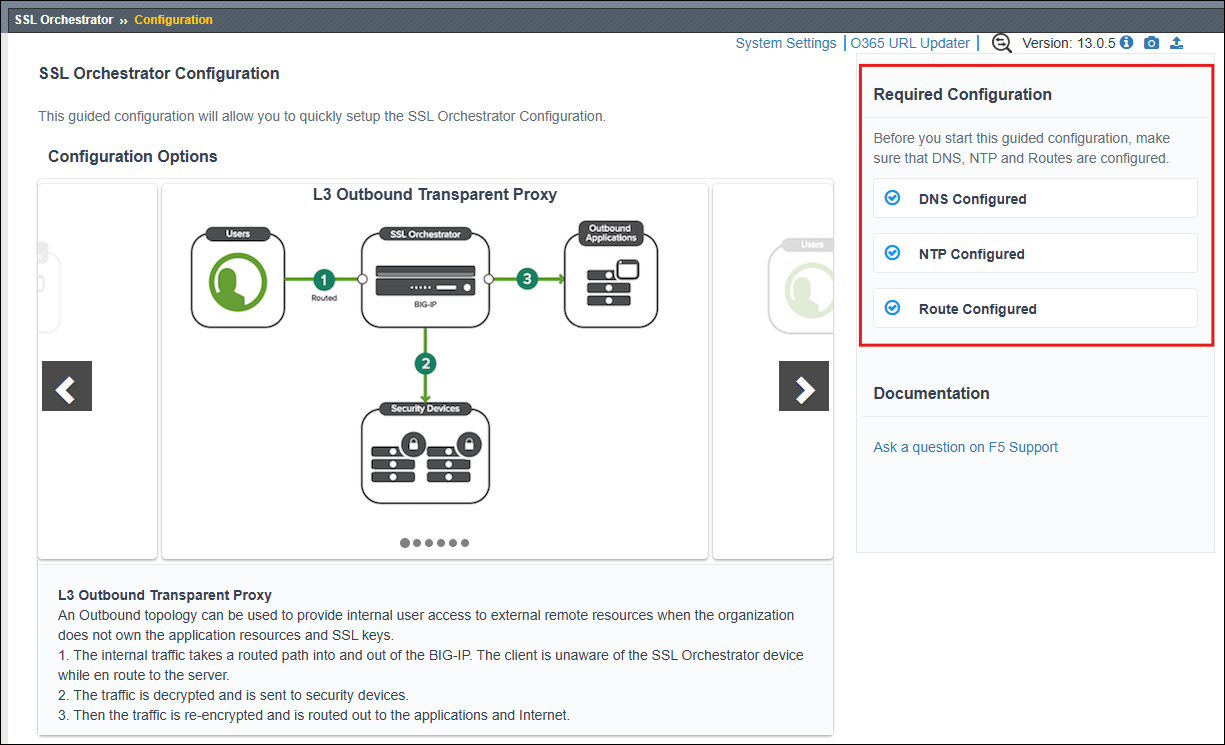
Close the NTP tab to return to the main SSL Orchestrator tab. You should now see that all of the requirements have been satisfied.
Note
The SSL Orchestrator Guided Configuration UI also provides an opportunity to define topology-specific DNS and Route settings later in the workflow.
The Configuration Options section contains some basic overview information about various deployment Topologies that are supported. Click on the left or right navigation buttons to cycle through the options and read about the topology characteristics.
Scroll to the bottom of the page and click on the Next button to start creating a topology.