F5 Analytics and Visibility Solutions > Class 3 - F5 Telemetry Streaming Source | Edit on
Telemetry Streaming With AWS Cloudwatch
In this lab we will configure our Telemetry Streaming JSON declaration to establish a connection between our AWS consumer and our BIG-IP.
Exercise 1 - Login to AWS Cloudwatch
Navigate to UDF class view
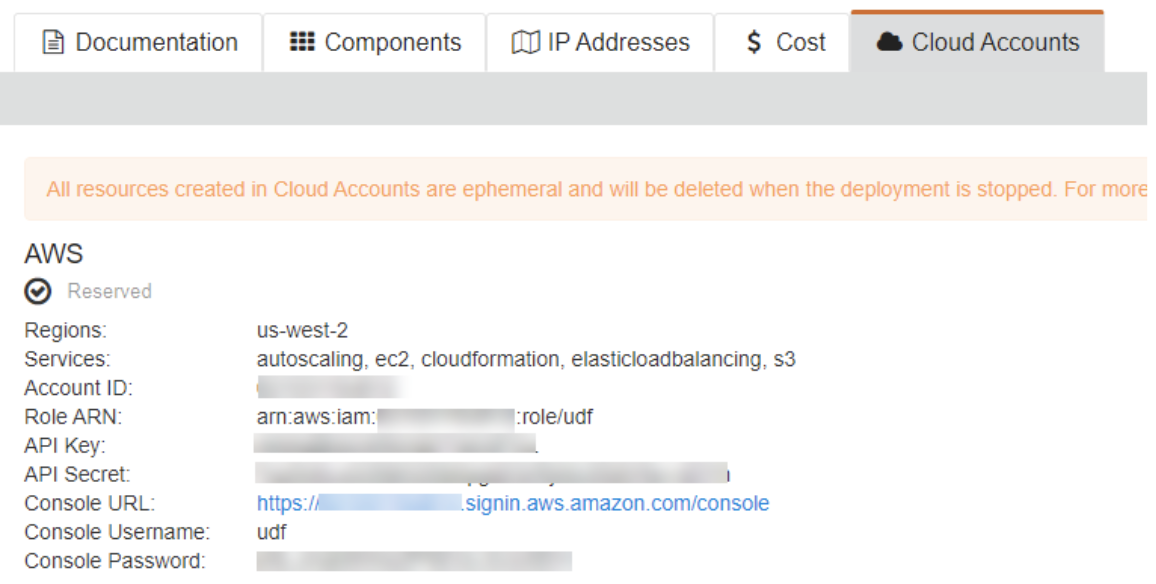
Click on Cloud Accounts and copy the Console Username and Console Password (keep this tab open for the next section). Click the Console URL. Paste in the Console Username and Console Password.
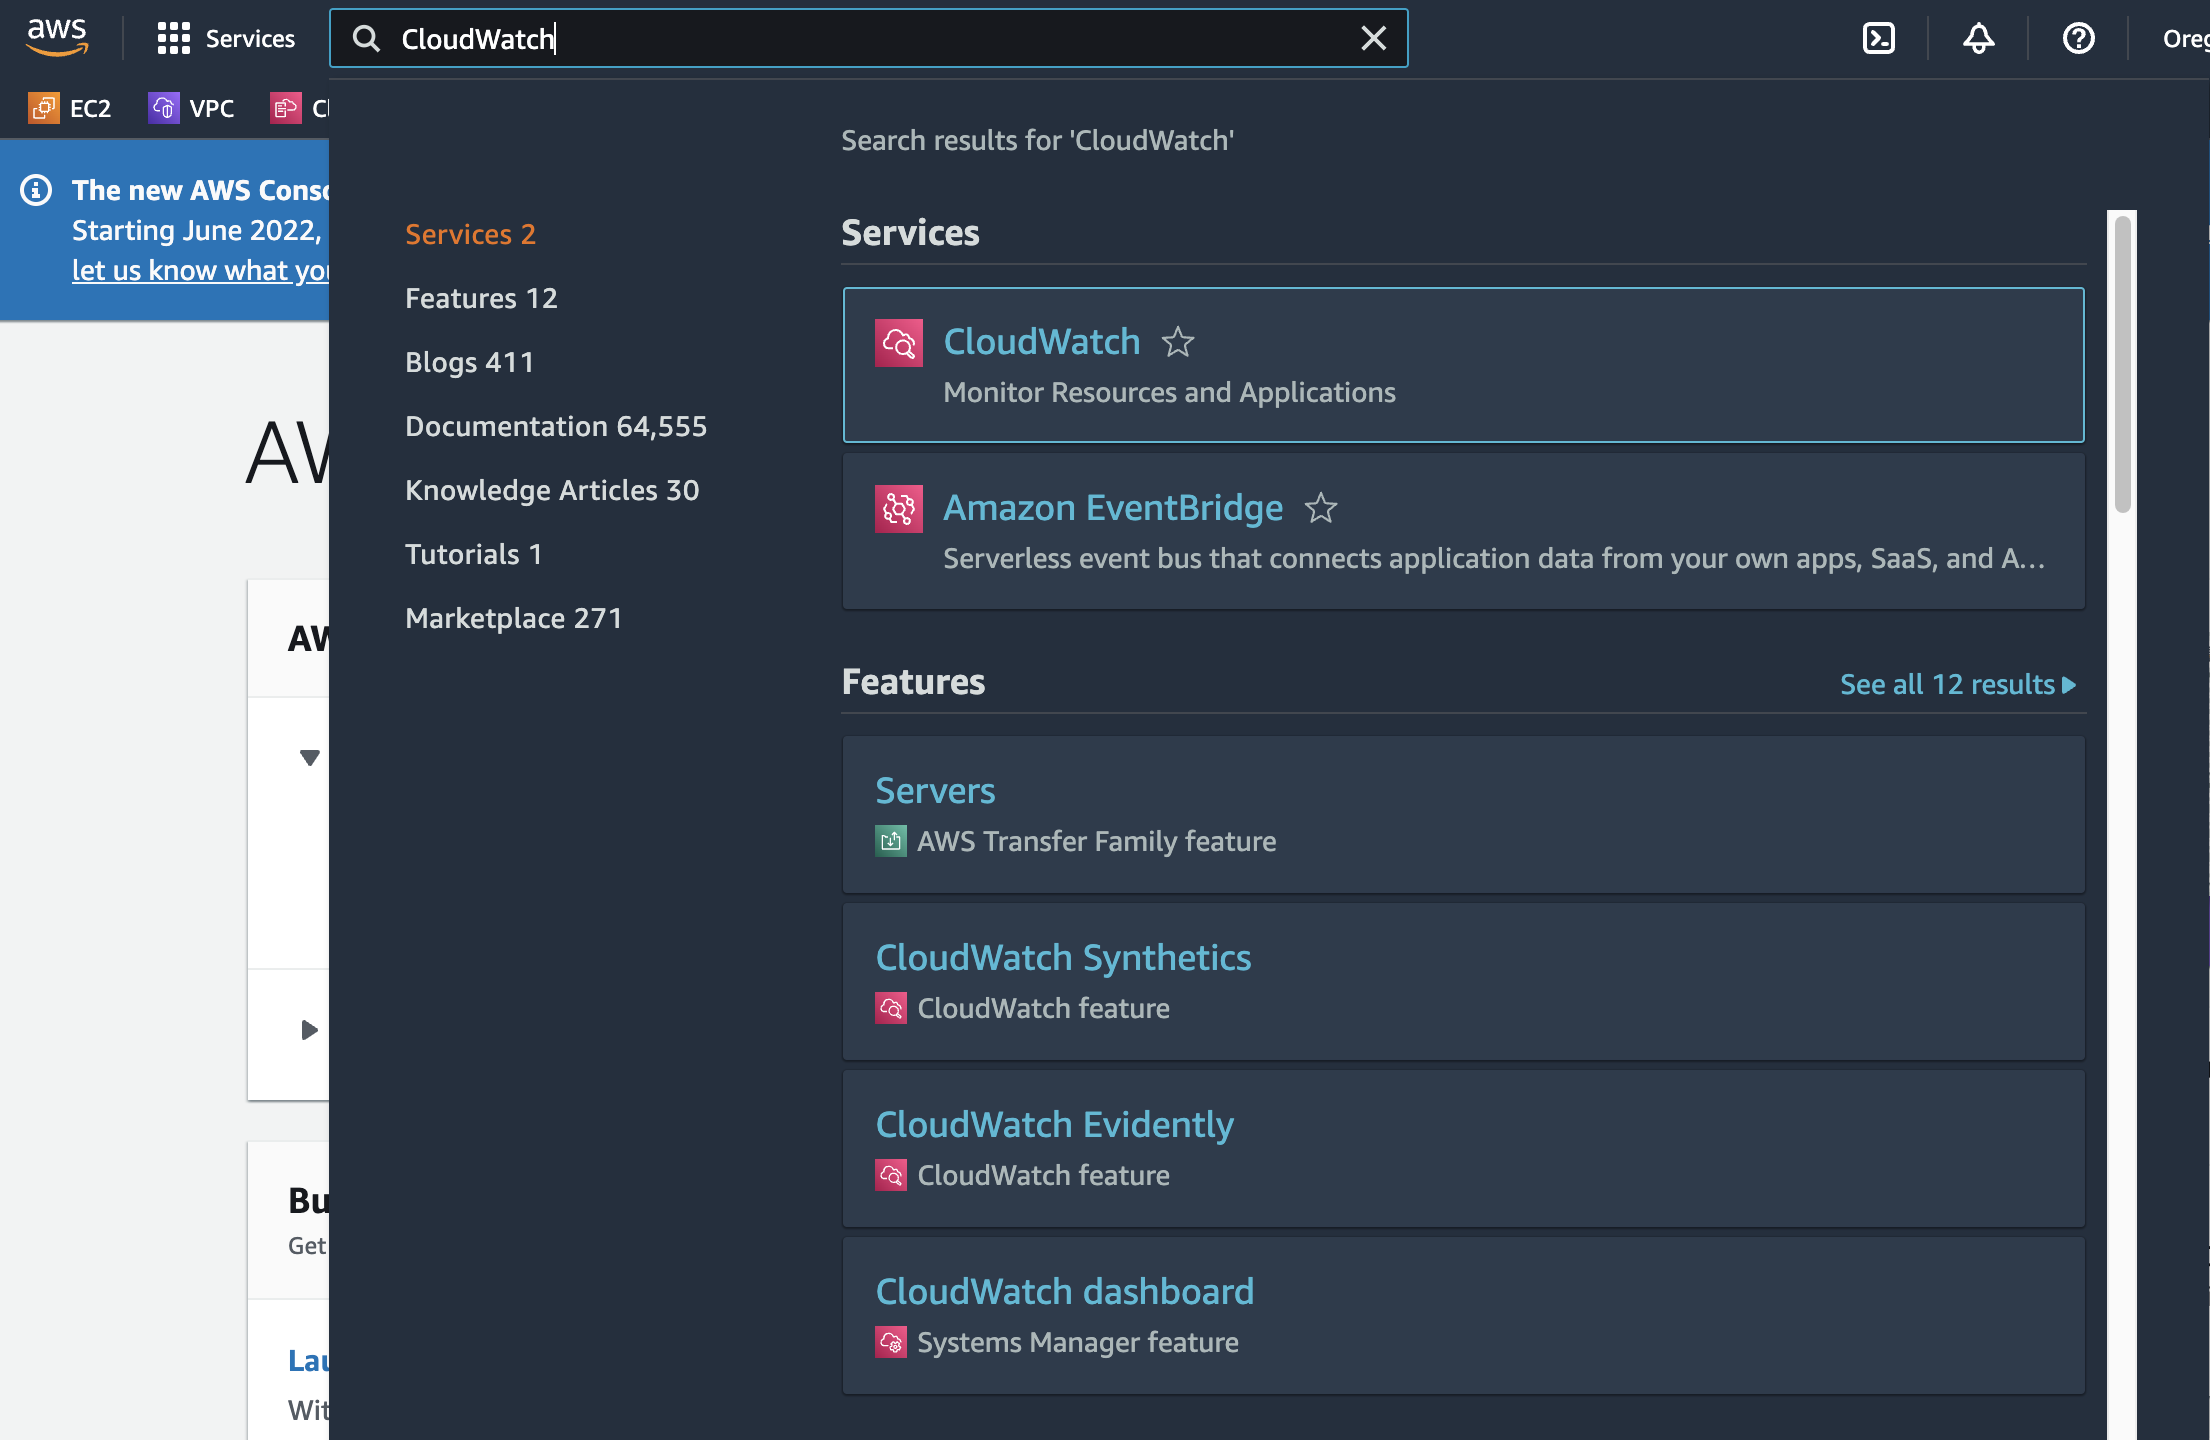
Once logged in, click the Services dropdown, search and select Cloudwatch
On the left pane, under Logs select Log groups. Under the Actions dropdown select Create log group.
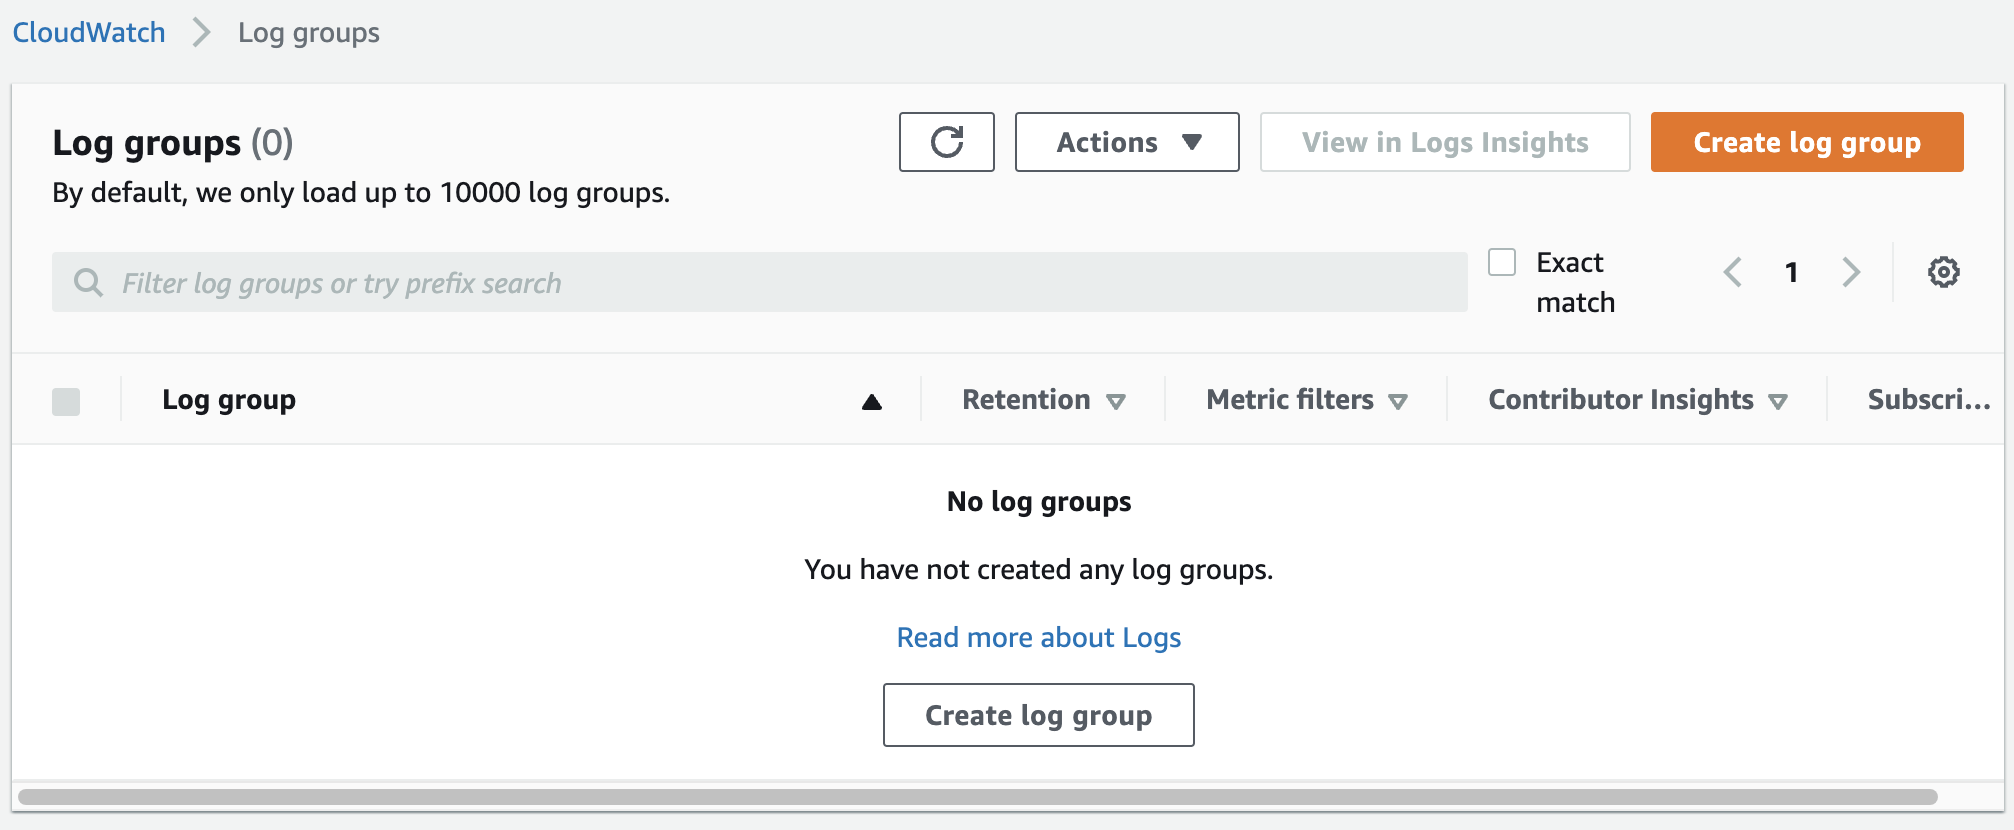
Name the log group (ie my_log_group) and select the Create log group blue button.
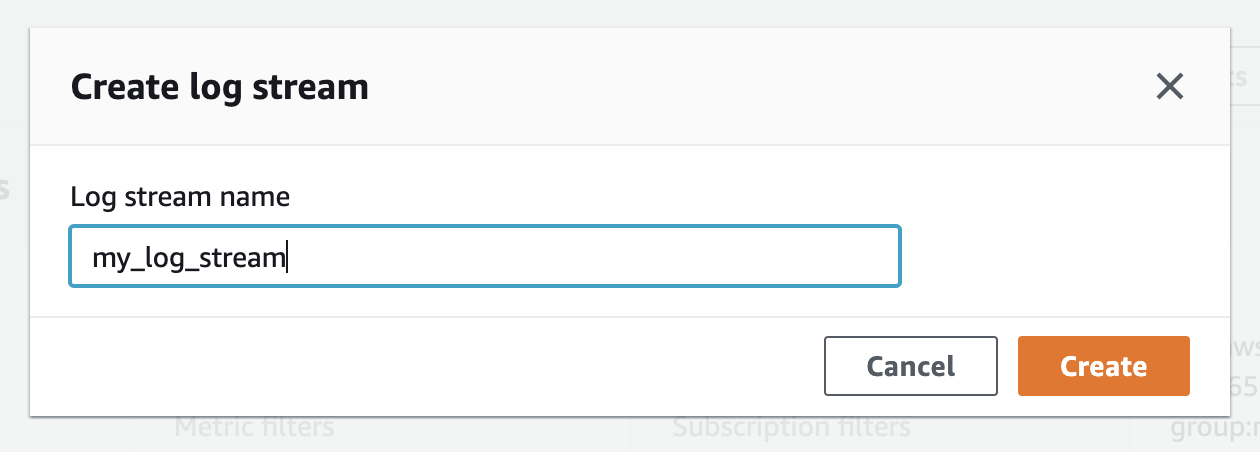
Click on the log group you just created. Select Create Log Stream and name your log stream (ie my_log_stream)
Exercise 2 - Edit the AWS Cloudwatch TS Declaration
Navigate to UDF class view
Click on Jumphost and login with the credentials from previous sections.
Launch Postman
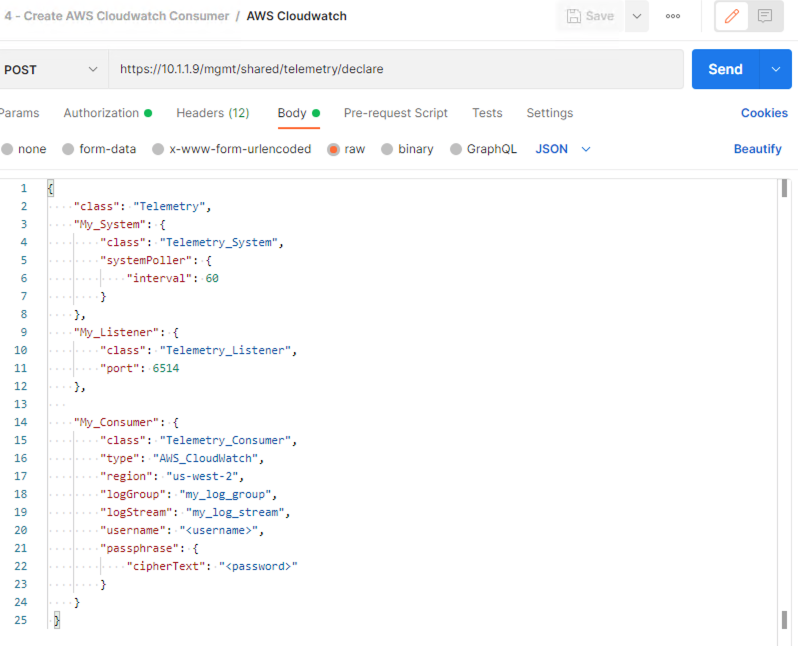
Open the Collection titled Create AWS Cloudwatch Consumer. Open the AWS Cloudwatch request. Open the Body tab of the request
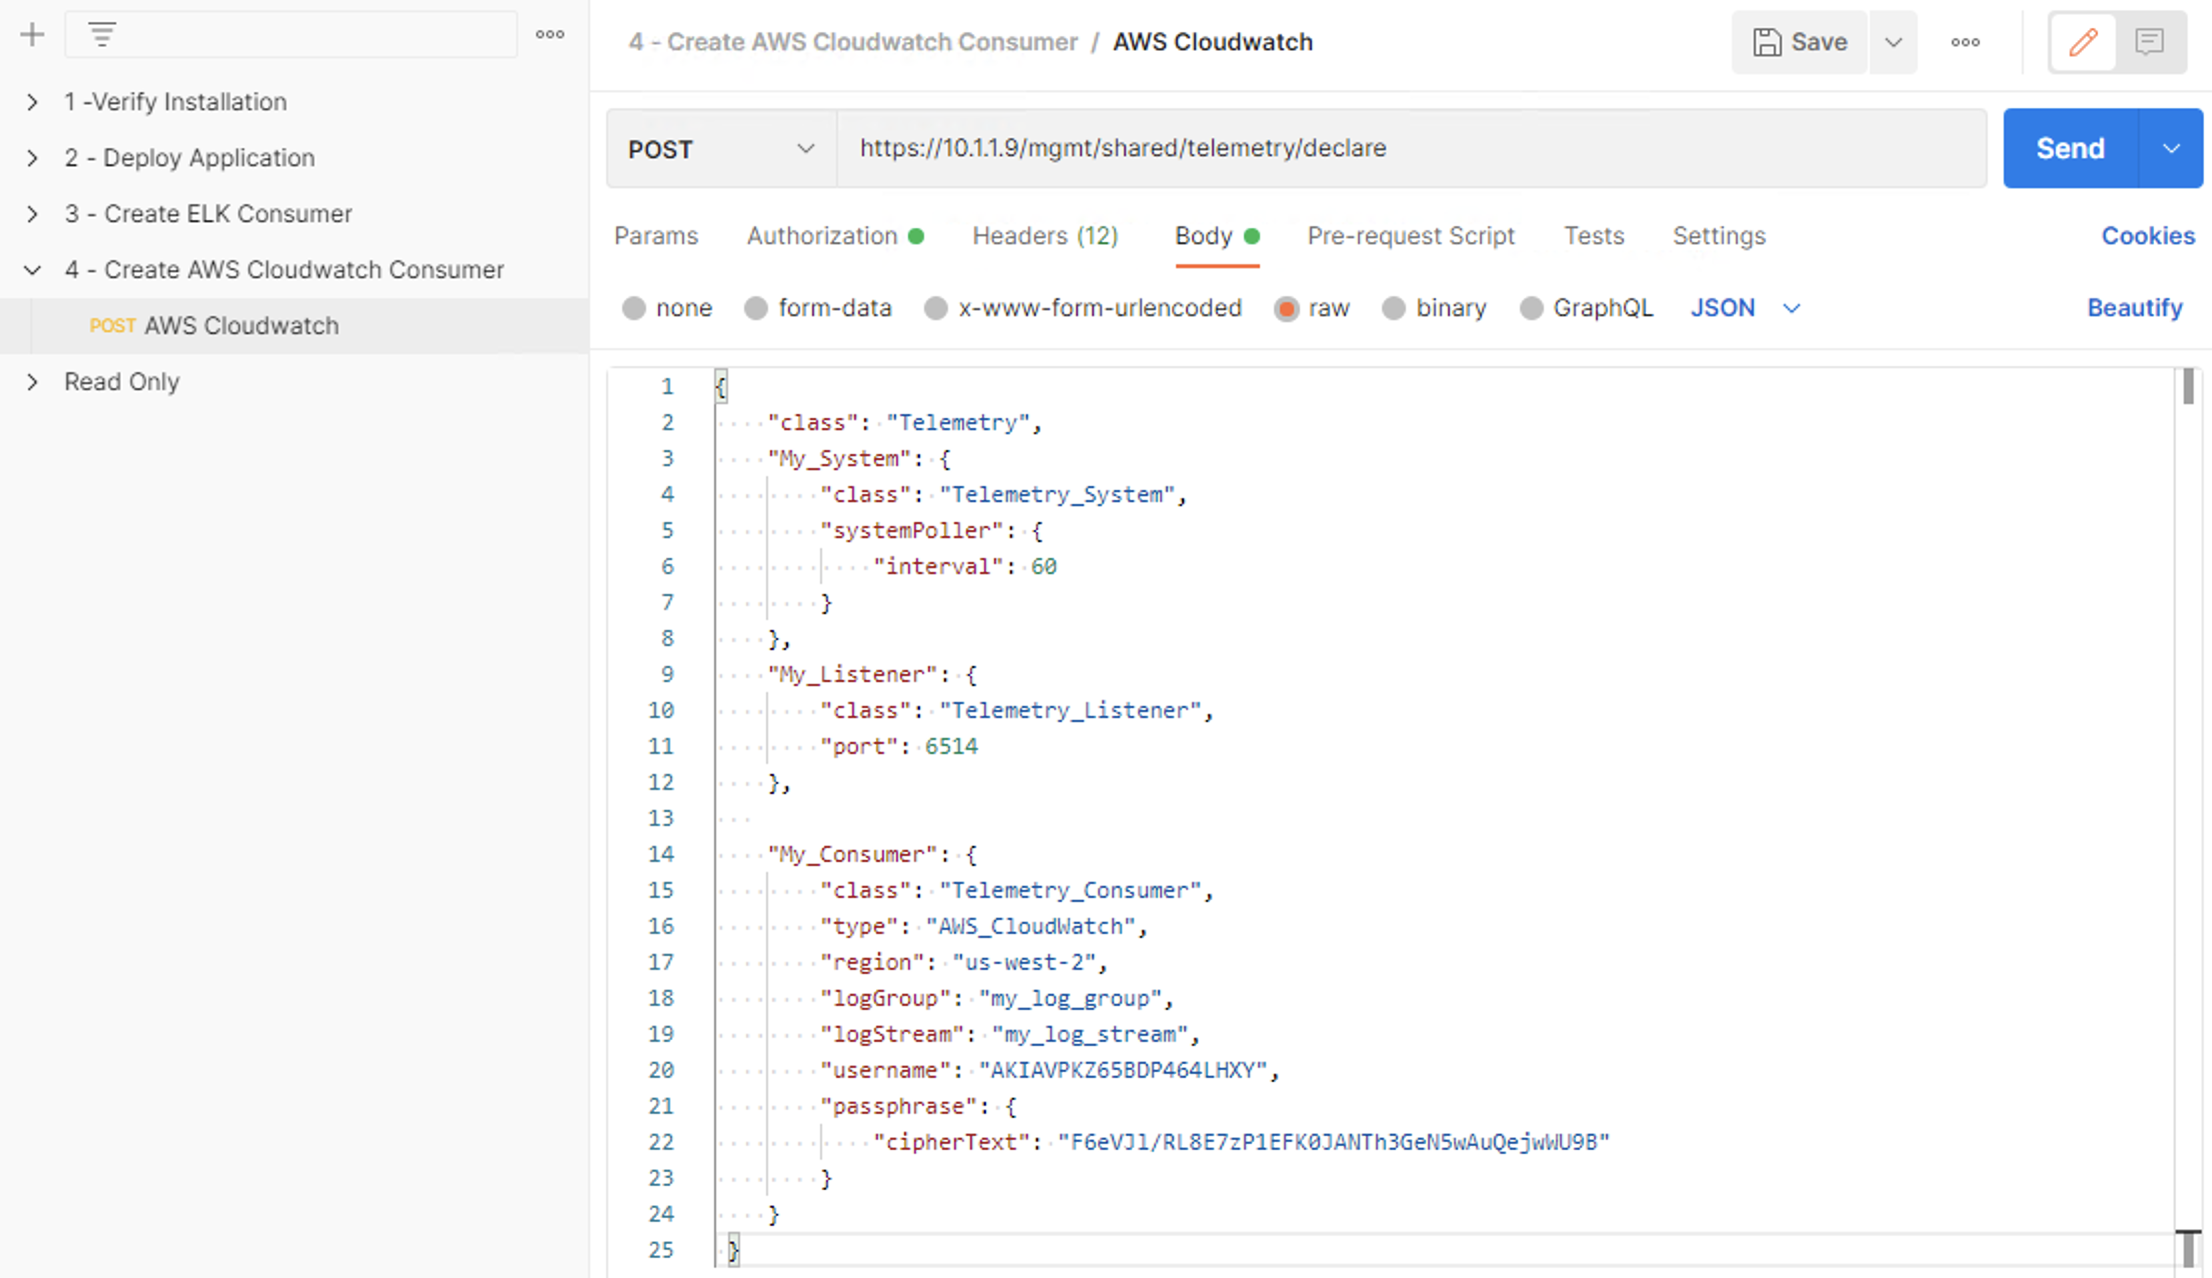
We will need to edit the My_Consumer. Go back to the Cloud Accounts tab you left open. Copy and paste the region. Edit logGroup to match your log group. Edit logStream to match your log stream. Edit username to match the API Key. Edit the cipherText to match the API Secret.
Click the blue Send to POST the Telemetry Streaming declaration. Ensure a 200 OK response.
Exercise 3 - Generate Traffic on OpenCart
- From the UDF page, find the host named Traffic Gen and select Web Shell from the dropdown
- Type su for sudo user access. If prompted, the password is toor.
- Change director to /home/ec2-user
- Run ./baseline_menu.sh
- From the menu, choose 2) Alternate and let it run while you continue with the labs
Exercise 4 – View the logs in AWS Cloudwatch
Navigate back to the UDF class view
Log back into AWS Cloudwatch
Navigate to the log stream you created.
Notice that logs have been populated in the log stream.
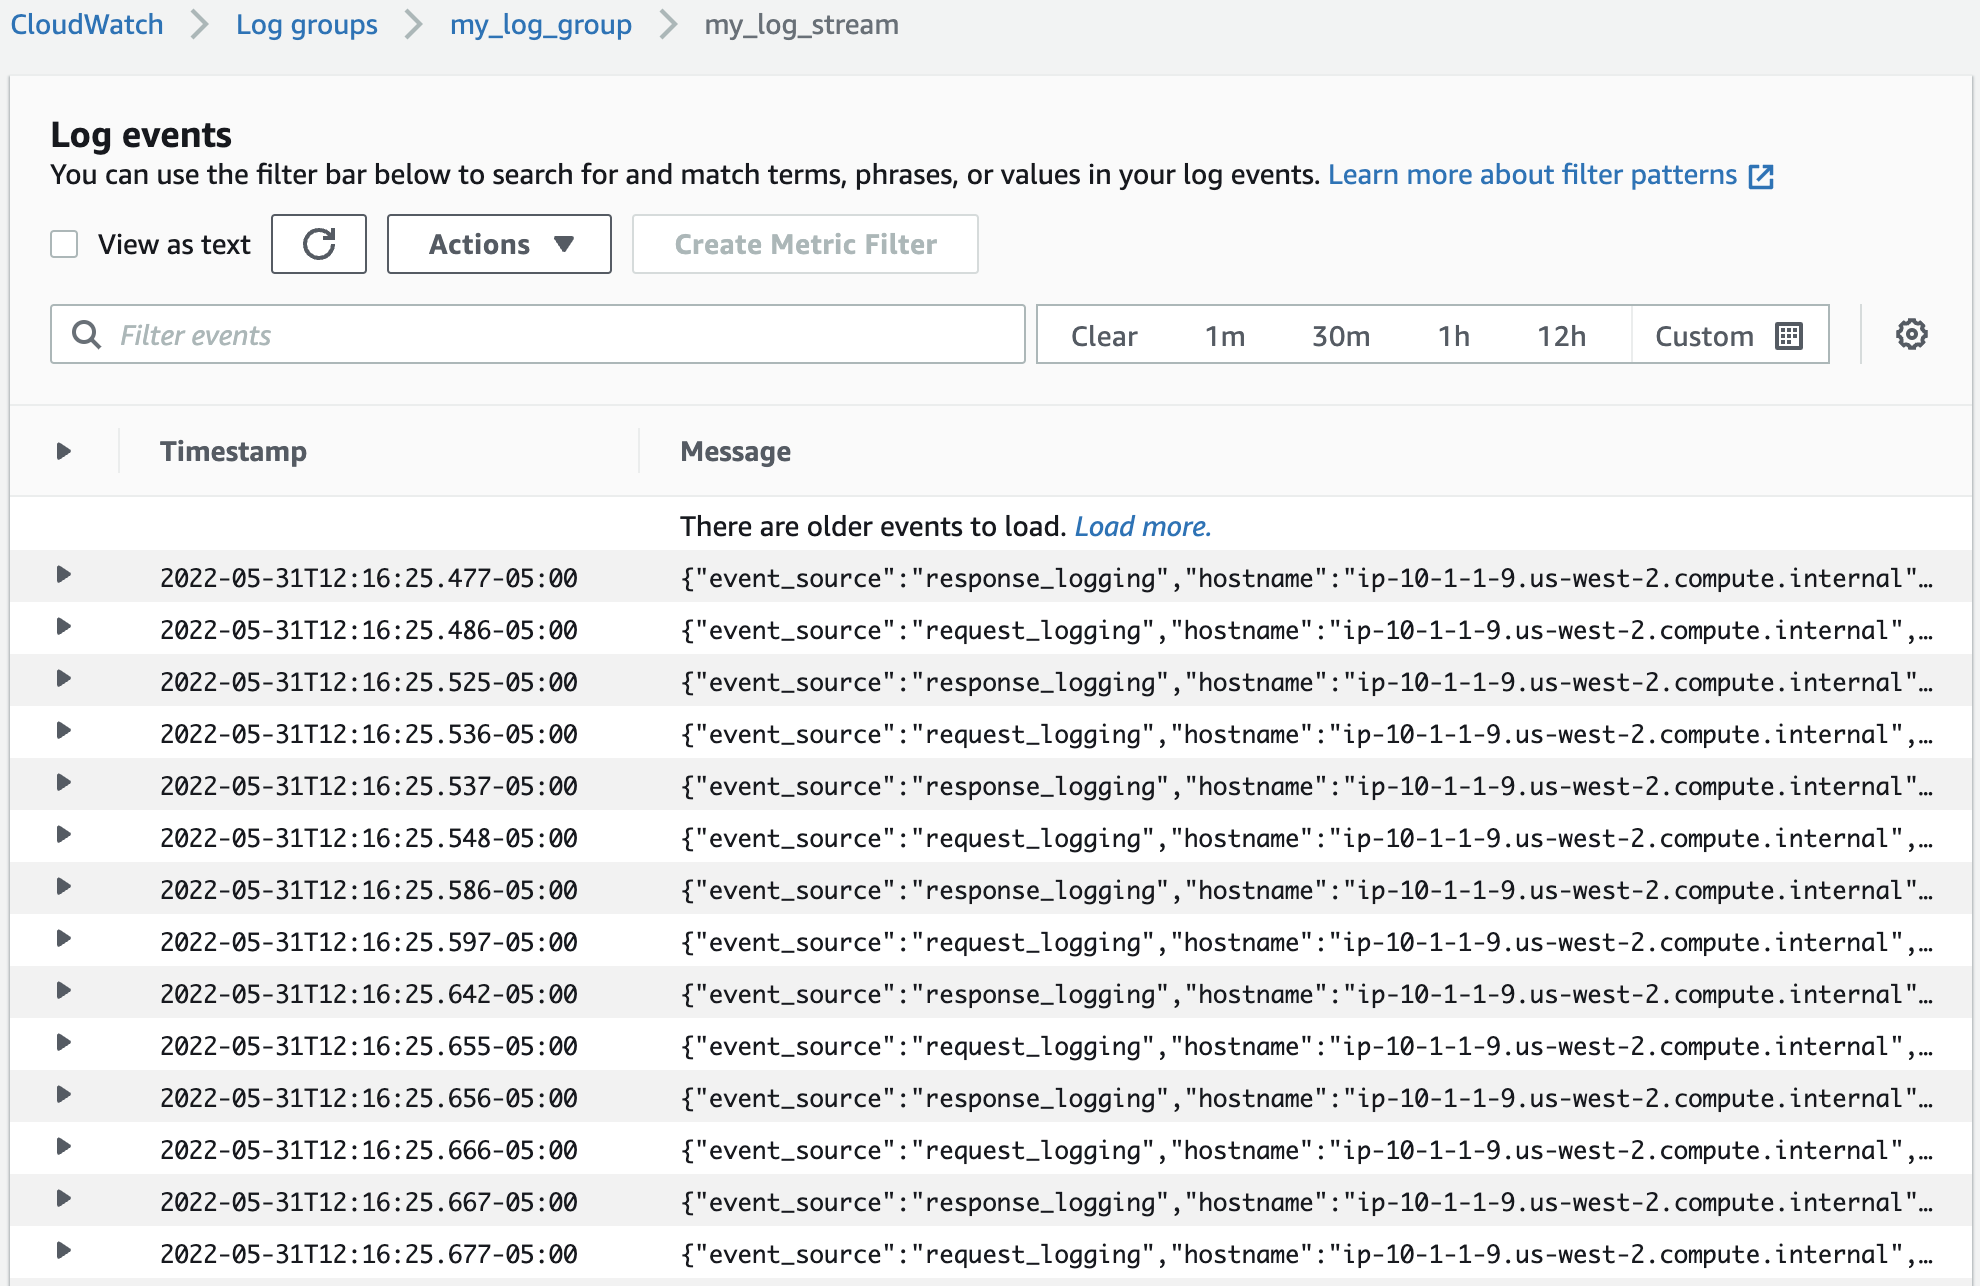
Expand the log. Scroll down and you will find data on the virtual servers, pools, and various other objects.
Exercise 5 – Manipulate the Search
On the left pane, select the subcategory Log Insights
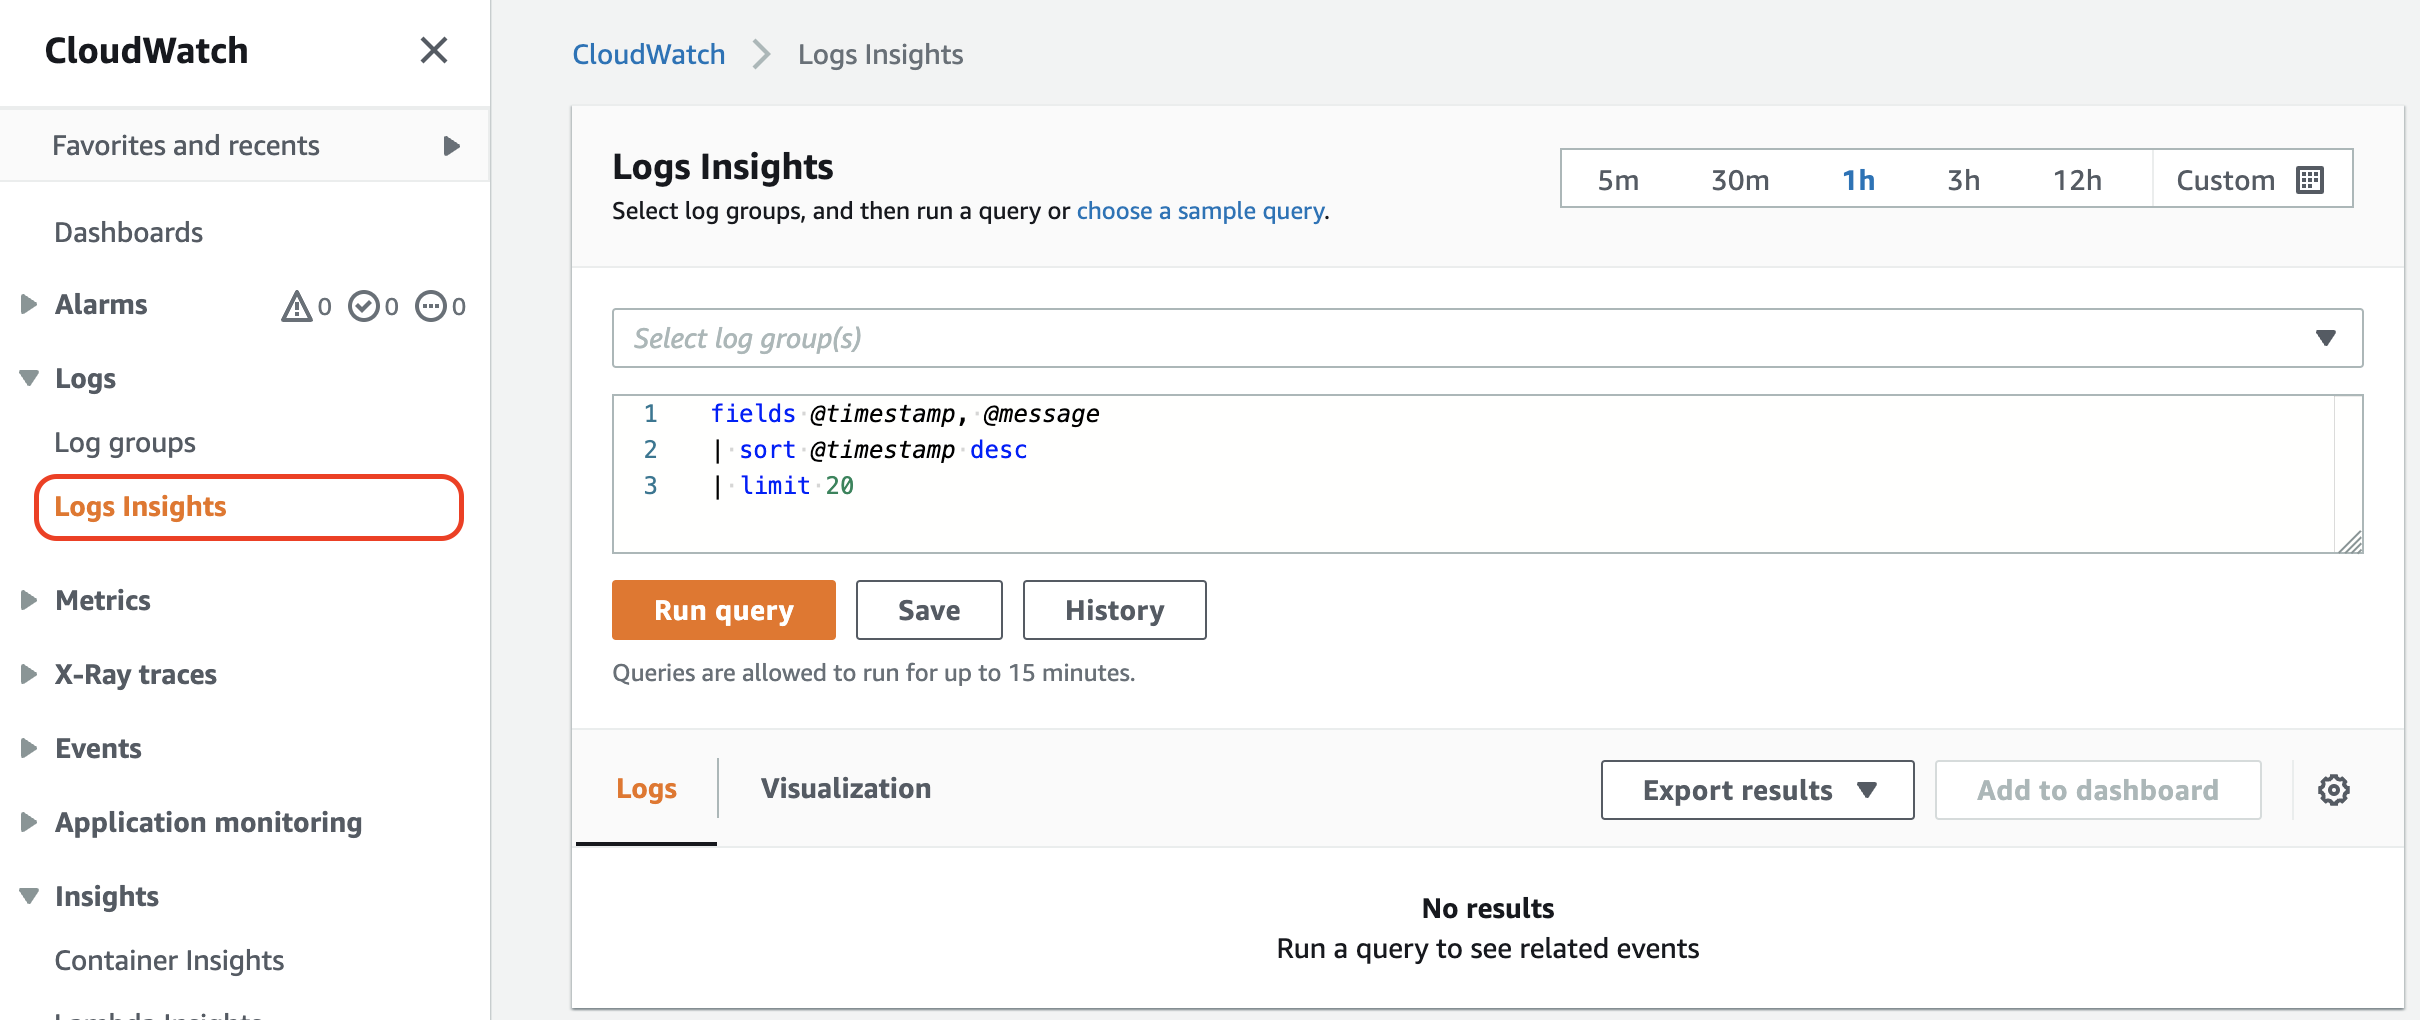
Click into the Select log group(s) search bar and select your group. Then click the Run query button.
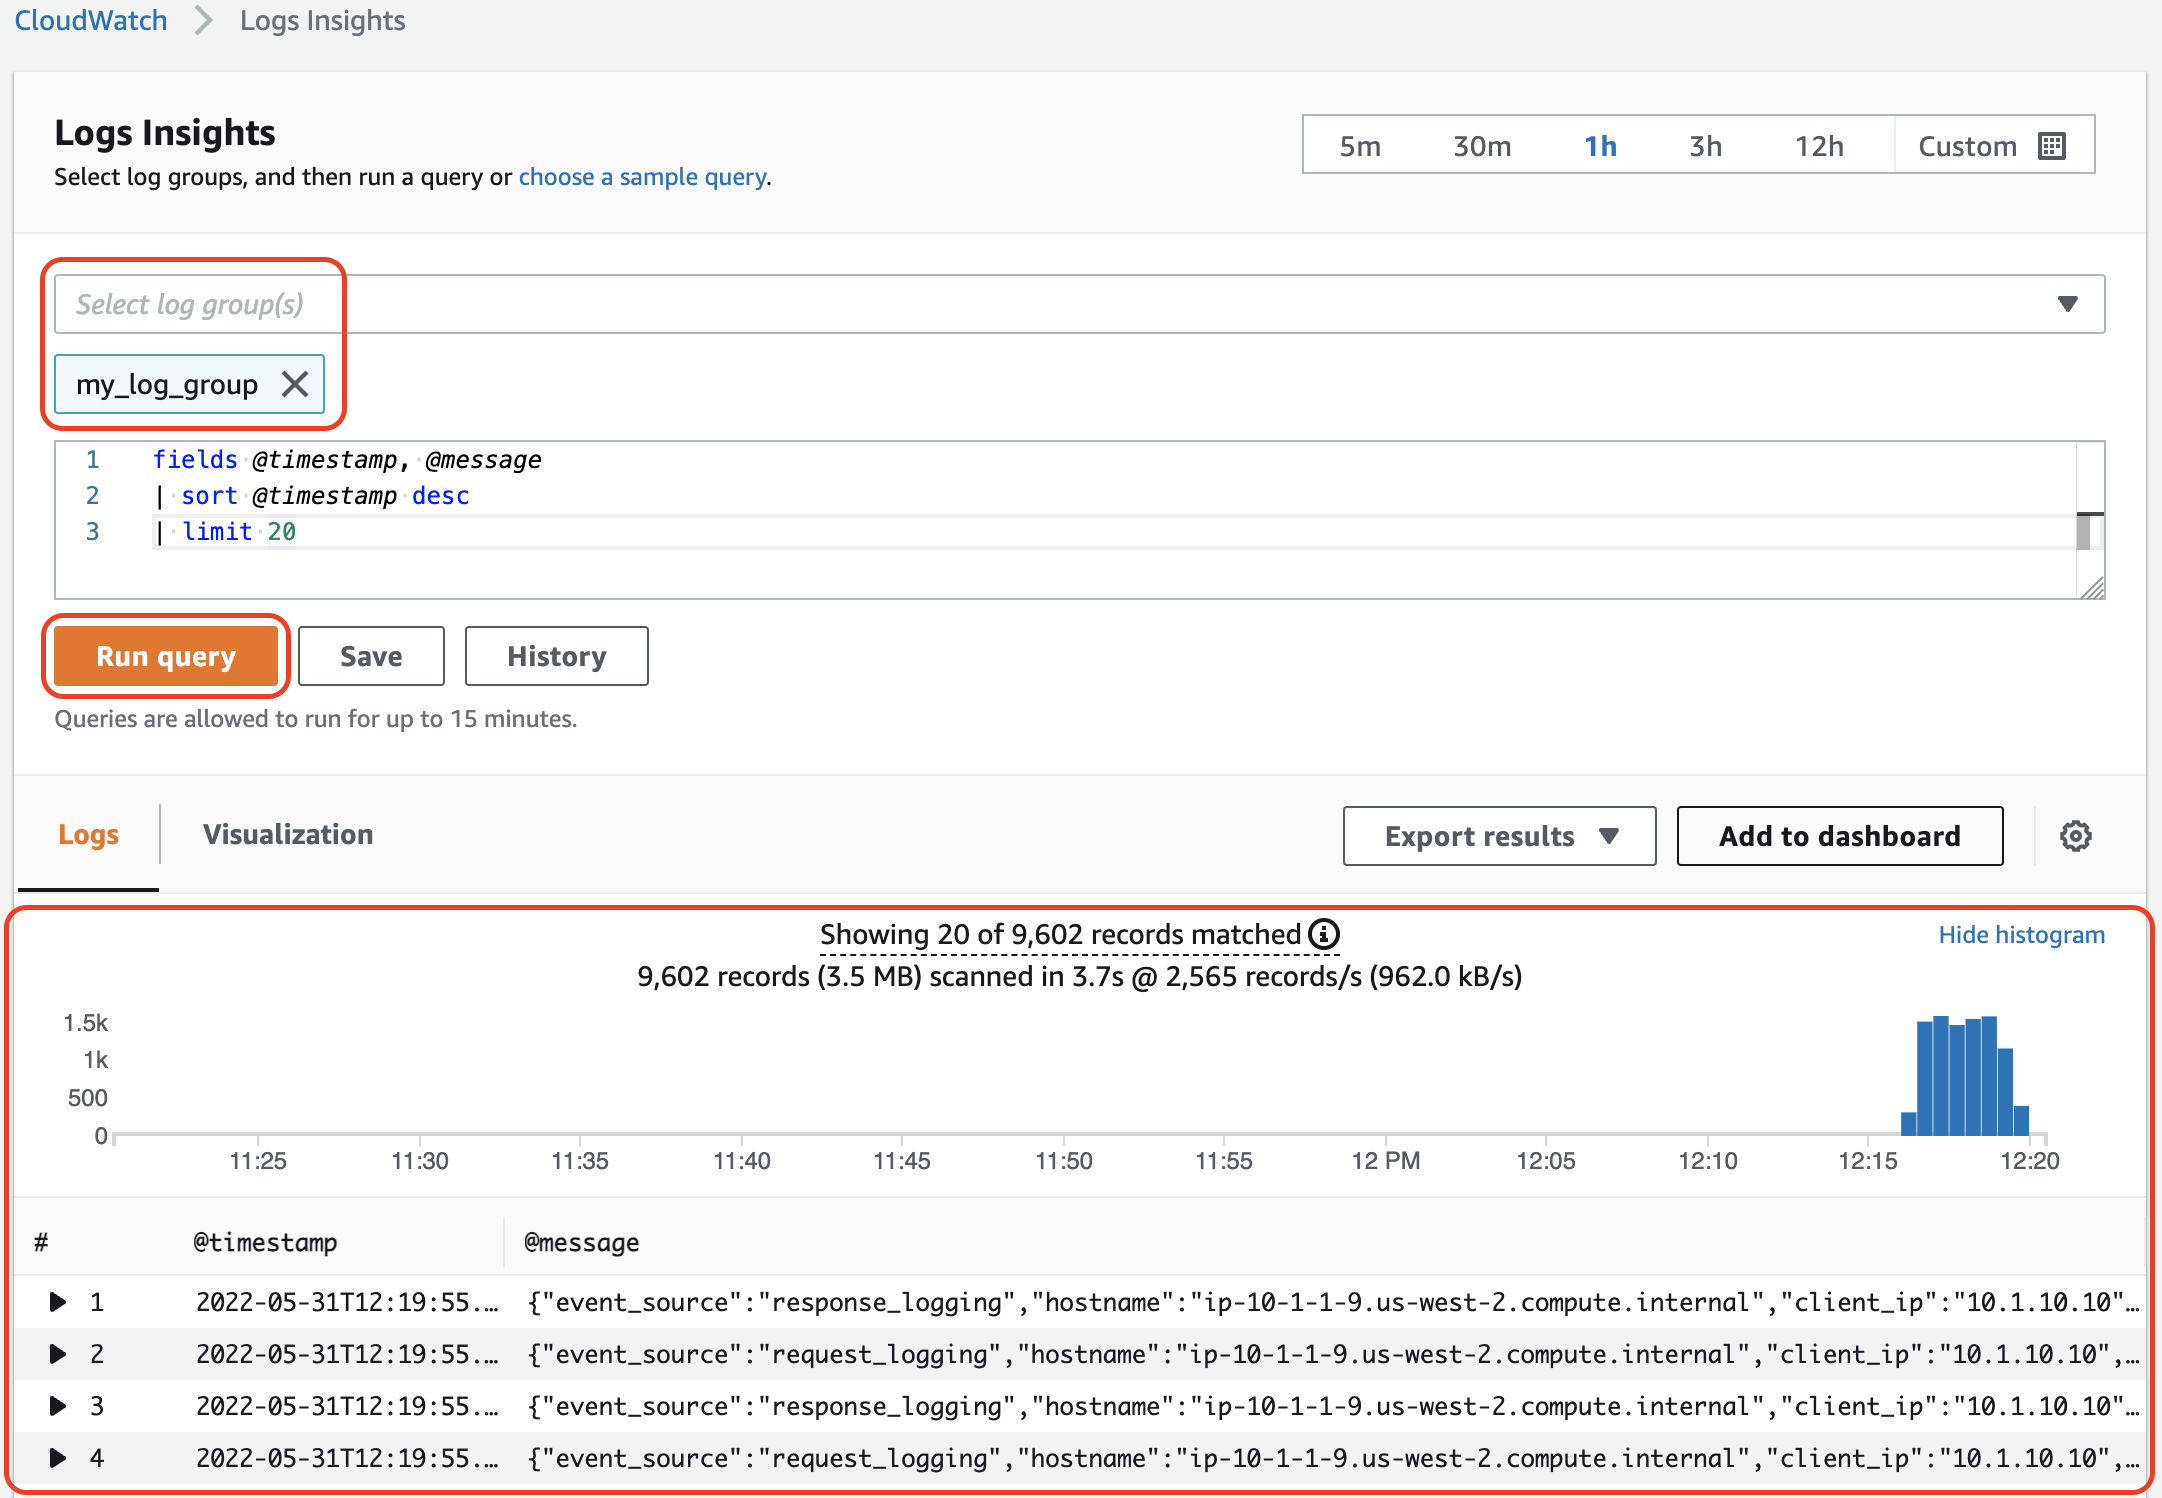
You can manipulate the search field with our examples.
fields @timestamp, @message, system.hostname, system.cpu, system.tmmCpu
    | stats avg(system.cpu) as SystemCpu, avg(system.tmmCpu) as TmmCpu by bin(5m), system.hostname

fields @timestamp, @message, system.hostname
     |parse @message "clientSideTraffic.bitsIn\":*," as clientsin
     |parse @message "clientSideTraffic.bitsOut\":*," as clientsout
Paste the code blocks in and click Run Query