NGINX Modern Apps > Class 5 - NGINX App Protect WAF & DoS > Module 1 - Test Driving NGINX Plus with App Protect WAF and NGINX Instance Manager Source | Edit on
Review the NGINX Plus Configuration
In this section of the lab, we’ll review the NGINX Plus configuration for the instance front-ending the application and providing the NGINX App Protect service.
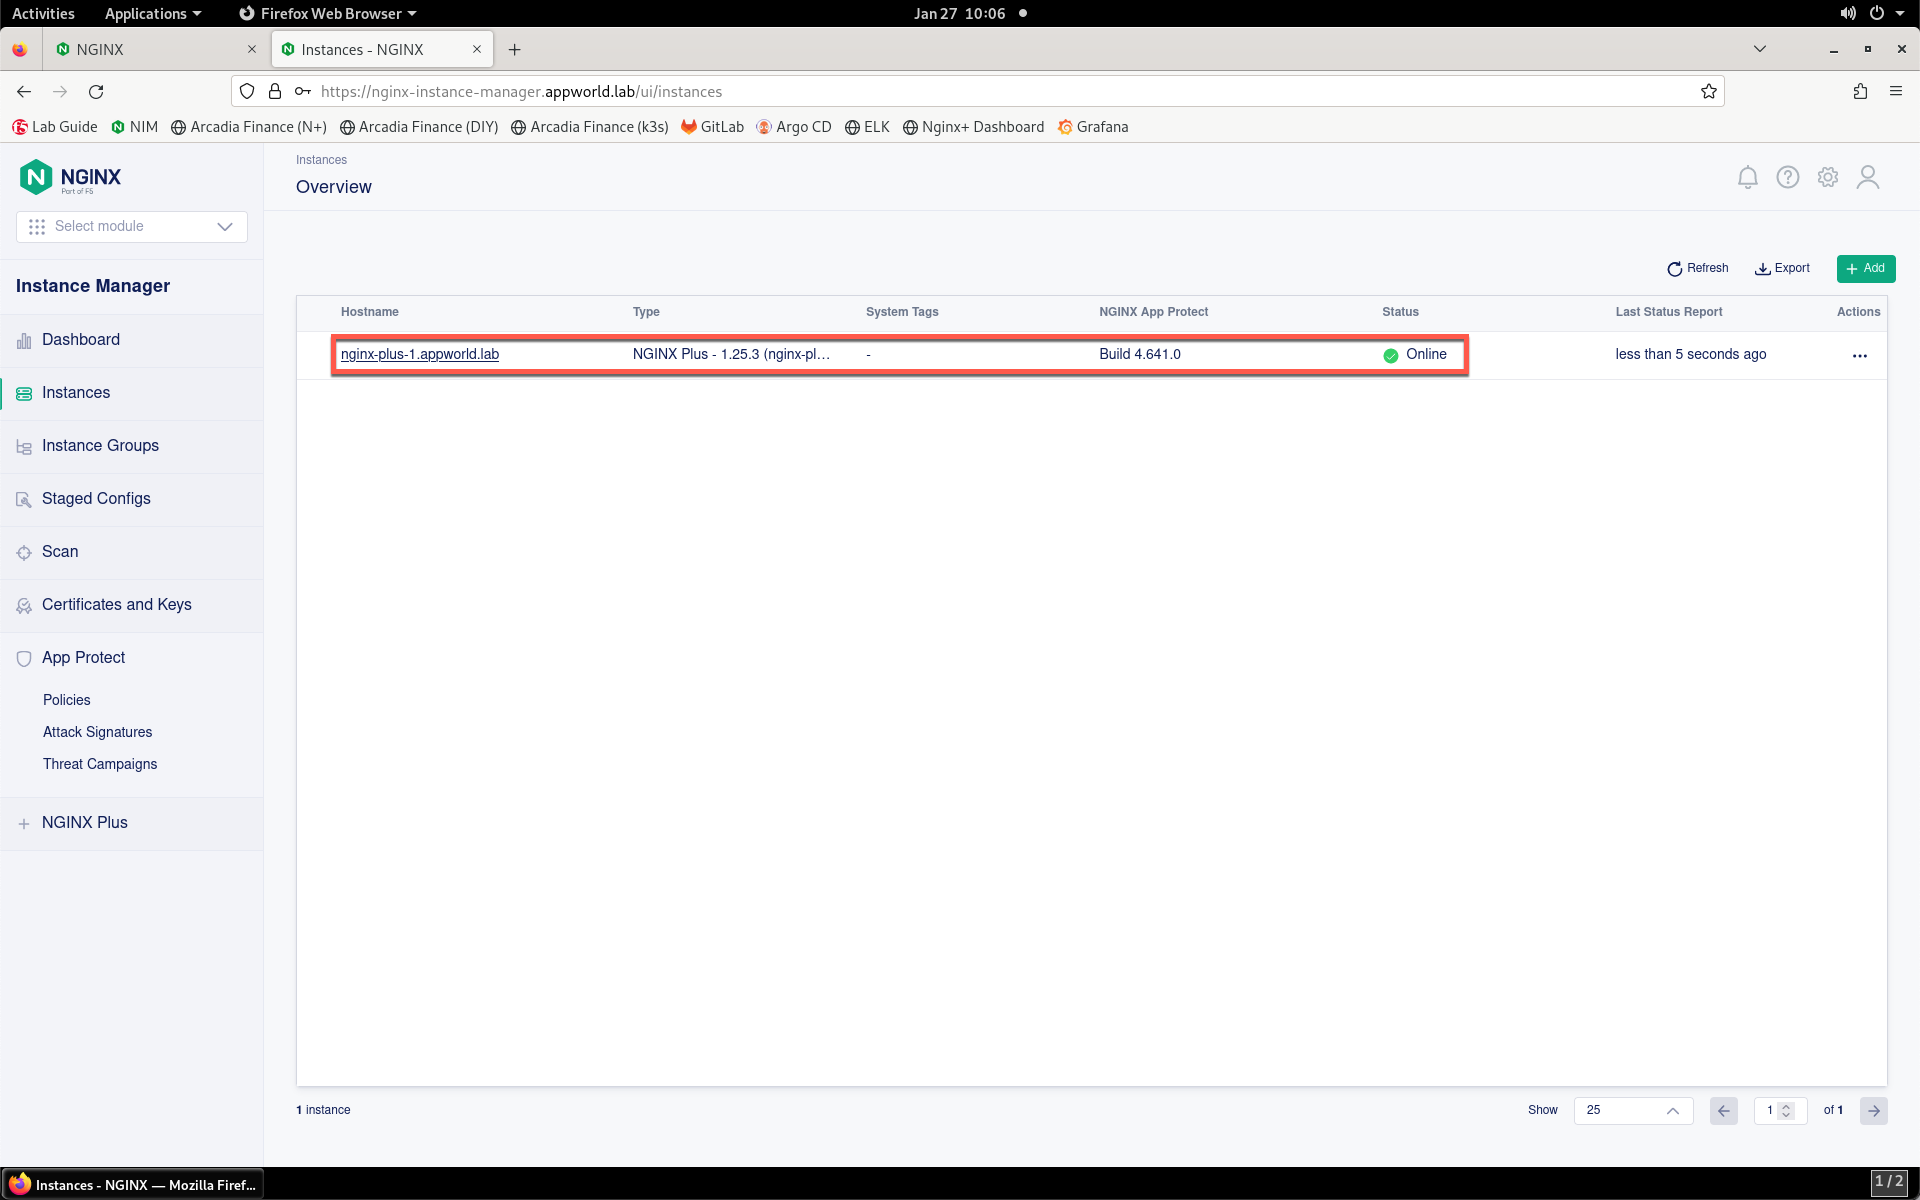
- In the NIM Dashboard, click Instances to return to the instance list.
- Click the nginx-plus-1 NGINX instance from the list.
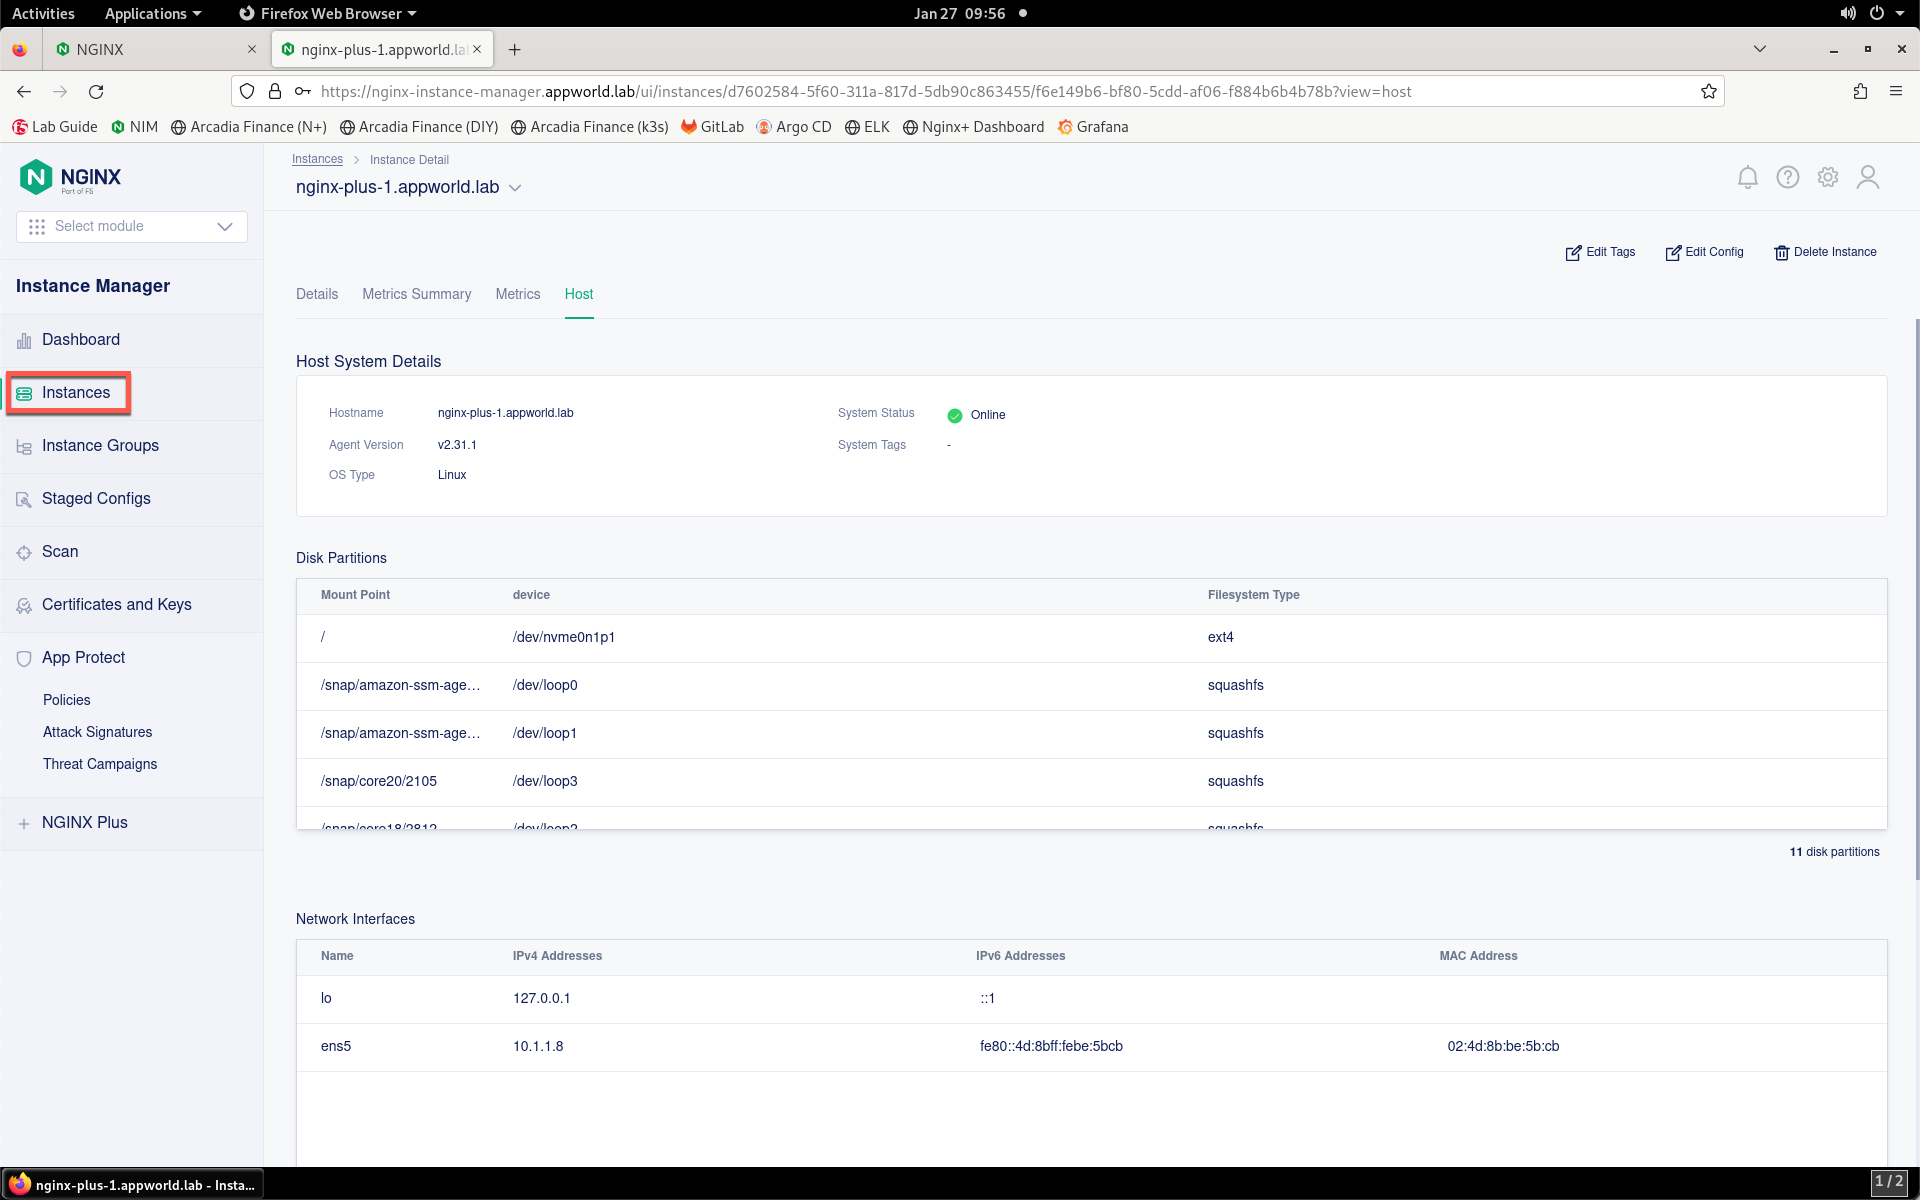
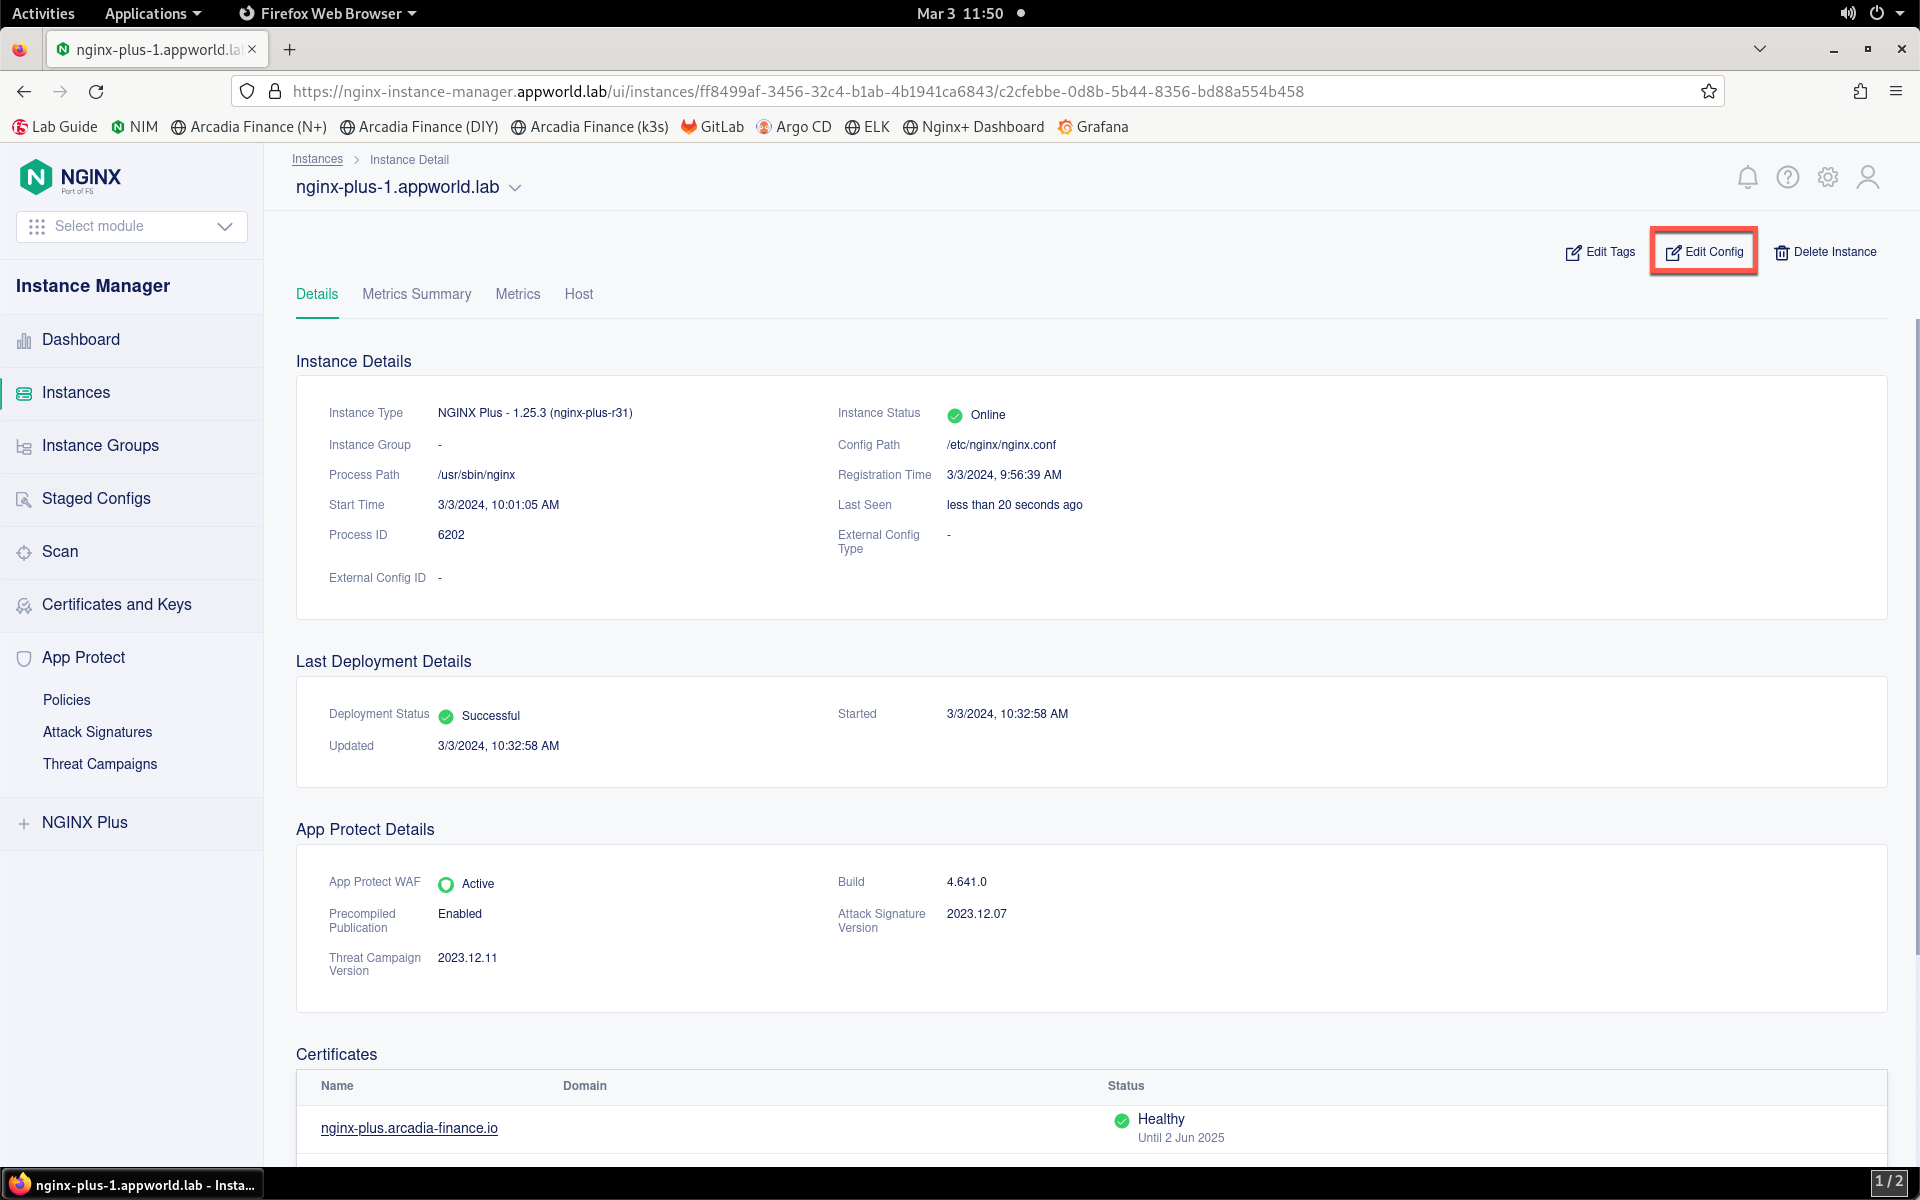
- You will see the Instance Detail screen.

- Now you can review the configuration of this instance. Click on the Edit Config button on the Instance Detail page.
- The Instance Config page will be presented. Notice that all of the relevant NGINX configuration files are present in the navigation pane, and the contents of the selected file are shown in the visual editor pane on the right.
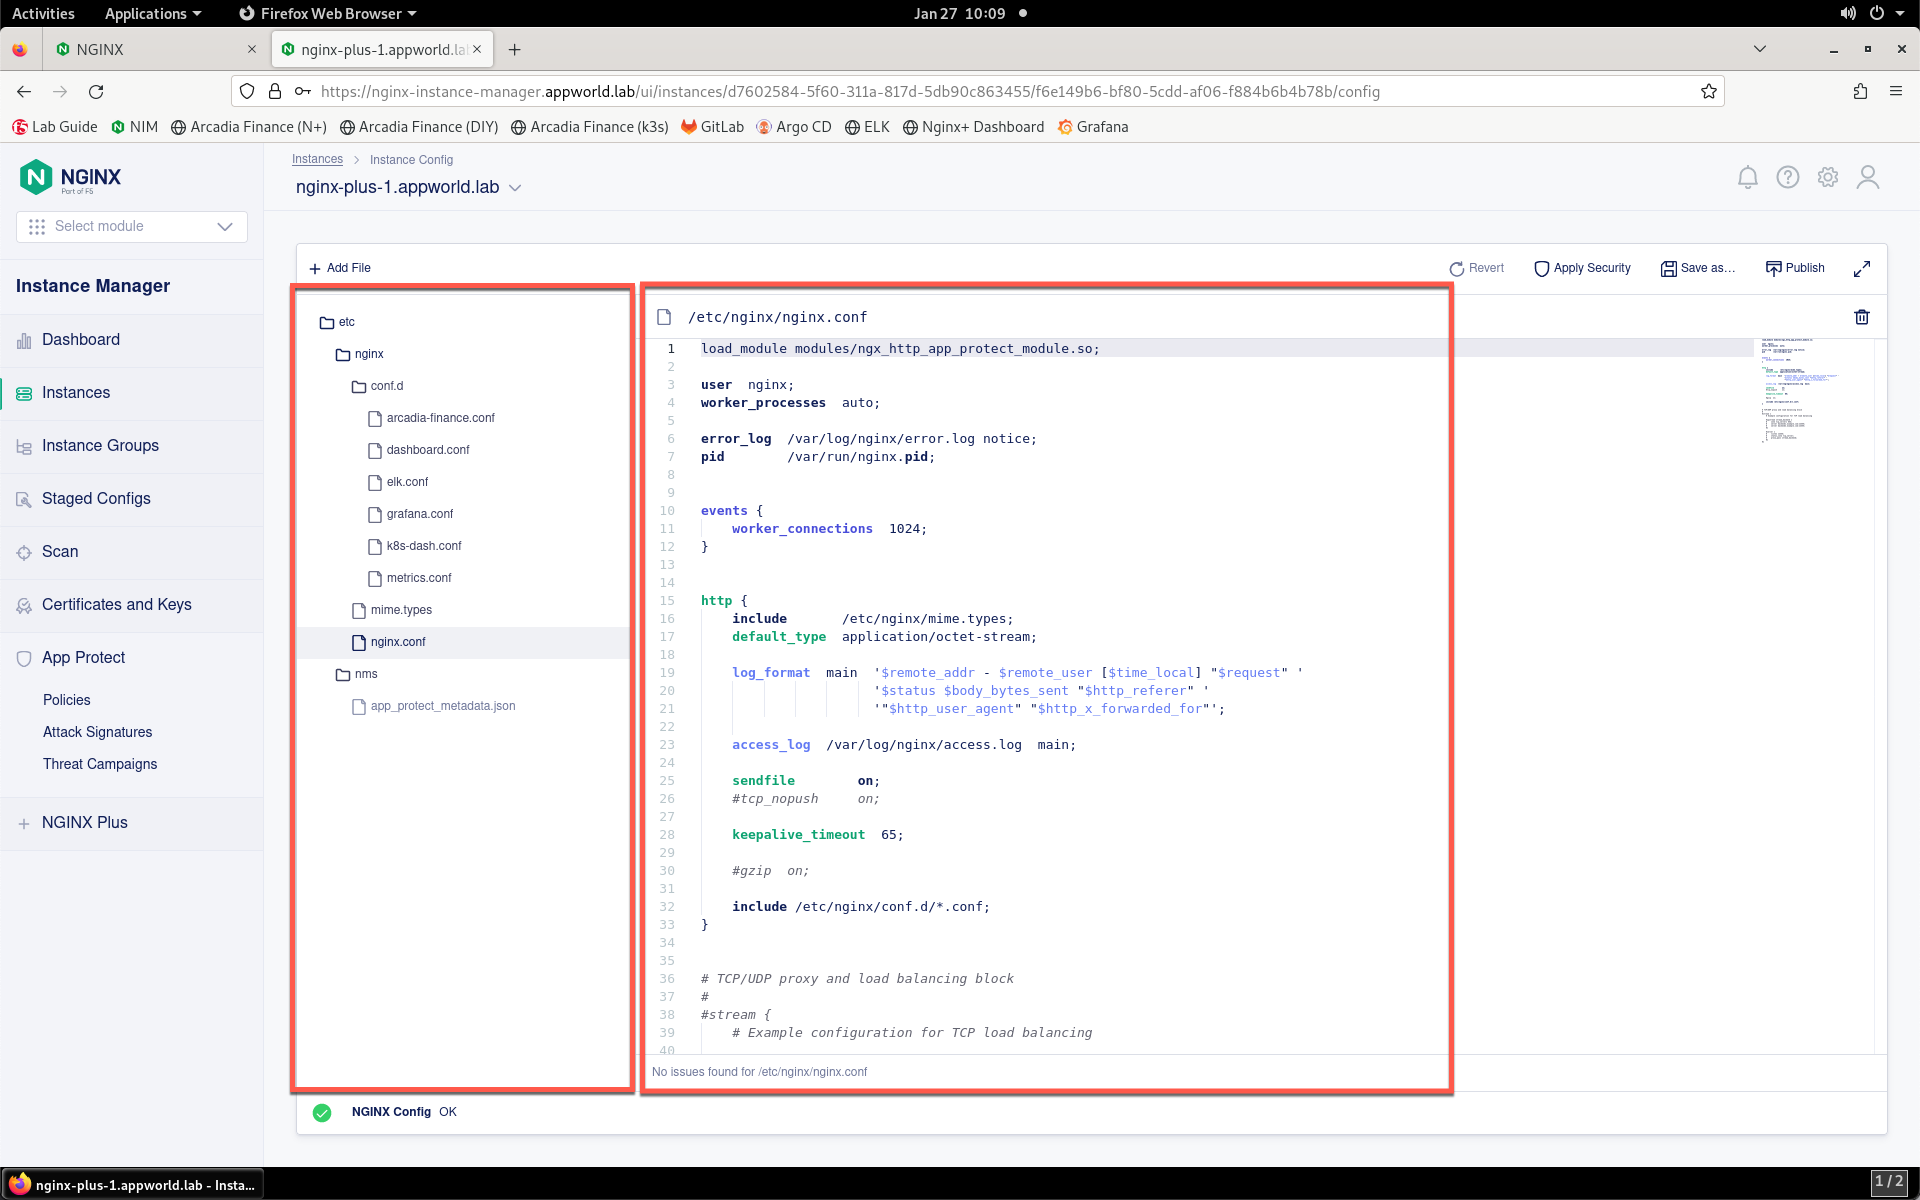
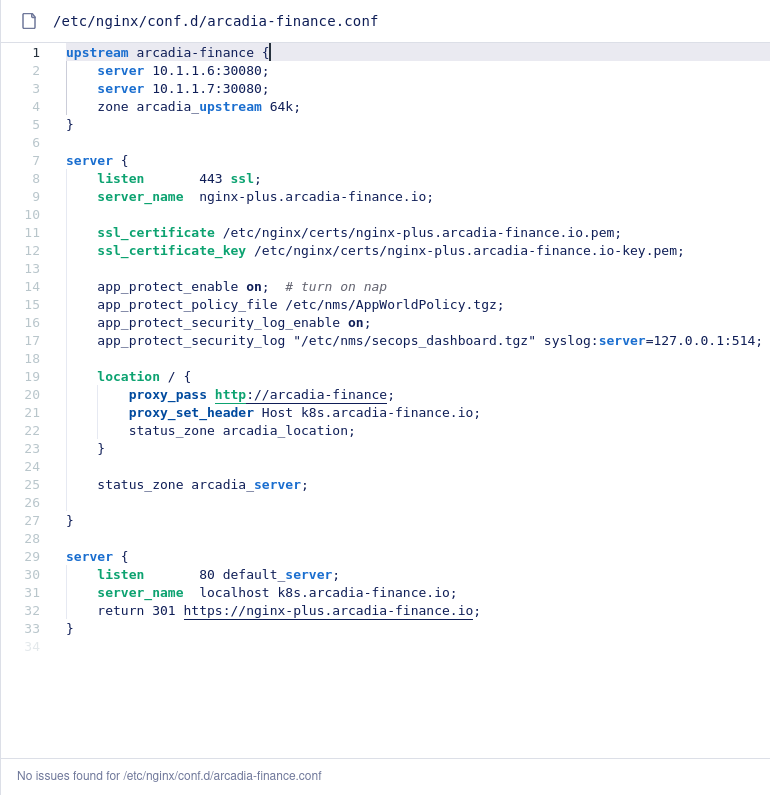
- Click on the configuration file for the application that we’re testing, arcadia-finance.conf, in the navigation pane. The file’s contents will be presented in the editor.
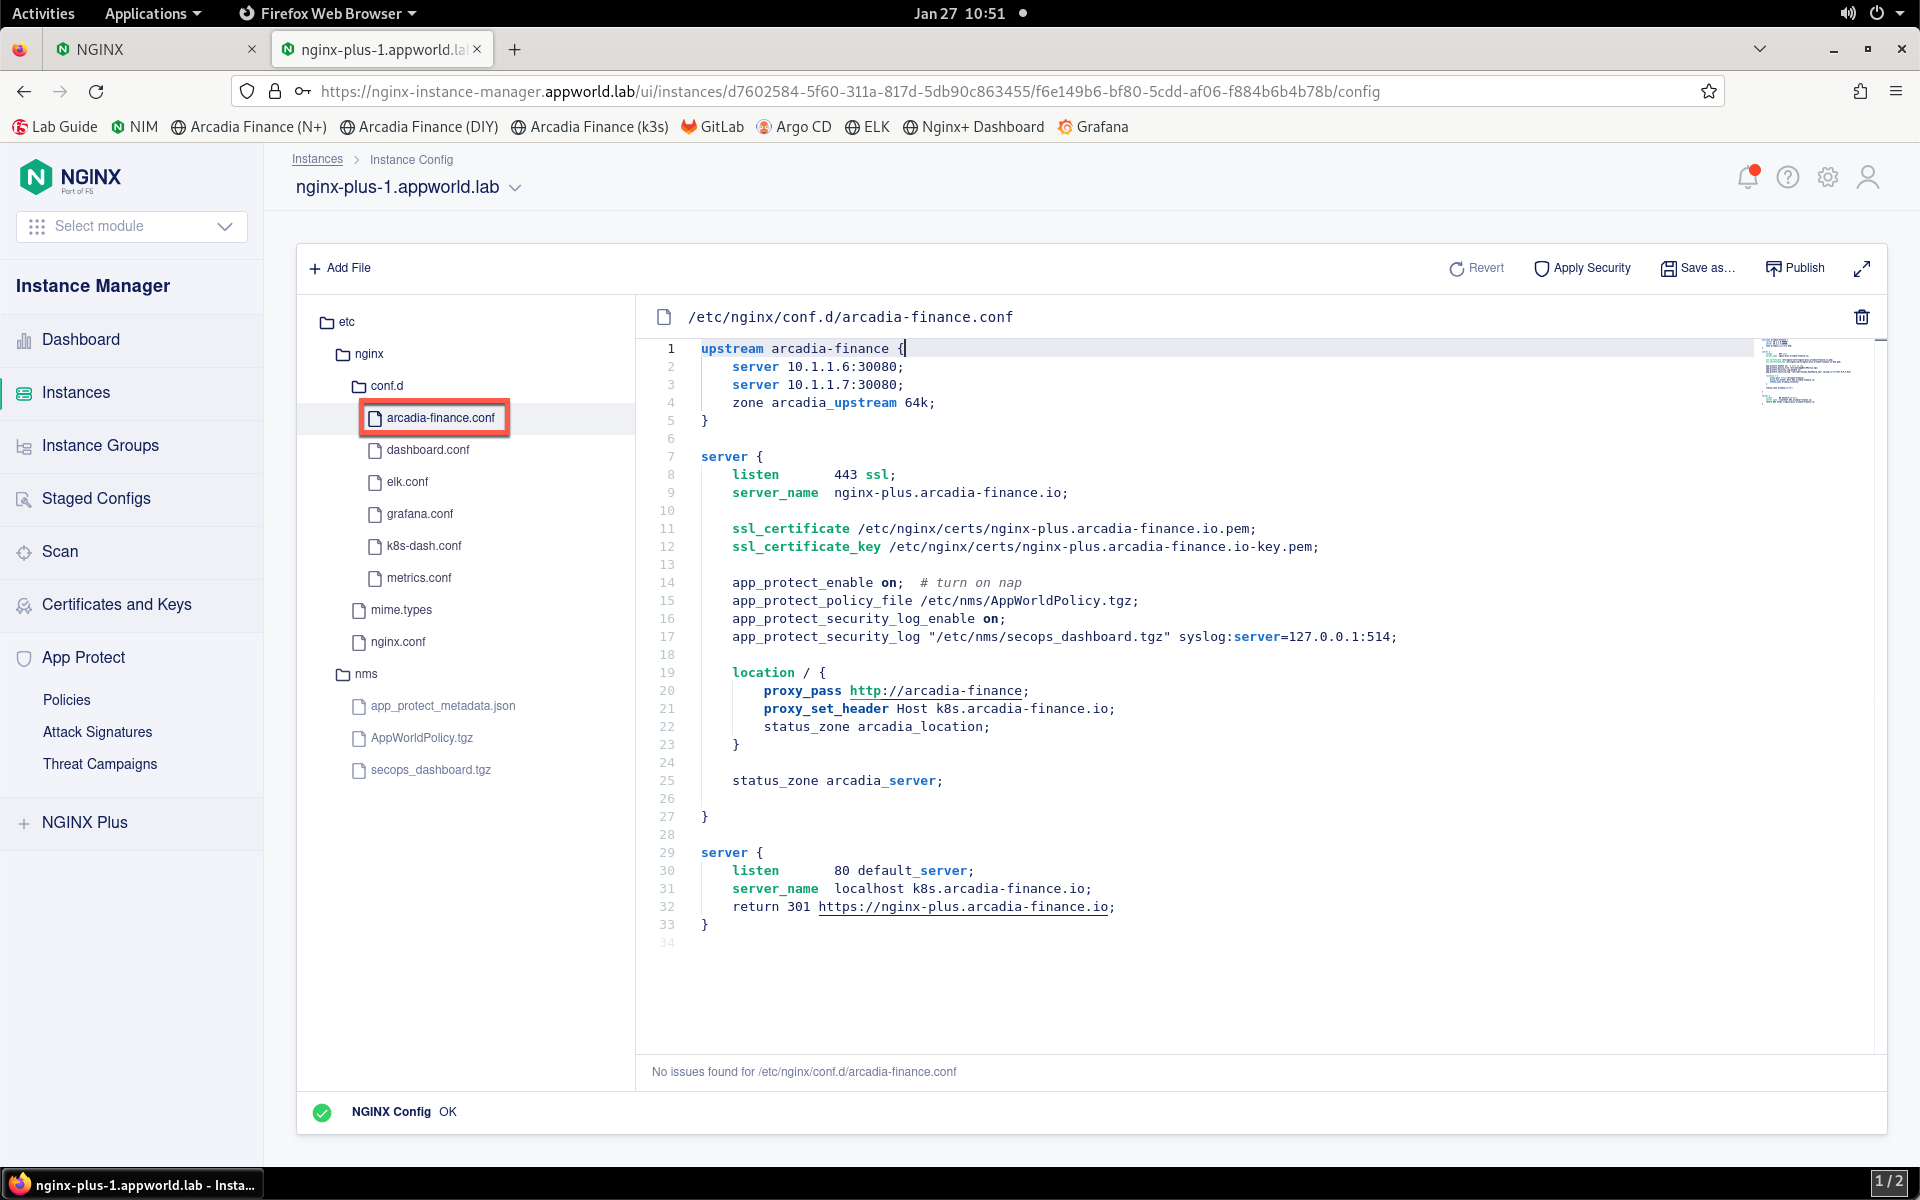
- Notice the configuration stanzas present. There is an upstream zone with application servers defined, an HTTPS server stanza specifying the application’s location, SSL certificate and key, App Protect WAF configuration and finally a HTTP server block that redirects browsers to HTTPS.
Note
Several lab resources also run through this NGINX Plus instance, such as ELK, Grafana, etc. We’ll focus on the Arcadia Finance application for this portion of the lab.
Now that we’ve viewed the NGINX Plus configuration, continue to the next section of the lab.