F5 Public Cloud Solutions > Protecting Cloud Native Applications > BIG-IP ASM Configuration Source | Edit on
Create an Application Security Policy
Go to “Security > Application Security > Security Policies”
Click Create
Select Advanced View
Policy Name: asmpolicy_careX
Virtual Server: Select the virtual server you created in the previous tasks
Application Language: Unicode UTF-8 (Need to do this before Learning Mode)
Learning Mode: Manual
Server Technologies: Select Node.js
Signature Staging: Disabled (only for lab purposes, staging is recommended for production)
Click Create Policy
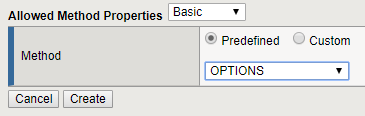
The API GW uses other HTTP Methods that are not included by default in the ASM Policy. Let’s add them. Go to “Security > Application Security > Headers > Methods” and click Create.
Select OPTIONS, then Create.
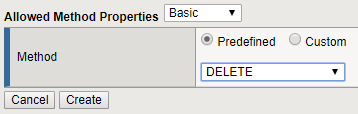
Repeat the process to add DELETE:
At this time we’ll not map all the parameters and URLs our web app has. So, we will just enforce the “*” parameter so our signatures can work.
Go to “Security > Application Security > Parameters > Parameters List”
Mark the checkbox of the “*” parameter and click Enforce, then Ok.
Go to “Security > Application Security > URLs > Allowed URLs”
Select both, HTTP and HTTPS “*”
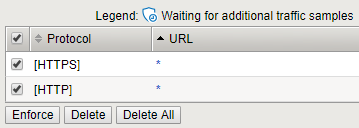
Click Enforce
By default, ASM shows an HTML blocking page when blocking a request. Since we are in front of the API Gateway, we need to proper respond the client with a JSON message. Go to “Security > Application Security > Policy > Response Pages”
Change the Response Type to “Custom Response”
Paste the content of BlockResponseBody.txt you have in your Desktop (Windows Jump Host)
{
    "status": "error",
    "data": {
    "message": "The requested URL was rejected. Please consult with your
 administrator. Your support ID is: <%TS.request.ID()%>"
    }
 }
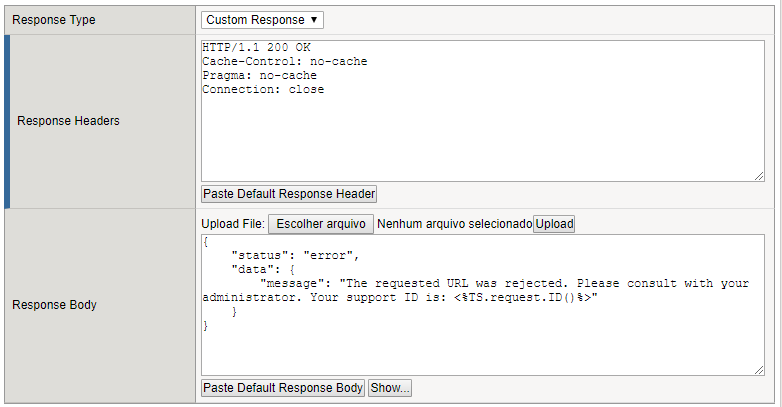
Click Save.
Click Apply Policy, then Ok.