F5 Public Cloud Solutions > PC101 - Deploying F5 Solutions to AWS with CloudFormation Templates > Creating High Availability Virtual Servers in AWS Source | Edit on
Check example application is running
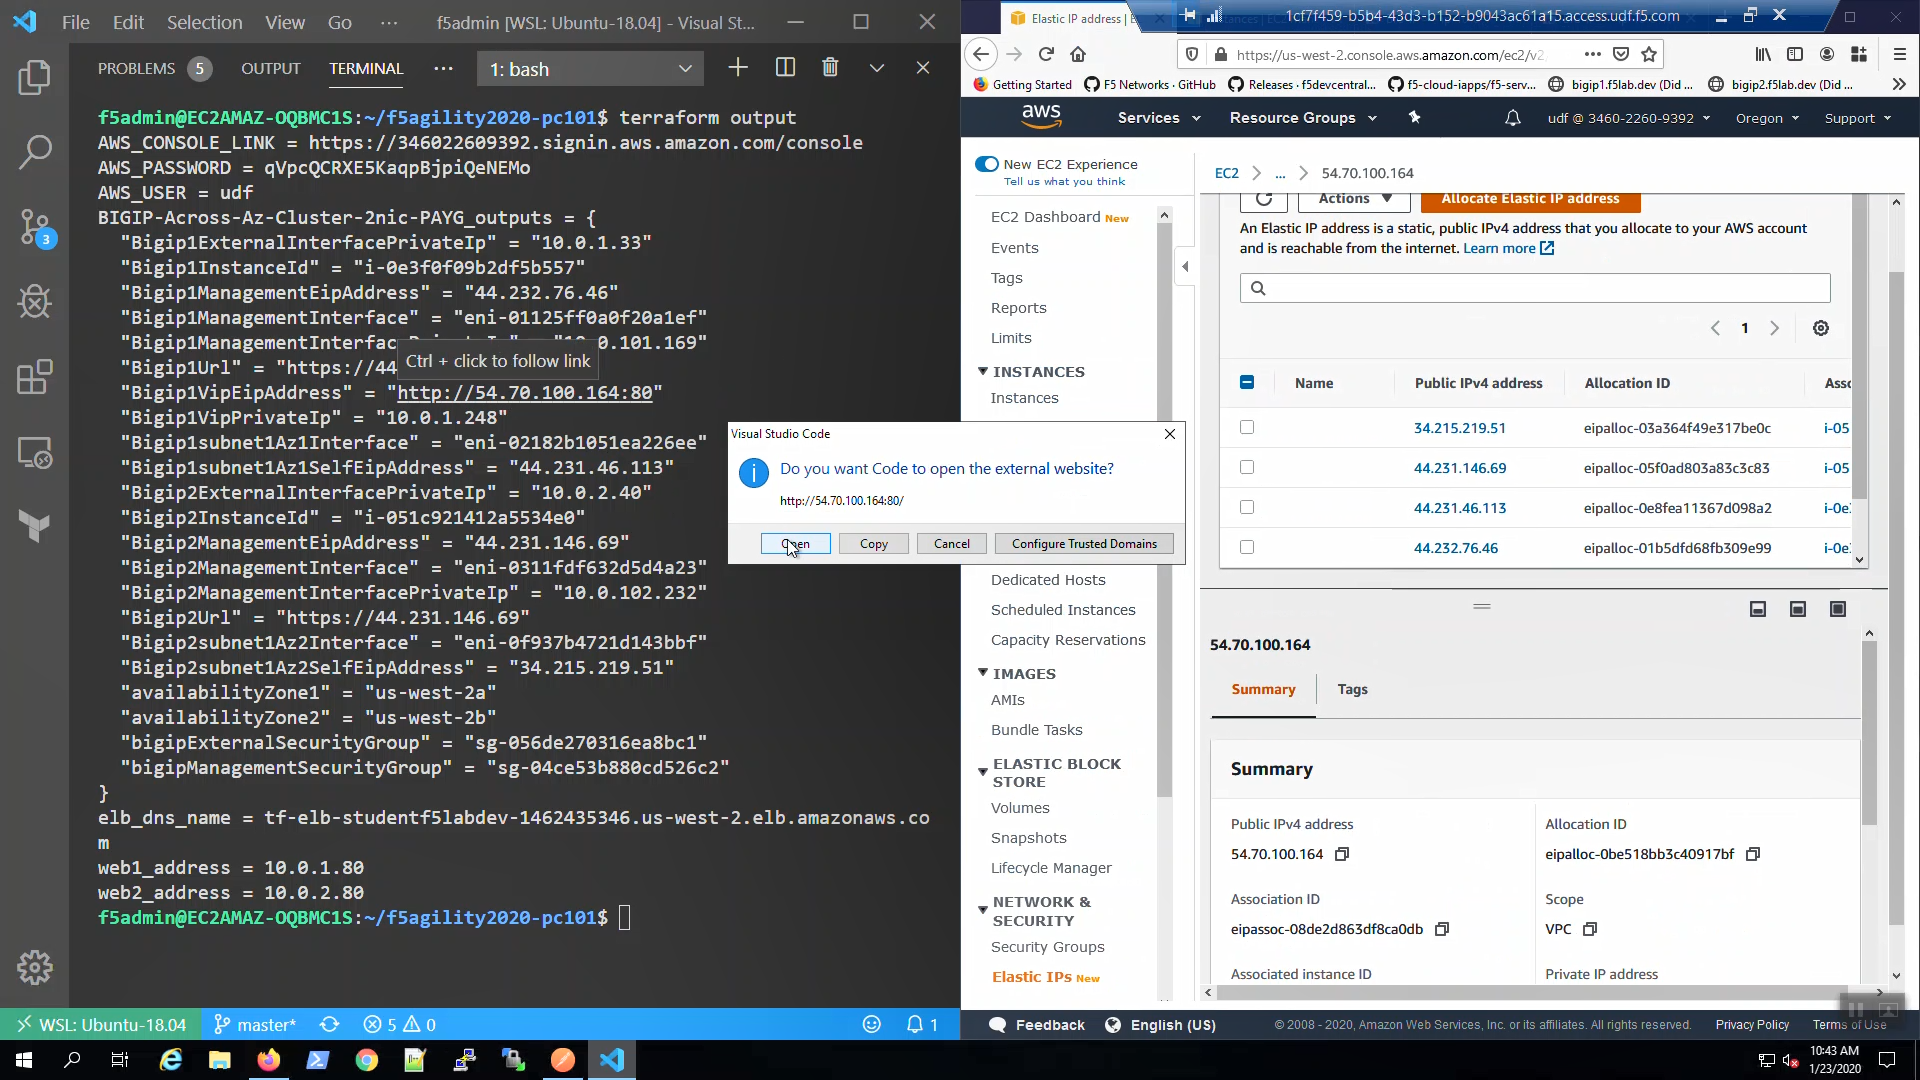
From the Visual Studio Code Terminal, invoke terraform output.
terraform output | grep Bigip1VipEipAddress

…Ctrl + click on the Bigip1VipEipAddress=. This is the same Elastic IP we just reviewed in the AWS Console.
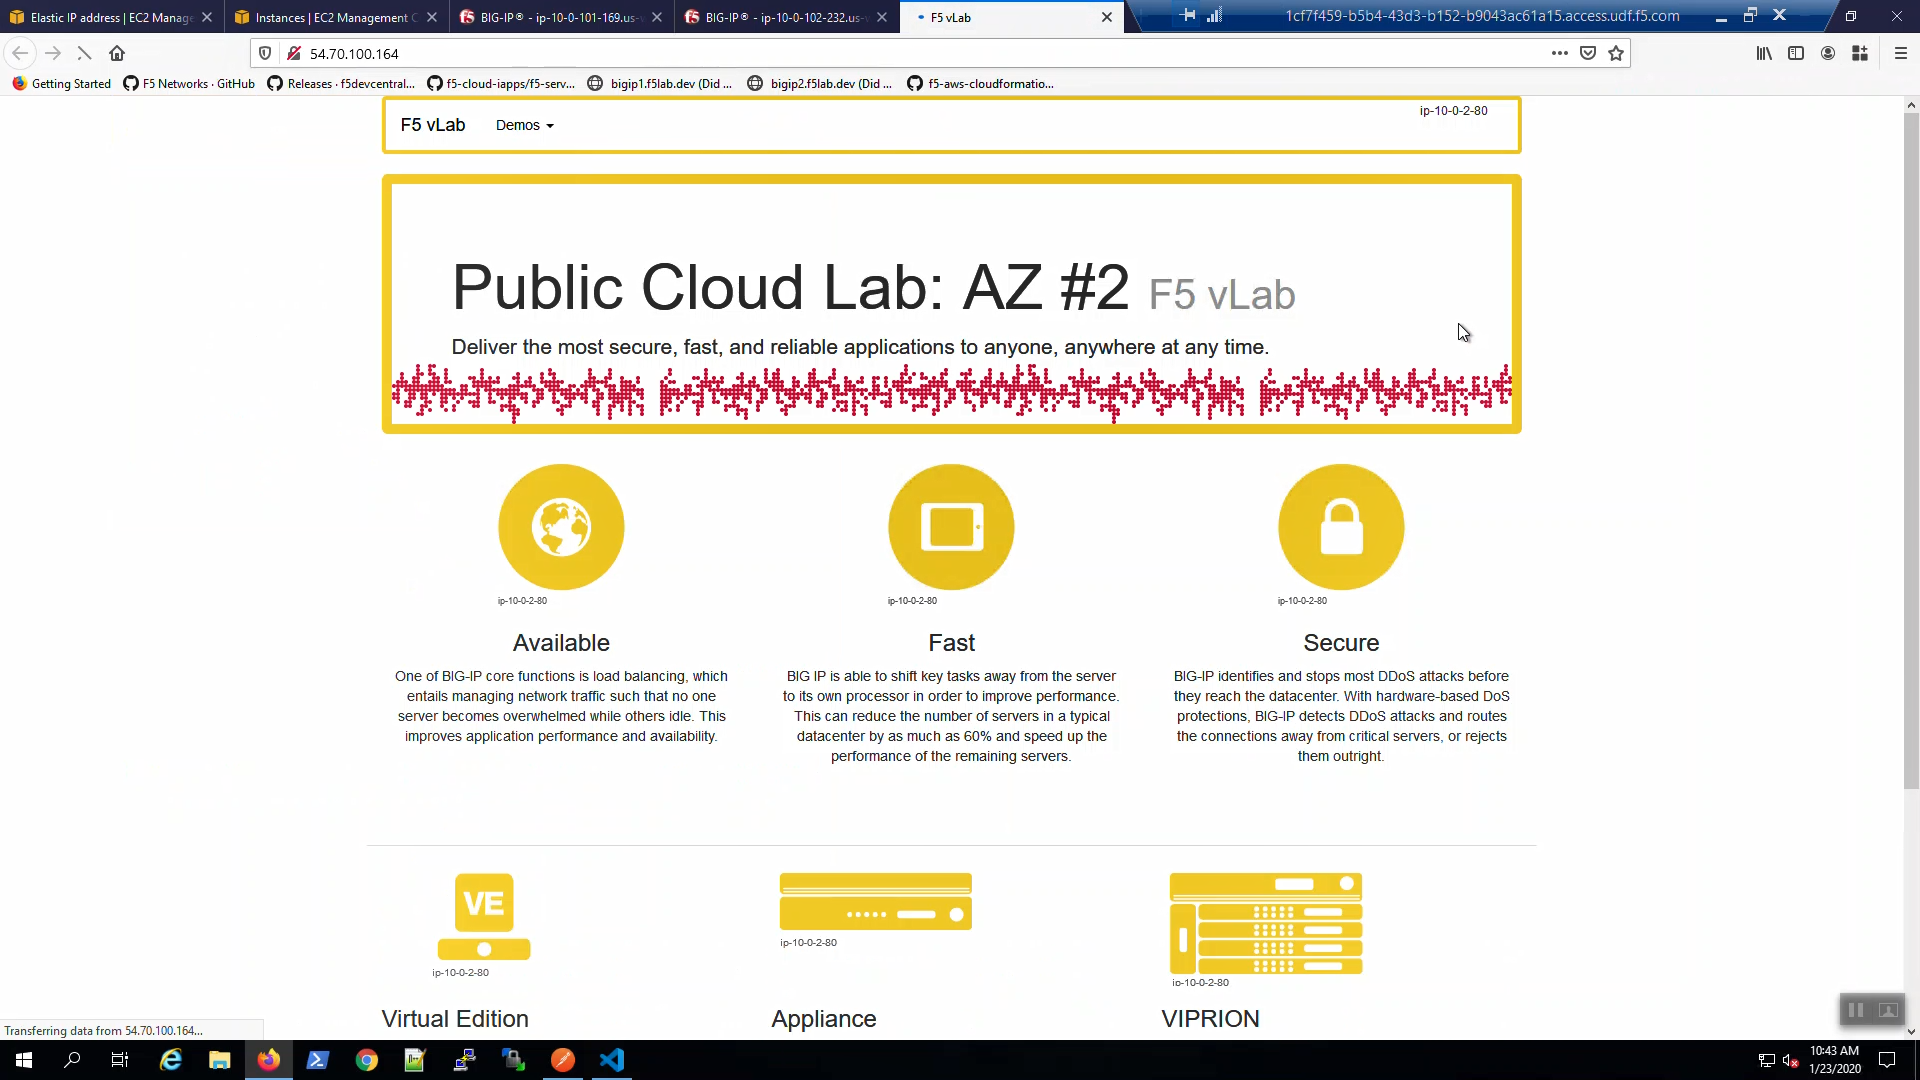
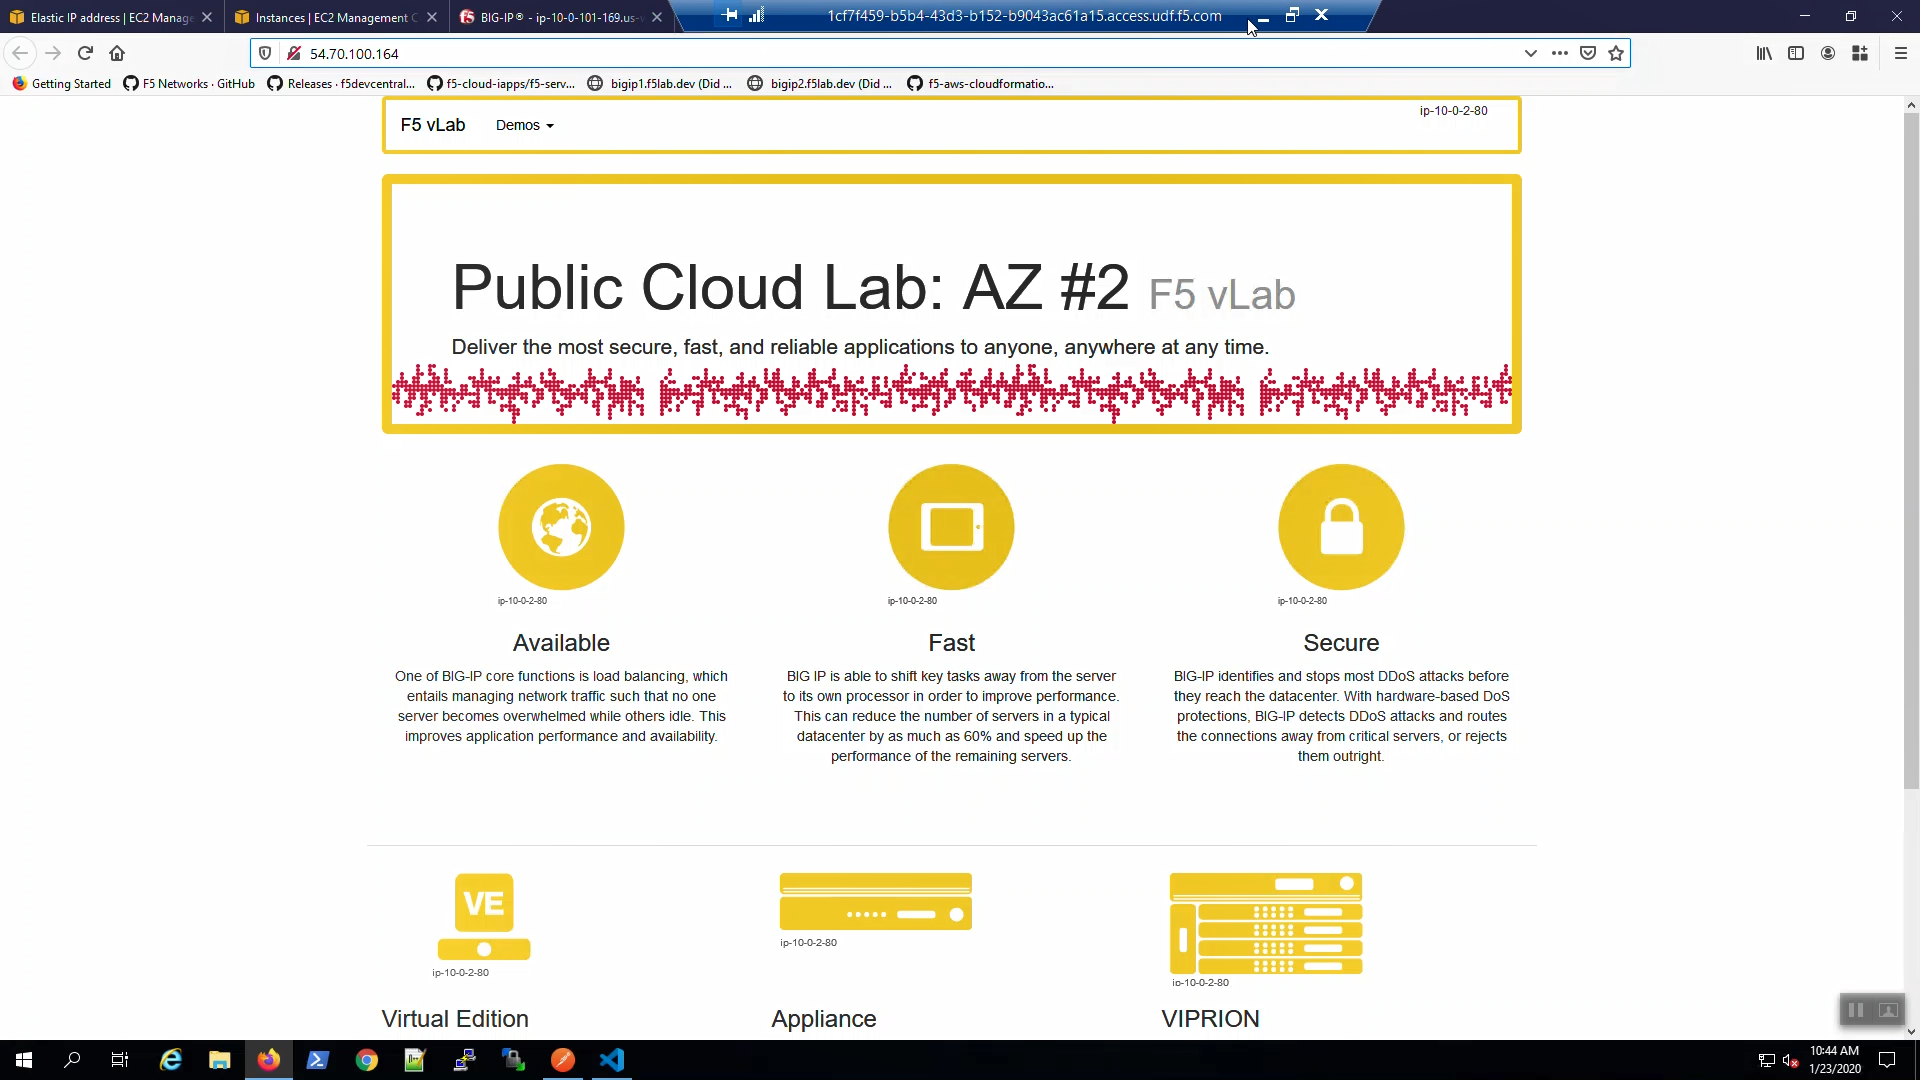
We are using self-signed certificates in the lab. Bypass the TLS warnings. “Accept the Risk and Continue”. You will see the example app.
Survive a fail-over event across Availability Zones
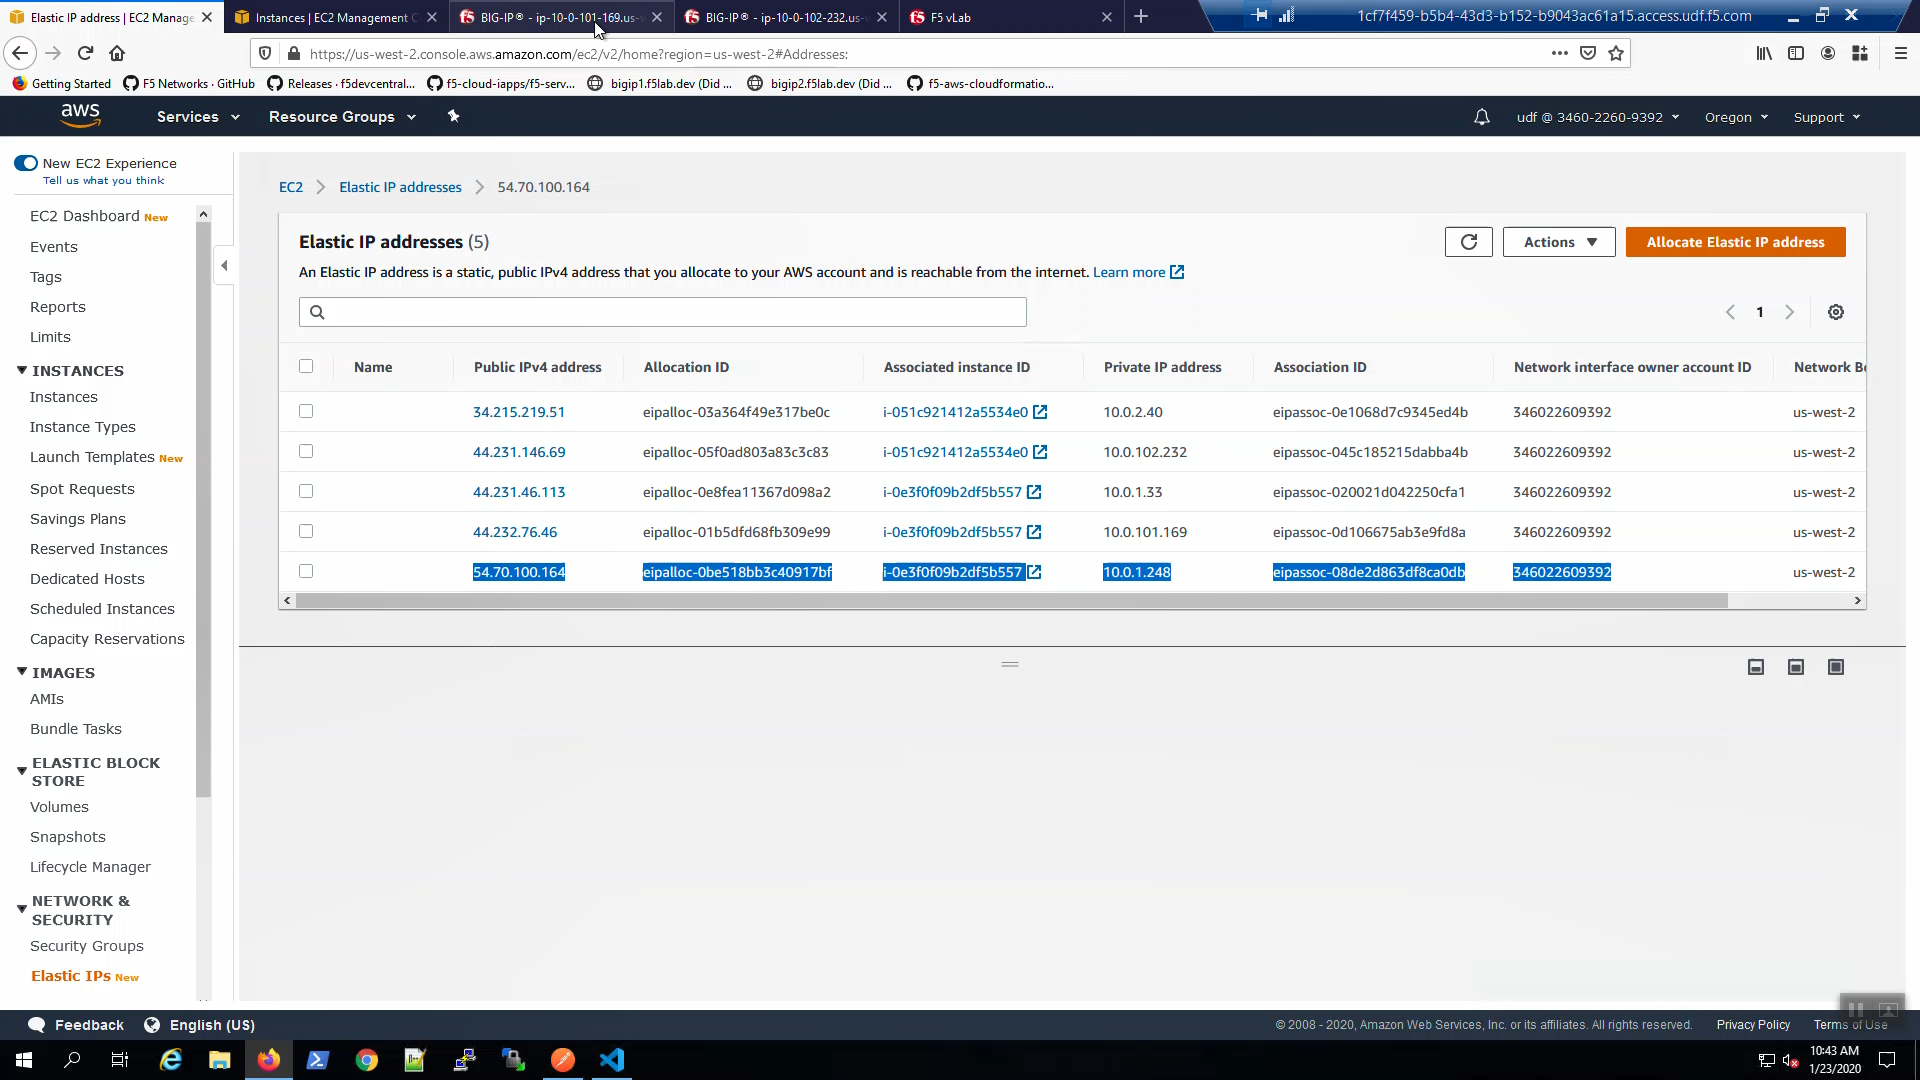
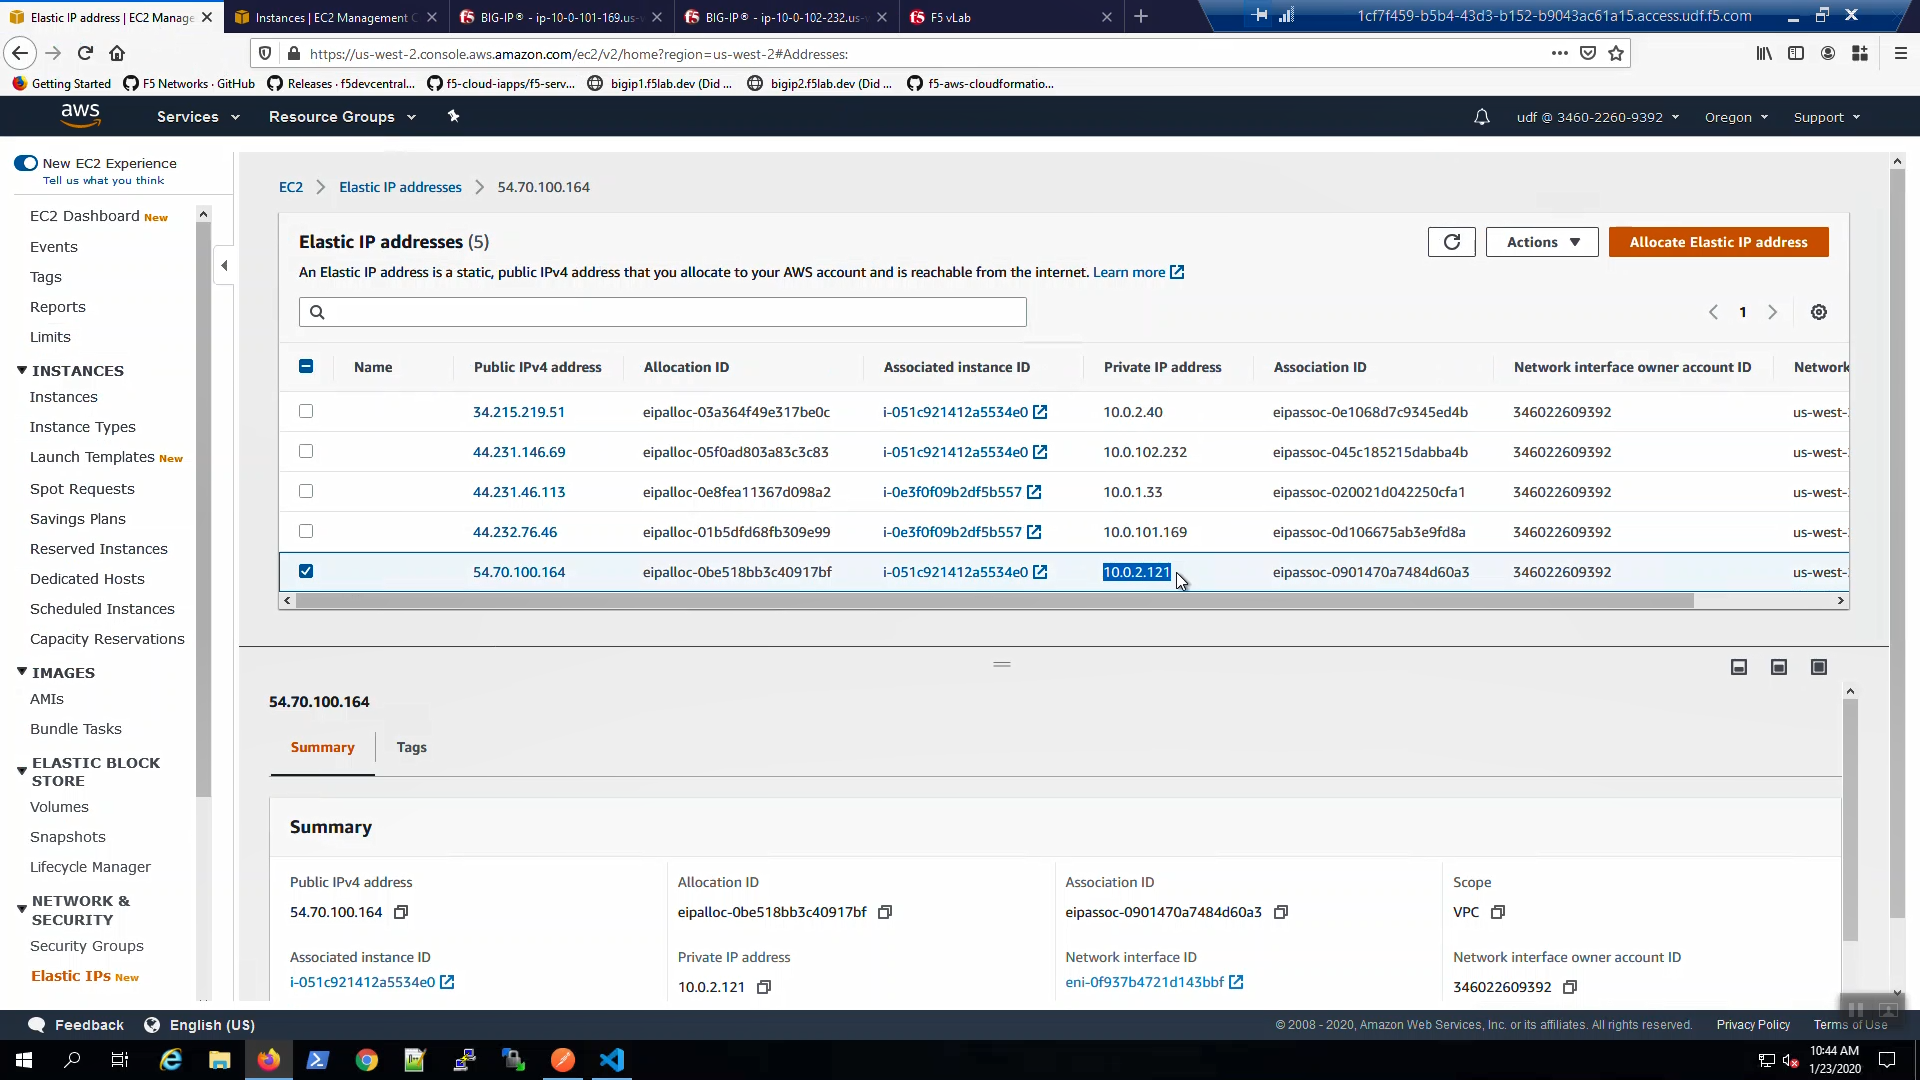
From the AWS Console, Services => EC2 => NETWORK & SECURITY => Elastic IPs. Note the Elastic IP address (public IPv4 address) mapping for the Secondary IP address of our Active Big-IP1 (10.0.1.x).
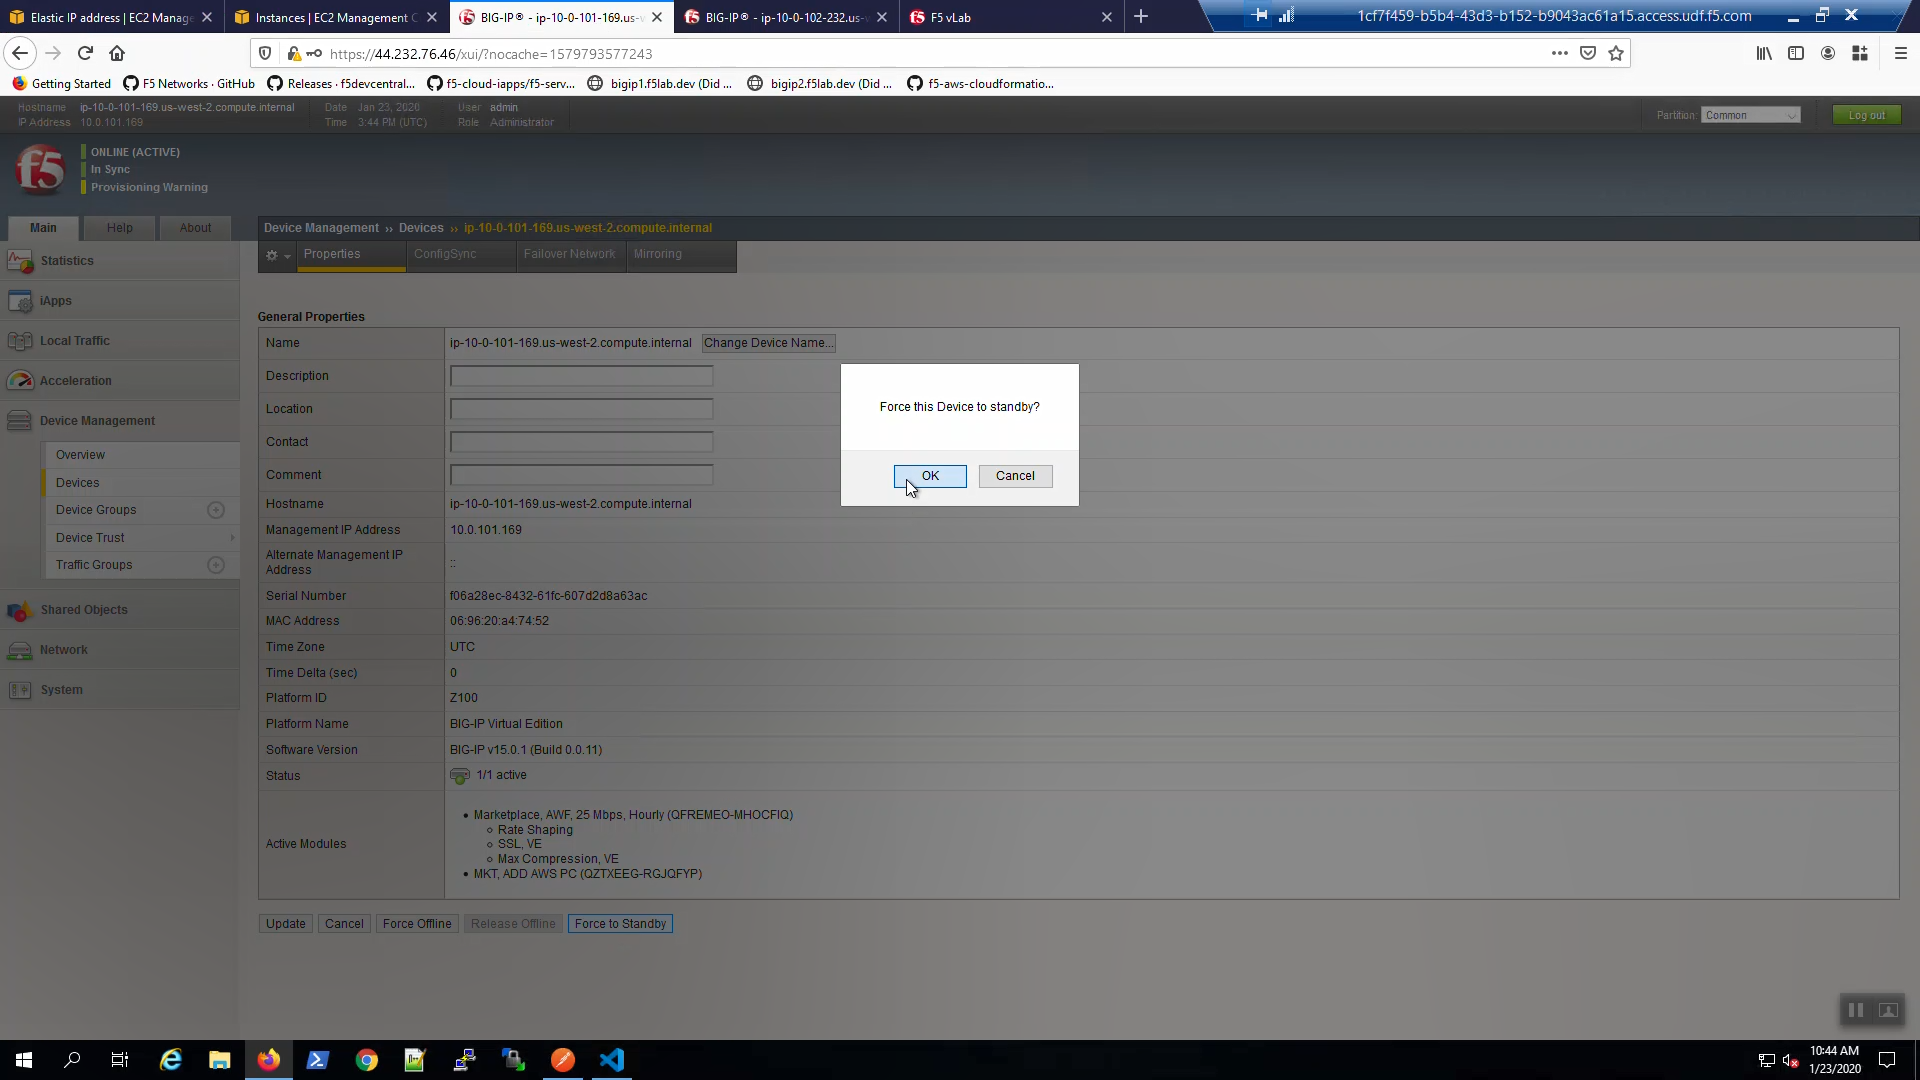
Big-IP1 => Device Management => Devices => Self => [Force to Standby]. Click [OK] to confirm.
Big-IP2 is now active.
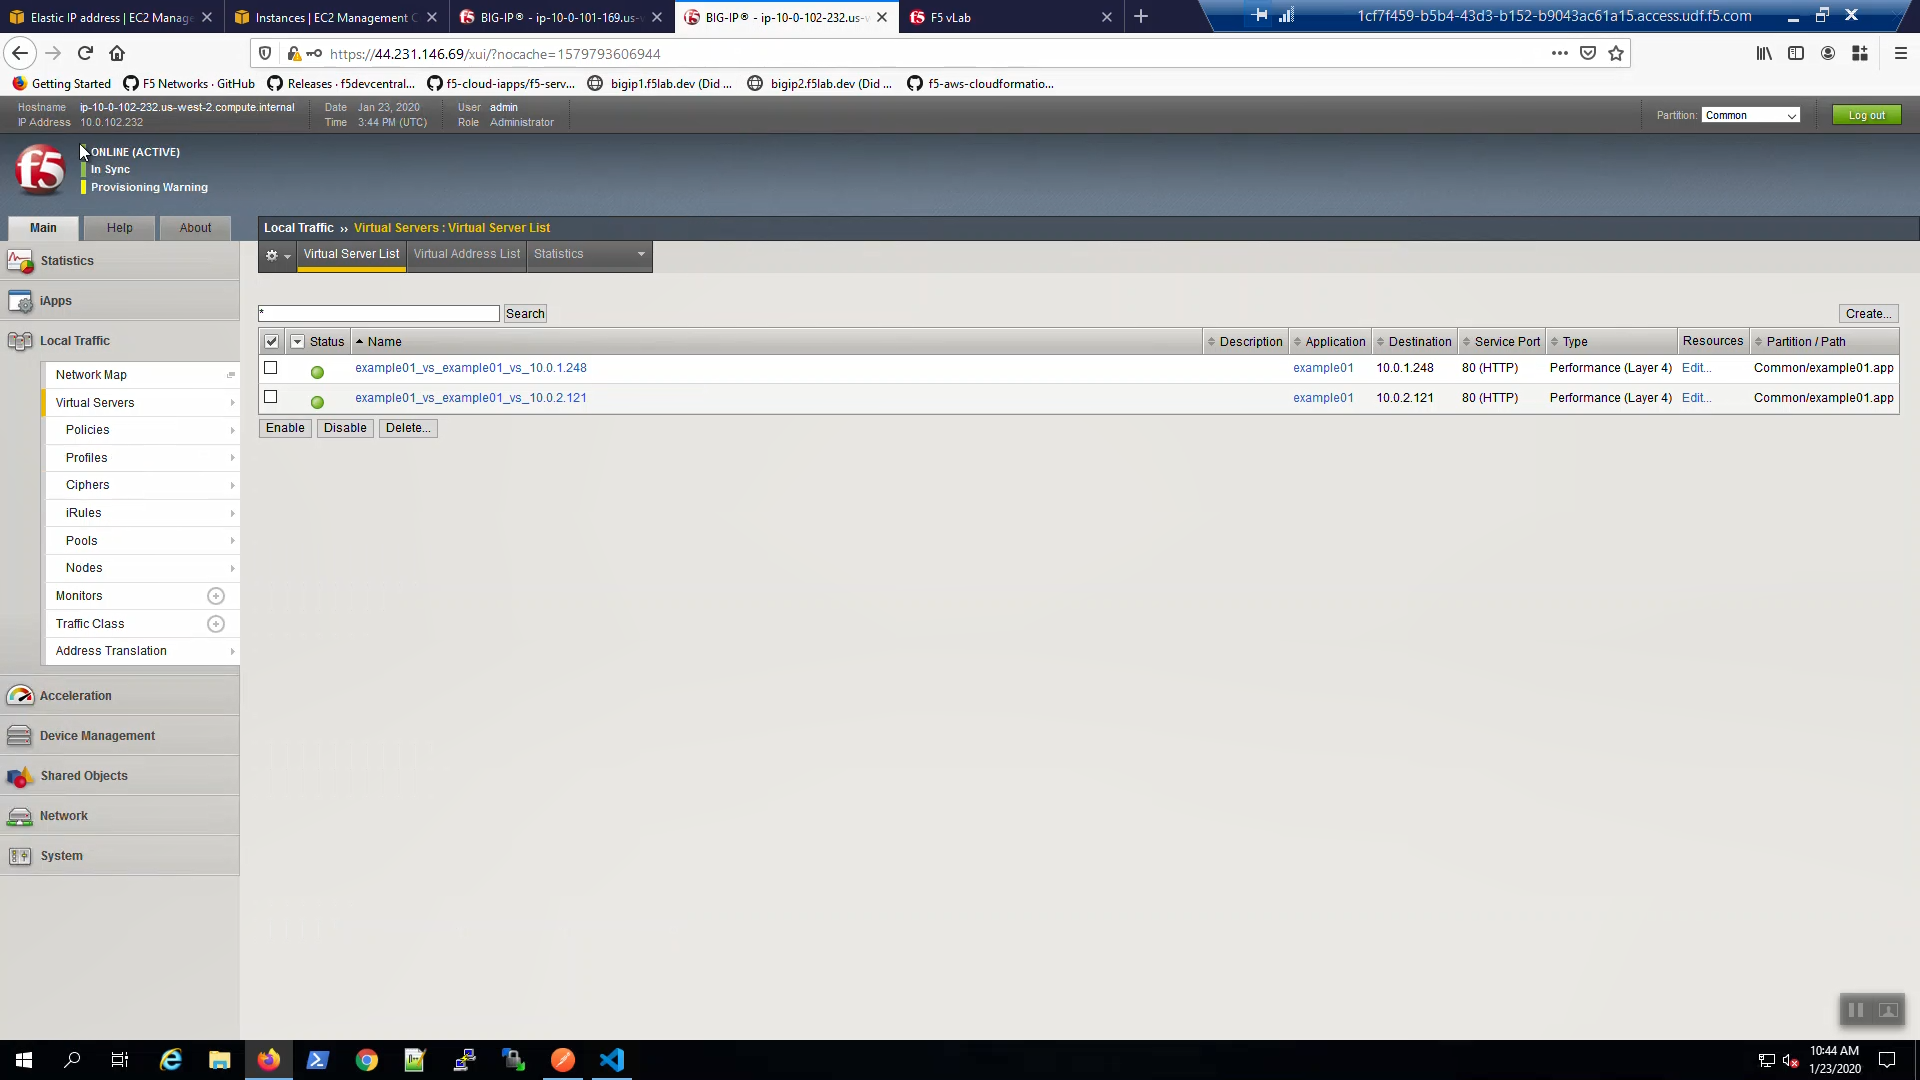
From the AWS Console, Services => EC2 => NETWORK & SECURITY => Elastic IPs. Note the Elastic IP address (public IPv4 address) mapping for the Secondary IP has changed to the new Active Big-IP2 (10.0.2.x). Hit the refresh icon in the upper-right-hand side a few times until you notice the change.
Back to the example app screen. We are using self-signed certificates in the lab. Bypass the TLS warnings. “Accept the Risk and Continue”. You will see the example app now behind the new active Big-IP2.
Attention
The example application reports which Availability Zone is serving up the content (pool member), not which Availability Zone is hosting the active Big-IP.