F5 Public Cloud Solutions > A&O Toolchain: BIG-IP HA in Public Cloud with Terraform (Agility Labs 2023) > 2. Automating BIG-IP Provisioning with Terraform Source | Edit on
2.4. Deploy the Terraform Configuration
In this section, you will customize the Terraform configuration to deploy the infrastructure in AWS.
Then, you will step through a common Terraform deployment flow as follows:
- terraform init
- terraform validate
- terraform plan
- terraform apply
2.4.1. Create a terraform.tfvars File
Variables allow you to easily customize the deployment settings, instead of editing values in multiple Terraform files.
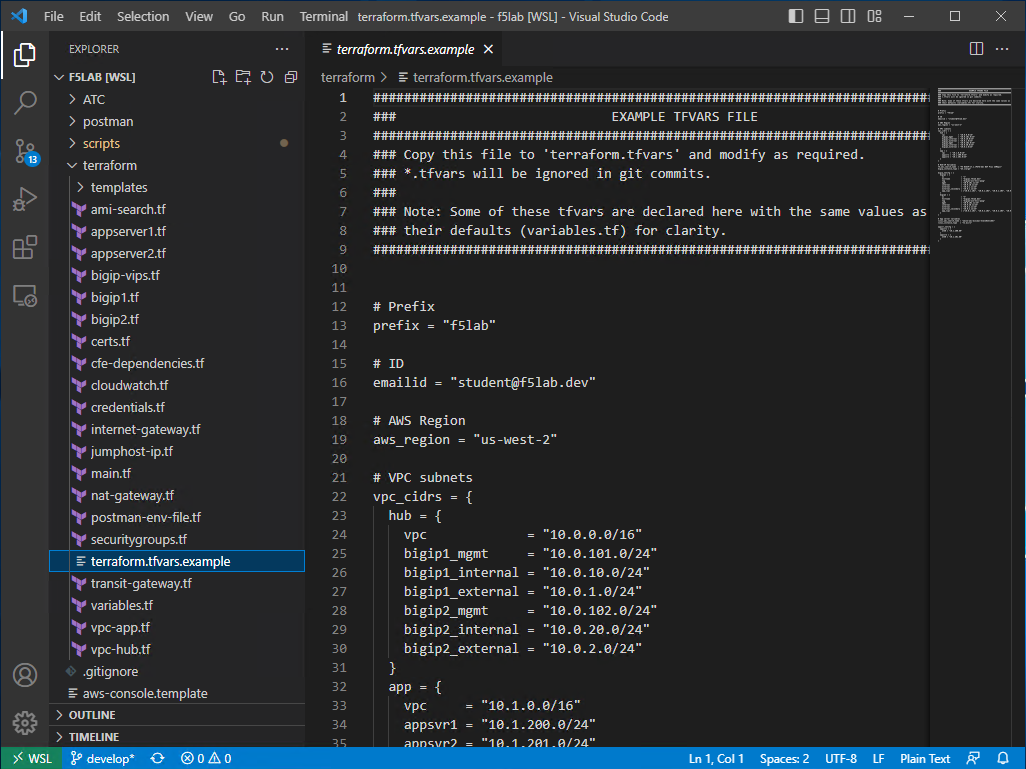
A terraform.tfvars file is commonly used to define variable values used in the Terraform deployment. These values override any default values that may be defined in the variables.tf file. You will use the included example tfvars file for the base settings of your deployment.
Click on the terraform.tfvars.example file.
Save it to a new file by selecting File > Save As… from the menu at the top, or by presssing <CTRL-SHIFT-S>. Enter
terraform.tfvarsas the new filename.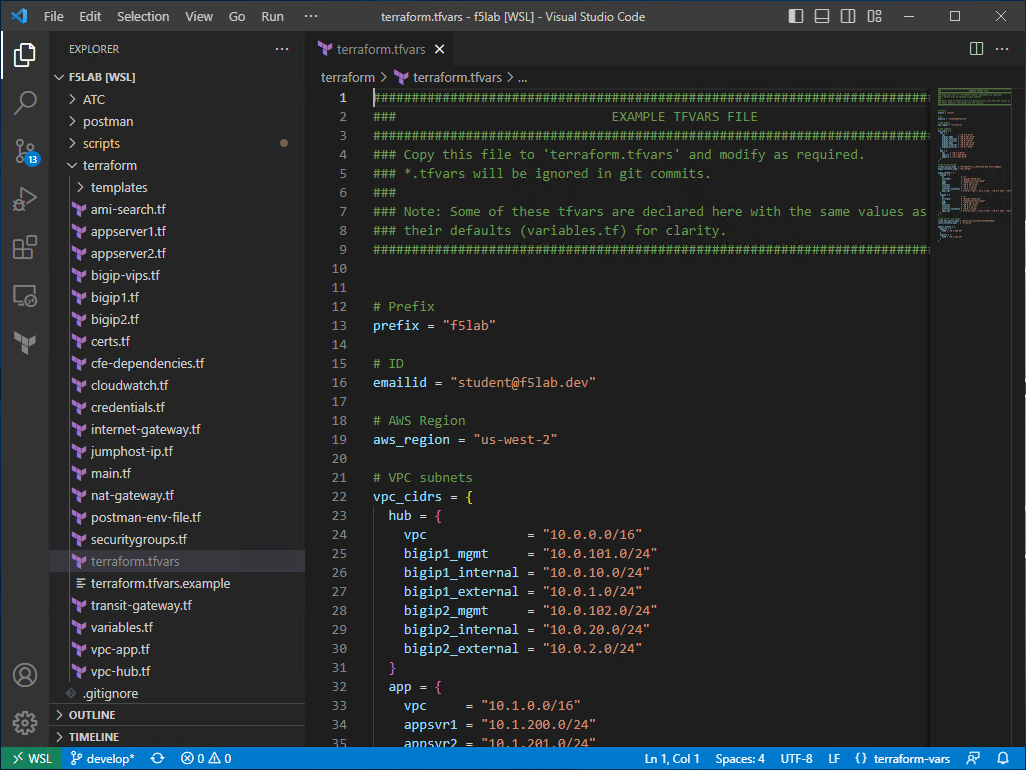
Review the other variables that are defined in this file. They define the important attribute values required for the AWS deployment.
You may (optional) update the
emailidvariable with your e-mail address.Press <CTRL-S> to save the file.
Attention
Please do not change anything else in this file. The configuration is specific to the operation of this lab environment and related documentation.
2.4.2. Initialize the Terraform
Before you can apply a Terraform configuration, you must initialize it. This will download all required Terraform module dependencies.
Switch back to the other VS Code window (BASH terminal) and execute the following:
cd terraform
terraform init
You should see output similar to the following:
Initializing the backend...

Initializing provider plugins...
- Finding latest version of hashicorp/aws...
- Finding latest version of hashicorp/tls...
- Finding latest version of hashicorp/null...
- Finding latest version of hashicorp/random...
- Finding latest version of hashicorp/http...
- Finding hashicorp/template versions matching "~> 2.1"...
- Finding hashicorp/local versions matching "~> 1.2"...
- Finding latest version of f5networks/bigip...
- Installing hashicorp/http v3.3.0...
- Installed hashicorp/http v3.3.0 (signed by HashiCorp)
- Installing hashicorp/template v2.2.0...
- Installed hashicorp/template v2.2.0 (signed by HashiCorp)
- Installing hashicorp/local v1.4.0...
- Installed hashicorp/local v1.4.0 (signed by HashiCorp)
- Installing f5networks/bigip v1.17.1...
- Installed f5networks/bigip v1.17.1 (signed by a HashiCorp partner, key ID EBD2EE9544728437)
- Installing hashicorp/aws v4.64.0...
- Installed hashicorp/aws v4.64.0 (signed by HashiCorp)
- Installing hashicorp/tls v4.0.4...
- Installed hashicorp/tls v4.0.4 (signed by HashiCorp)
- Installing hashicorp/null v3.2.1...
- Installed hashicorp/null v3.2.1 (signed by HashiCorp)
- Installing hashicorp/random v3.5.1...
- Installed hashicorp/random v3.5.1 (signed by HashiCorp)

Partner and community providers are signed by their developers.
If you'd like to know more about provider signing, you can read about it here:
https://www.terraform.io/docs/cli/plugins/signing.html

Terraform has created a lock file .terraform.lock.hcl to record the provider
selections it made above. Include this file in your version control repository
so that Terraform can guarantee to make the same selections by default when
you run "terraform init" in the future.

Terraform has been successfully initialized!

You may now begin working with Terraform. Try running "terraform plan" to see
any changes that are required for your infrastructure. All Terraform commands
should now work.

If you ever set or change modules or backend configuration for Terraform,
rerun this command to reinitialize your working directory. If you forget, other
commands will detect it and remind you to do so if necessary.
Attention
Do not proceed if this process fails. There may be an error in one (or more) of the Terraform configuration files which will require further investigation.
2.4.3. Validate the Terraform
Before applying a Terraform configuration, you can validate the configuration files for syntax or consistency errors. This will not test remote resources.
Execute the following:
terraform validate
You should see output similar to the following:
Success! The configuration is valid.
Attention
Do not proceed if this process fails. There may be an error in one (or more) of the Terraform configuration files which will require further investigation.
2.4.4. Review the Terraform Plan
Before applying a Terraform configuration, you can review the configuration plan that would be applied. This will also test remote resources. A list of the objects that would be added, changed, and/or destroyed will be displayed.
Execute the following:
terraform plan
You should see output similar to the following:
<...>

Plan: 64 to add, 0 to change, 0 to destroy.

Changes to Outputs:

<...>

──────────────────────────────────────────────────────────────────────────────────────────────────────────────────────────────────────────────────────────────────────────────────────────

Note: You didn't use the -out option to save this plan, so Terraform can't guarantee to take
exactly these actions if you run "terraform apply" now.
Attention
Do not proceed if this process fails. There may be an error in one (or more) of the Terraform configuration files which will require further investigation.
2.4.5. Apply the Terraform Plan
To apply the Terraform configuration, execute the following:
terraform apply -auto-approve
This will take several minutes to complete.
Note
The -auto-approve (or double-dash –auto-approve) flag allows you to bypass the approval prompt that would be received before proceeding with the configuration changes.
Attention
If you receive an error similar to the following (for any of the EC2 instances), wait about 5 minutes and then try to
applyagain. It might require multiple attempts due to timing.╷ │ Error: Error launching source instance: PendingVerification: Your request │ for accessing resources in this region is being validated, and you will │ not be able to launch additional resources in this region until the │ validation is complete. We will notify you by email once your request has │ been validated. While normally resolved within minutes, please allow up to 4 │ hours for this process to complete. If the issue still persists, please let │ us know by writing to aws-verification@amazon.com for further assistance. │ status code: 400, request id: a3fd2a74-1451-4c8a-a56a-901df30875d4 │
After successful completion, you should see output similar to the following:
<...>

Apply complete! Resources: 64 added, 0 changed, 0 destroyed.

Outputs:

<...>
Note
Although Terraform has completed creation of the AWS resources, the BIG-IP Runtime Init and Declarative Onboarding components will take at least another 5 minutes to complete. You will not be able to log into the BIG-IP TMUI (GUI) until then.
2.4.6. Terraform Outputs
The Terraform outputs include the following:
| Key | Value |
|---|---|
| AWS_CONSOLE_LINK | “https://xxxxxxxxxxxx.signin.aws.amazon.com/console” |
| AWS_PASSWORD | “xY&+66d6vt|18Wz{@NbM2(WQ” |
| AWS_USER | “udf” |
| appsvr1_private_address | 10.1.200.80 |
| appsvr2_private_address | 10.1.201.80 |
| bigip1_mgmt_public_ip | 52.34.106.47 |
| bigip1_password | ttwOrFT1lwsCEMP1 |
| bigip1_private_external_address | 10.0.1.11/24 |
| bigip1_private_internal_address | 10.0.10.11/24 |
| bigip1_private_mgmt_address | 10.0.101.11/24 |
| bigip1_username | admin |
| bigip2_mgmt_public_ip | 52.10.70.80 |
| bigip2_password | ttwOrFT1lwsCEMP1 |
| bigip2_private_external_address | 10.0.2.11/24 |
| bigip2_private_internal_address | 10.0.20.11/24 |
| bigip2_private_mgmt_address | 10.0.102.11/24 |
| bigip2_username | admin |
| f5_ami_id | ami-056a053acf172f5b8 |
| f5_ami_name | F5 BIGIP-17.1.0.1-0.0.4 PAYG-Adv WAF Plus 25Mbps-230407095221-3c272b55-0405-4478-a772-d0402ccf13f9 |
| jumphost_ip | 52.27.102.168 |
| linux_ami_id | ami-0bcd0806c369290a2 |
| linux_ami_name | amzn2-ami-minimal-hvm-2.0.20230418.0-x86_64-ebs |
| random_password | ttwOrFT1lwsCEMP1 |
| vip1_public_ip | 44.224.128.190 |
In the future, if you want to show the Terraform output values again, you can execute the following:
terraform output