F5 Public Cloud Solutions > Deploying F5 Solutions to GCP with Terraform and The F5 Automation Toolchain > Deploying F5 to GCP with Terraform Source | Edit on
Login to F5’s lab platform (Unified Demo Framework)
Follow the link in your email invite and login to the lab environment.
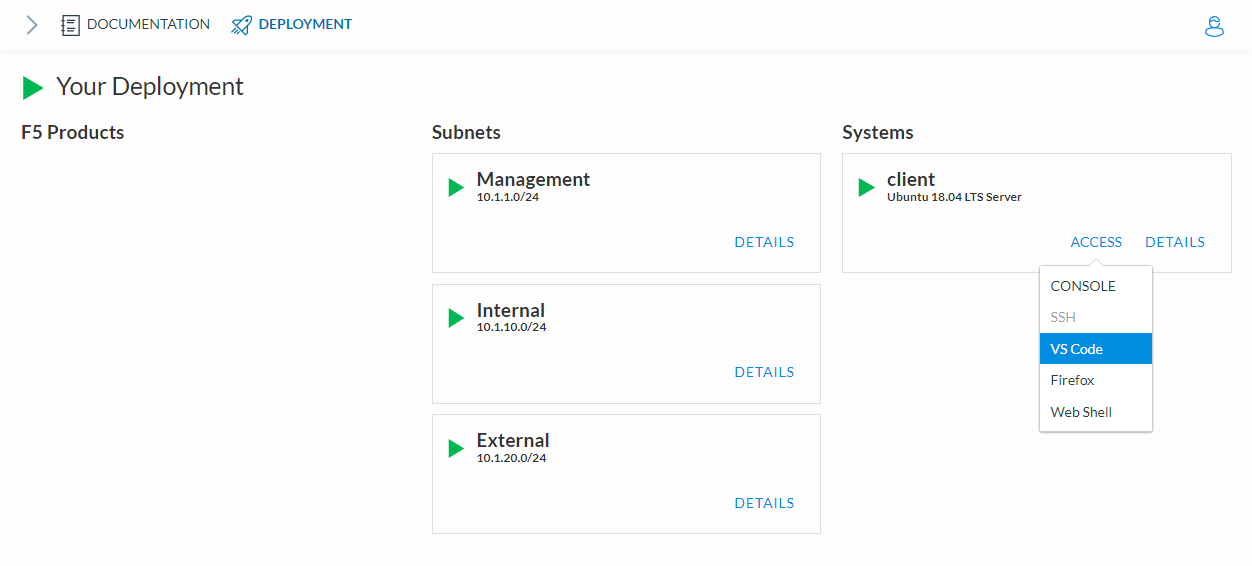
Your Deployment => Systems => Client => Access => VS Code.
Prepare the VSCode environment
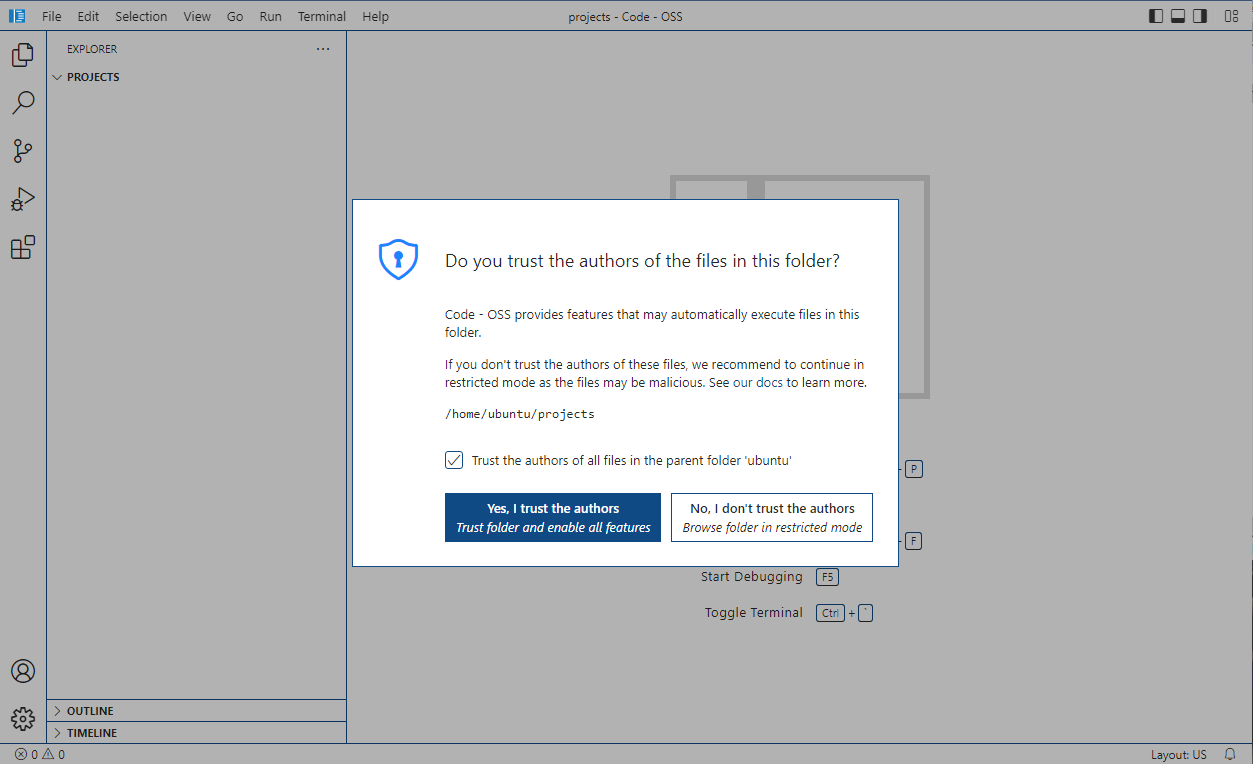
Visual Studio Code will launch as a tab in your current browser. VS Code is running from a remote machine in your UDF environment. When the window loads, it will prompt you to trust the files in the folder. Check the box and click yes.
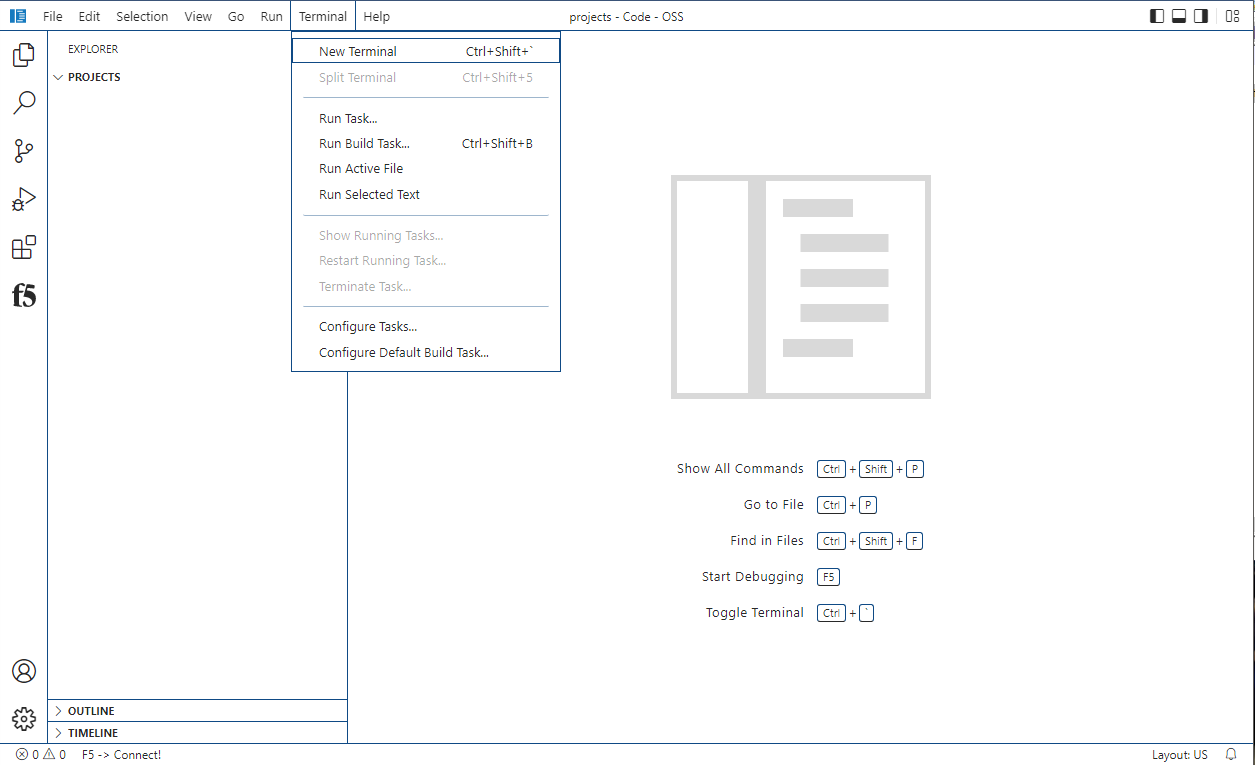
Now you will need to open a new terminal window.
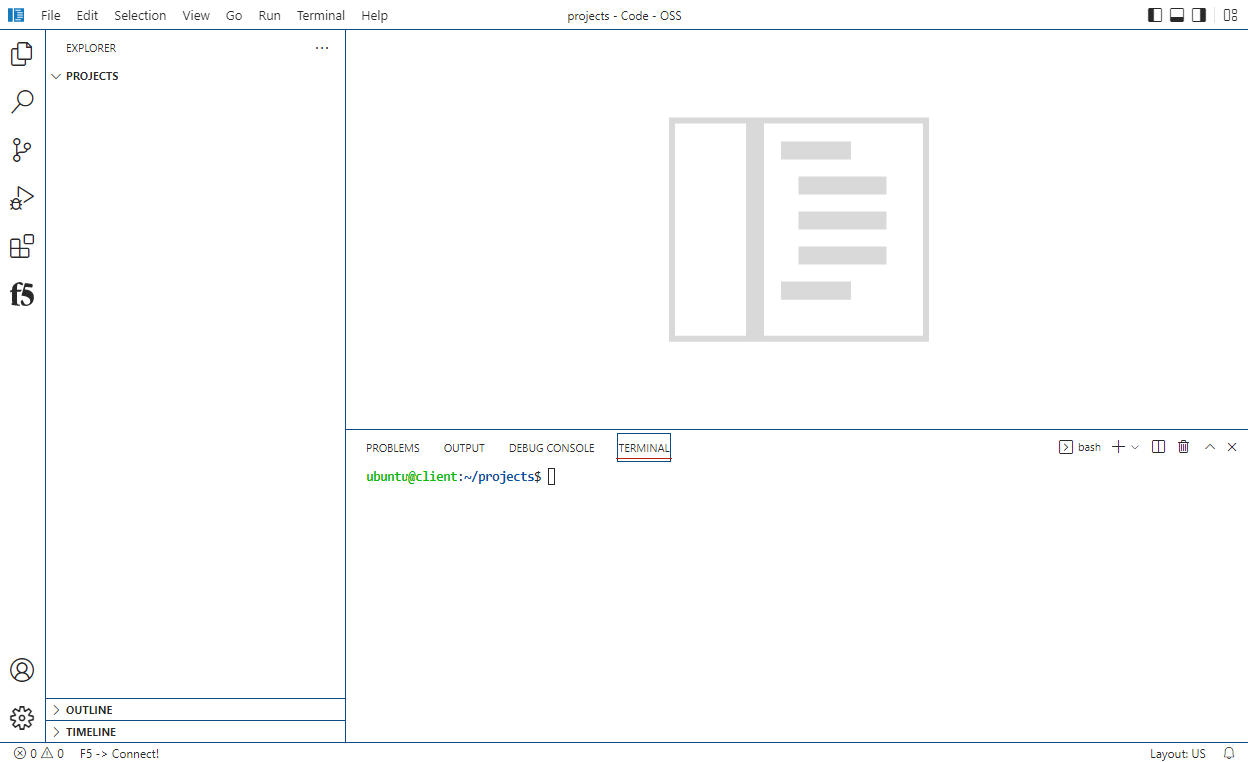
The terminal window will be at the bottom of the screen. Make sure the Terminal window indicates a “bash” shell.
Authenticate the ‘gcloud’ command line utility
From the VS Code terminal run the following command:
gcloud auth application-default login

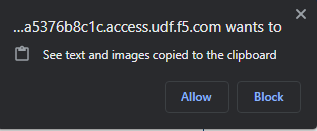
If you copied this command and tried to paste it into the terminal window, you will be prompted to allow access to the clipboard.
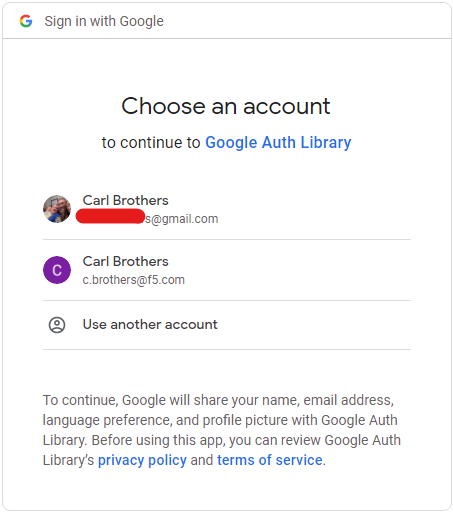
This will give you a link you can click on (or CMD-click) to open up a browser, prompting you to associate your GCP account with the gcloud command utility.

Warning
The GCP account you use must be identical to the user you signed up for Agility and signed into this account with. Otherwise you will not have access to the F5 GCP Account built for this class.
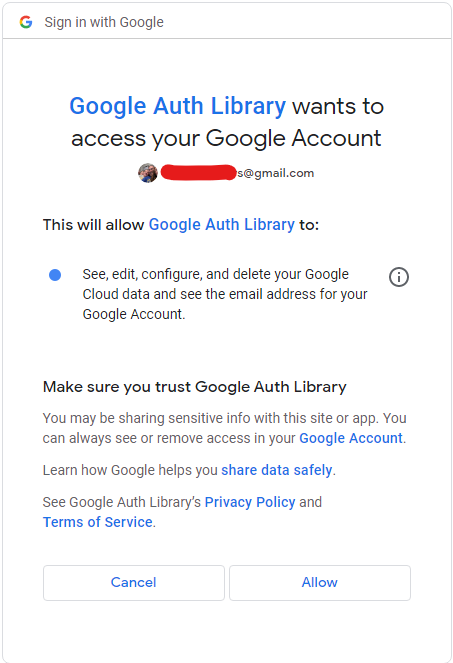
Select “Allow” in order to trust this gcloud instance
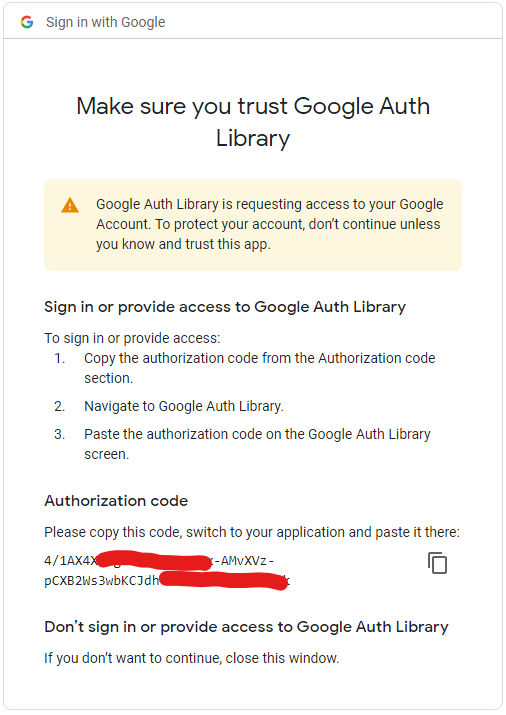
The browser will give you an authentication token to copy and paste back into the VS Code Terminal. Paste into the terminal and gcloud will be successfully authenticated and will work for Terraform.
Copy the token back into the VS Code terminal window, you may get a warning to have the VS Code browser implementation to see your clipboard. Please select “Allow” or you will have a lot of intricate typing to do.
The pasted token will look like this:
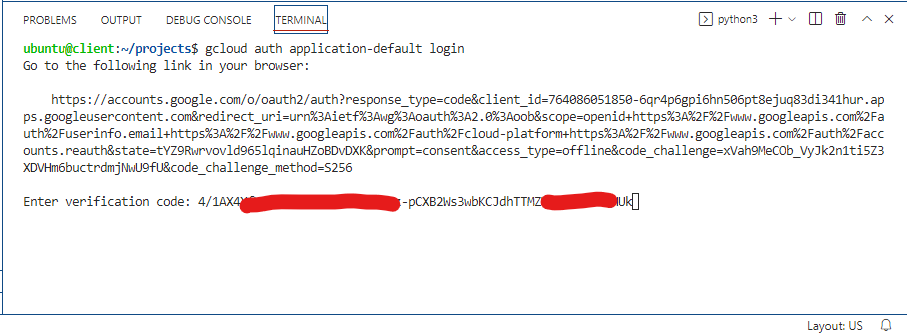
Once you click “Enter,” gcloud will now be able to operate against the Agility GCP account. The gcloud authorization will also allow Terraform to use the gcloud credentials to operate against GCP.
Deploy F5 VE and a complete application environment to GCP with Terraform
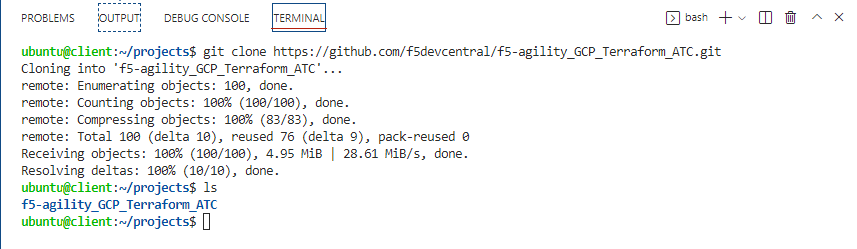
From the Visual Studio Code Terminal, clone the github repository for this lab and change to the working directory.
Warning
For a smooth ride, always invoke commands from inside the cloned
git repository (Agility2021_GCP_Terraform_ATC). To check you’re in the right
place, you can run the command pwd and the output should read
/home/ubuntu/projects/f5-agility_GCP_Terraform_ATC
git clone https://github.com/f5devcentral/f5-agility_GCP_Terraform_ATC.git
cd f5-agility_GCP_Terraform_ATC/
Build two BIG-IPs using Terraform
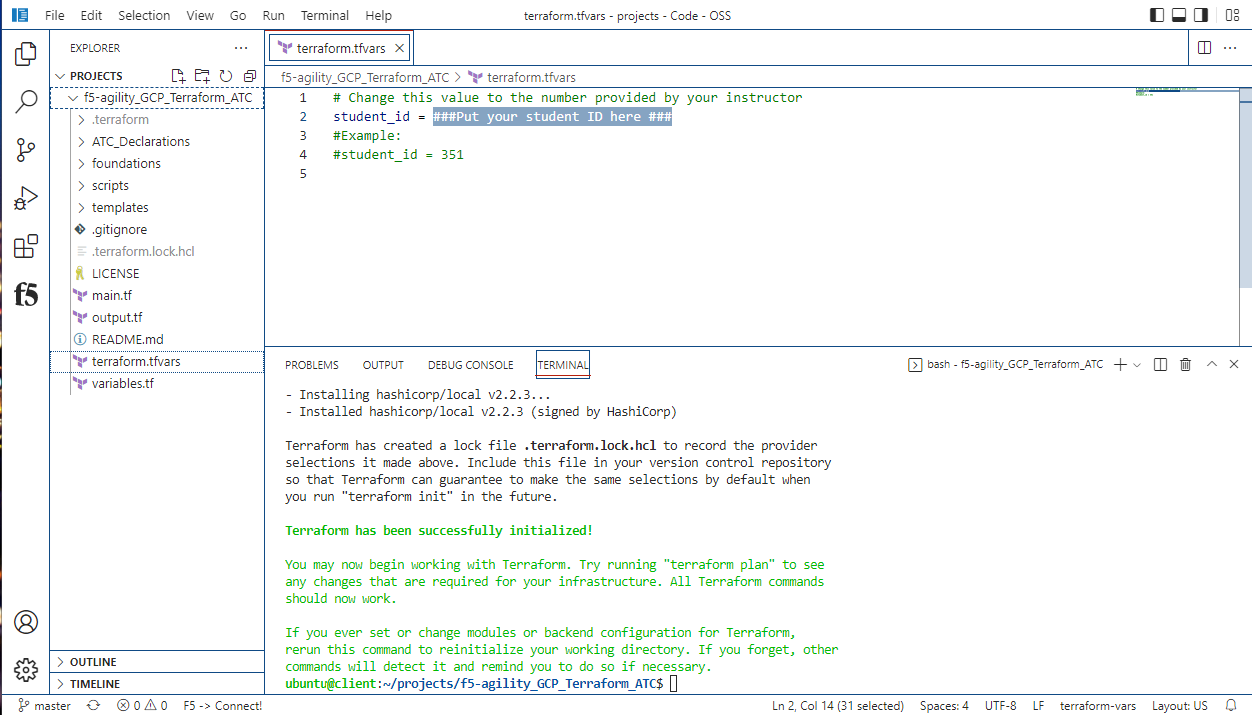
The first step that needs to be done is update the variable “student_id” in the terraform.tfvars file. Please use the assigned Student ID.
Warning
A failure to change the value of ‘student_id’ on line two of terraform.tfvars to your assigned ID will result in your lab failing, or colliding with another student’s lab.
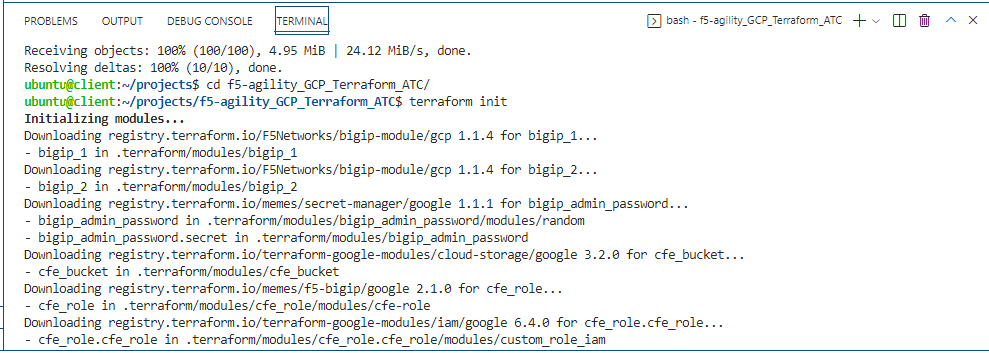
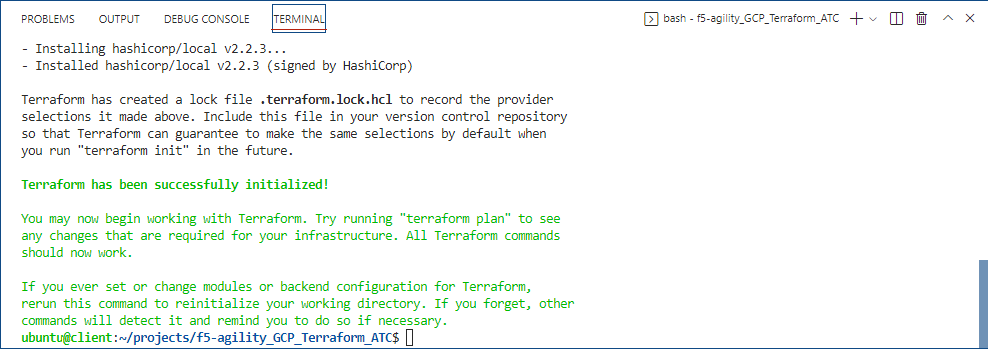
You will need to initialize Terraform and allow it to download all required modules. Do so by running:
terraform init
Once initialized, We will run a terraform plan which will let terraform identify the resources that it will be creating. Please run the following:
terraform plan
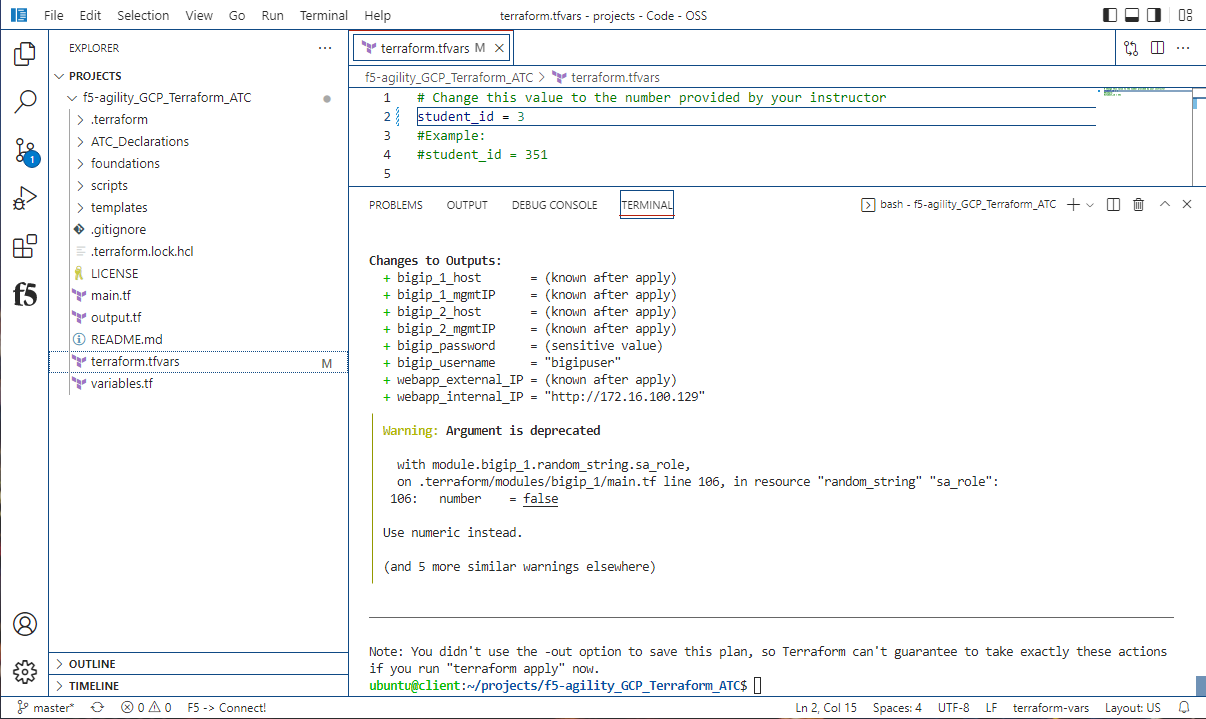
Note
You will see a warning about line 106 in the main.tf file. This is due to our choice to have the system generate the password and use that in the build out for the sake of time and reducing steps in the lab.
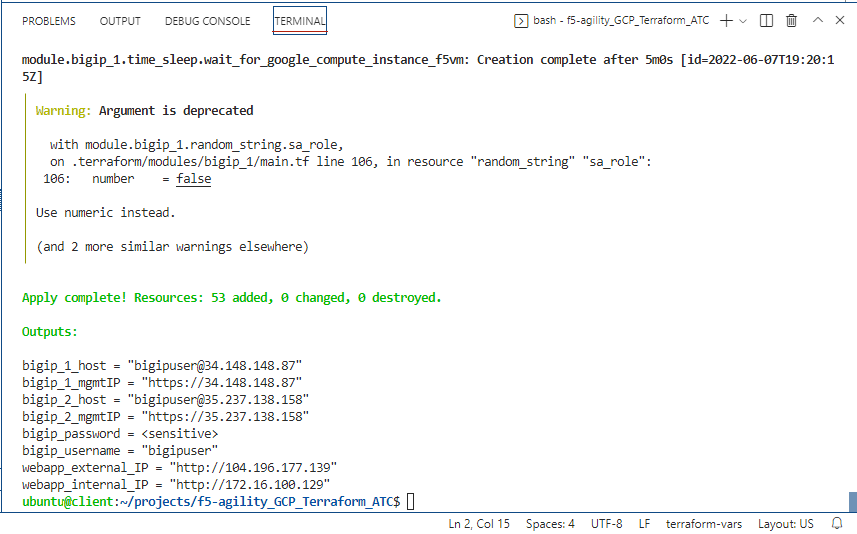
The last step of launching terraform is to “apply.” Note that this will take some time and will prompt you (by default) to proceed. Please run the following and respond with ‘yes’ when prompted.
terraform apply
At the end of the ‘terraform apply’ you will receive what terraform calls outputs. These are defined in the terraform variables. You can always get the ‘terraform output’ values again by invoking from the terminal, make sure to have bash toggled:
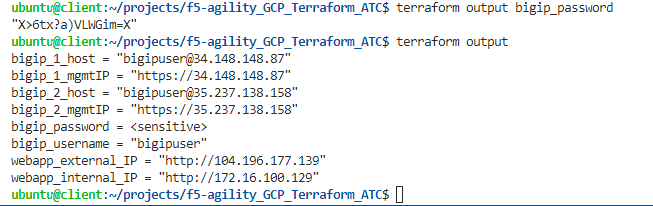
terraform output bigip_password
terraform output
Due to changes in terraform 1.x, the sensitive values are not output with the general output command, however if you specify the sensitive output value name, it will return that value.
Login to GCP Console
Click on “Firefox” under access methods (or use your own local browser if able) and navigate to https://console.cloud.google.com with the e-mail address that you signed up for Agility with, and you just signed in to authenticate with ‘gcloud.’
Once your terraform apply has finished, navigate to “Compute Engine” -> “VM Instances” and locate your BIG-IP instances denoted by “studentX-Y-YYYY-f5vm0[1,2].” These are your BIG-IP units running within GCP
Warning
We will be returning to lecture at this point of the lab. We will allow the BIG-IPs to start up for all students during the lecture.