F5 Public Cloud Solutions > Event-Driven Service Discovery w/ HashiCorp Consul Terraform Sync and BIG-IP > Deploy infrastructure on AWS using Terraform Source | Edit on
Deploy Consul Data Center BIG-IP and Backend application
cd terraform/

Generate a random password for your F5 BIG-IP instance.
./admin-shadow.sh
Use the terraform.tfvars.example template file to create a terraform.tfvars file.
The example file is in the terraform folder.
cp terraform.tfvars.example terraform.tfvars
Edit file terraform.tfvars to specify a prefix for the resources being created and an IP address to access the environment once deployed.
nano terraform.tfvars
prefix = “your-prefix” —> This can be your initials
Then Save file and come out of Nano editor by pressing Control O –> Save –> Control X
Once the configuration is complete, you can deploy the infrastructure with Terraform.
First, initialize Terraform.
terraform init
Note: If terraform init fails with Error: Failed to install provider issue the command again.
Then, use terraform plan to check the resources that are going to be created.
terraform plan
You will see below 30 resources plan to be configured:
...

Plan: 30 to add, 0 to change, 0 to destroy.

....
Finally, apply the changes.
terraform apply -auto-approve
Now you can see below 30 resources were configured:
...

Apply complete! Resources: 30 added, 0 changed, 0 destroyed.

Outputs:

Consul_UI = http://3.86.229.209:8500
F5_IP = 52.44.244.96
F5_Password = L5l81KPsxv
F5_UI = https://52.44.244.96:8443
F5_Username = admin
F5_ssh = ssh -i terraform-20210803123725302700000001.pem admin@52.44.244.96

....
- The final part of the Terraform output provides you with the information to access your infrastructure.
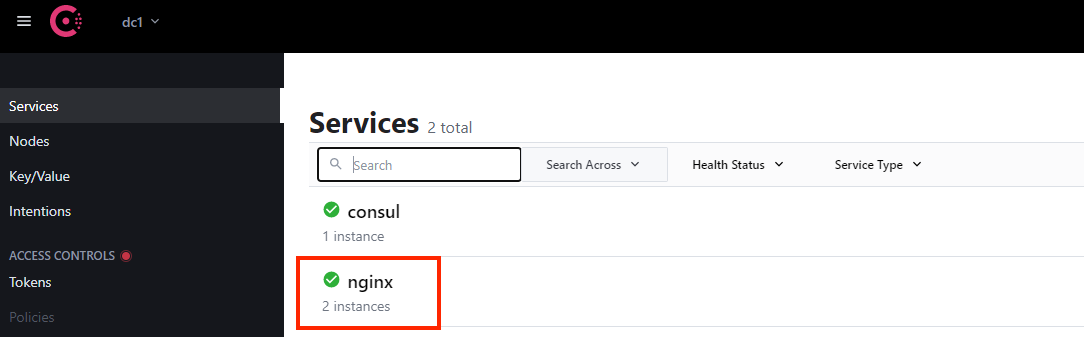
You can access your Consul datacenter UI using the address specified by the
Consul_UIvalue.