F5 Identity and Access Management Solutions > Archived Identity & Access Management Labs > Class 9: Multi-Factor Auth for Cloud Applications > Lab 4: Set up Google Authenticator (GA) Source | Edit on
Lab – Set up Google Authenticator (GA)
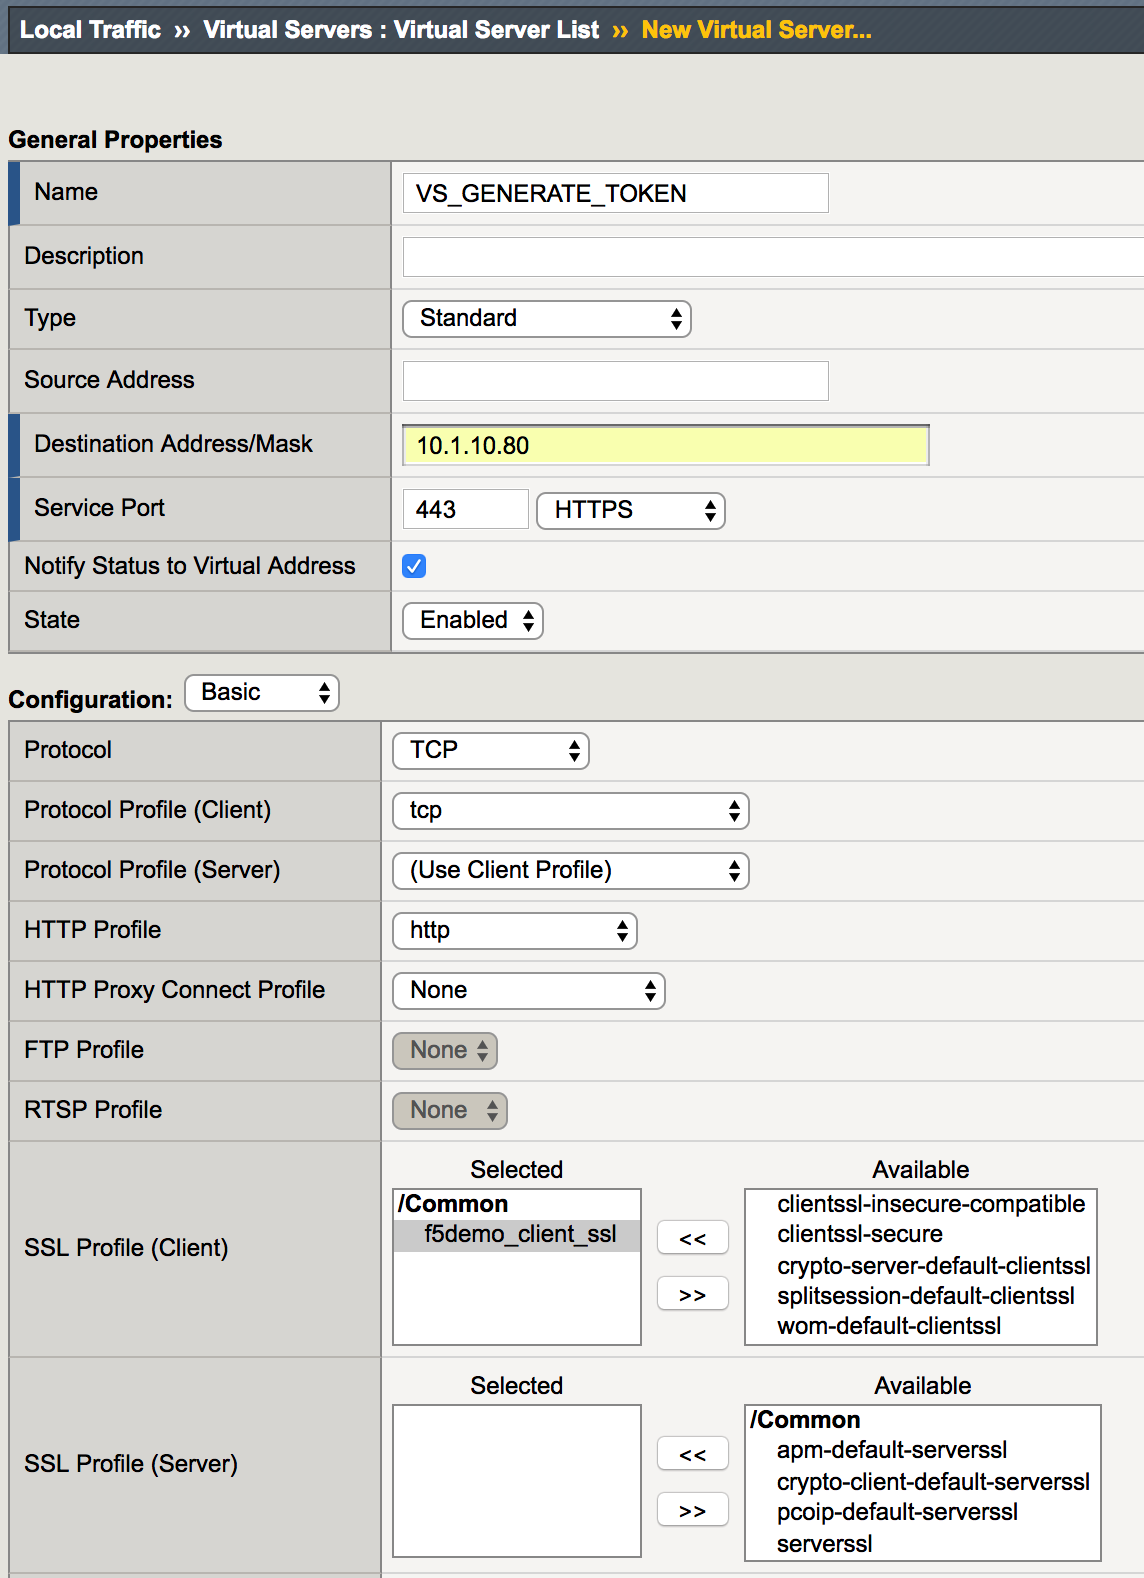
This lab will teach you how to configure Google Authenticator as Second Auth Factor. Estimated completion time: 30 minutes
Task - Create the VS used to generate GA tokens
| 1. Log in to the BIG IP then go to Local Traffic -> Virtual Servers -> Virtual Server List. Click on Create. |  |
2. Enter the following values (leave others default) and then finished.
|
|
Task - Generate a token
| 1. Open a Chrome browser and click on generategacode bookmark. You should see the GA generator App. | 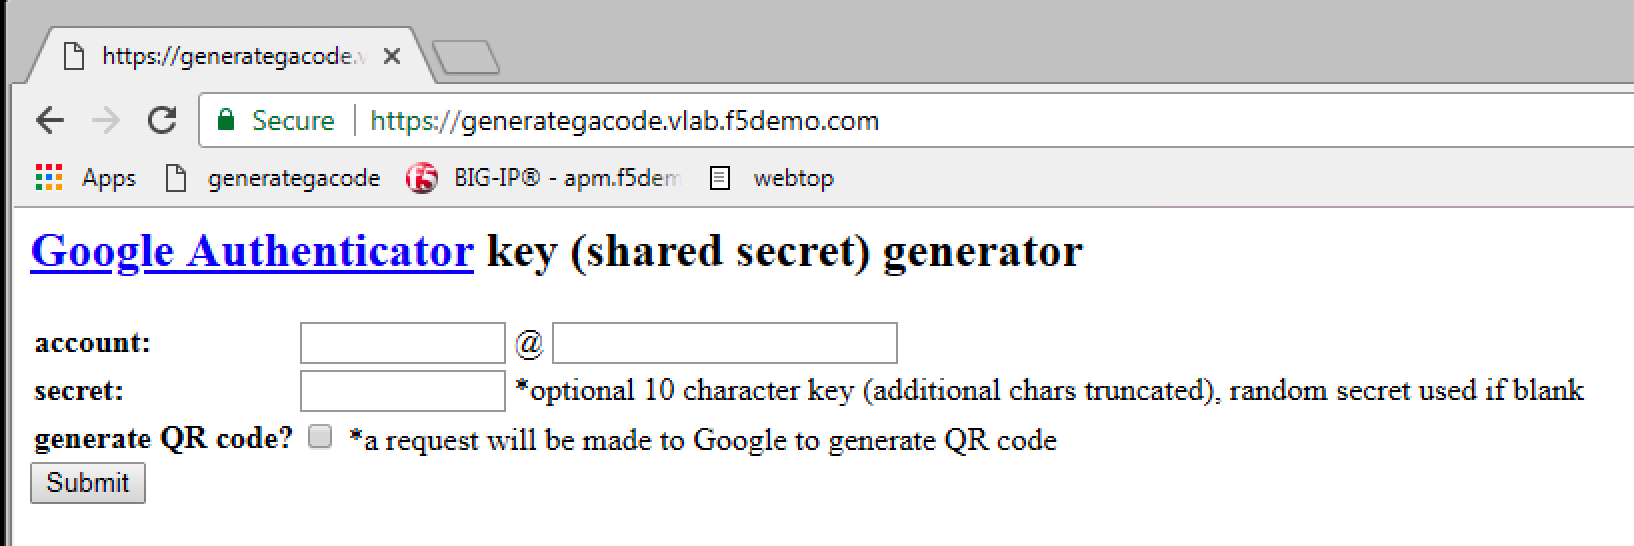 |
2. Enter the account: sales_manager and domain:
f5demo.com. Also check the generate QR code,
and then click Submit |
 |
| 3. Open up your Google Authenticator app and touch the “plus sign”, select scan barcode and scan the QR code. Save the secret, we will need it soon. | 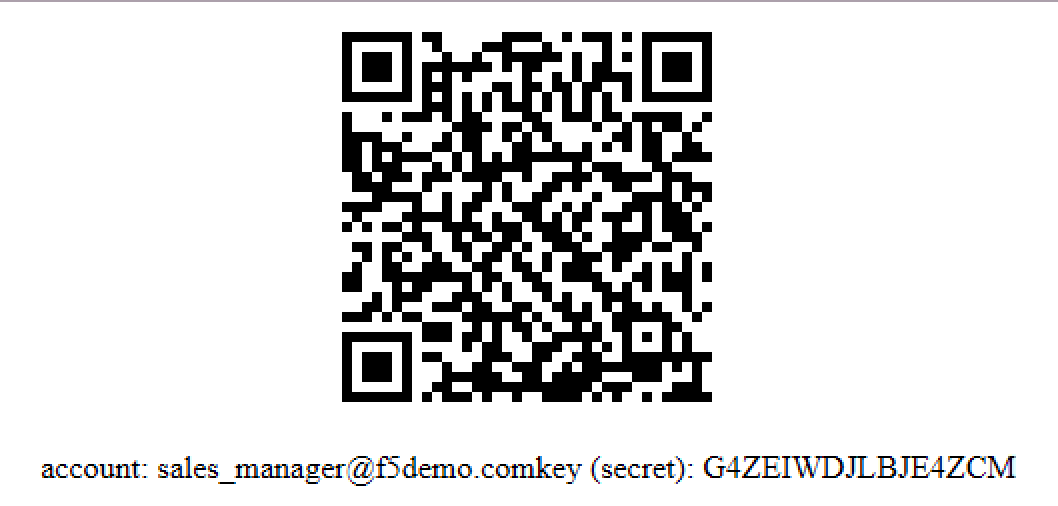 |
| 4. Go to Local Traffic -> iRules -> Data Group List .Click on google_auth_keys. | 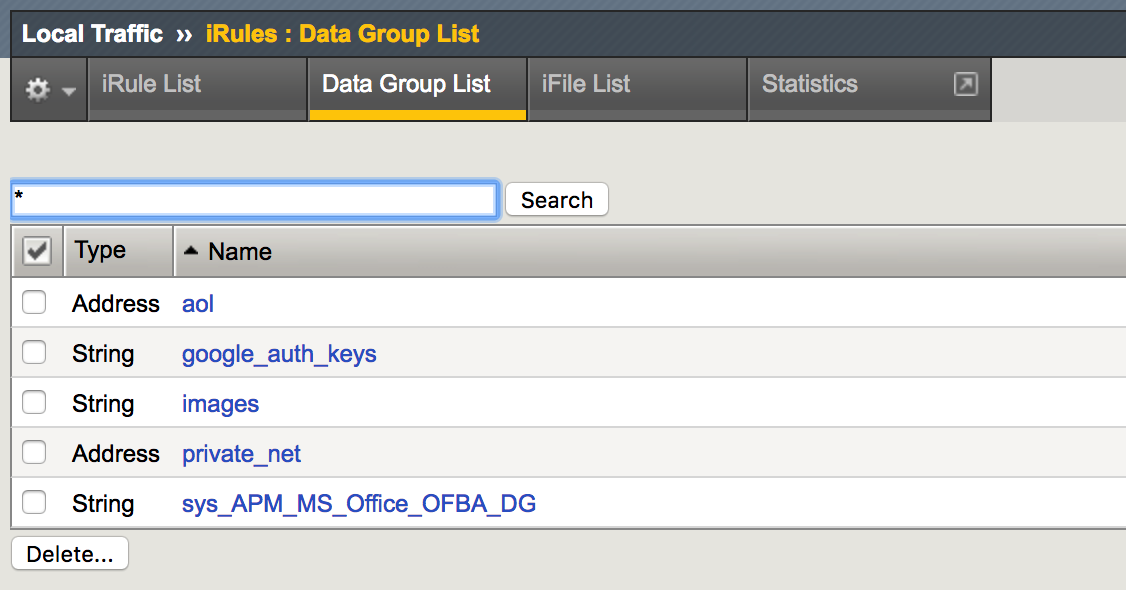 |
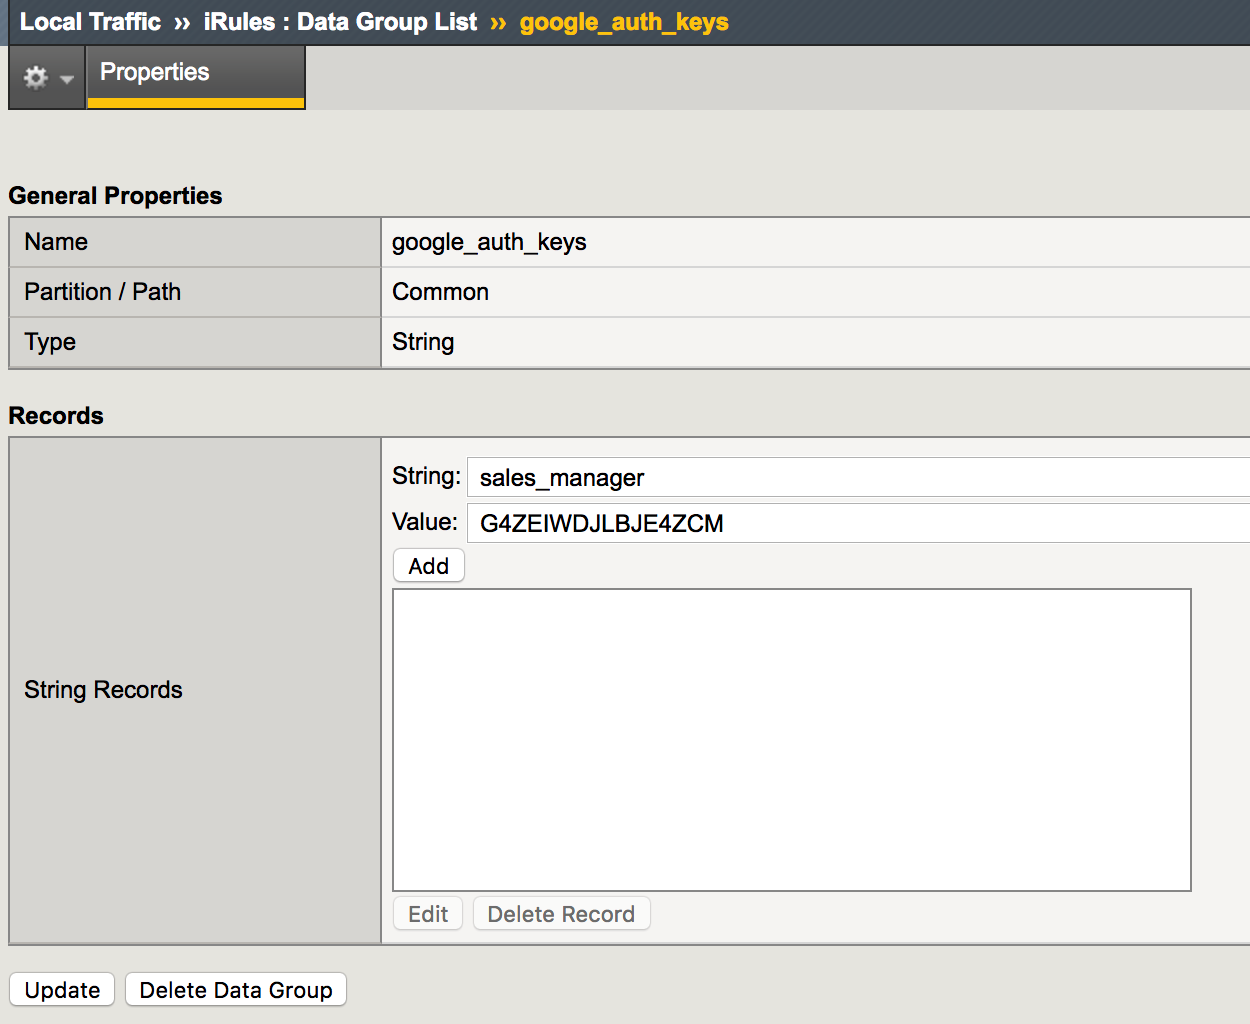
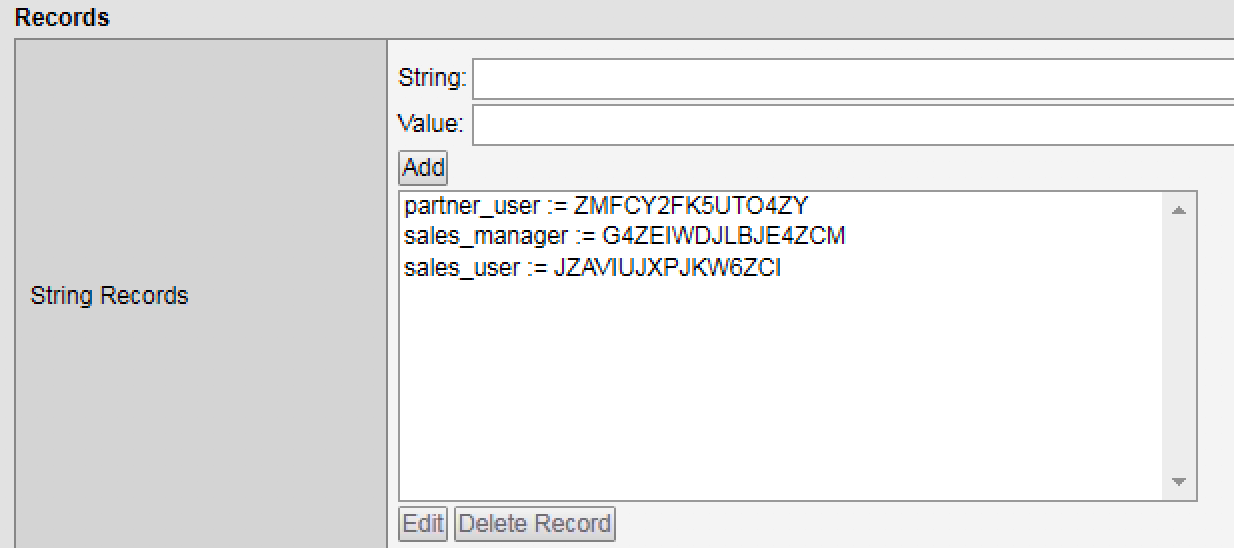
5. Create a new record, using the info saved in step 3. Click Add and then Update.
|
 |
|
 |
Task - Update the VS with the verification iRule
| 1. Go to Local Traffic -> Virtual Servers -> Virtual Server List, then find the Virtual Server webtop_demo_vs and click on it. | 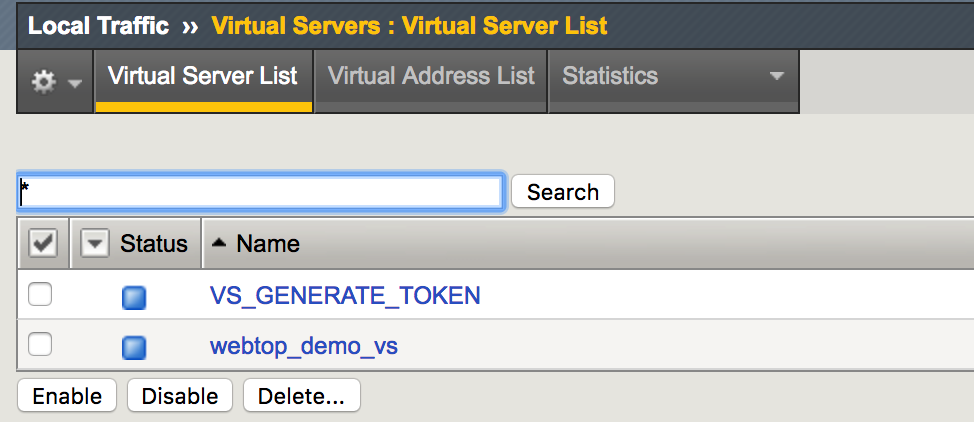 |
| 2. In the following page, choose Resources and click on manage in the iRules section |  |
| 3. Find the ga_code_verify irule in the right list and click on the arrows pointing left. The irule should now moved to the left side. Then Click finished. |  |
Task - Update the Access Policy
| 1. Go to Access -> Profiles/Policies -> Access Profiles. Find the webtop_demo policy and click on Edit. |  |
2. In the VPE (Visual Policy Editor), click the +
between AD Auth and AD Query. |
 |
|
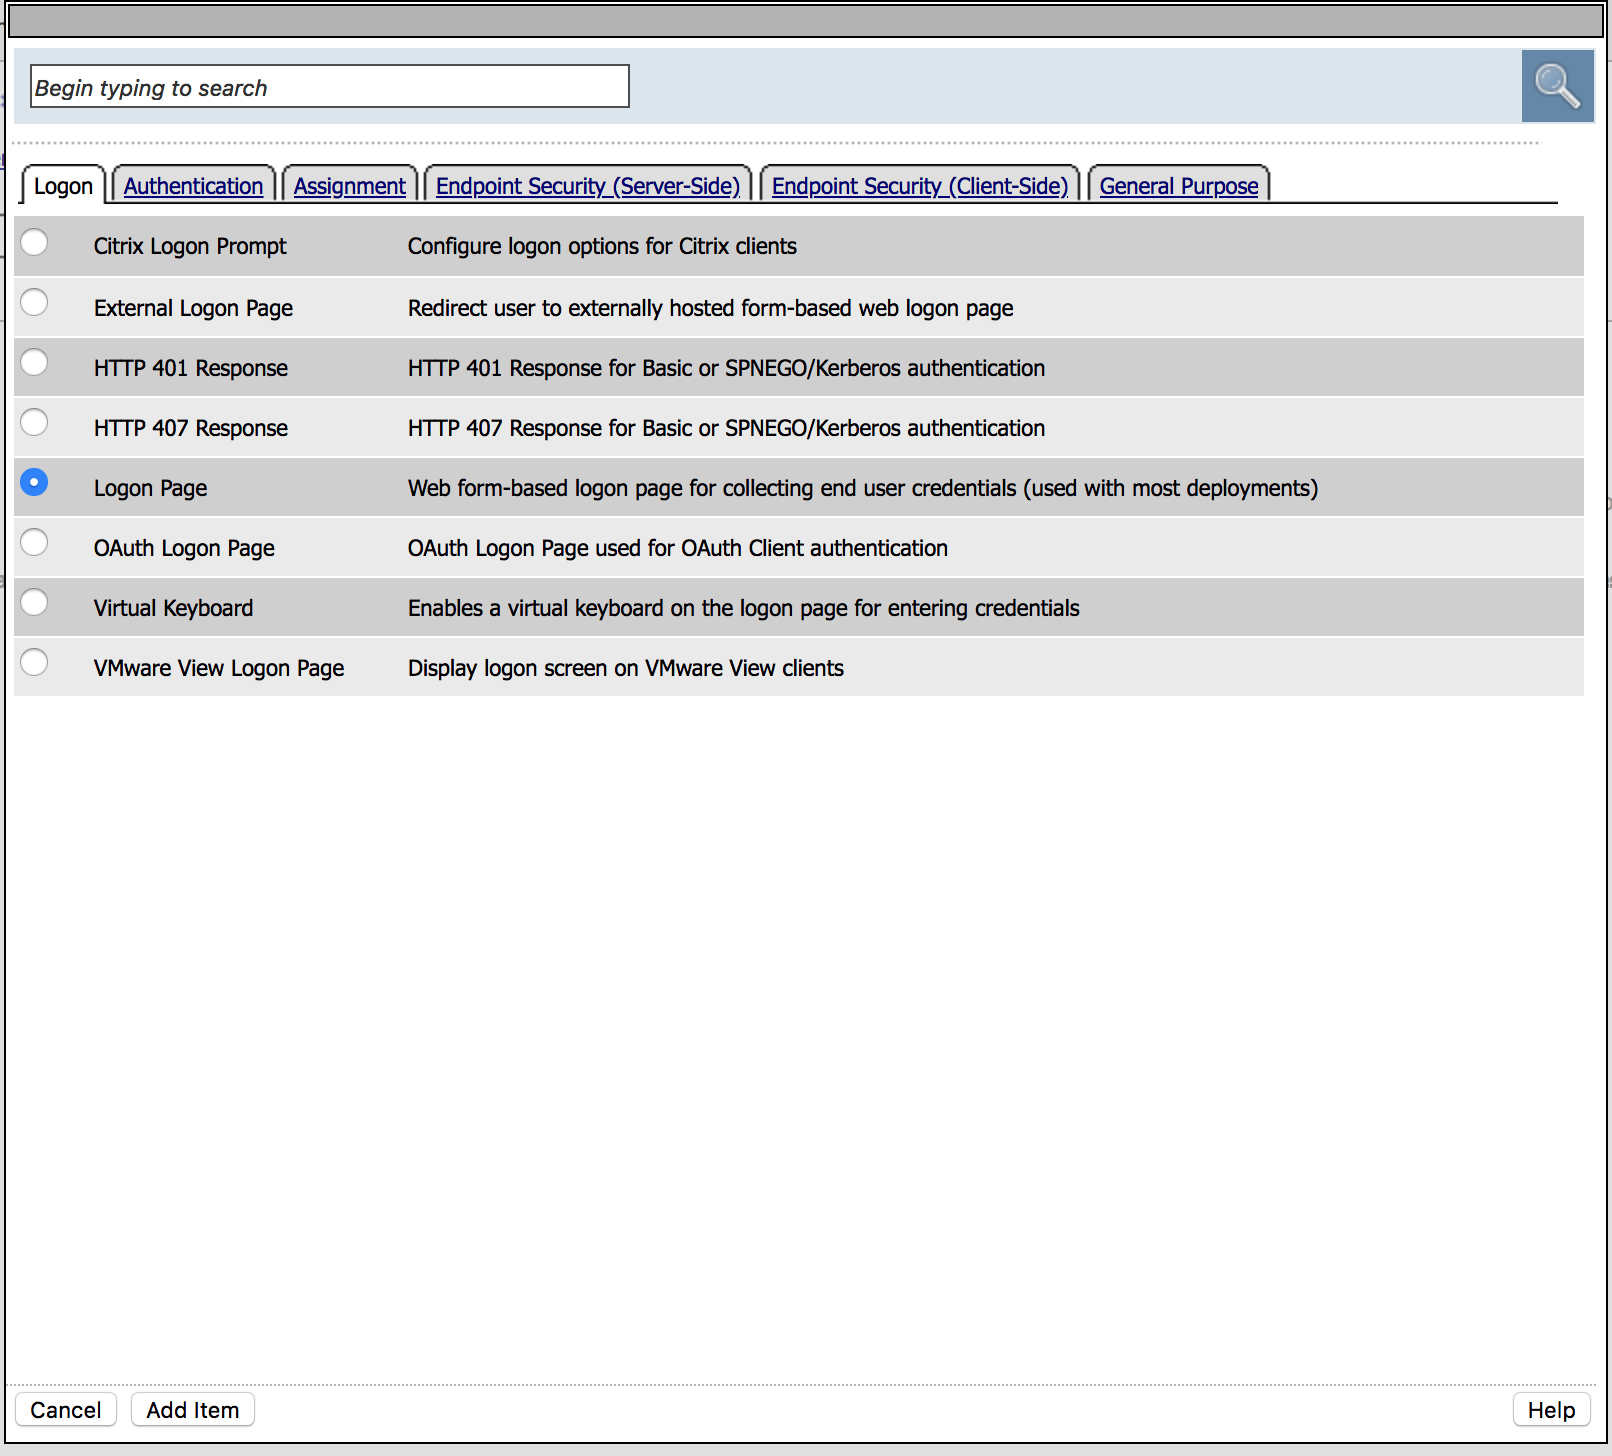 |
4. Modify the values according to the picture (leave others default) and then Save.
|
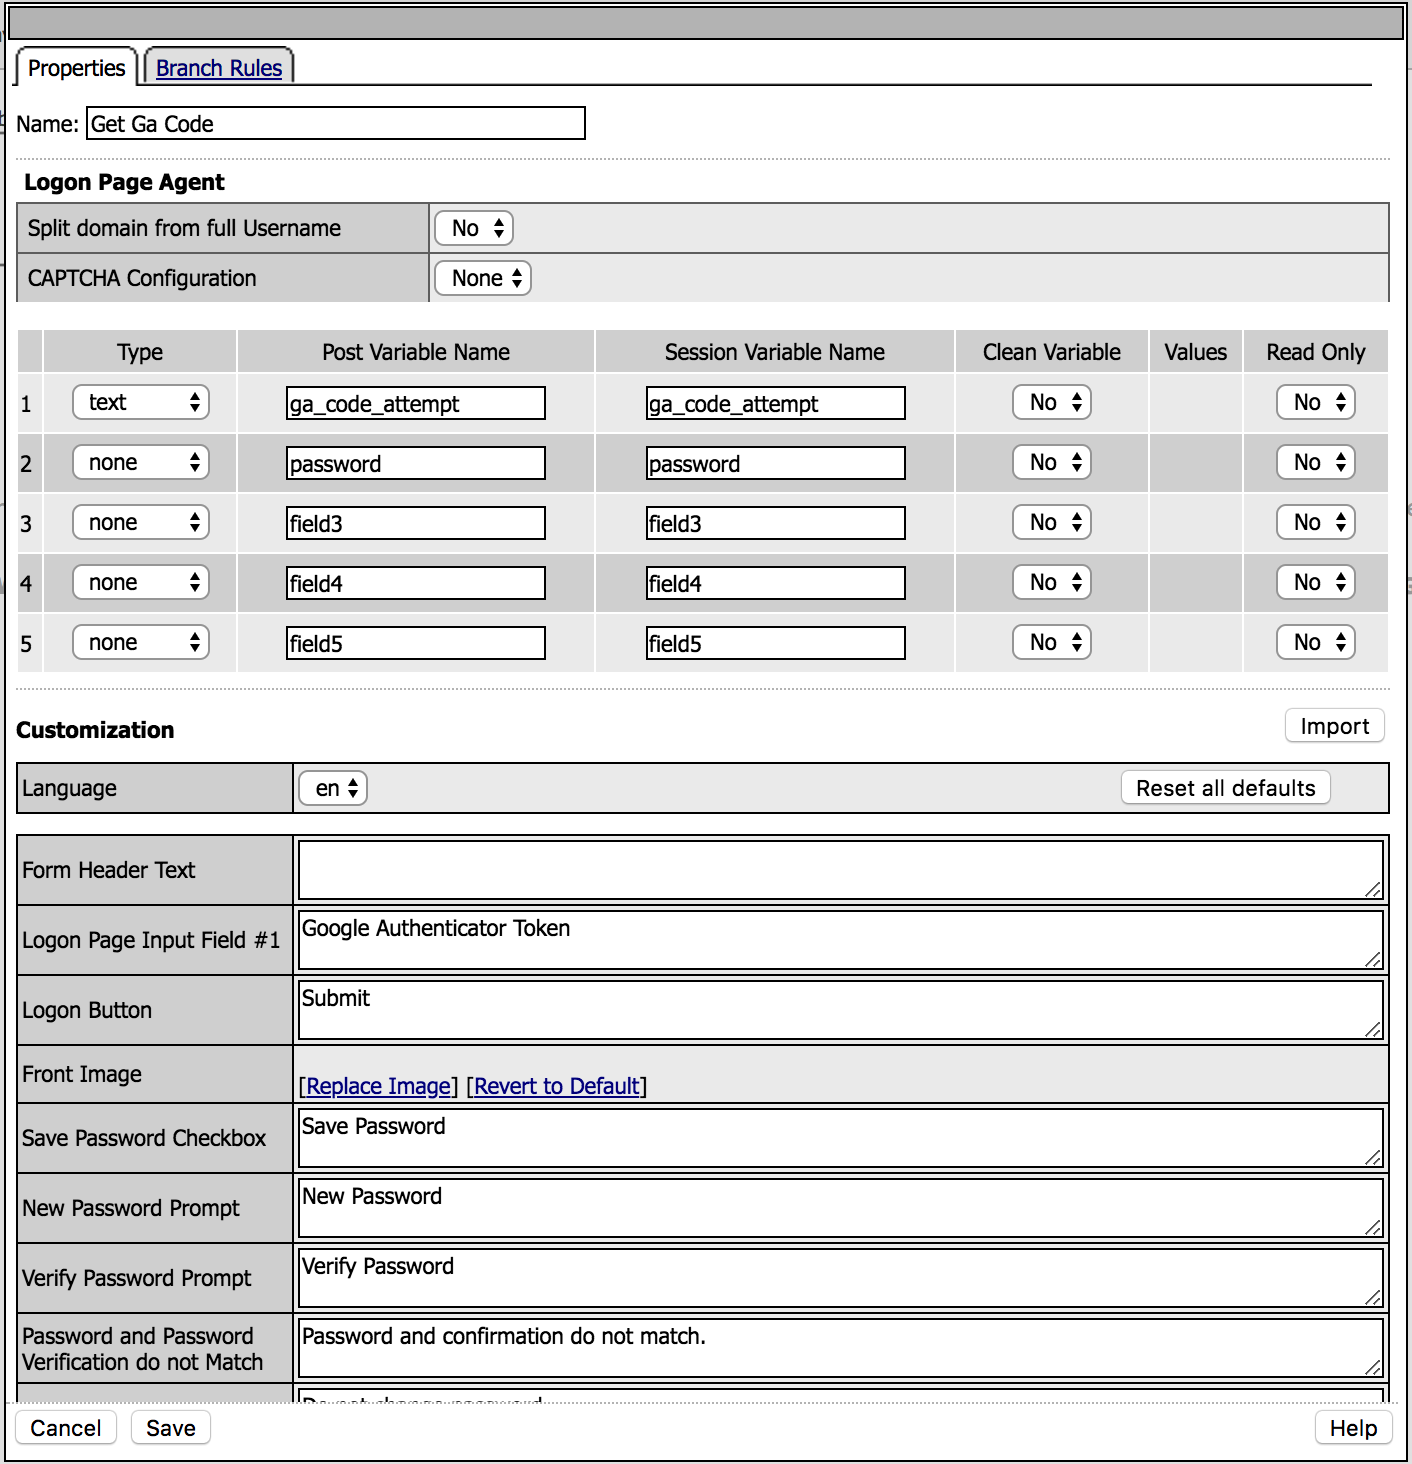 |
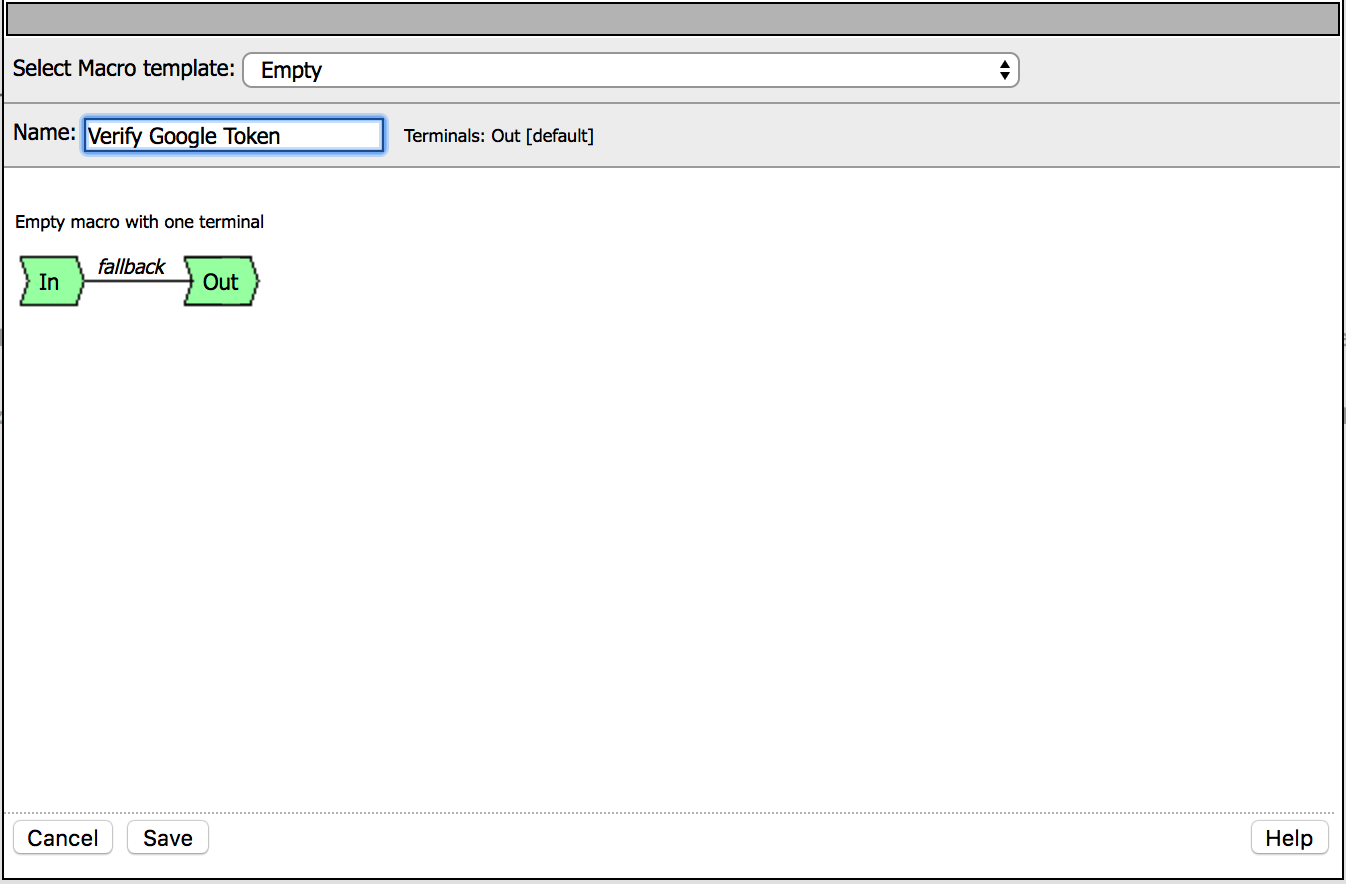
5. Click on Add New Macro, name it as
Verify Google Token and click Save |
|
|
|
|
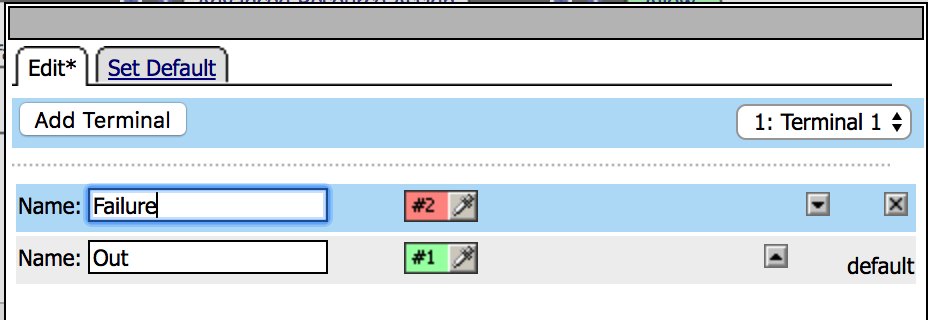 |
|
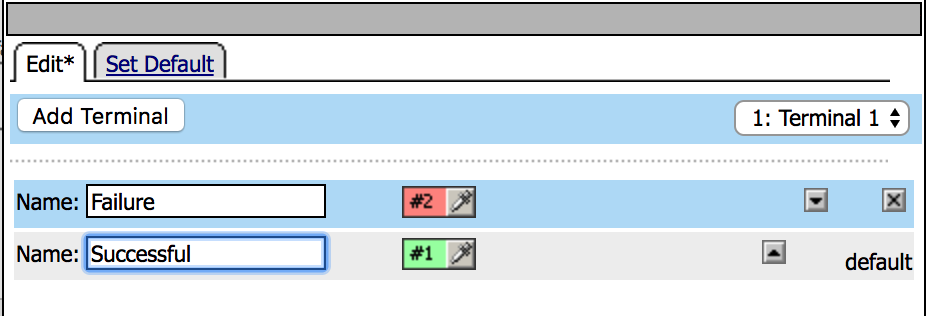 |
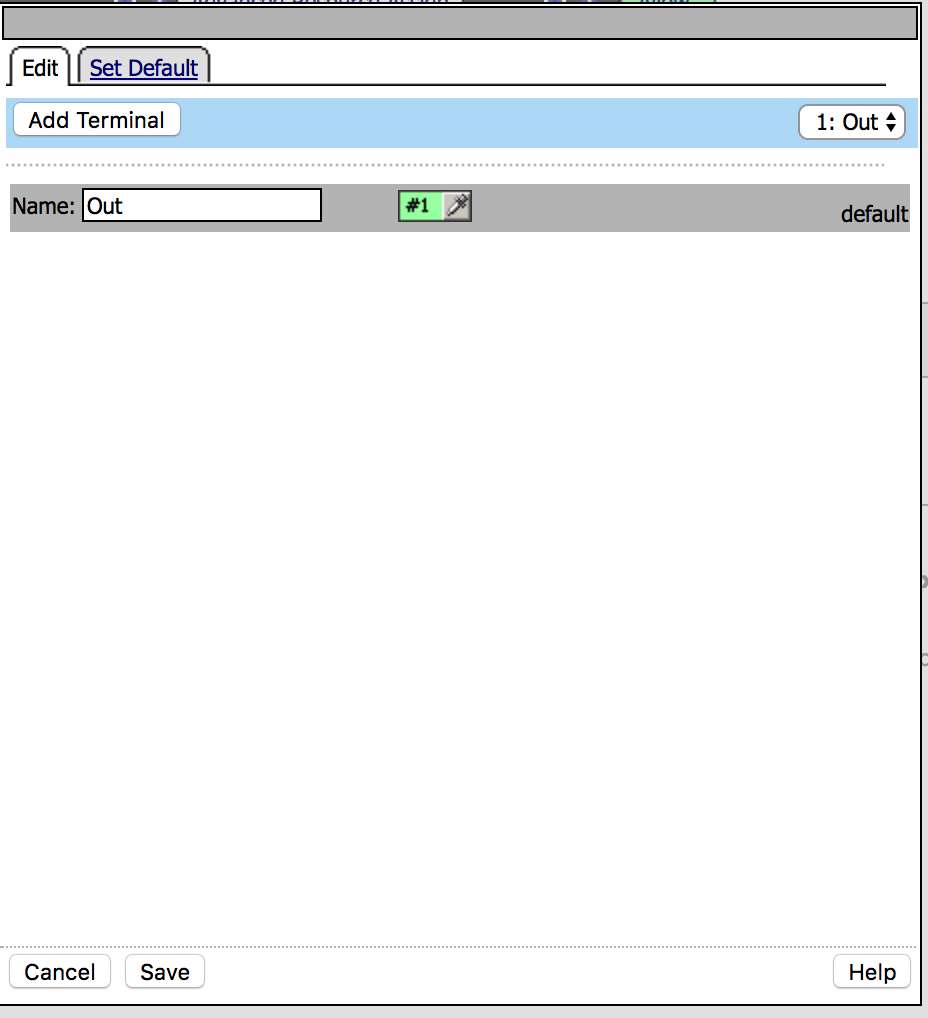
9. Click on the Set default tab and set the default to
Failure, then Save |
 |
| 10. Change the order in the terminals using the arrows, Successful should be the number one. |  |
11. Edit the new macro by clicking on the +
in the macro settings |
 |
| 12. Go to the General Purpose Tab, click on iRule Event and then Add Item | 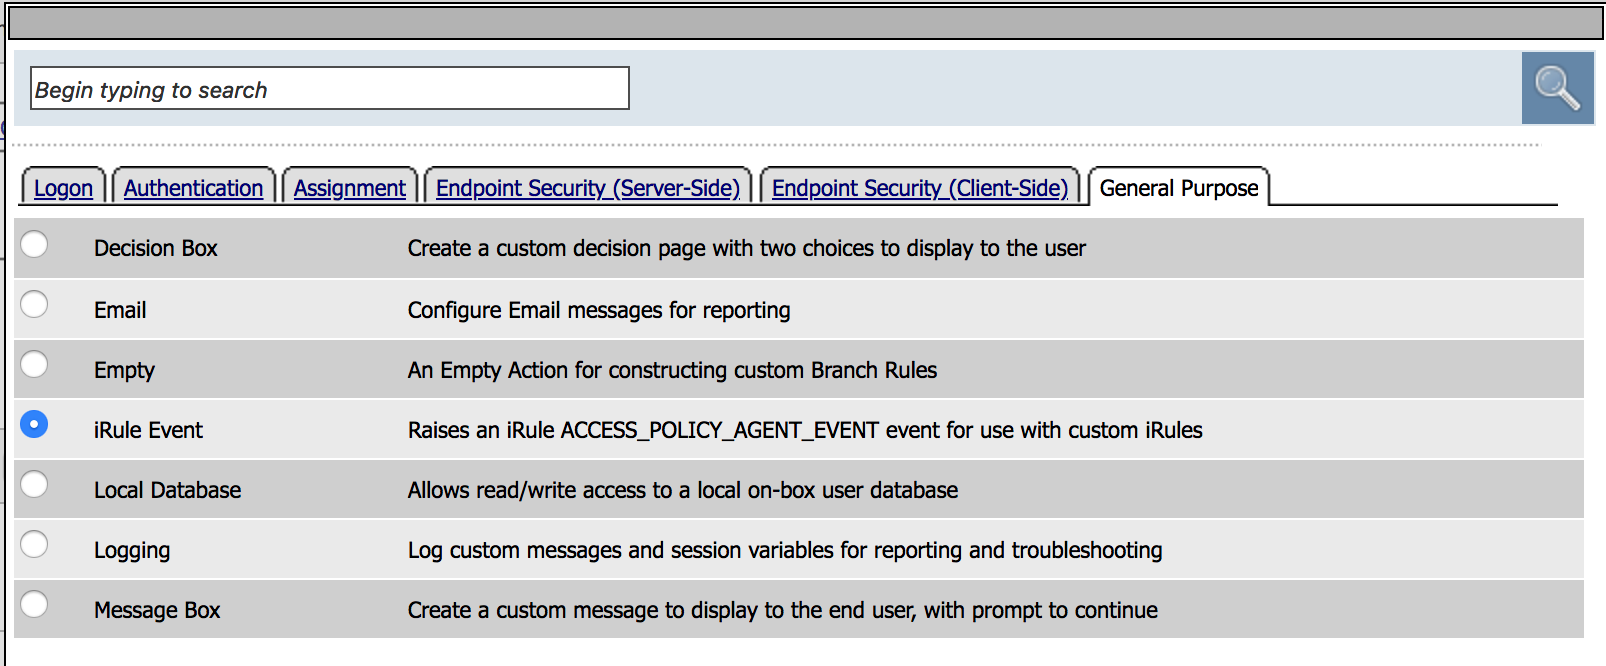 |
13. Name it Google Auth Verification and use the
ID ga_code_verify. |
 |
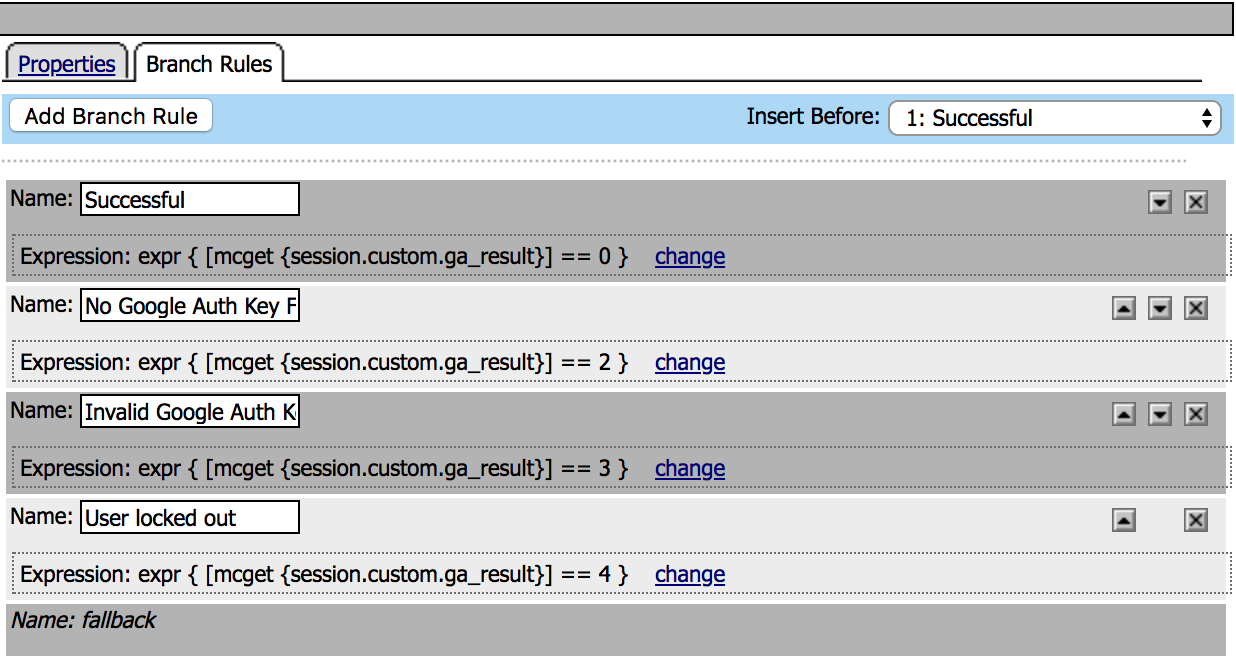
14. Then click on Branch Rules, Add Branch Rule. Name and change the expression (advanced tab) according to the image. Then Save Name: Expression: Name: Expression: Name: Expression: Name: Expression: Note: |
 |
| 15. Click on the terminals and set Successful to Successful and the rest to Failure | 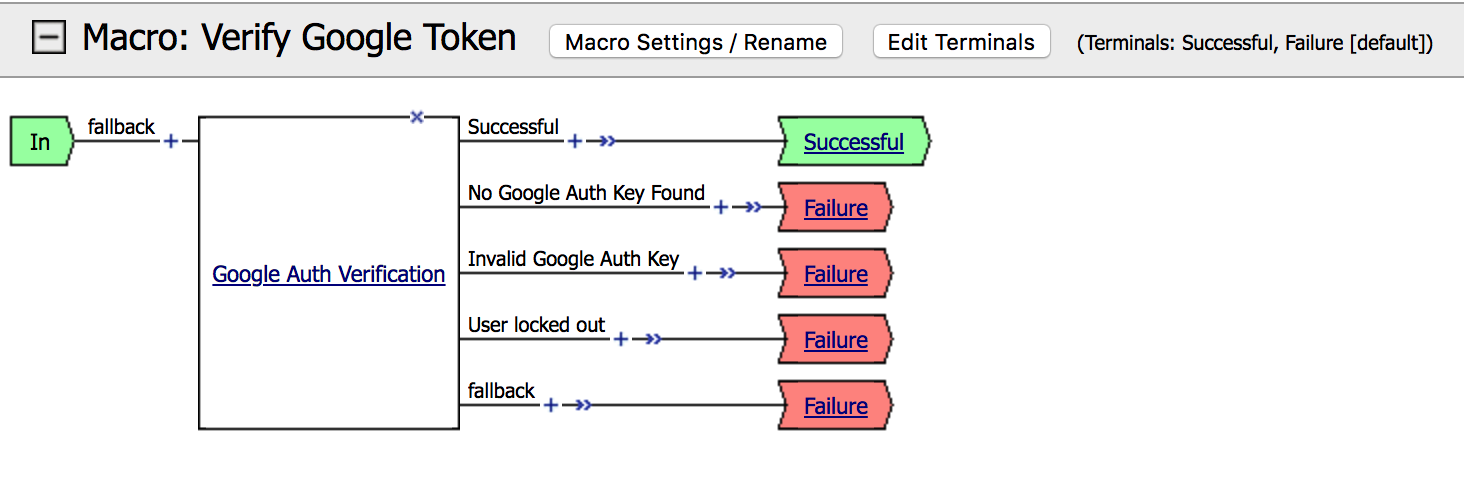 |
16. Now, we’re going to insert the Macro in the main policy.
Click on the + between Get Ga Code and AD Query. |
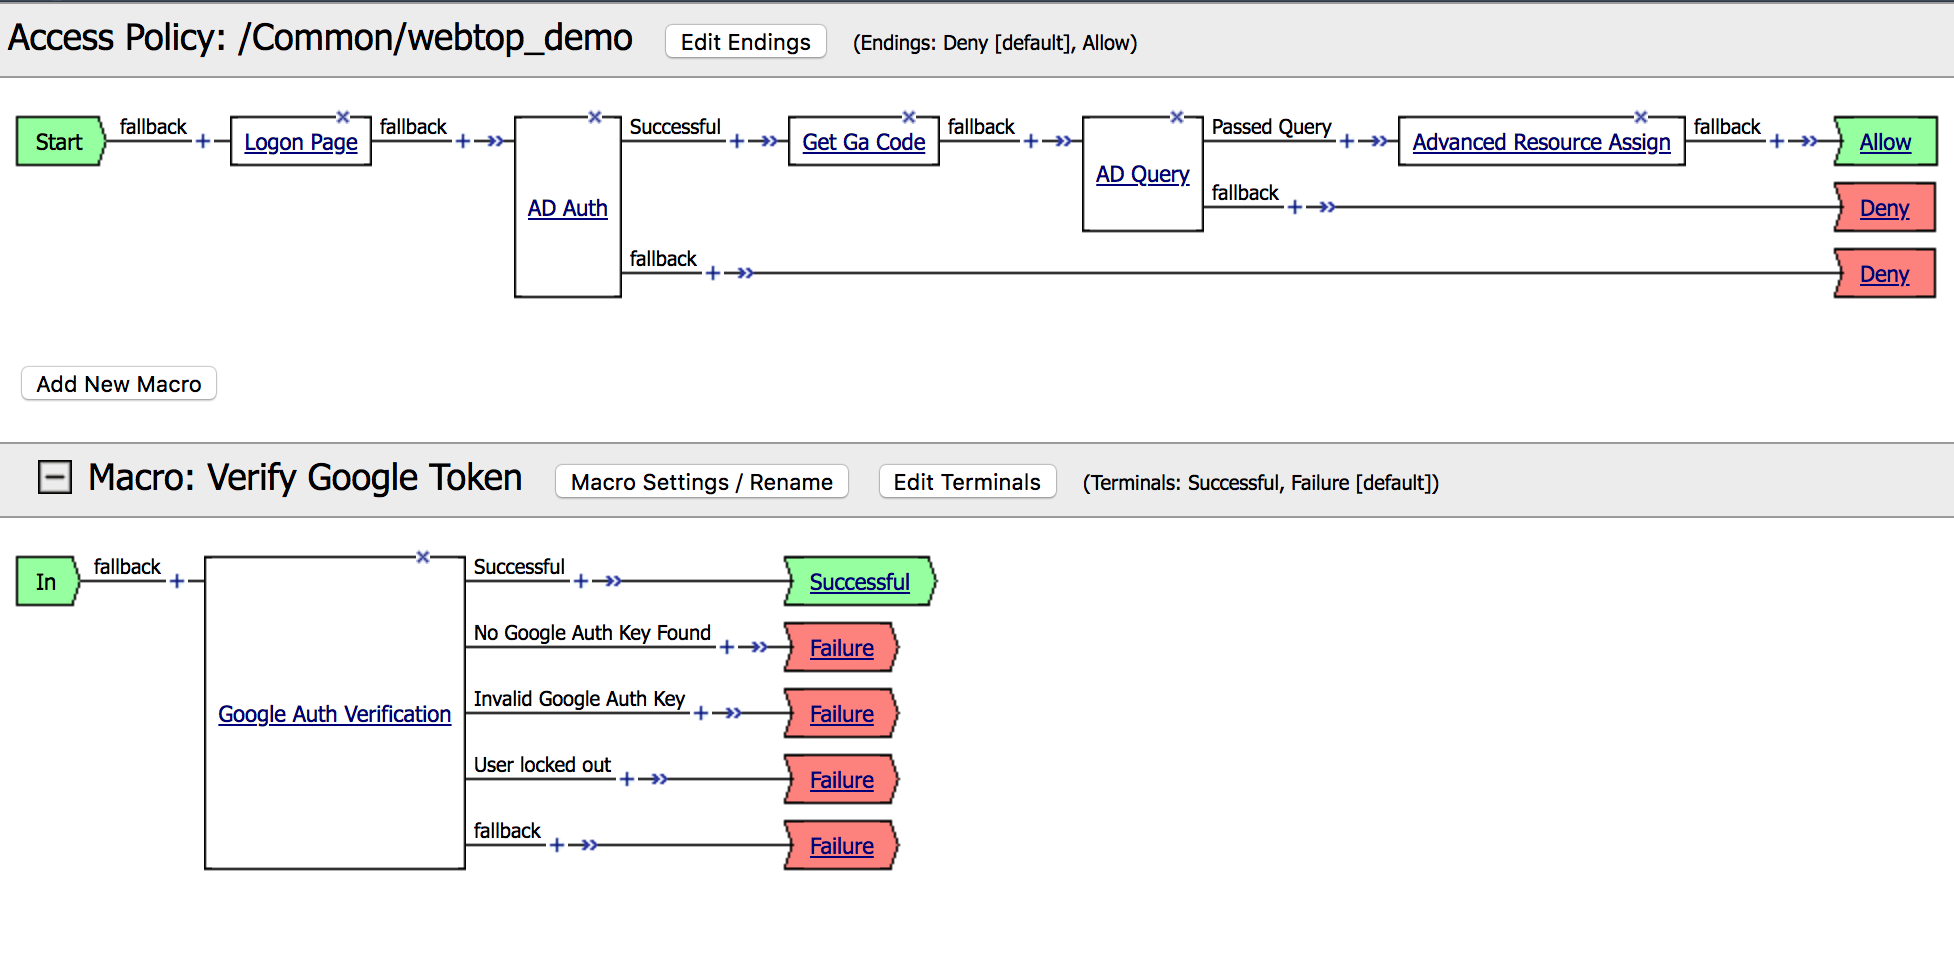 |
| 17. Click on the Macros Tab and select your Verify Google Token macro, then click Add Item. Click on Apply Policy |  |
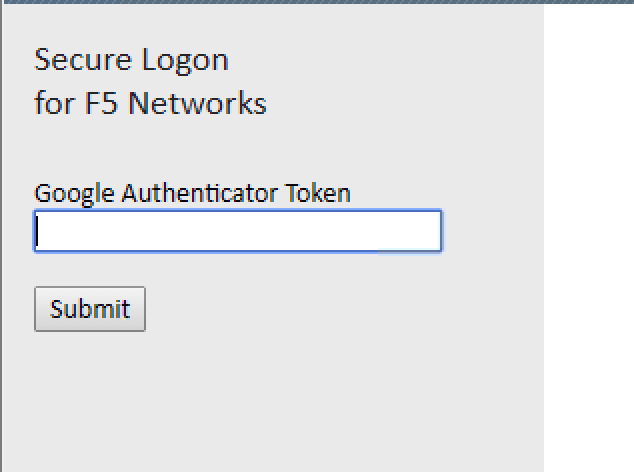
You should see the |
 |
