F5 Identity and Access Management Solutions > 100 Series: Zero Trust Application Access (ZTAA) Source | Edit on
Lab 1: Azure AD Easy Button integration
Warning
If you have any feedback on this guide, please raise an issue at https://github.com/f5devcentral/f5-agility-labs-iam/issues .
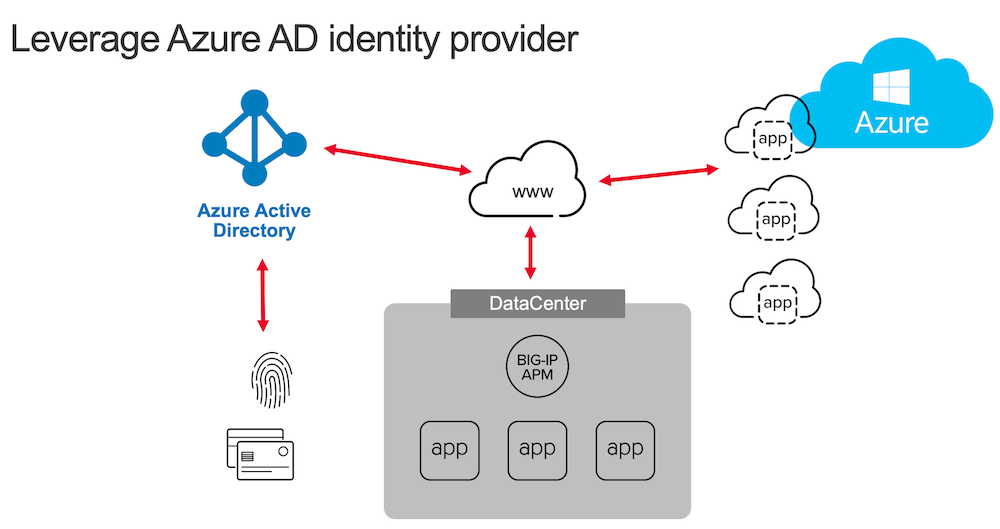
In this lab, students will learn how to leverage Azure AD as an IDaaS provider while using APM as a SAML SP. Since v15.1, F5 has offered a “Guided Configuration” template to make this integration easier for administrators. This lab guide will also be accessible via a bookmark on the Win10 Edge and Chrome browsers.
This template:
- Publishes on-prem apps
- Enables Single Sign-on
- Interconnects (SAML binding) APM with an Azure AD tenant
Note
You will notice we never connect directly to the Azure AD interface. APM will use Microsoft’s Graph API to configure the AAD tenant accordingly.
The video below illustrates the APM & Azure AD integration. This is not the lab video. It’s simply a demo of the use-case.
Section 1.1 - Check the Lab Architecture
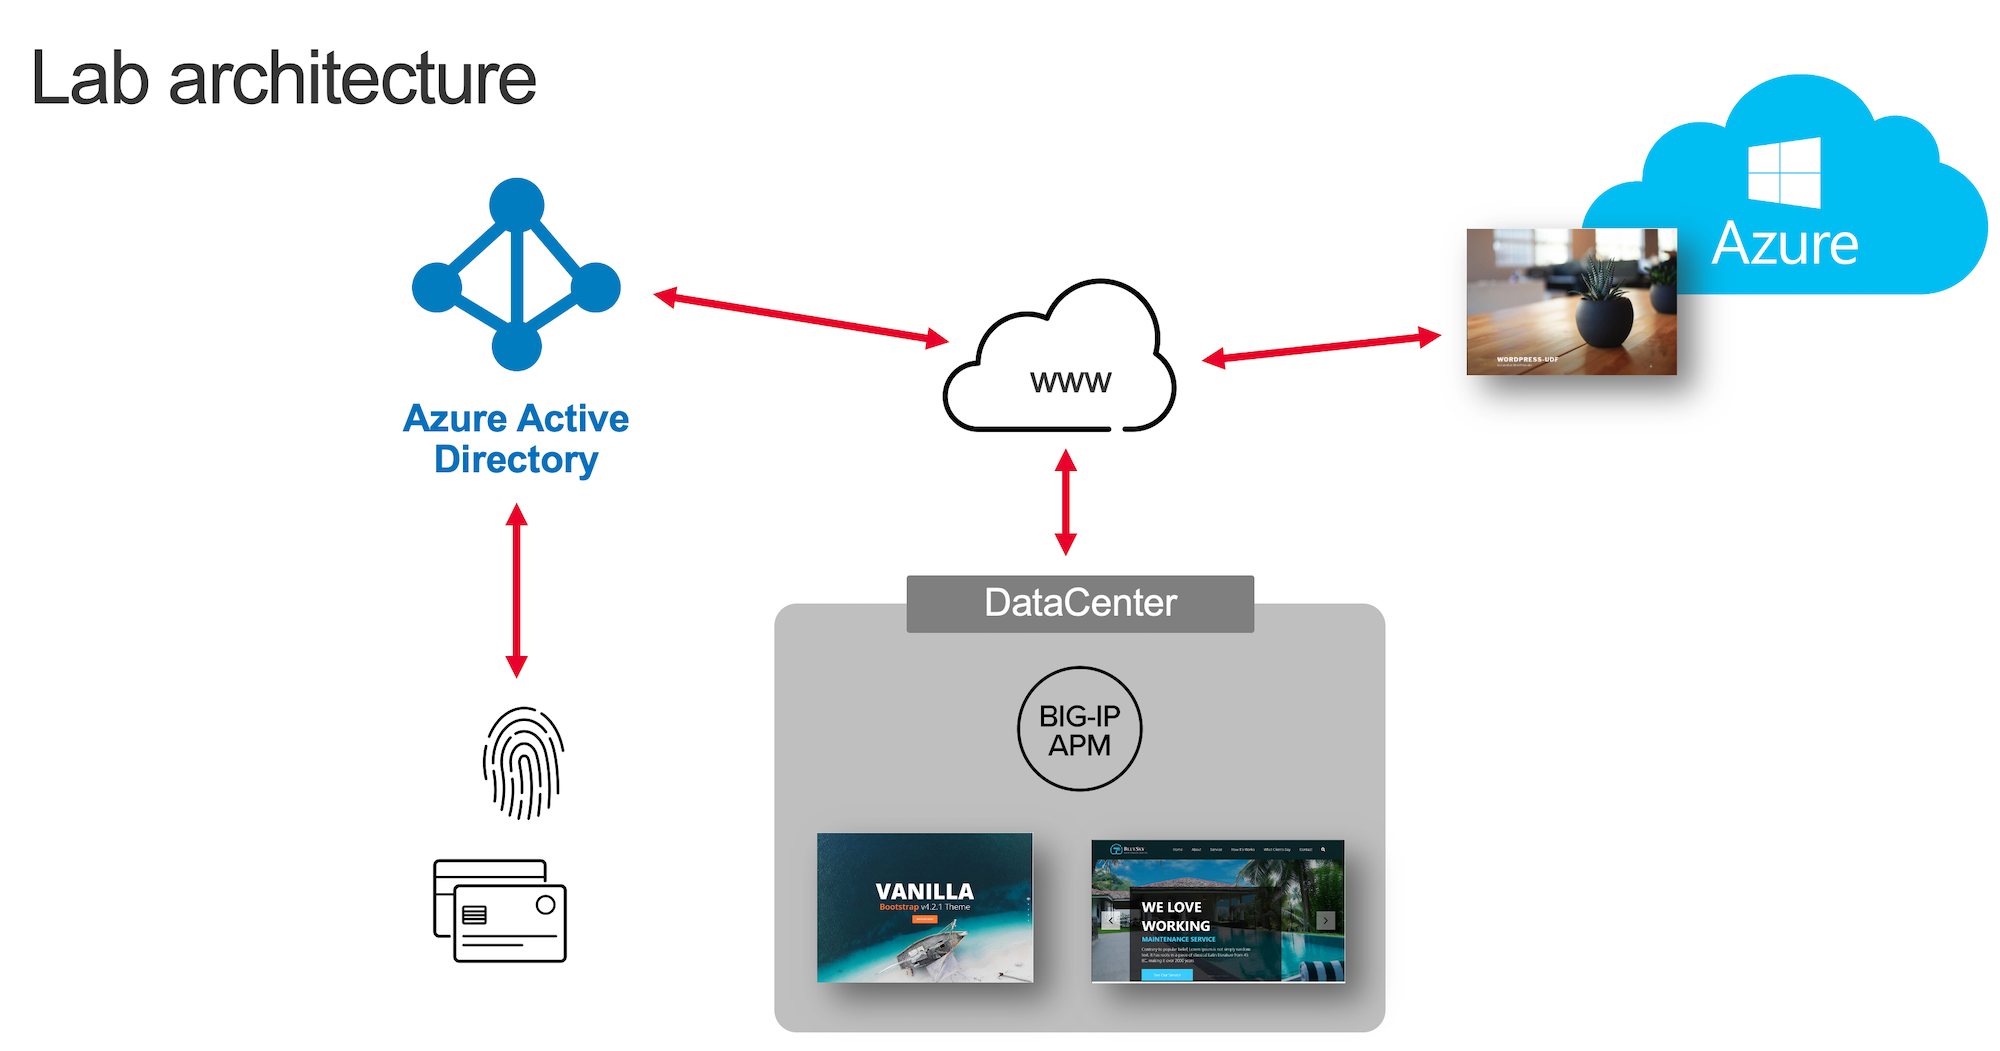
In this lab, we will protect 3 apps:
2 internal apps
VanillaApplication hosted in IISSkyblueApplication hosted in IIS
1 cloud app hosted in Azure cloud
Wordpress-UDFhosted in Azure cloud
Architecture of Internal Apps
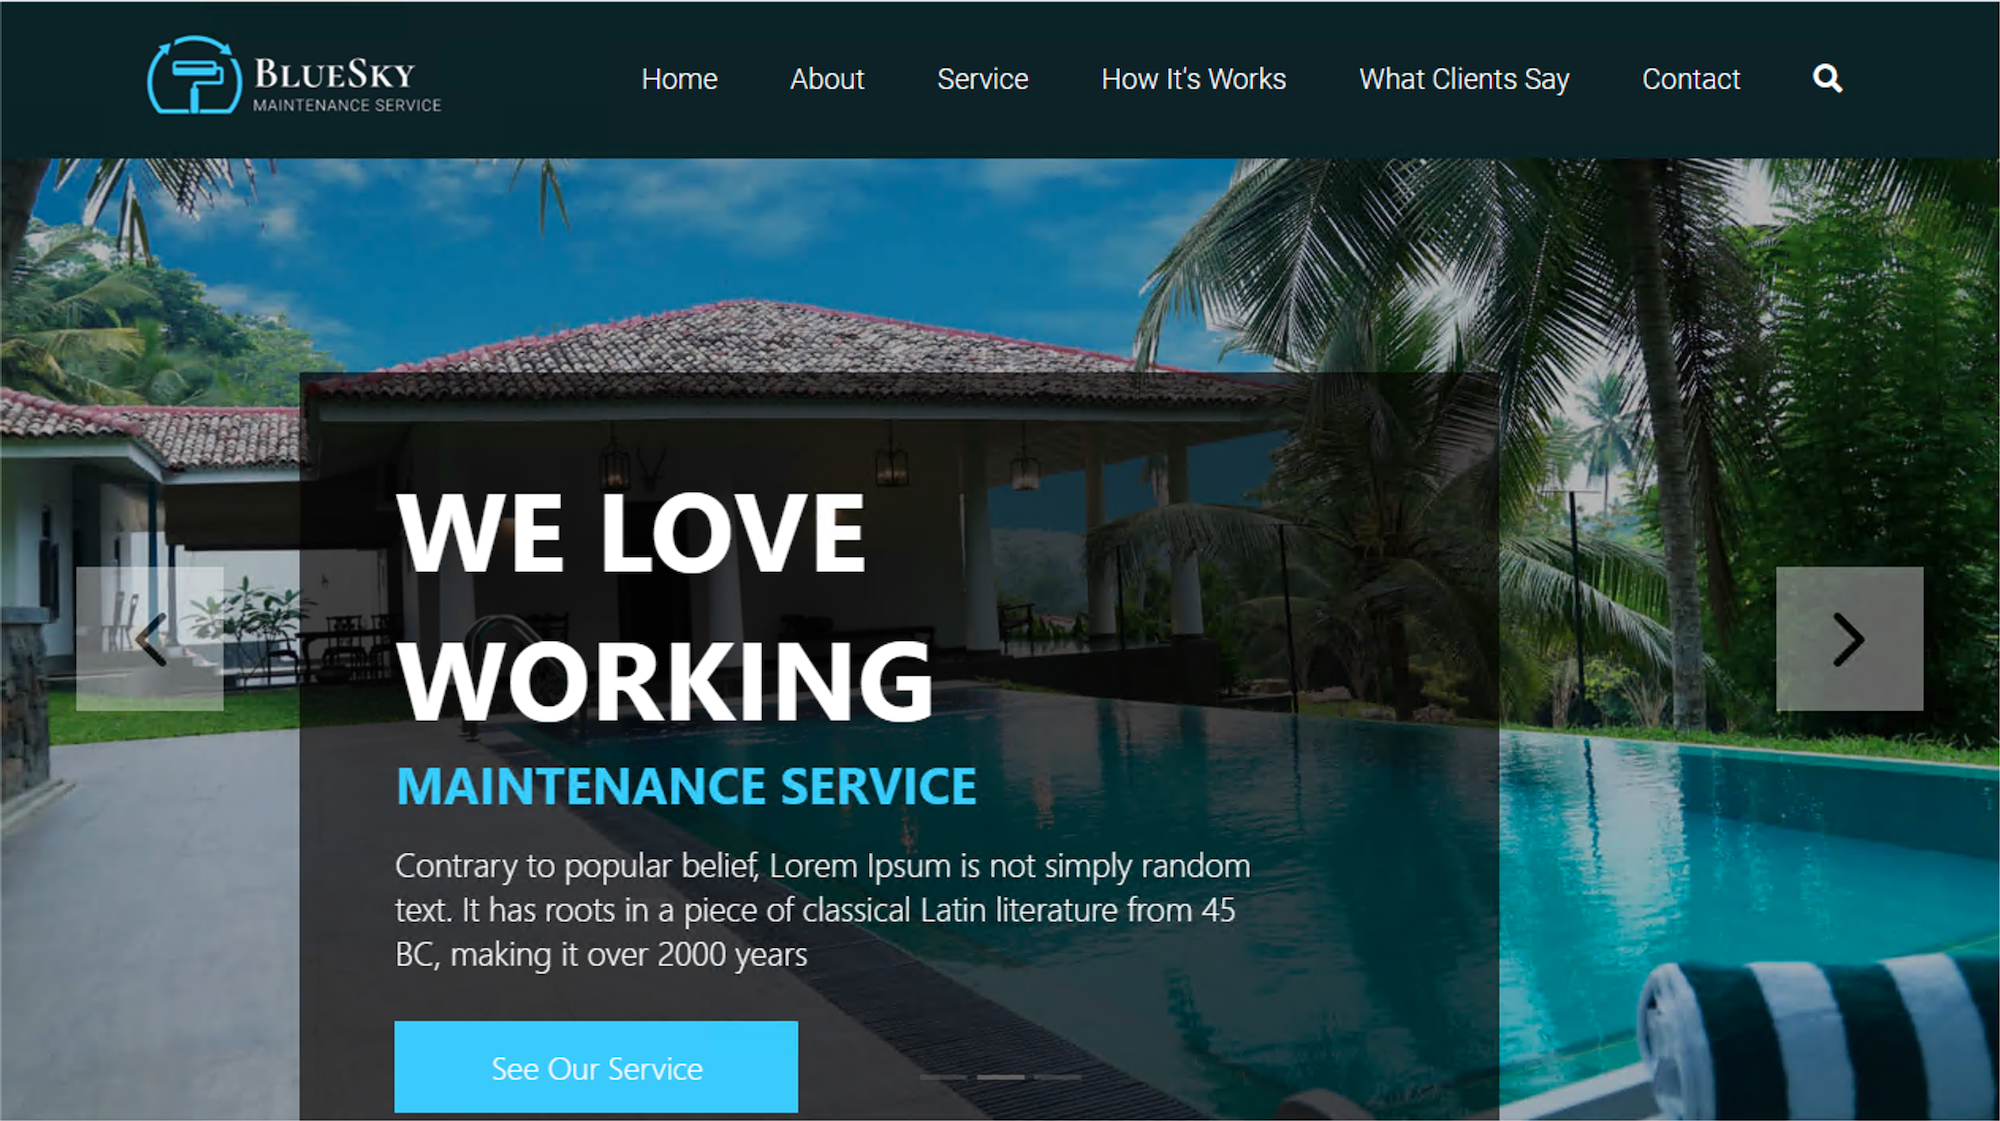
Bluesky application
This application resides on-prem in IIS. Its FQDN is https://bluesky.f5access.onmicrosoft.com
This application is not authenticated, meaning there is no Single Sign-On required in front of this app.
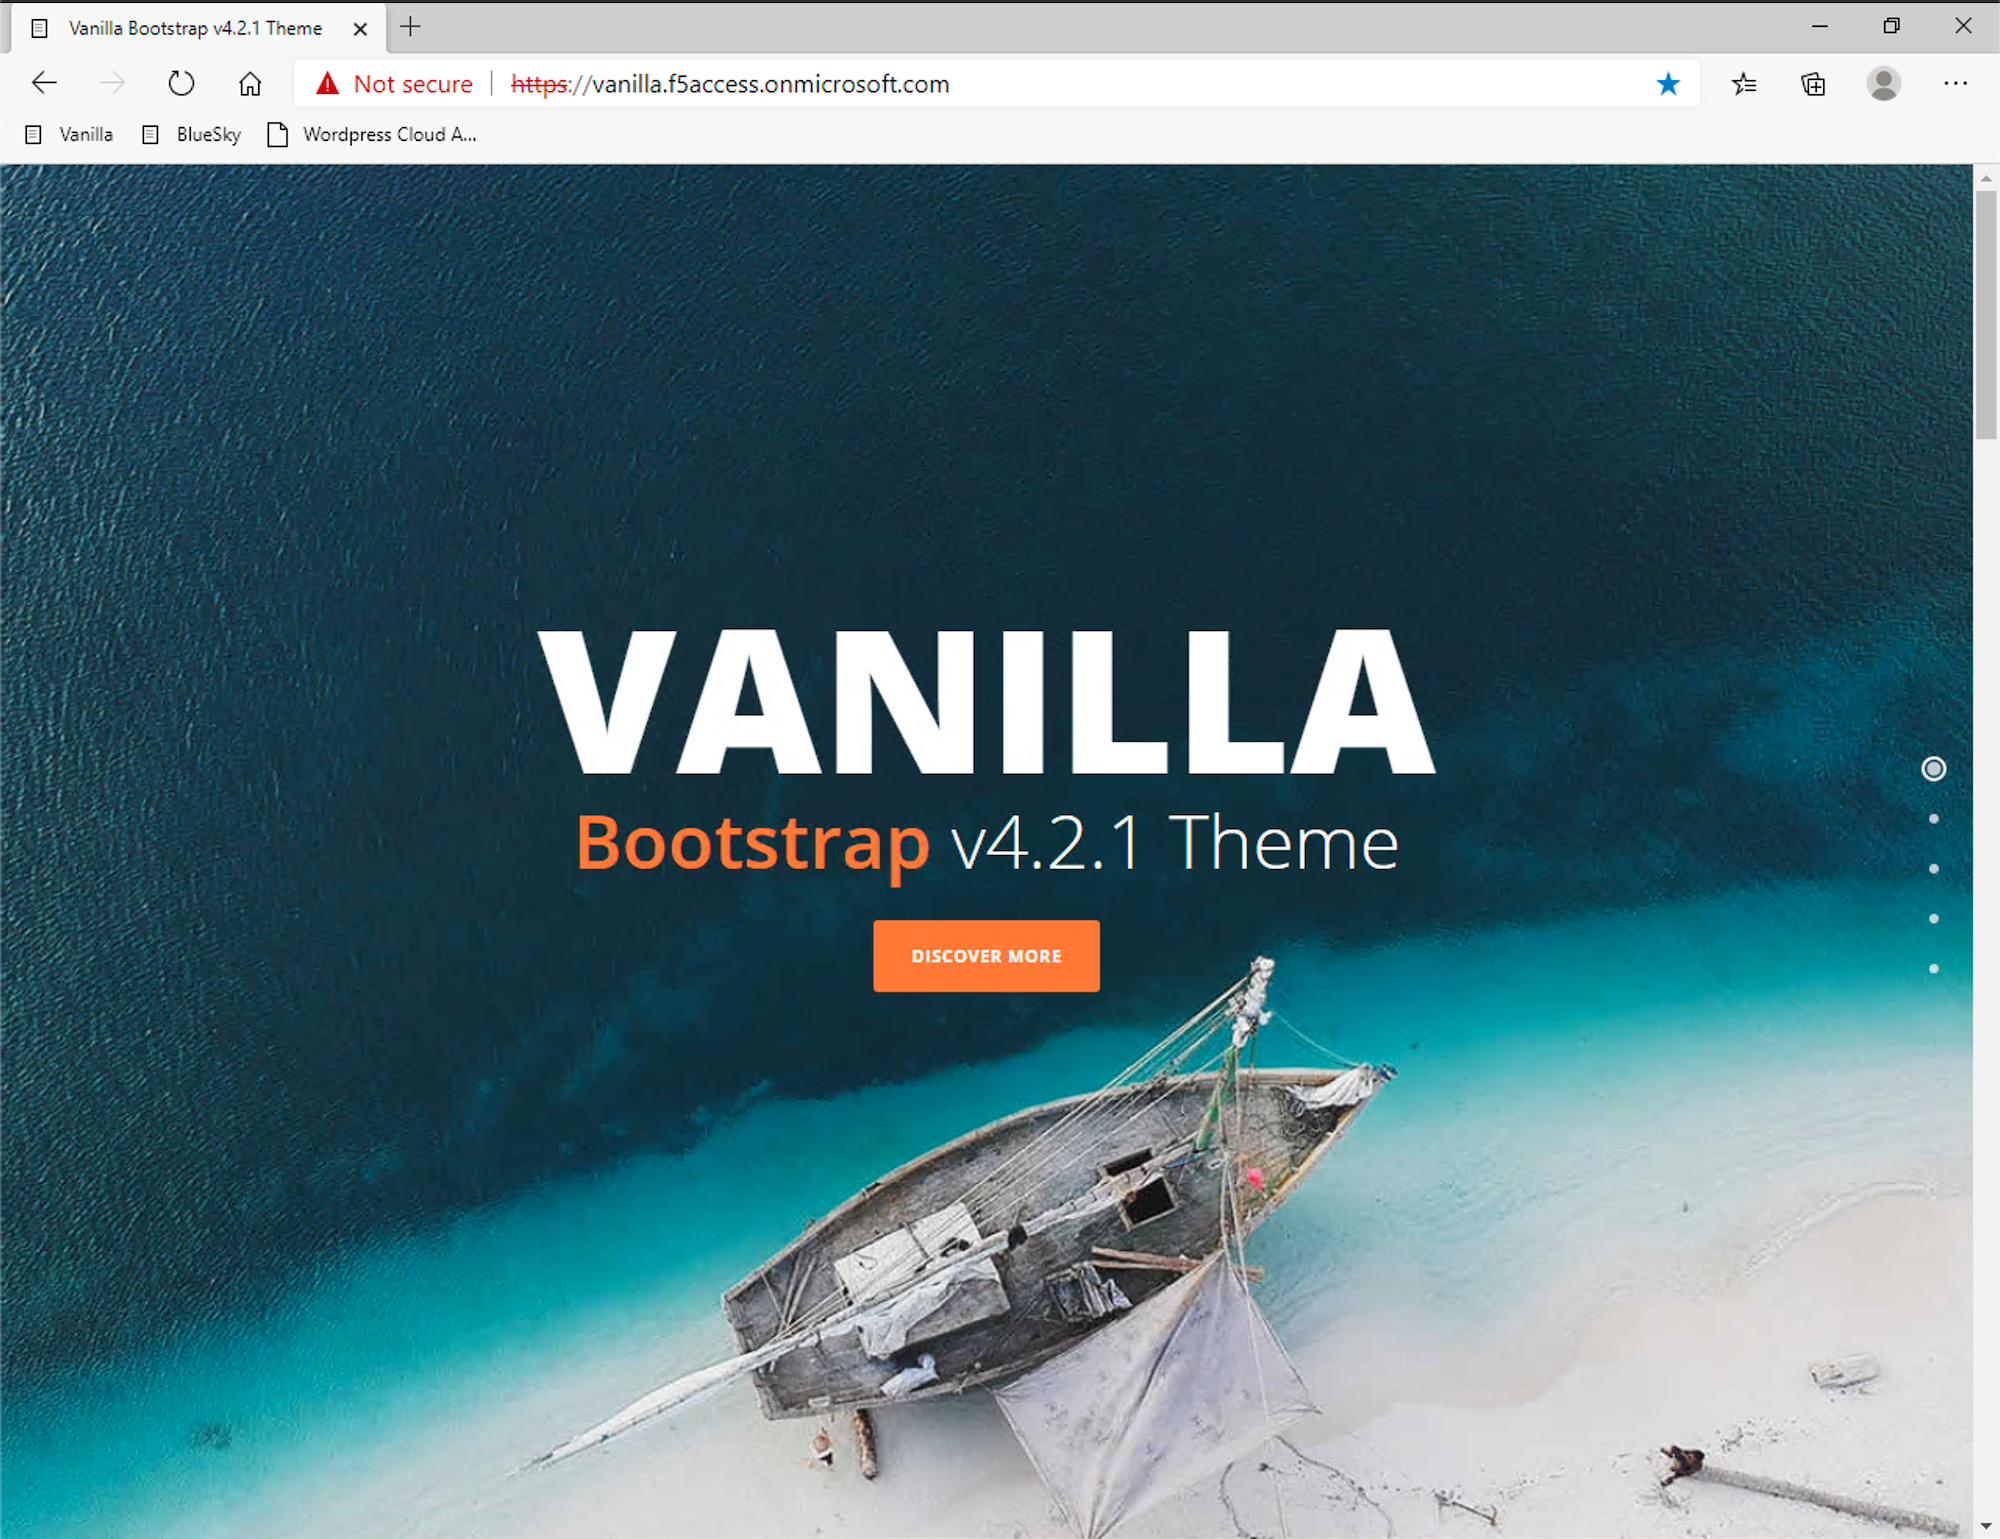
Vanilla application
This application also resides on-prem in IIS. Its FQDN is https://vanilla.f5access.onmicrosoft.com
This application is authenticated by Kerberos so a Single Sign-On will be required to connect to this app.
Task 1 - Check IIS configuration (Optional)
RDP to IIS with
f5access\user1as user, anduser1as passwordClick
IIS managericon in the taskbar
In the Connections tree, expand
IIS,Sites, clickvanilla, and finally, double-clickAuthentication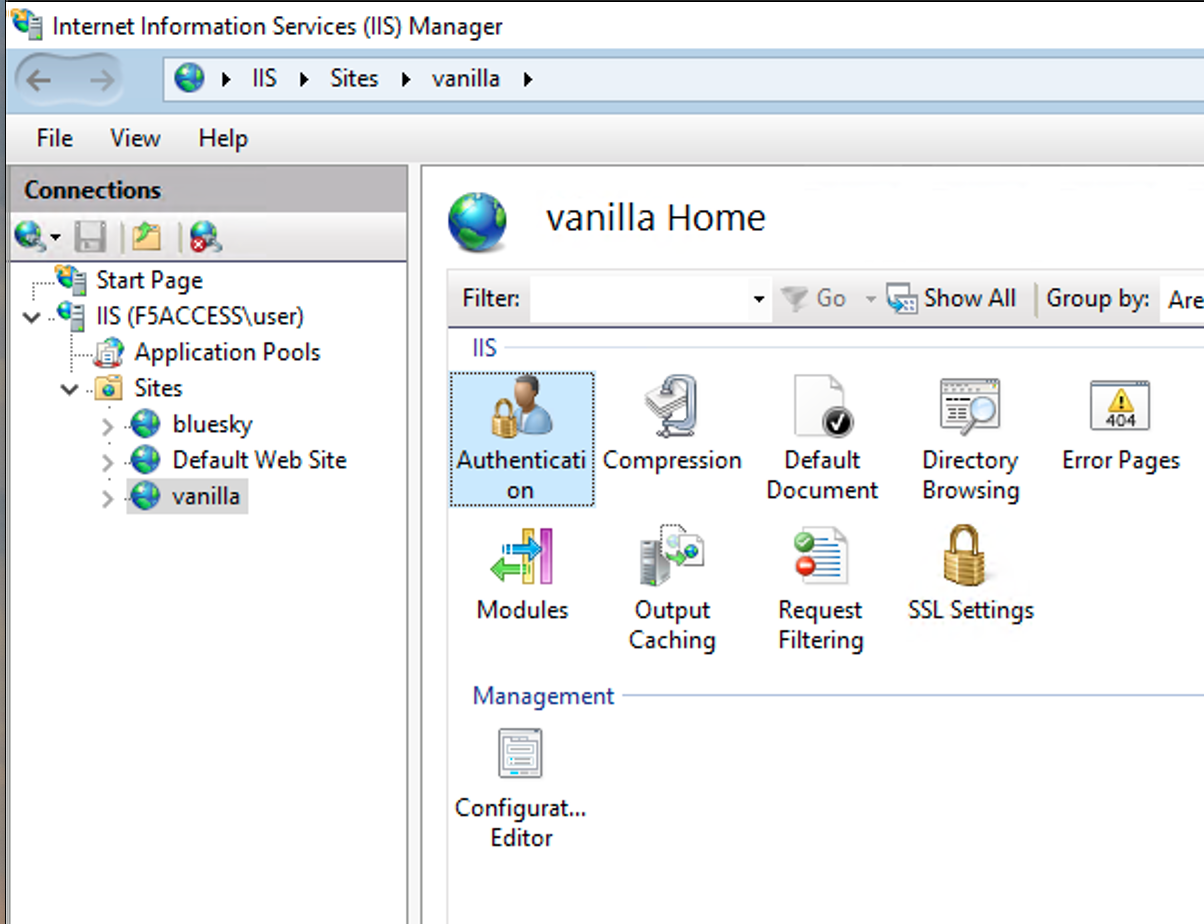
You’ll notice
Anonymous Authis Disabled andWindows Authenticationis Enabled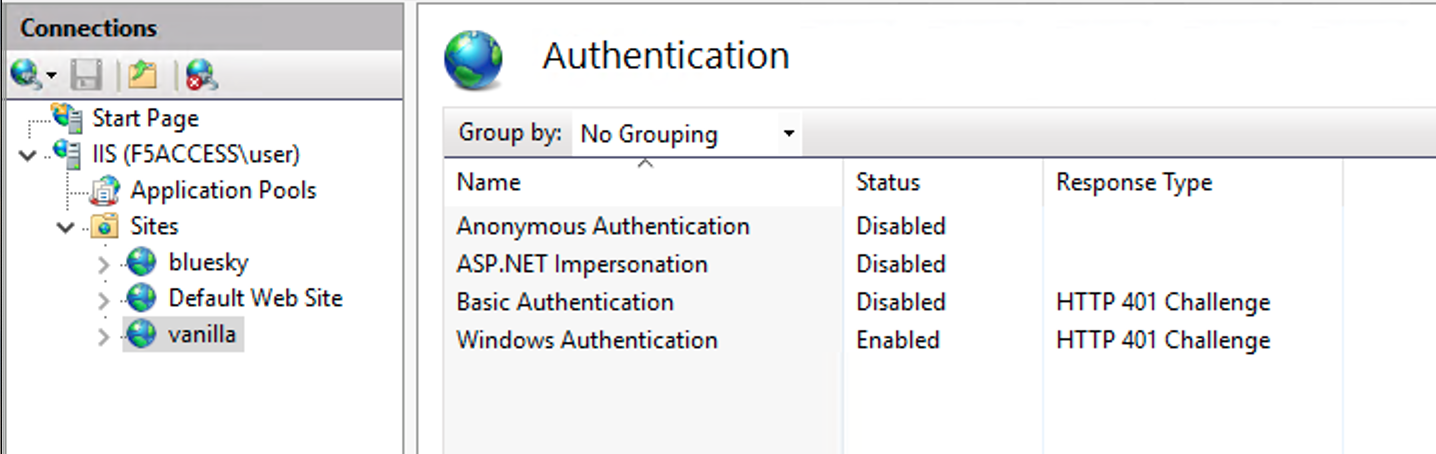
Note
In the next class we will configure APM to publish, protect and SSO to internal apps. Feel free to close your RDP session to the IIS Server.
Architecture of Cloud App
Note
Since customers often have a mixture of authenticated and non-authenticated apps running on-prem and in the public cloud, this lab utilizes an Application hosted in Azure that doesn’t leverage APM for authentication. This application does leverage Azure AD and is meant simply to illustrate the user-experience with such a mixture of application types. This wordpress application is already up and running in Azure Cloud at this address https://wordpress-apm-aad.azurewebsites.net/
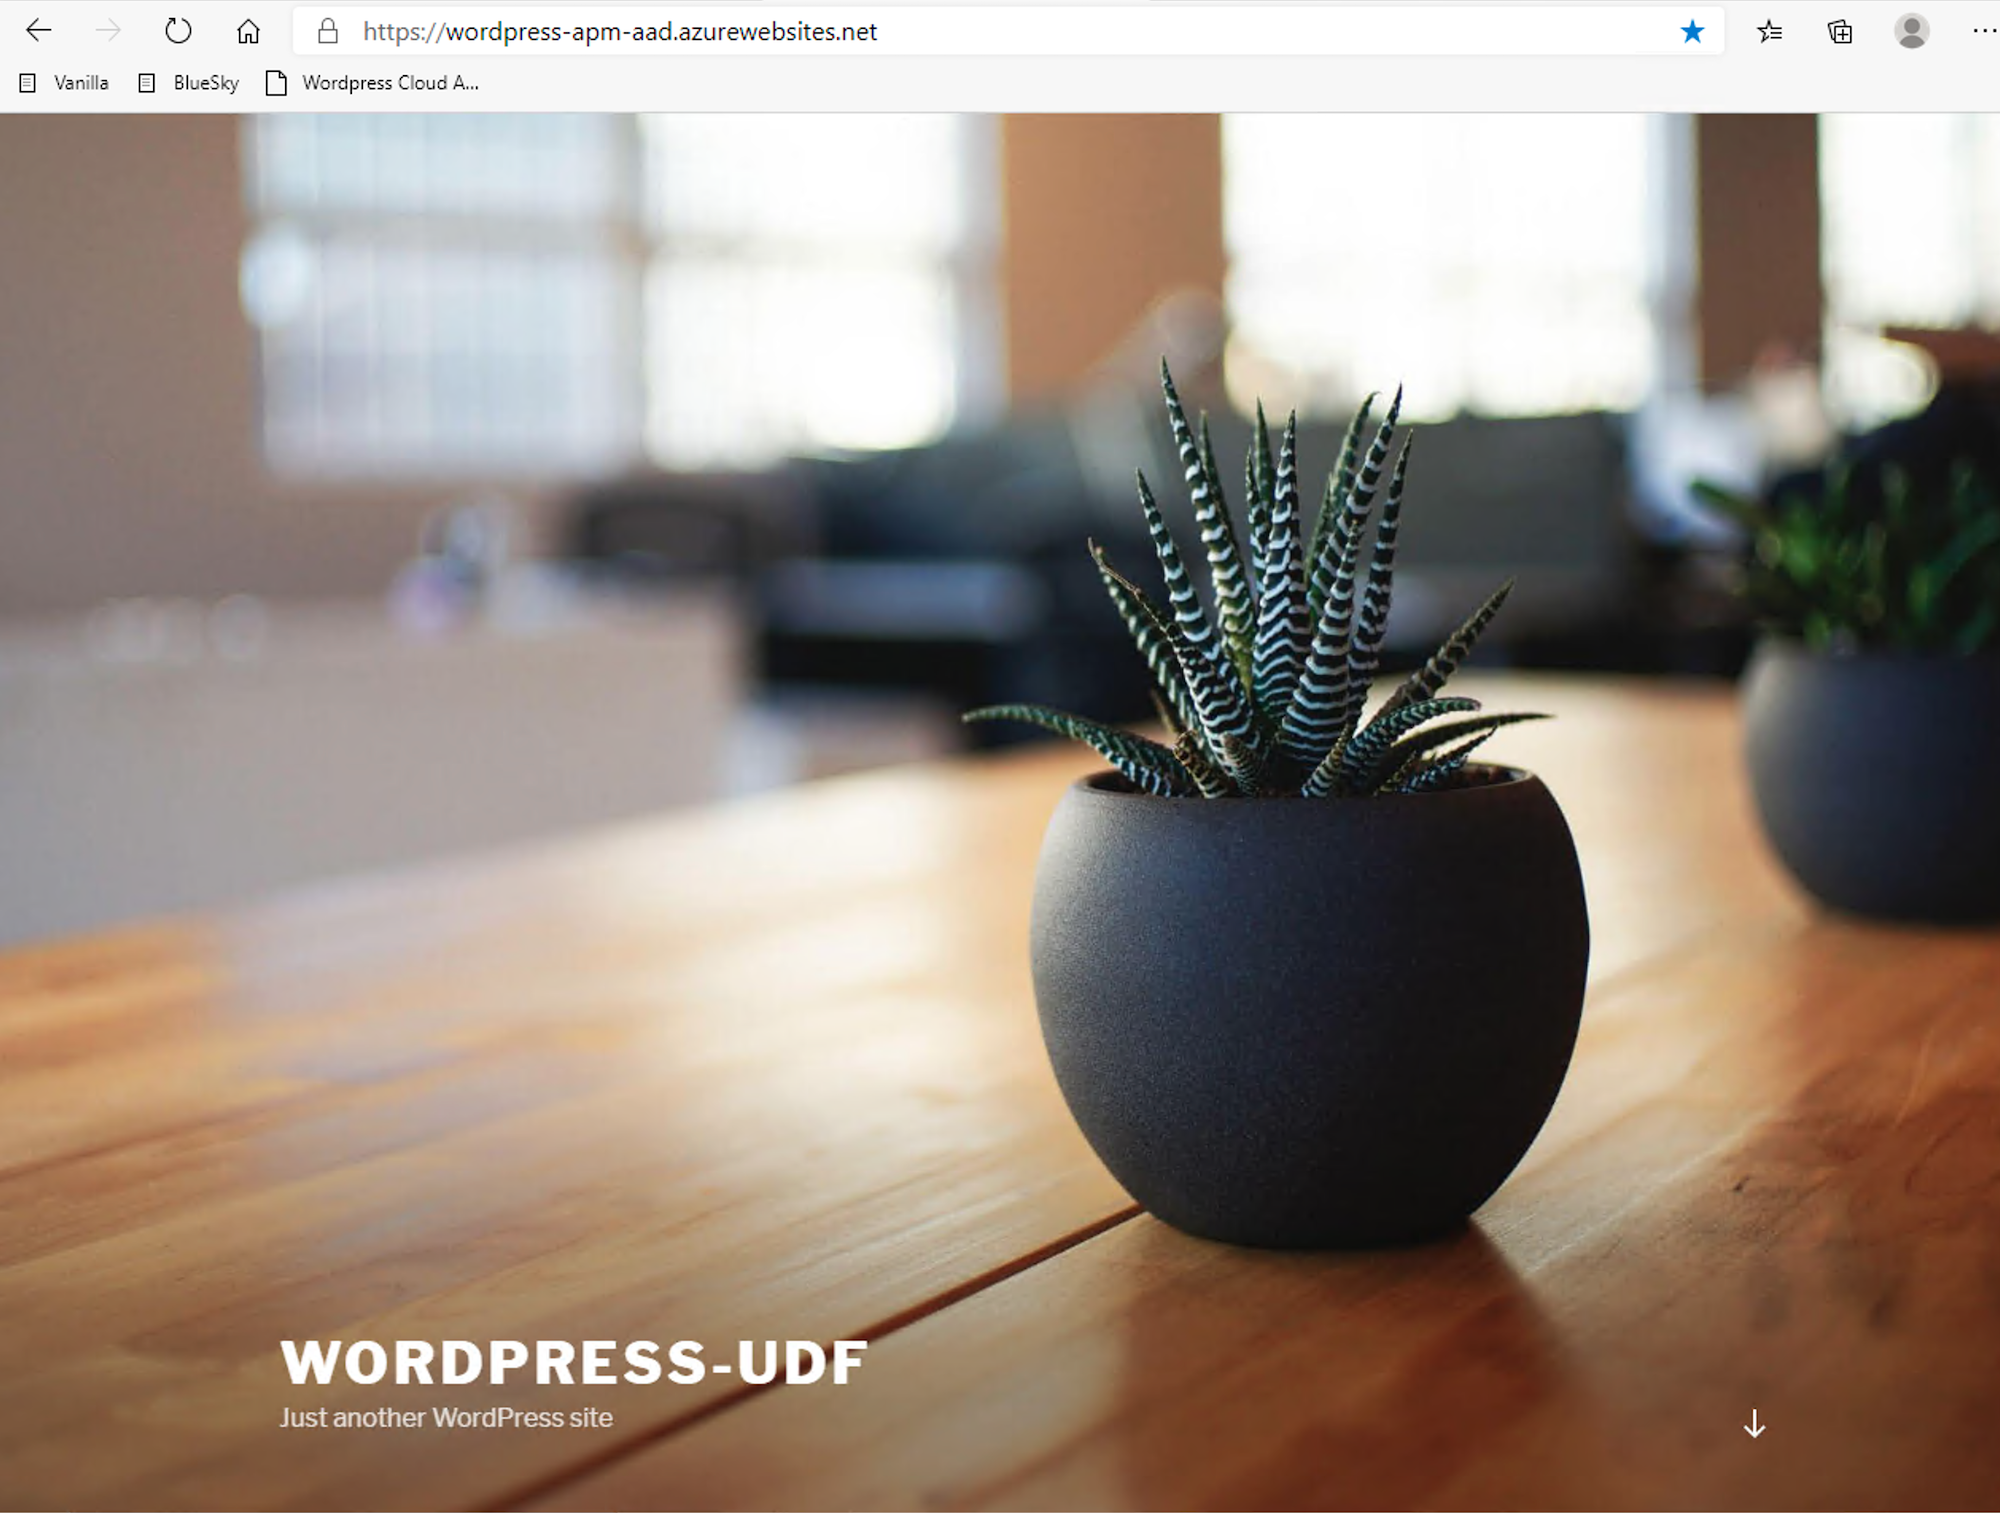
This Wordpress application is an Azure App Service.
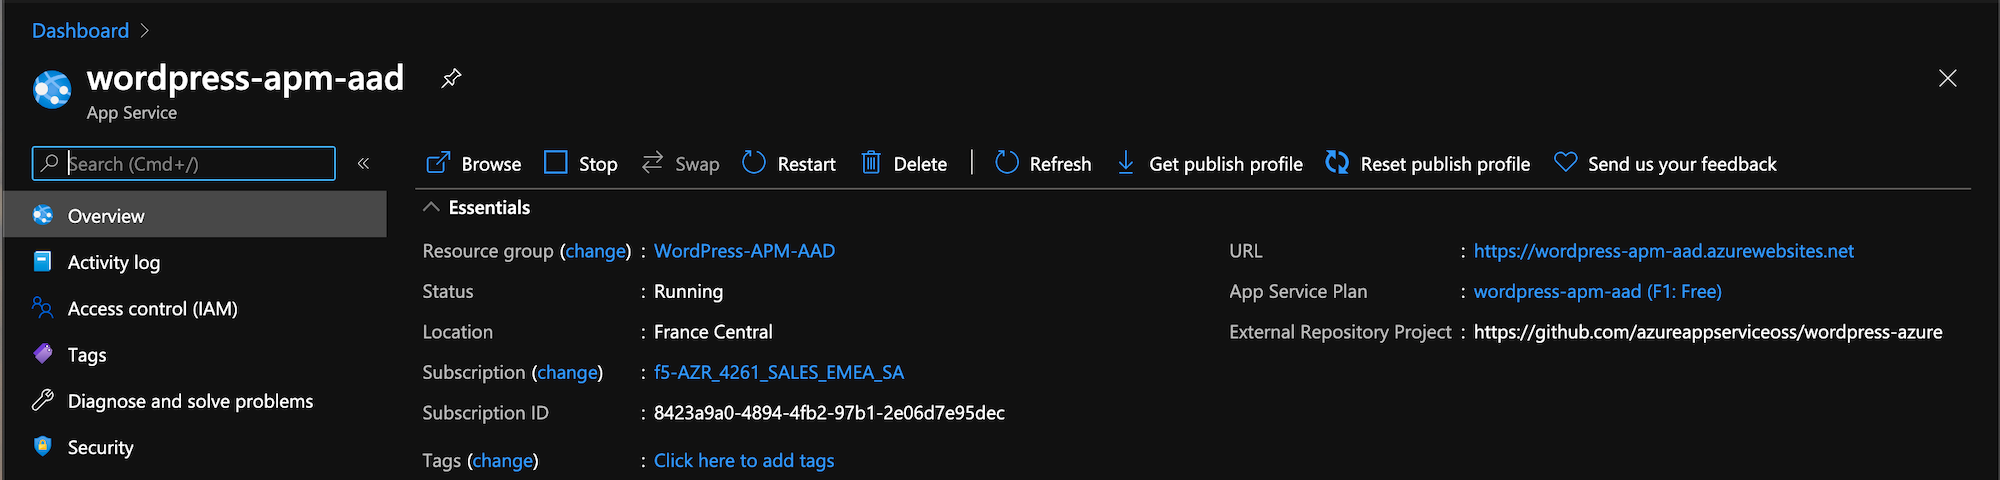
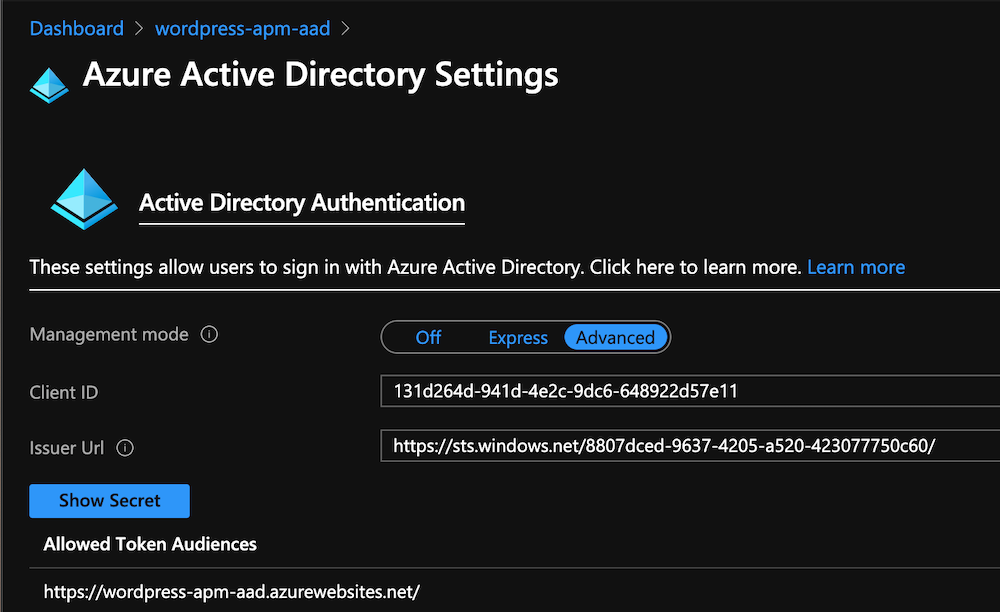
This App Service is already bound with our demo Azure AD tenant.
Section 1.2 - Deploy APM to protect Bluesky App
In this section, we will publish the Bluesky application hosted on-prem.
Task 1 - Publish and protect Bluesky app
Let’s start with the Bluesky application. Reminder, Bluesky does not have any Authentication enabled.
- Either access TMUI via UDF > Access > BIG-IP > TMUI or RDP to win10 (user1/user1) and launch Edge or Chrome. Using the BIG-IP bookmark, connect to the BIG-IP user interface (admin/admin)
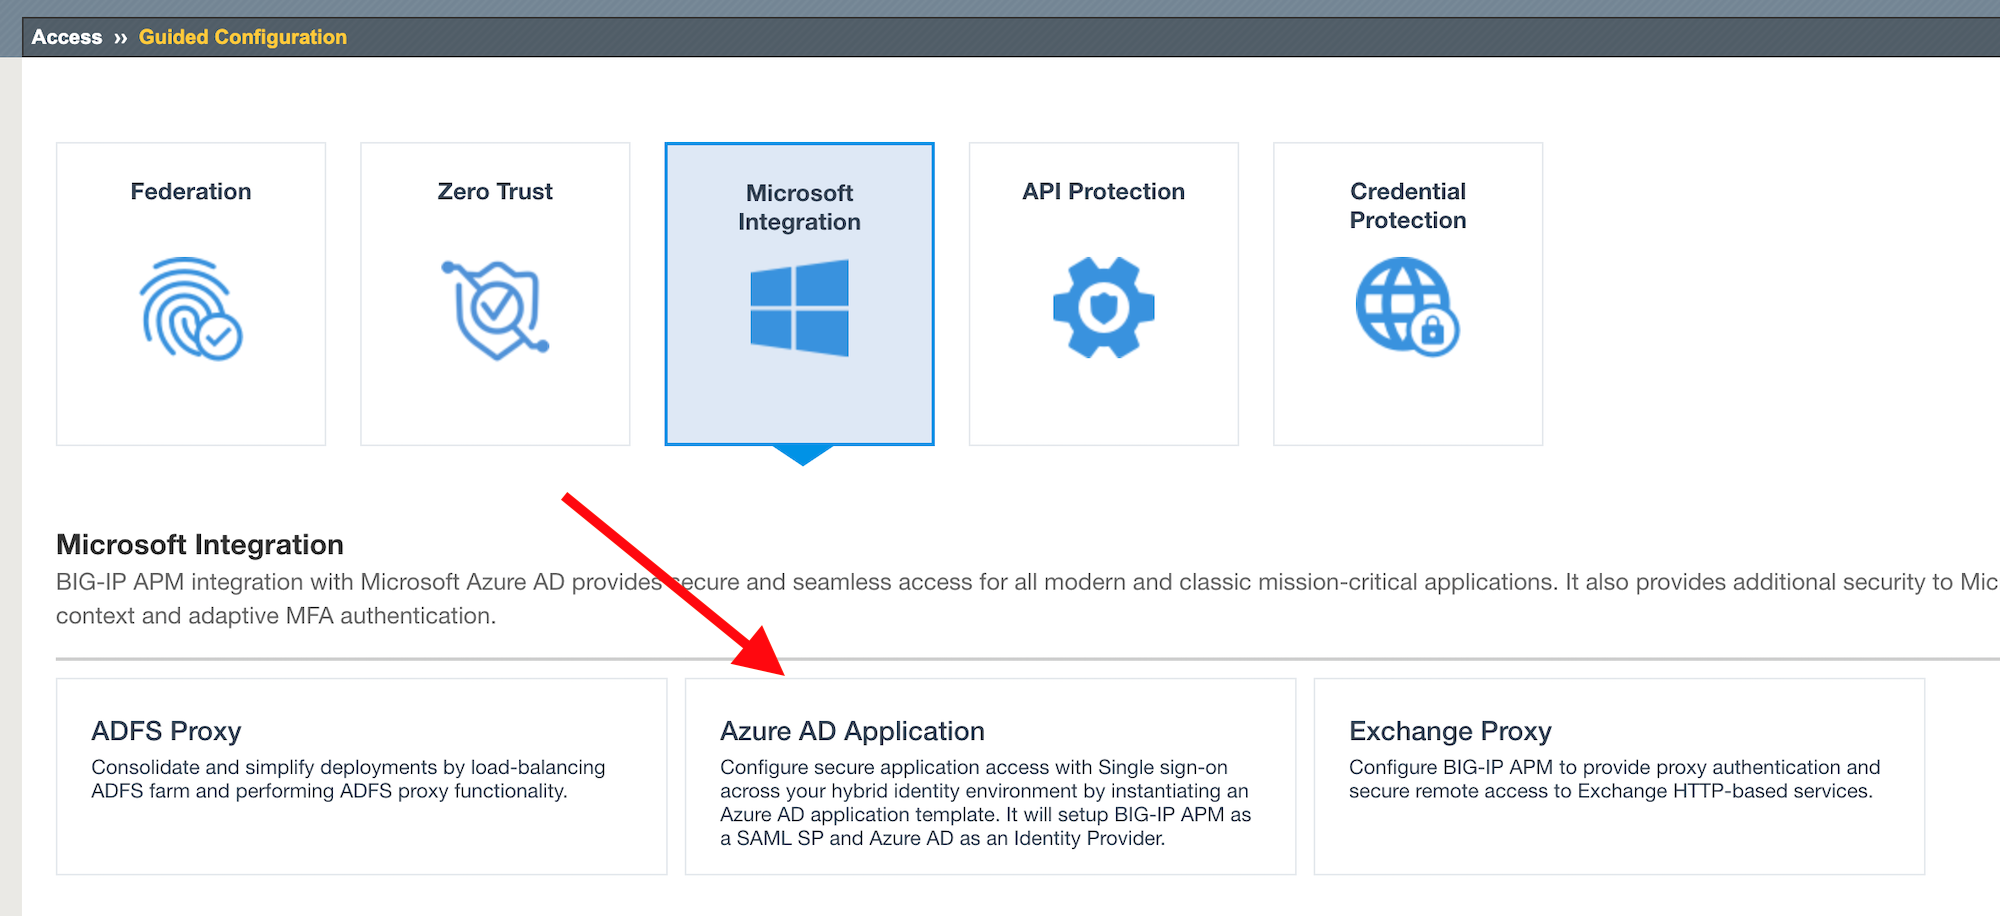
- In
Access>Guided Configuration, selectMicrosoft Integration>Azure AD application
Task 2 - Configuration Properties
Click
Nextand start the configurationConfigure the page as below
Configuration Name :
IIS-Bluesky-<My Name>Why my name ? This app will be created in Azure AD tenant and we need to differentiate all apps. Example :IIS-Bluesky-ChrisMiThe chance of name conflicts increases with the number of students so if possible, please at least use your first name and two characters of your last name. You can leaveSSO,Endpoint Checks, andAdditional Checksat their defaults (not selected.)In
Azure Service Account Details, SelectCopy Account Info form Existing Configuration, and selectIIS-baseline, then clickCopy
Note
In the real world, this is where you’d configure the application settings from the Azure Service Application created for APM. You have to create an Azure Application so that APM gets access to Microsoft Graph API. Due to security best practices, we won’t show the application secret in this lab.
Note
For those curious, the steps to create this Azure applications are below
- In Azure AD, create a service application under your organization’s tenant directory using App Registration.
- Register the App as Azure AD only single-tenant.
- Request permissions for Microsoft Graph APIs and assign the following permissions to the application:
- Application.ReadWrite.All
- Application.ReadWrite.OwnedBy
- Directory.Read.All
- Group.Read.All
- Policy.Read.All
- Policy.ReadWrite.ApplicationConfiguration
- User.Read.All
- Grant admin consent for your organization’s directory.
- Copy the Client ID, Client Secret, and Tenant ID and add them to the Azure AD Application configuration.
In the guided configuration UI, Click the
Test Connectionbutton and the result should yield –> Connection is valid
- Click
Save & Next
Task 3 - Service Provider
Configure the page as below
Host
bluesky.f5access.onmicrosoft.comEntity ID is auto-filled
https://bluesky.f5access.onmicrosoft.com/IIS-Bluesky-my name>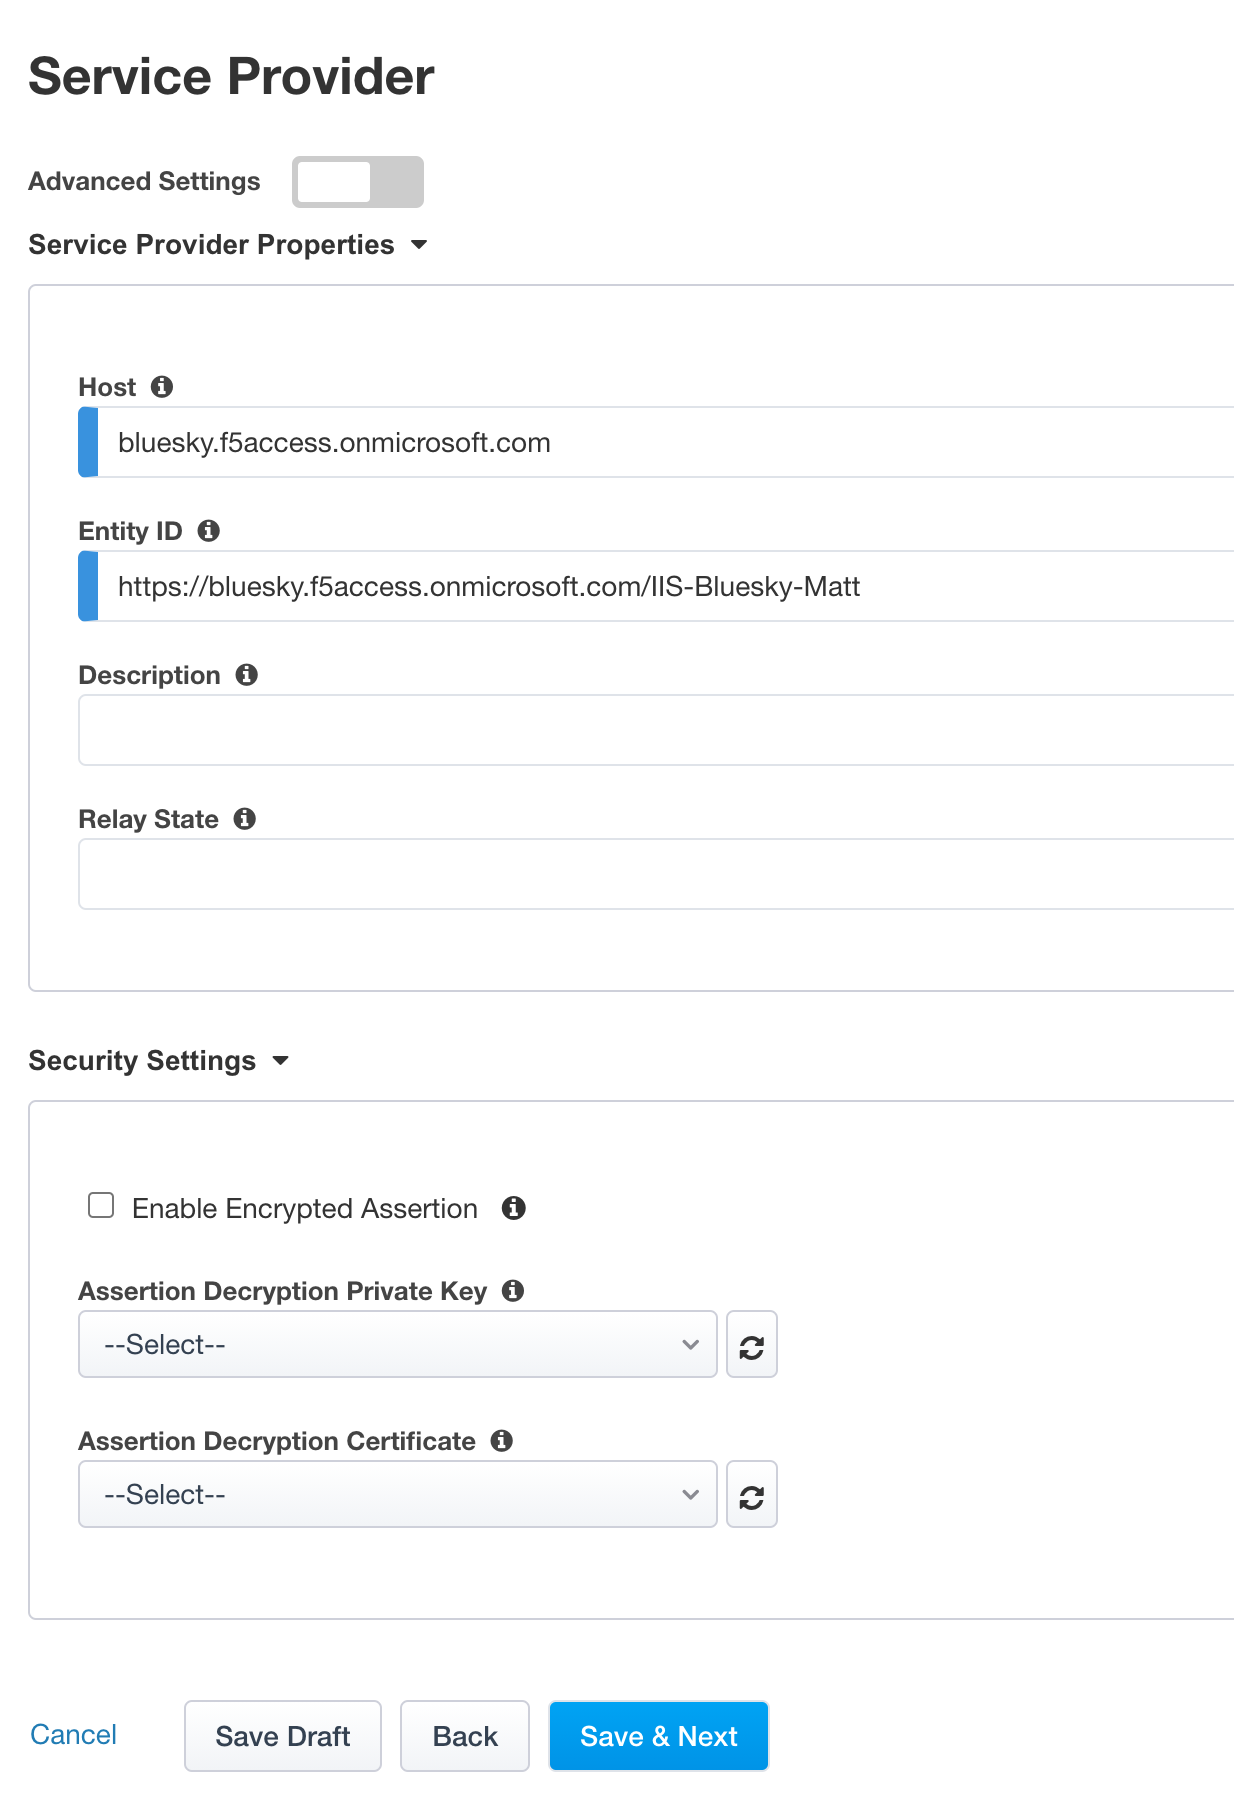
Click
Save & Next
Task 4 - Azure Active Directory
Double-click the
F5 BIG-IP APM Azure AD...templateNote
As you notice, there are several templates available for different applications. In this lab, we will publish a generic app so we select the first template.
In the new screen, configure as below
Signing Key :
default.keySigning Certificate :
default.crtSigning Key Passphrase :
F5twister$
In
User And User Groups, clickAddNote
We have to assign Azure AD users/group to this app, so that they can be allowed to connect to it.
In the list, click
Assignfor the useruser1. If you can’t find it, search for it in thesearchfield.
Click
CloseYou can see
user1in the list.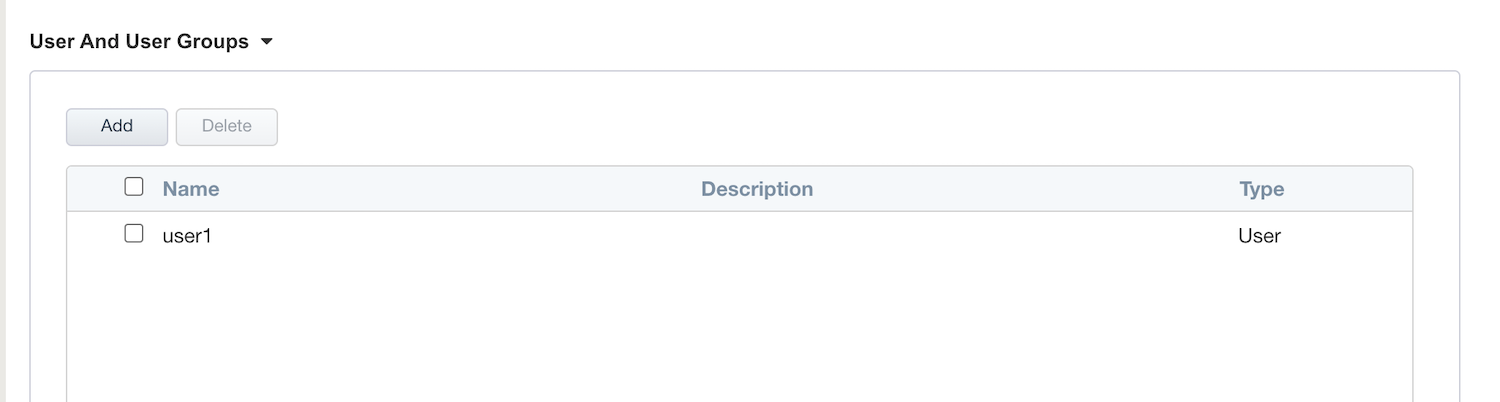
Click
Save & Next
Task 5 - Virtual Server Properties
Configure the VS as below
IP address :
10.1.10.104The
ClientSSLprofile is selected by default so let’s use that one. We’ll get a TLS warning in the browser, but it doesn’t matter for this lab.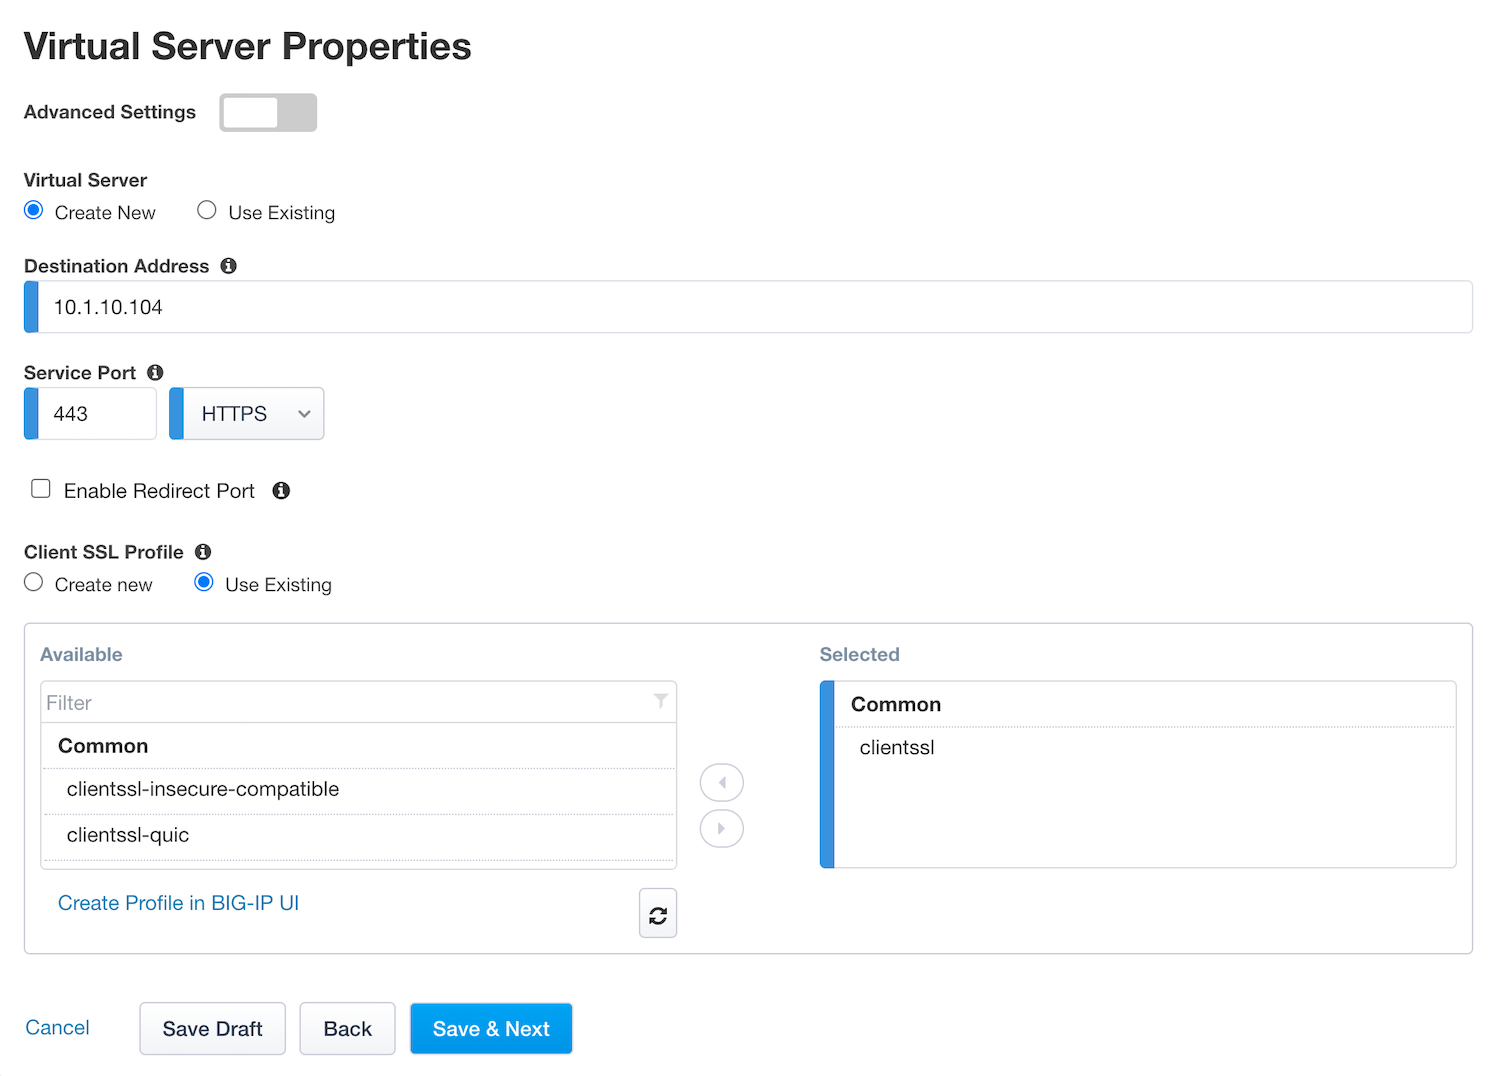
Click
Save & Next
Task 6 - Pool Properties
Leave the
Select a Pool` setting as ``Create NewIn Pool Servers, select
/Common/10.1.20.29from the drop-down menu. This is the Lab’s IIS server whose config you may have viewed earlier.Click
Save & Next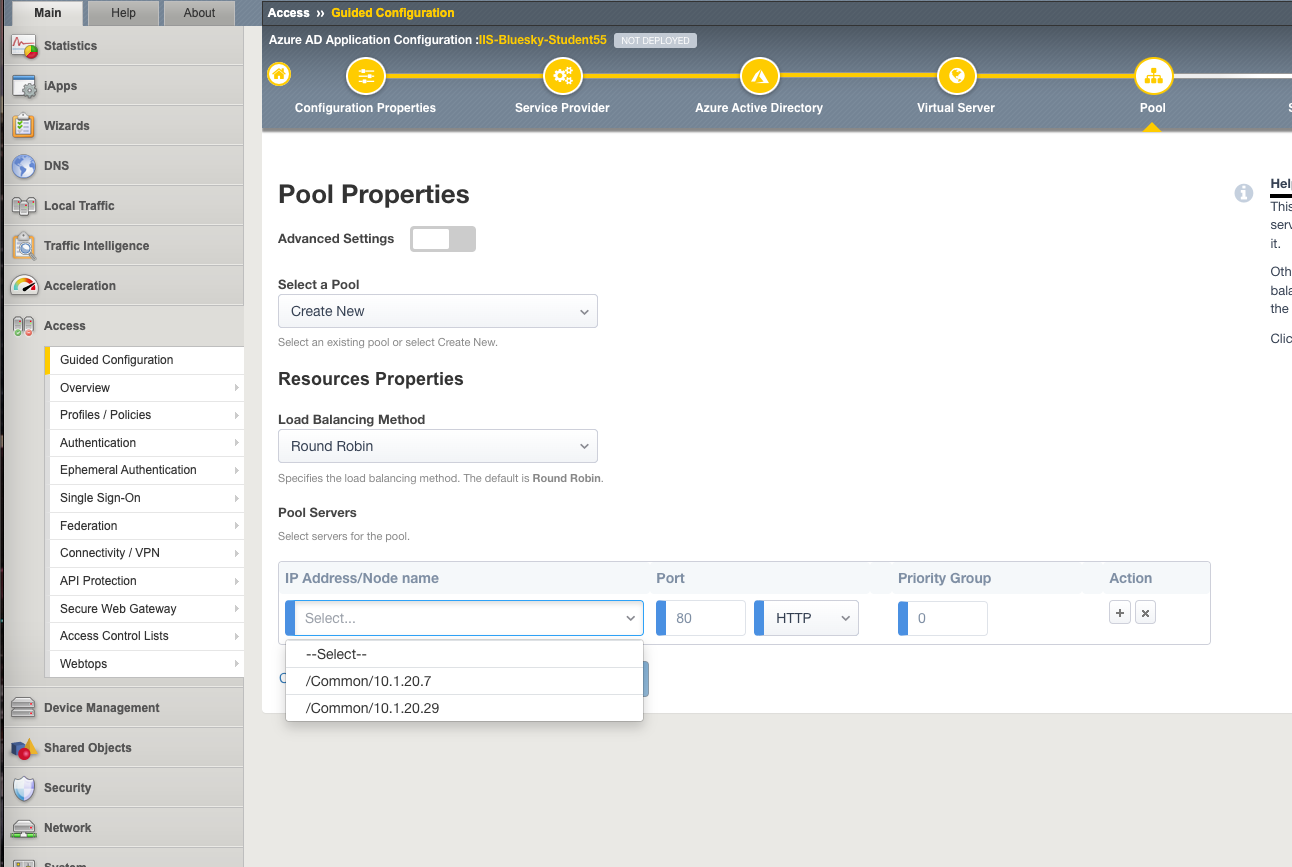
Task 7 - Session Management Properties
- Nothing to change, click
Save & Next
Task 8 - Deploy your app template
Click
Deploy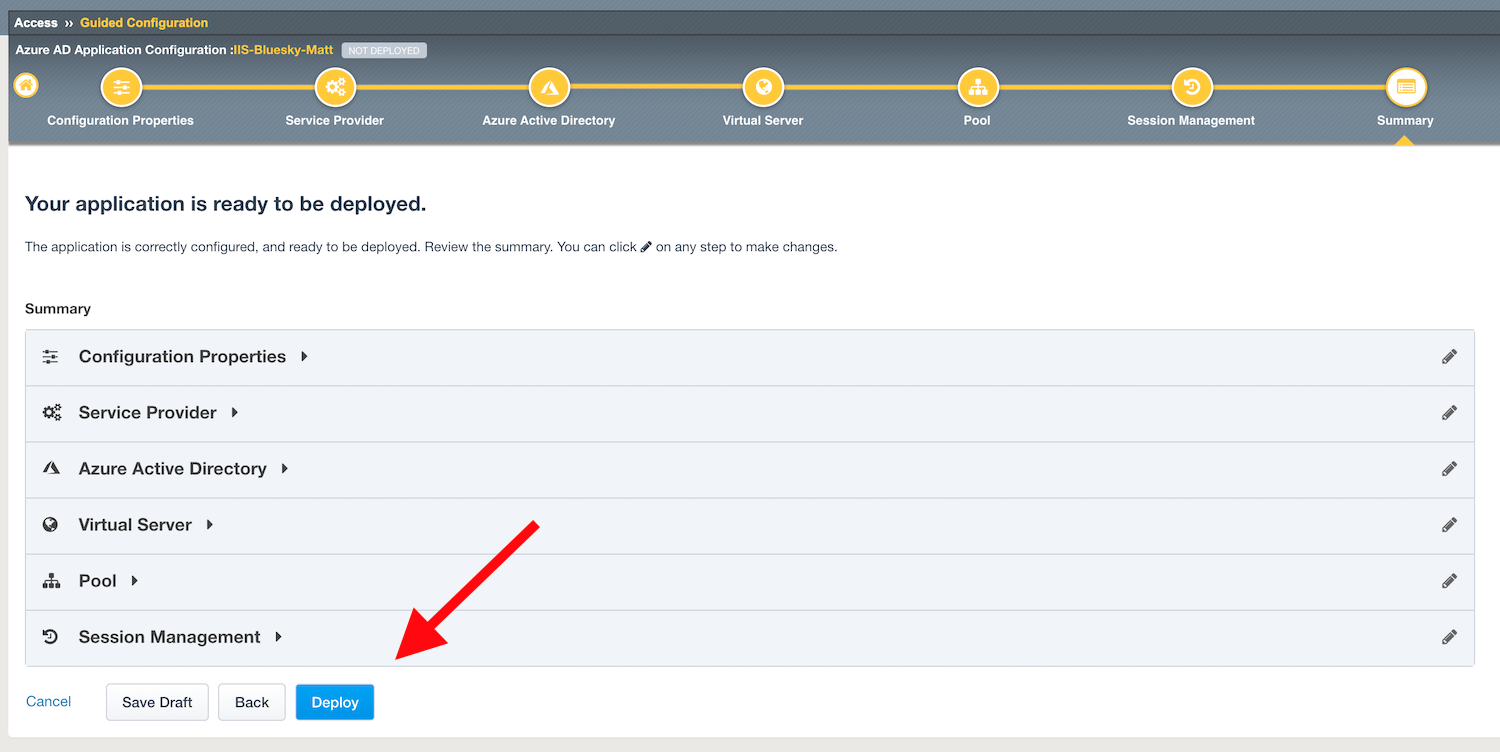
Behind the scenes, the deployment creates an
Azure Enterprise ApplicationforBluesky. We can see it inAzure portal(you don’t have access in this lab). With this Enterprise Application, Azure knows where to redirect the user after they’re authenticated. This app will also have the certificate and key used to sign the SAML assertion.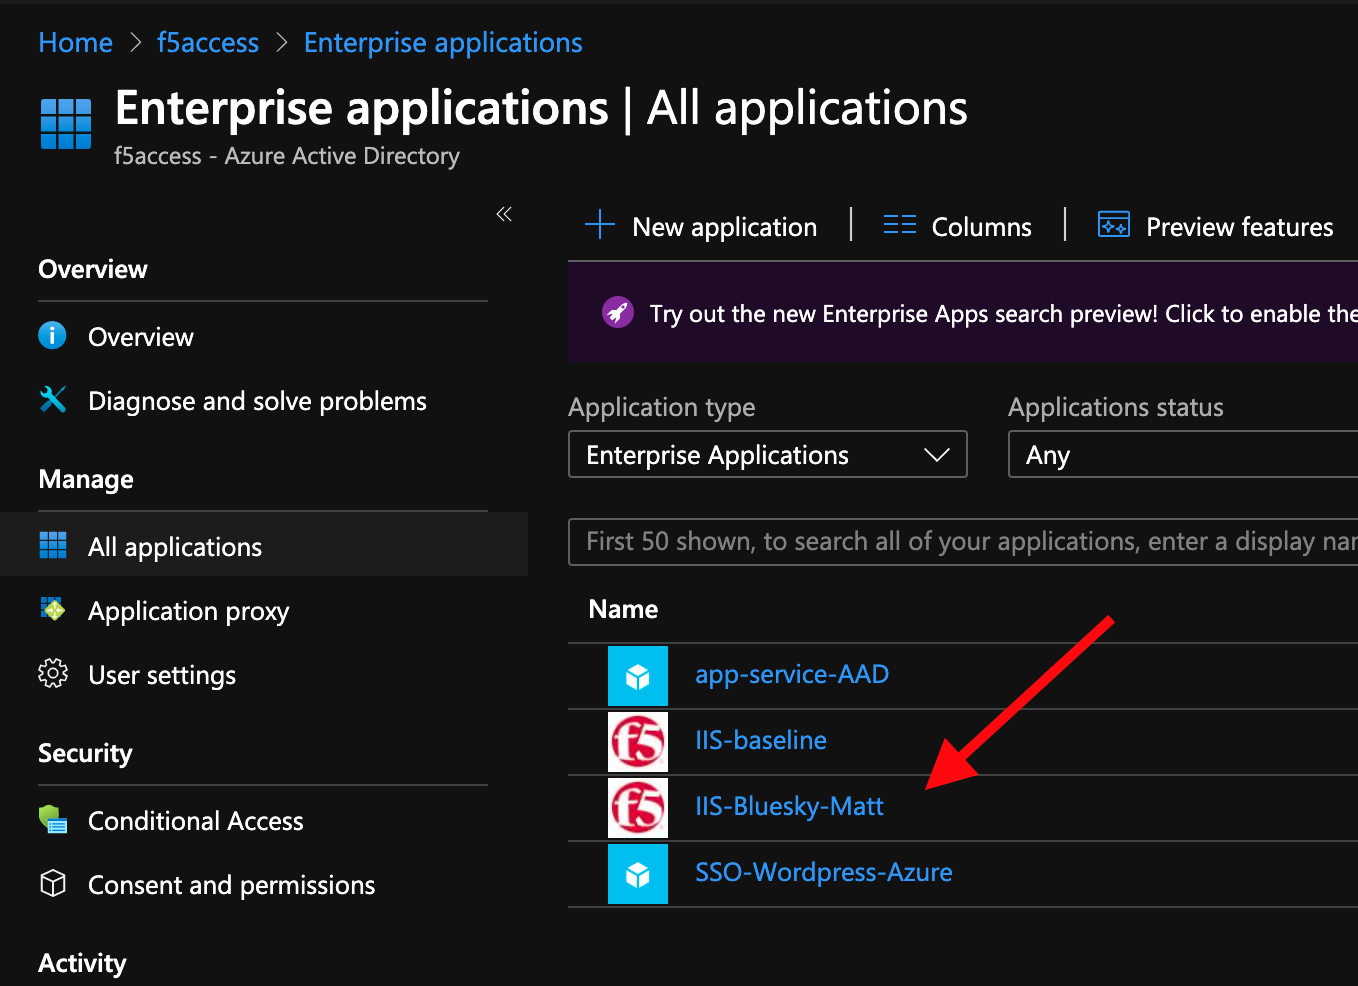
Click
FinishandOKon the Confirmation Pop-Up Dialog Box.
Task 9 - Test your deployment
RDP to Win10 machine as
user1and passworduser1Open
Google Chromeor theMicrosoft Edgebrowser - both icons are on the Desktop and the TaskbarFrom the bookmarks list/toolbar, choose
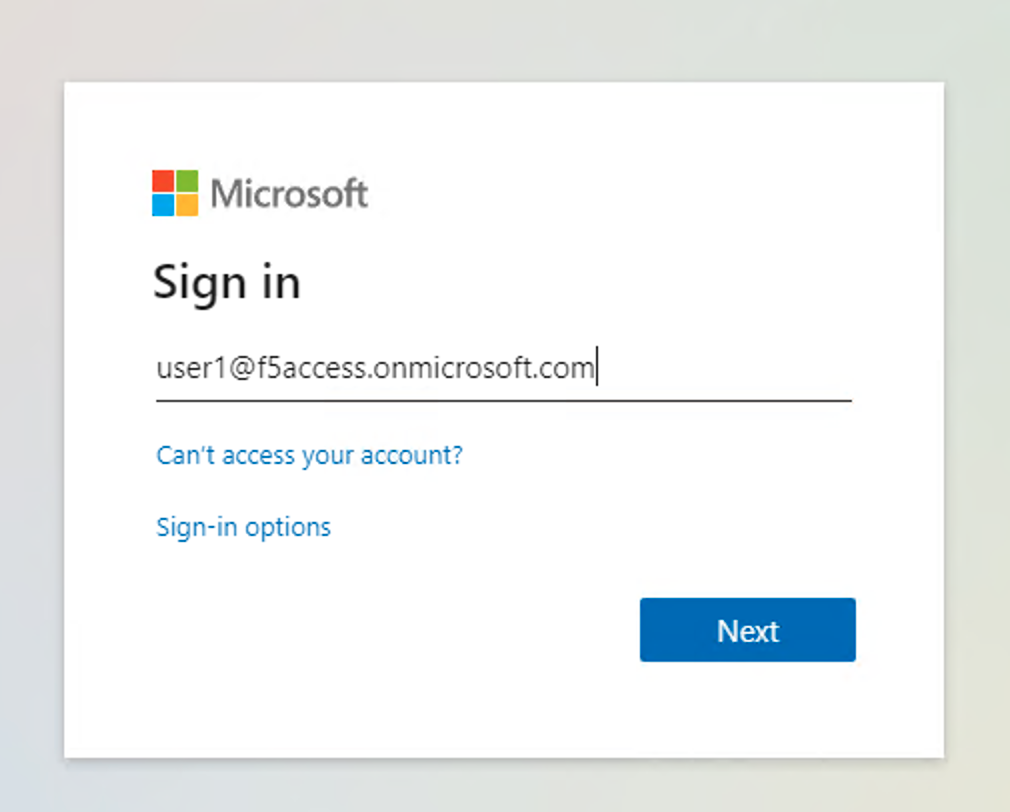
Blueskyand ignore the inevitable cert warnings.You will be redirected to Azure AD login page. Login as
user1@f5access.onmicrosoft.comand hitNext. The password is stored in a text file namedazure_ad_creds.txton the Win10 Desktop.Warning
Don’t reset or change the password.
After being successfully authenticated by Azure AD, you’re redirected to APM with a SAML assertion. After validating this assertion, APM allows you to access the Bluesky application. You’ll want to keep your RDP session to
Win10open since you’ll use it again for subsequent testing.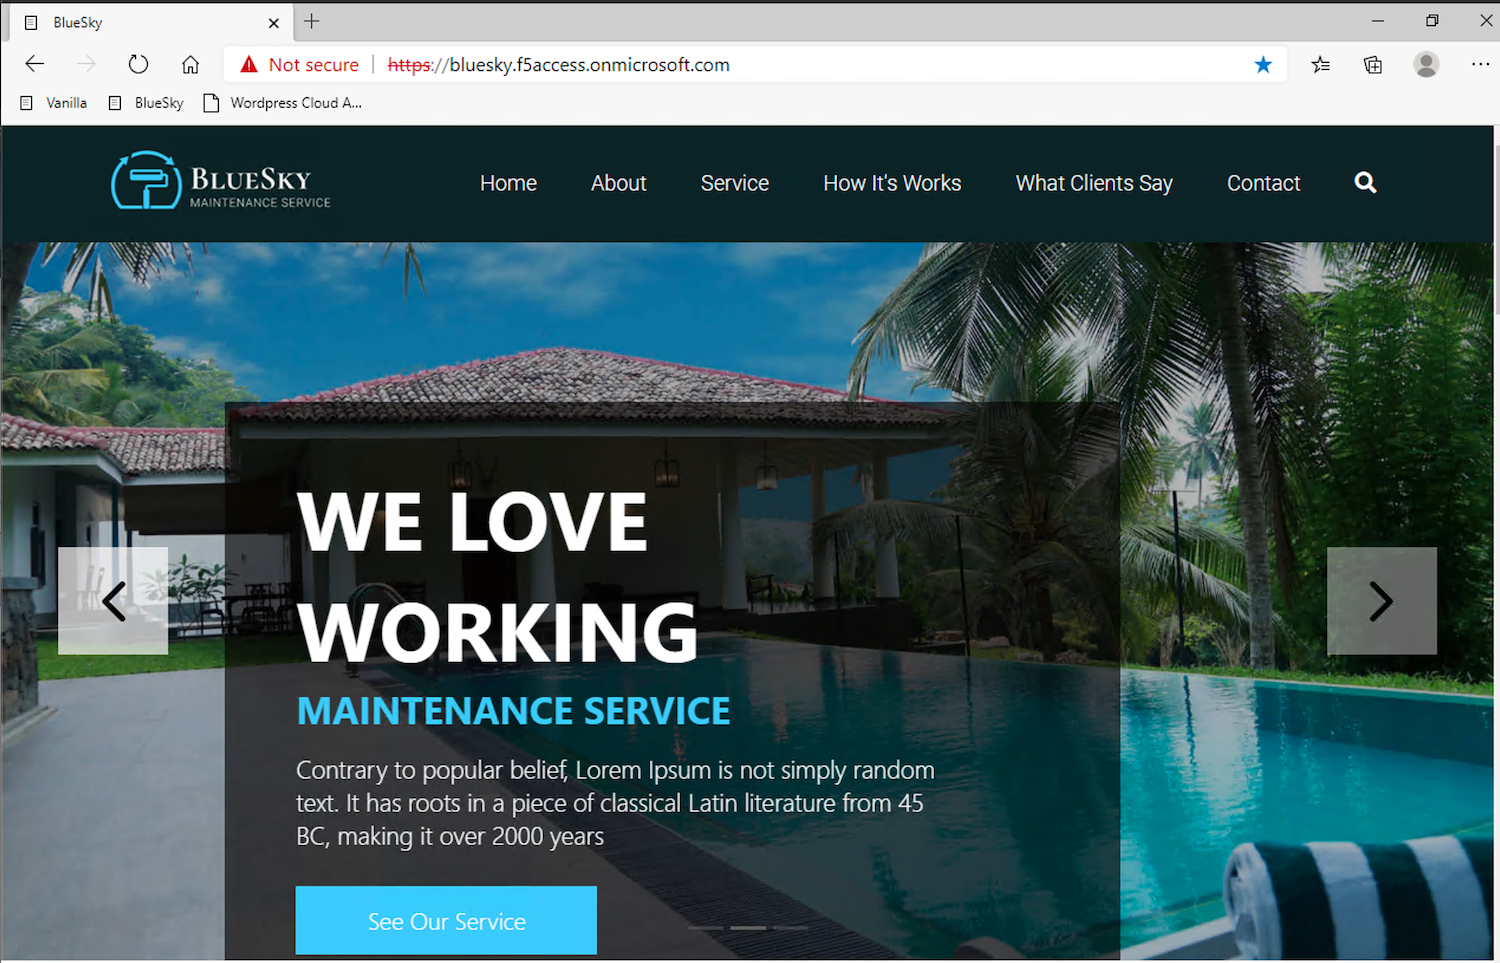
Section 1.3 - Deploy APM to protect the Vanilla App
In this section, we will publish the Vanilla application which like bluesky, is hosted on-prem.
Task 1 - Publish and protect Vanilla app
Unlike Bluesky, the Vanilla application has Authentication enabled via Kerberos and because APM won’t have access to an Azure AD user’s password, we’ll need to enable and leverage Kerberos Constrained Delegation.
As before, Connect to the BIG-IP GUI directly from UDF or via Win10 with admin/admin.
In
Access>Guided Configuration, selectMicrosoft Integration>Azure AD applicationNote
As you’ll notice, we only deploy one application per Guided Config template.
Task 2 - Configuration Properties
Click
Nextand start the configurationConfigure the page as below
Configuration Name :
IIS-Vanilla-<My Name>Just like before, please try to use a unique string for My Name, IE your first name and first two characters of your last name. IIS-Vanilla-ChrisMi is an example name.Enable
Single Sign-on (SSO)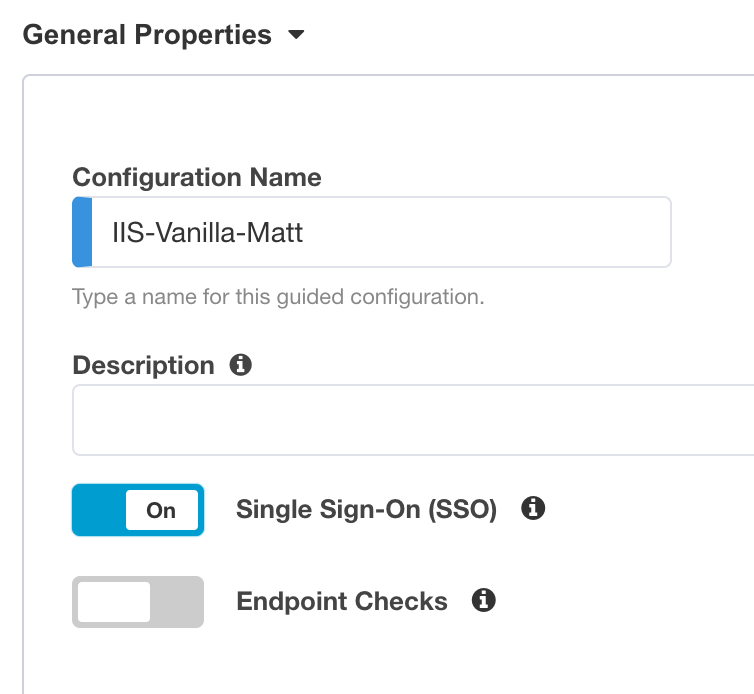
In
Azure Service Account Details, SelectCopy Account Info form Existing Configuration, and selectIIS-baseline, then clickCopy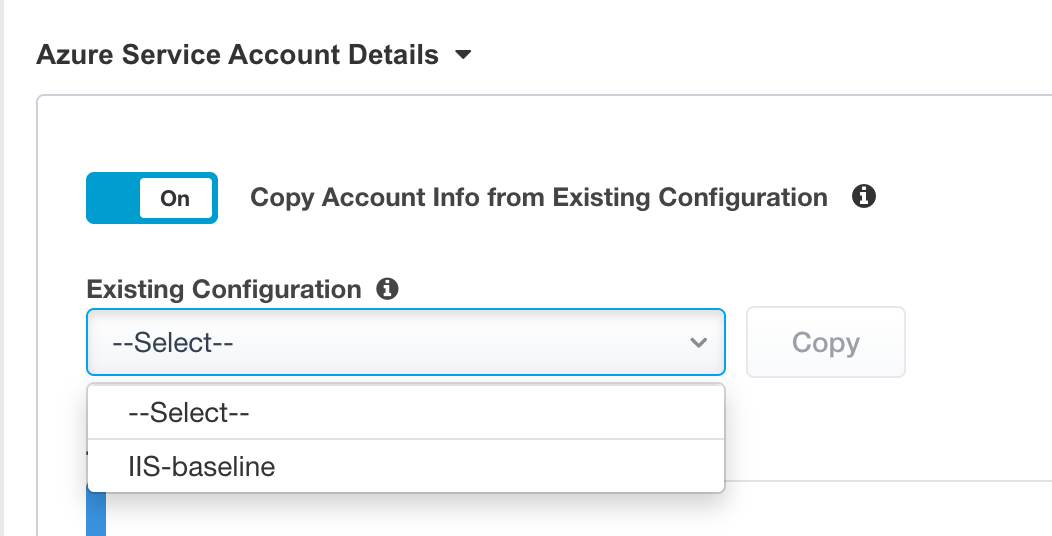
Note
Just like before, a real-world deployment would require an administrator to obtain these values via the Azure Service App created for APM. This Azure Application must be created so that APM can access the Microsoft Graph API.
Note
The steps to create this Azure applications are below
- In Azure AD, create a service application under your organization’s tenant directory using App Registration.
- Register the App as Azure AD only single-tenant.
- Request permissions for Microsoft Graph APIs and assign the following permissions to the application:
- Application.ReadWrite.All
- Application.ReadWrite.OwnedBy
- Directory.Read.All
- Group.Read.All
- Policy.Read.All
- Policy.ReadWrite.ApplicationConfiguration
- User.Read.All
- Grant admin consent for your organization’s directory.
- Copy the Client ID, Client Secret, and Tenant ID and add them to the Azure AD Application configuration.
In the Guided Config GUI, Click the
Test Connectionbutton which should yield –> Connection is valid
Click
Save & Next
Task 3 - Service Provider
Configure the page as below
Host
vanilla.f5access.onmicrosoft.comThe Entity ID is auto-filled
https://vanilla.f5access.onmicrosoft.com/IIS-Bluesky-my name>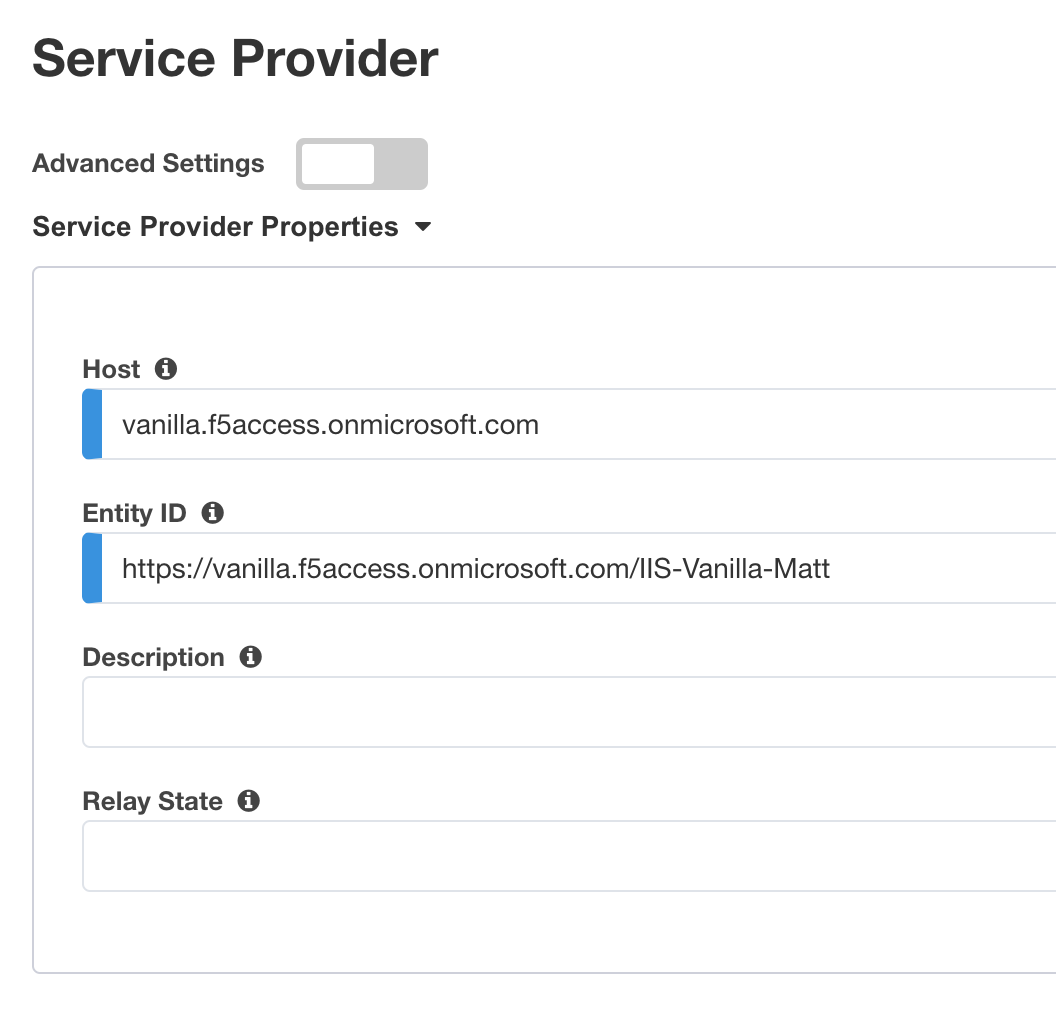
Click
Save & Next
Task 4 - Azure Active Directory
Double click the
F5 BIG-IP APM Azure AD...templateNote
As you can notice, there are several templates available for different applications. Here, in this lab, we will publish a generic app. So we select the first template.
Click
AddIn the new screen, configure as below.
Signing Key :
default.keySigning Certificate :
default.crtSigning Key Passphrase :
F5twister$
In
User And User Groups, clickAddNote
We have to assign Azure AD users/group to this app, so that they can be allowed to connect to it.
In the list, click
Assignfor the useruser1. If you can’t find it, search for it in thesearchfield.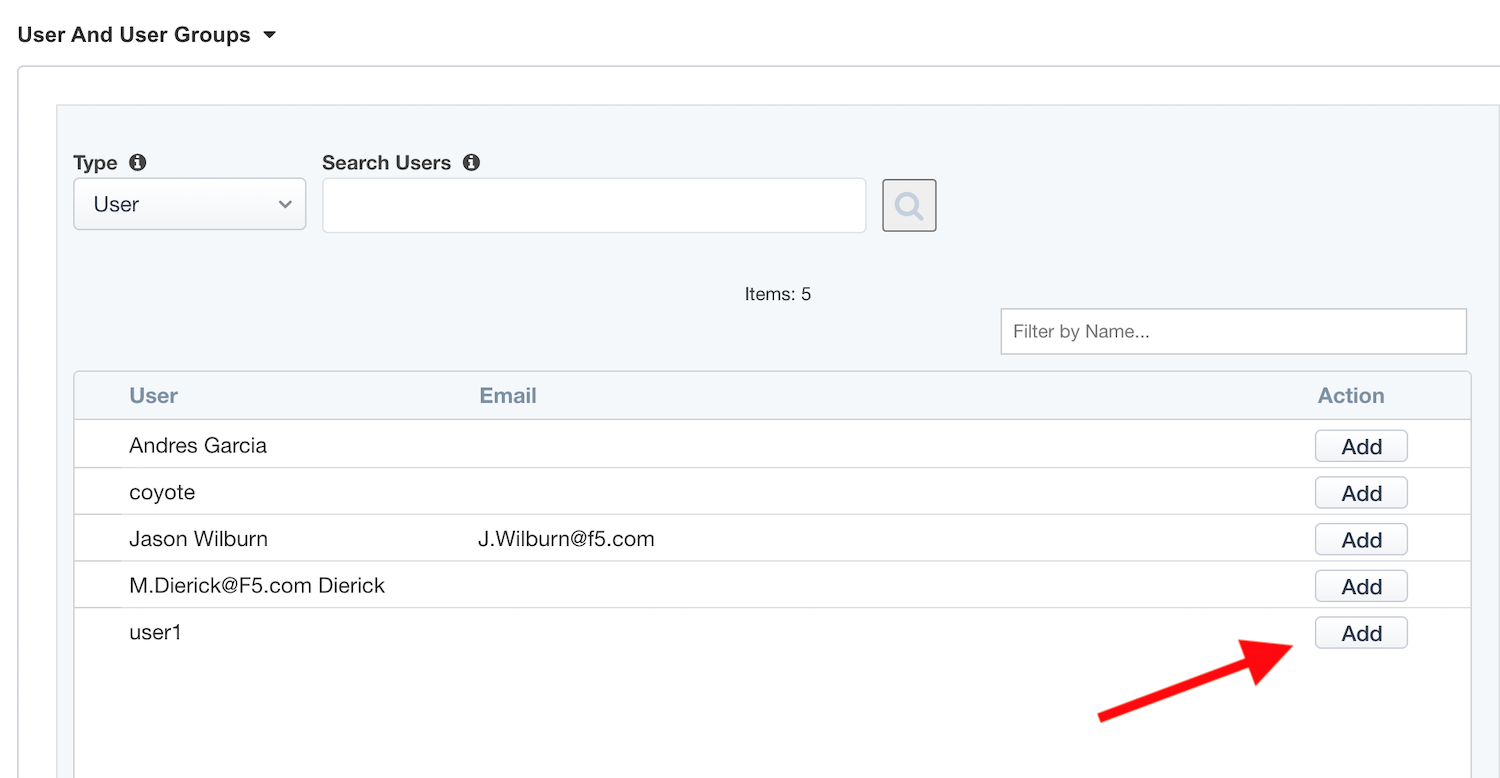
Click
CloseYou can see
user1in the list.
Click
Save & Next
Task 5 - Virtual Server Properties
Configure the VS as below
IP address :
10.1.10.103Since we’ll use the already-selected, existing
ClientSSLprofile, you don’t have to do anything for the Client SSL Profile section. We’ll get a TLS warning in the browser, but it doesn’t matter for this lab.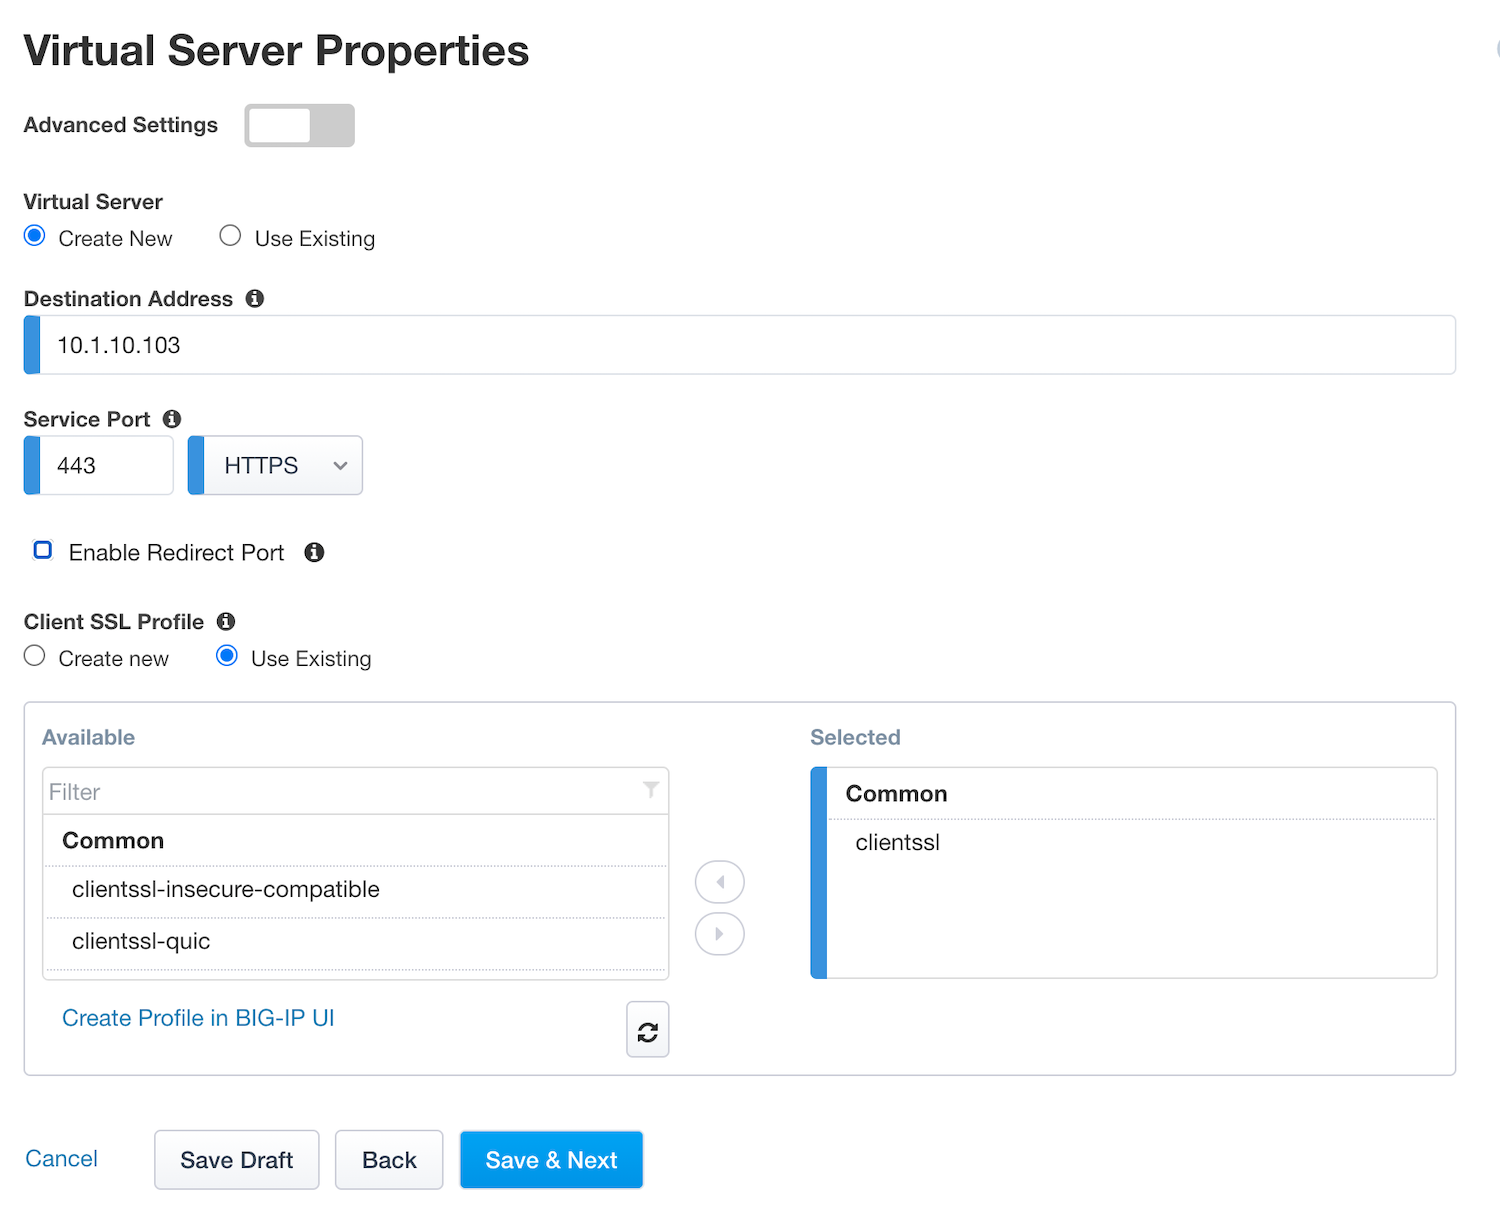
Click
Save & Next
Task 6 - Pool Properties
For
Select a Pool, leaveCreate NewselectedIn Pool Servers, select
/Common/10.1.20.29This is once again the lab’s IIS server whose config you investigated earlier.Click
Save & Next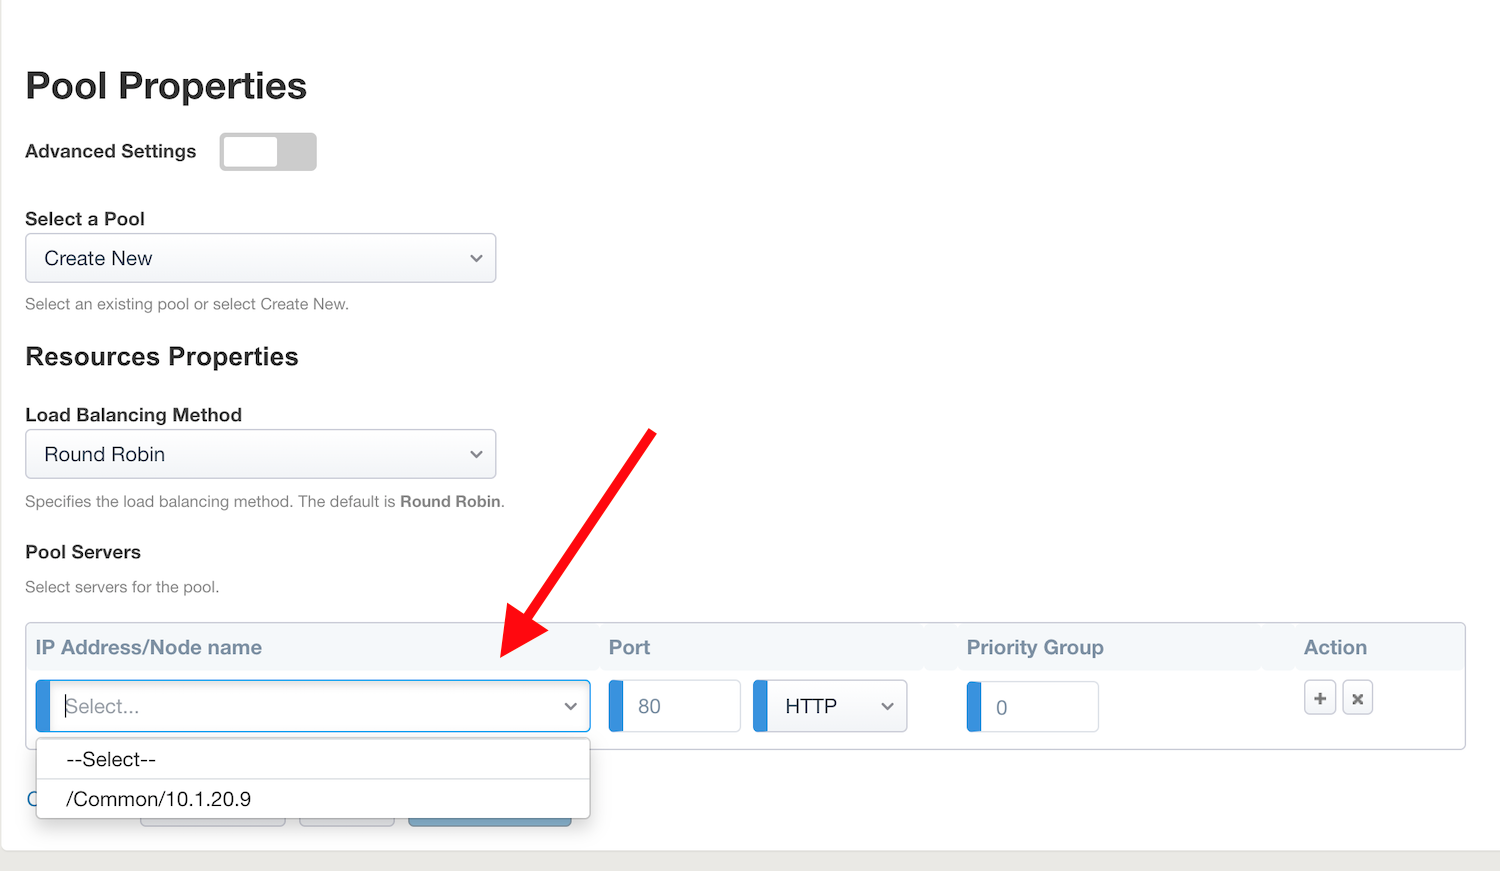
Task 7 - Single Sign-On Settings
Check the
Advanced Settingsbox so it’sOnCheck the ``Single Sign-On box.
In
Selected Single Sign-on Type, selectKerberos, and selectCreate NewforSSO Configuration Object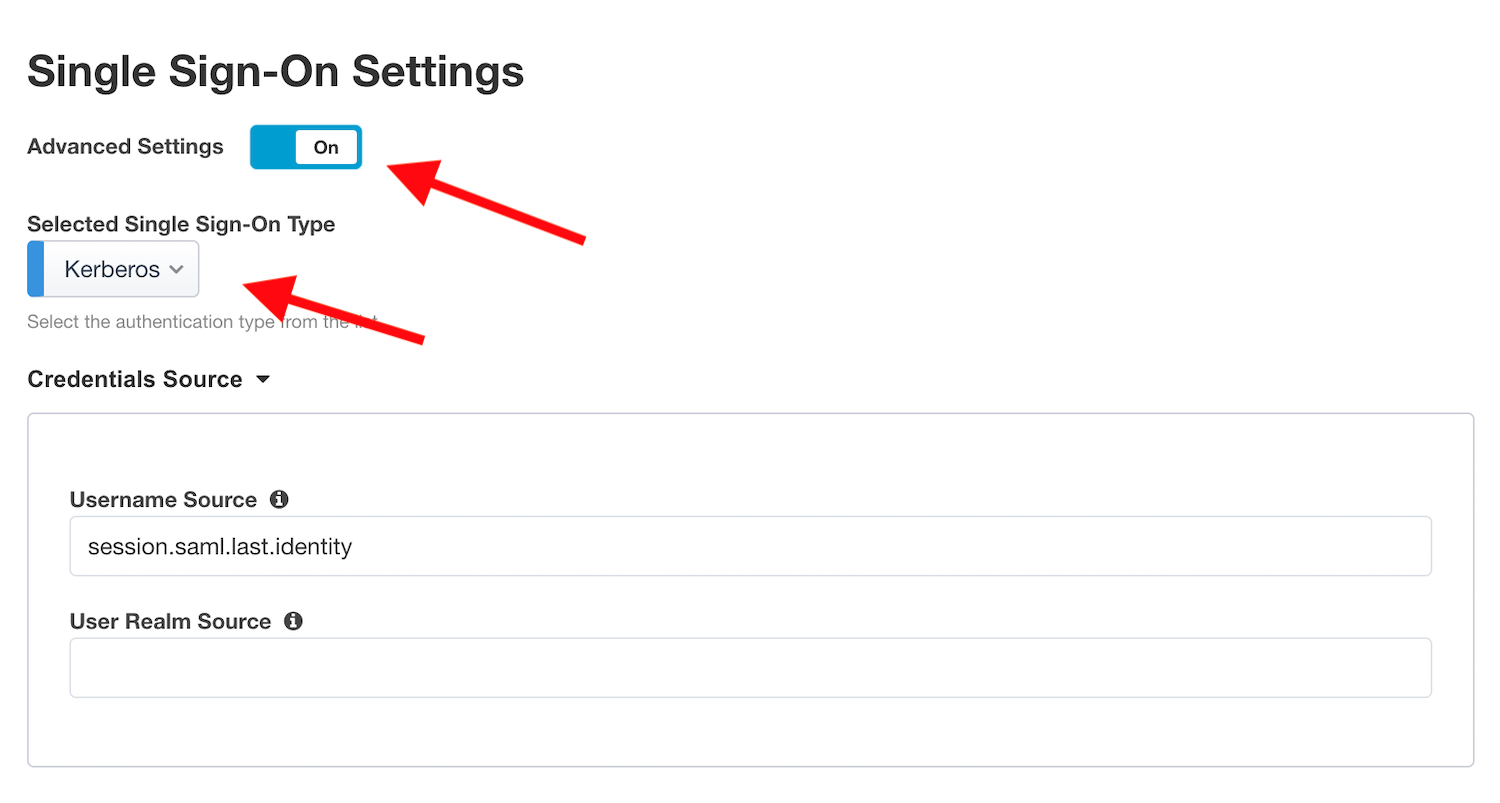
In
Credentials Source, fill as below- Username Source : Change this value to
session.logon.last.username - Clear out the text in
User Realm Source. The domain is similar between Azure AD and on-prem AD so we don’t need a realm variable.
- Username Source : Change this value to
In
SSO Method Configuration, fill as below- Kerberos Realm :
f5access.onmicrosoft.com - Account name :
host/apm-deleg.f5access.onmicrosoft.com - Account Password :
F5twister$(You’ll be asked to enter this password twice for confirmation) - KDC :
10.1.20.28 - UPN Support :
Enabled - SPN Pattern :
HTTP/%s@f5access.onmicrosoft.com
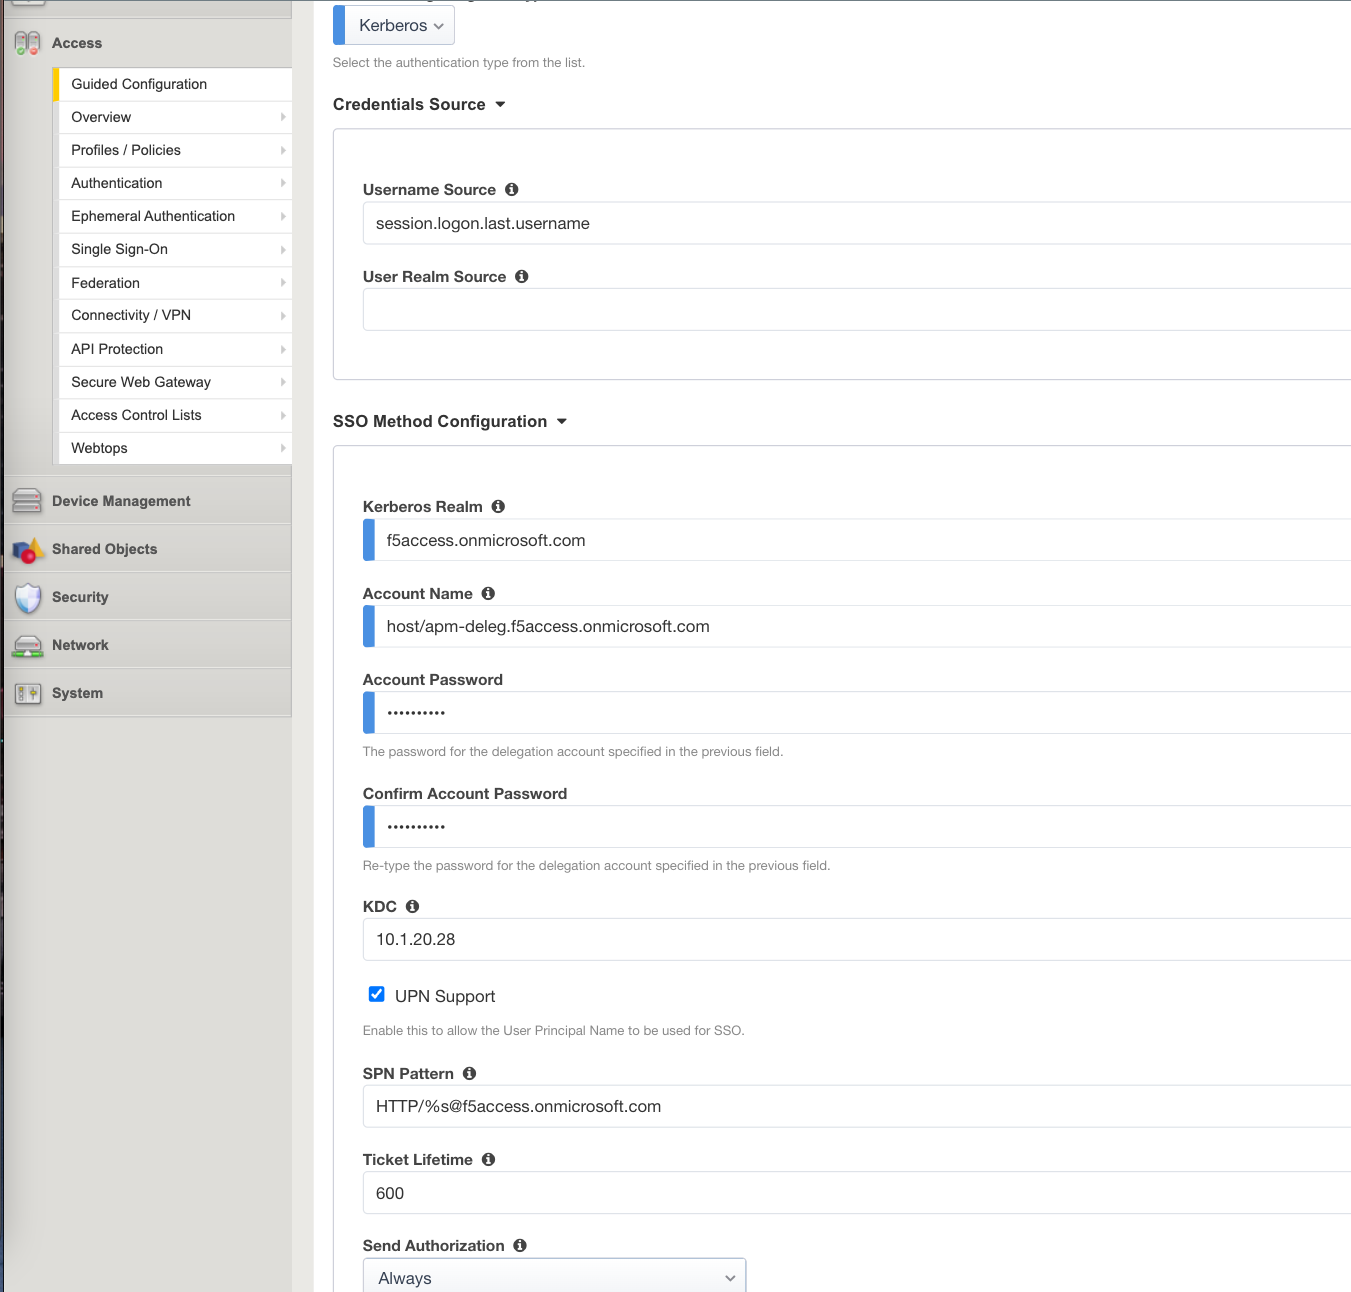
- Kerberos Realm :
Leave the other settings at their default values and Click
Save & Next
Task 8 - Session Management Properties
- Nothing to change, click
Save & Next
Task 9 - Deploy your app template
Click
Deployand after patiently waiting, clickFinishandOKon thhe Pop-Up Dialog Box once the deployment is successful
Behind the scenes, the deployment creates an
Azure Enterprise ApplicationforBluesky. We can see it inAzure portal(you don’t have access in this lab). With this Enterprise Application, Azure knows where to redirect the user after they’re authenticated. This app will also have the certificate and key used to sign the SAML assertion.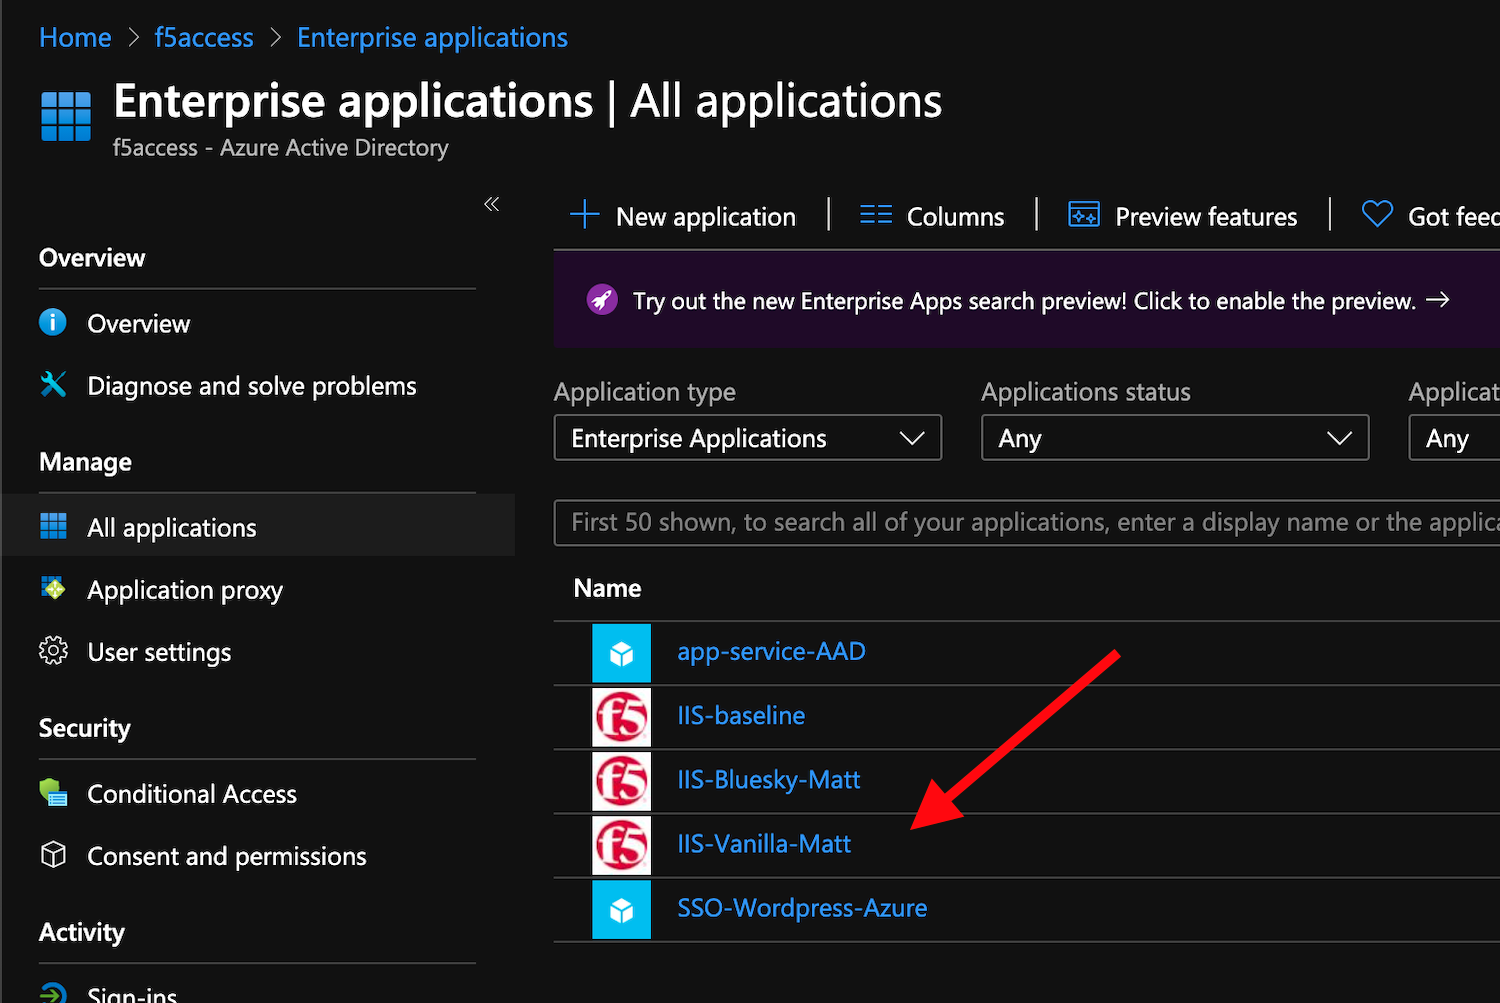
Task 10 - Test your deployment
If you closed your RDP session to Win10, pleae re-connect as
user1and passworduser1Open
Google ChromeorMicrosoft Edge- the icons are on the Desktop and the TaskbarFrom the bookmarks menu/toolbar, select
Vanillaand ignore the Cert Errors.Since you already logged into Azure AD when accessing
BlueSky, you may notice you didn’t need to sign-in again and were automatically taken into the application. Your previous assertion was still validated but it was done transparently. If you were sent to Azure AD again for authenticaton, please use the same credentials as before:user1@f5access.onmicrosoft.comand the password is stored in a text file namedazure_ad_creds.txton the Win10 Desktop.
Reminder: Since APM doesn’t have a SAML user’s password if it isn’t the IdP, it performs server-side
Single Sign-onwith the Vanilla application viaKerberos Constrained Delegationin which it requests a Kerberos Ticket on behalf of the user leveraging the username found in the SAML Assertion sent by Azure AD.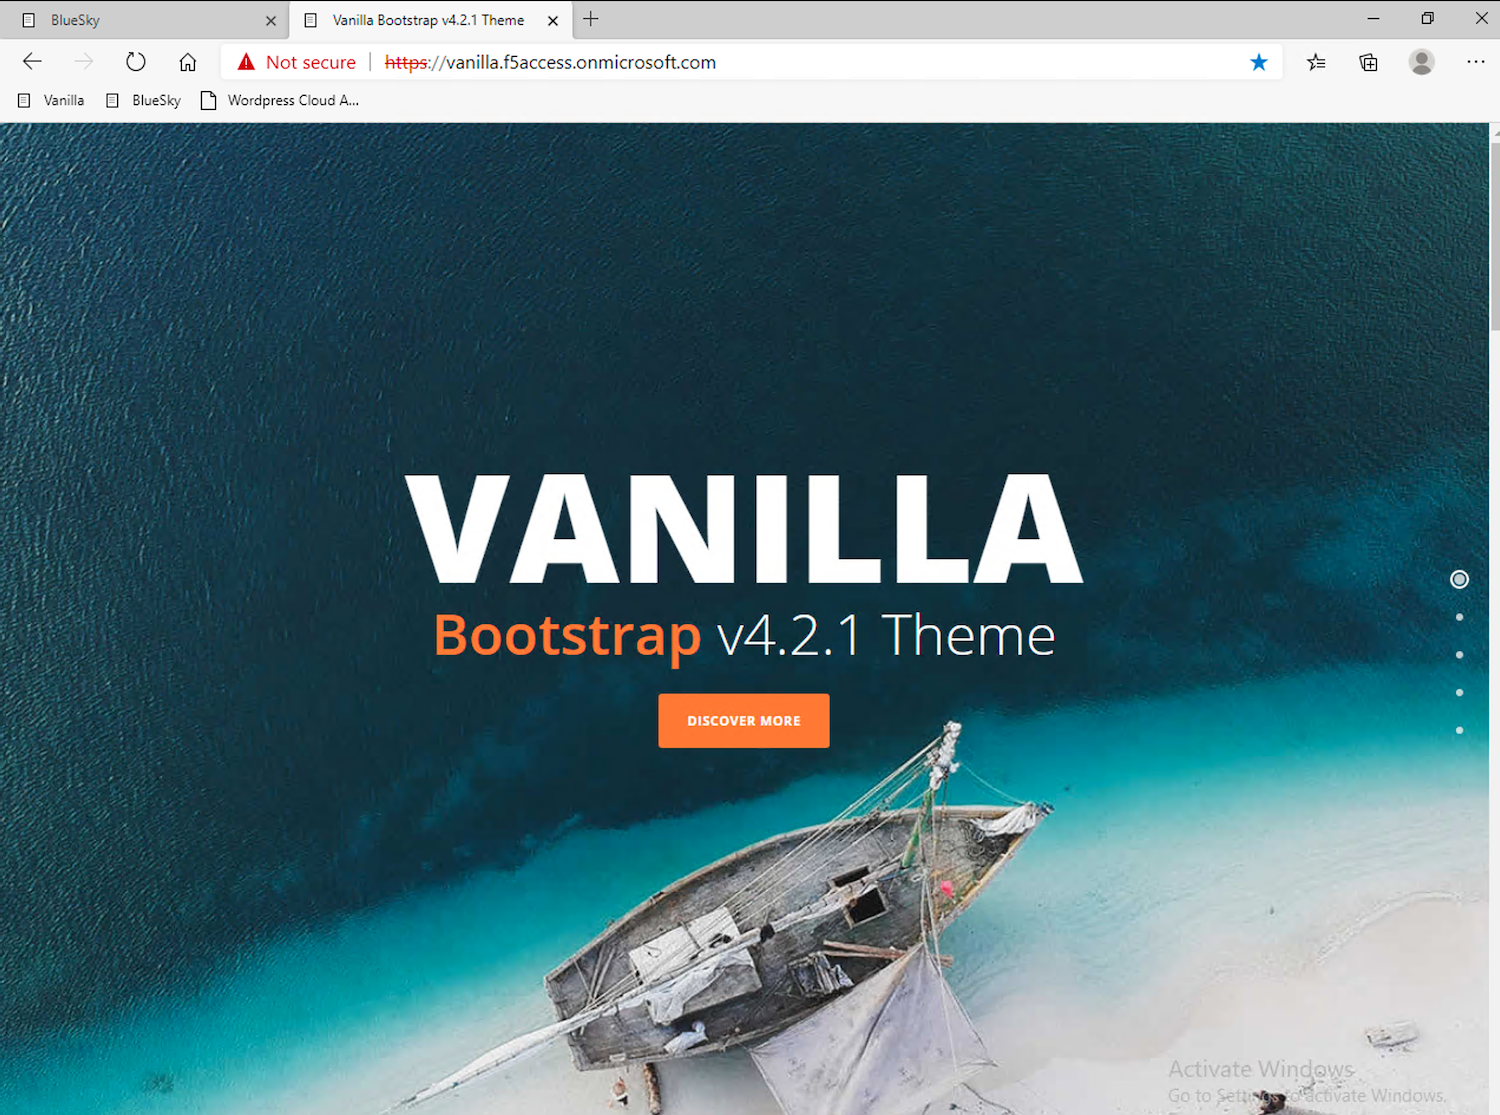
In your already-open browser, Click the
Blueskybookmark. You’ll notice you were automatically authenticated with your already-existing Azure AD session.Optional: enable
Inspect modein Edge orDev Toolsin Chrome, and follow the SAML redirections to understand the workflow.
Section 1.4 - Leverage Azure AD to protect Cloud Apps
In this lab, we will verify that user1 can access any cloud app federated with Azure AD.
As mentioned earlier, customers often deploy applications on-prem and in public clouds. If the customer uses Azure AD as their IDaaS, it will federate all cloud apps within this Azure AD tenant.
As an example, we’ve configured a Wordpress Cloud Application. This application is federated with our Azure AD tenant.
Since everything is handled between the App and Azure AD, you have nothing to configure on the APM side. In the Azure portal, we configured OAuth for the cloud app so that every user attempting to access this App would be redirected to Azure AD for Authentication.

If not already connected, RDP to Win10 as
userand passworduserOpen
Google ChromeorMicrosoft Edge- icons are on the Desktop and TaskbarClick on the bookmarks menu/toolbar and select
Wordpress Cloud AppJust like before, you’ll only be redirected to the Azure AD login page if your prior session expired. Accessing this app can take a while so be patient. Pay special attention to the address bar and you’ll notice the redirects during the authentication process. If prompted for creds, Login as
user1@f5access.onmicrosoft.comand the password is stored in a text file namedazure_ad_creds.txton the Win10 Desktop.After Azure AD authenticates (either transparently or via login,) you’re redirected to the
cloud appin Azure cloud, and can access to Wordpress-UDF application.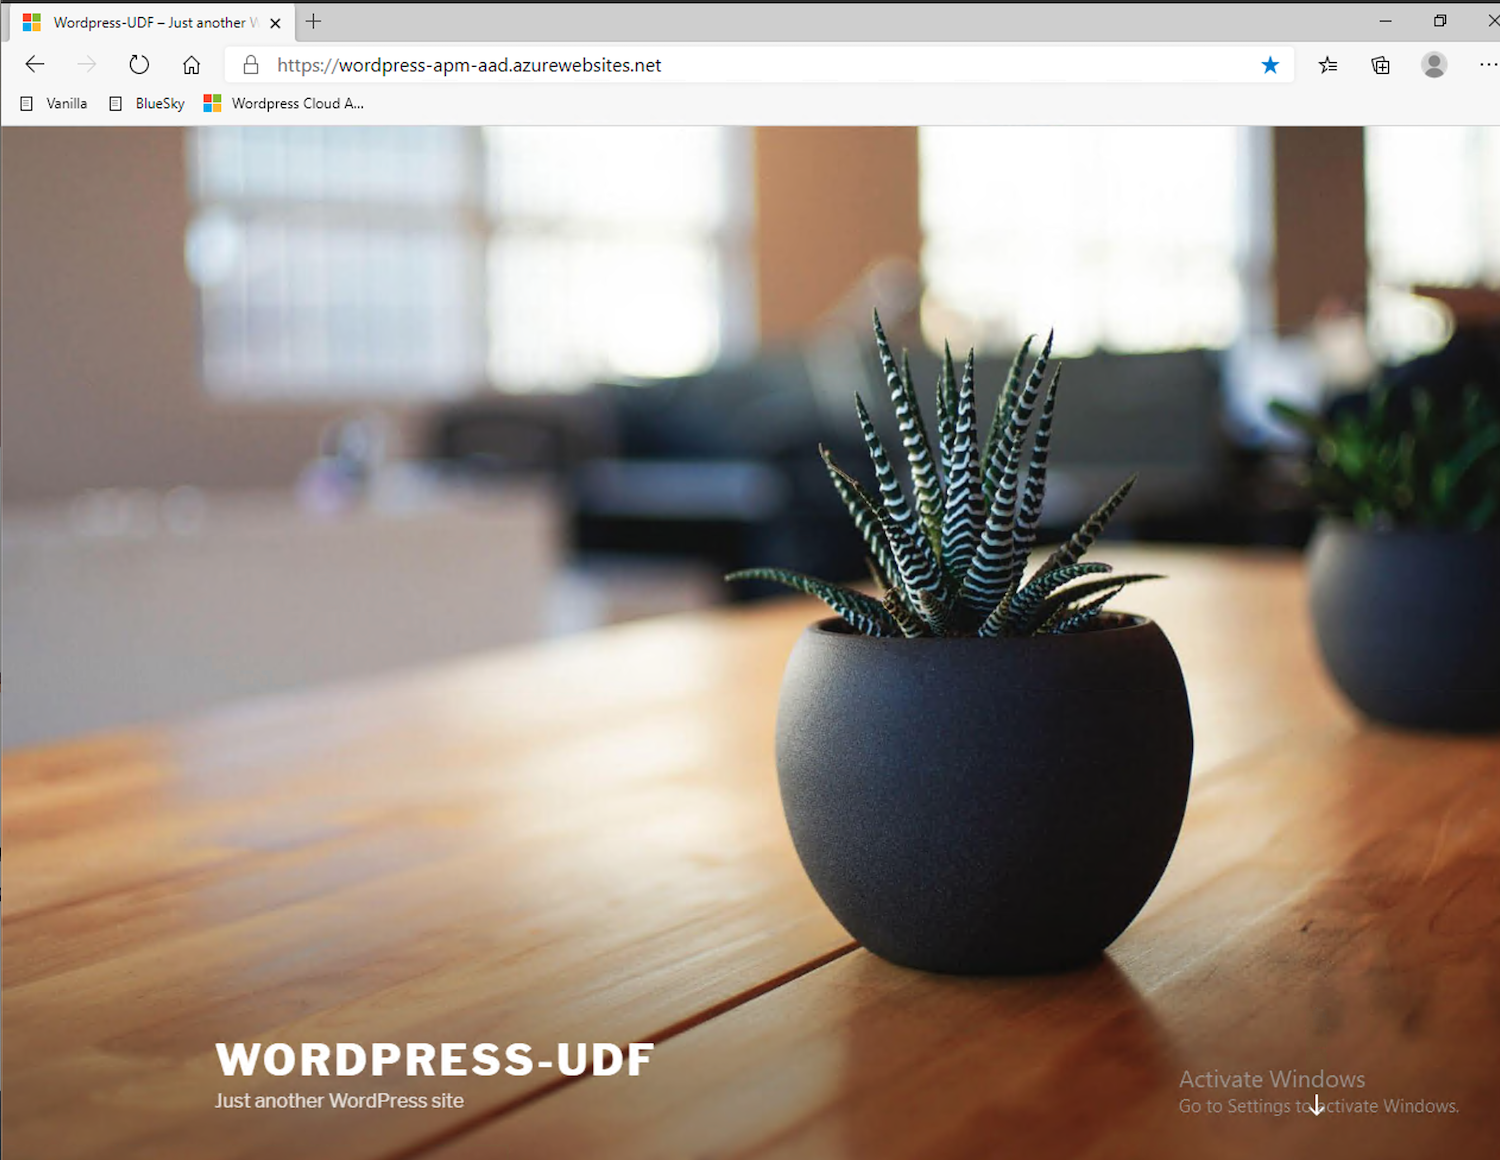
Section 1.5 - Clean up the Lab
Warning
In order to keep the Azure AD tenant clean, it is important you delete your application in the Guided Configuration, when your demo is finished.
In Guided Configuration menu, click on the
Undeployicon for IIS-Bluesky, thenOK. After it finishes, do the same for IIS-Vanilla. You don’t need to do anything for IIS-baseline.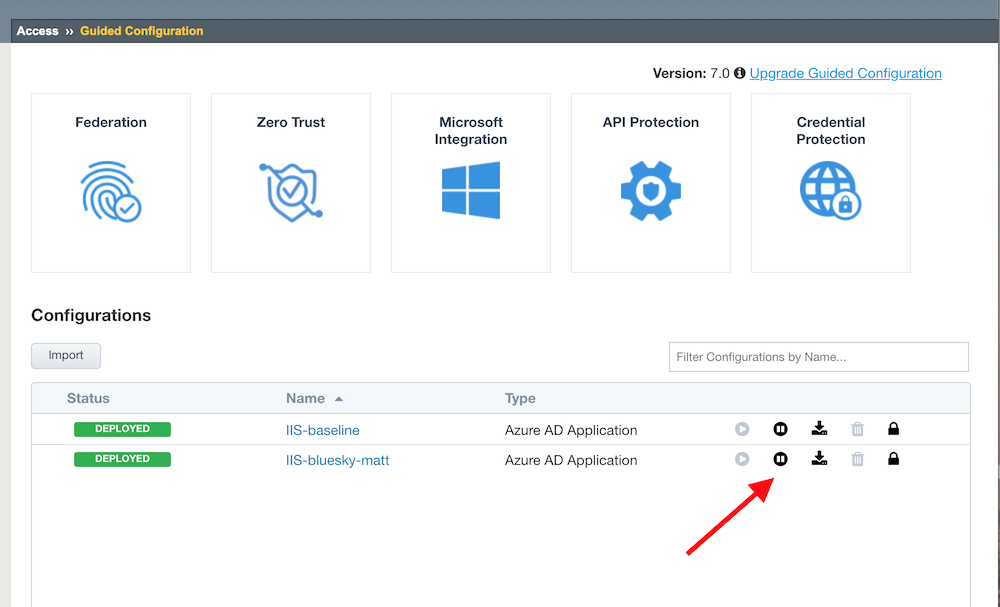
After undeploying has finished, click on the
Deleteicon for each app, thenOK.
Note
Thanks a lot, you cleaned up your config on both sides (APM and AAD). FYI, all old deployments will be deleted automatically in Azure AD.