F5 Public Cloud Solutions > F5 WAF in AWS > Extending and Securing your Cloud Source | Edit on
Deploy an AWS High-Availability-aware virtual server across two Availability Zones
Login to the active Big-IP1 Configuration utility (Web UI). The “HA_Across_AZs” iApp will already be deployed in the Common partition.
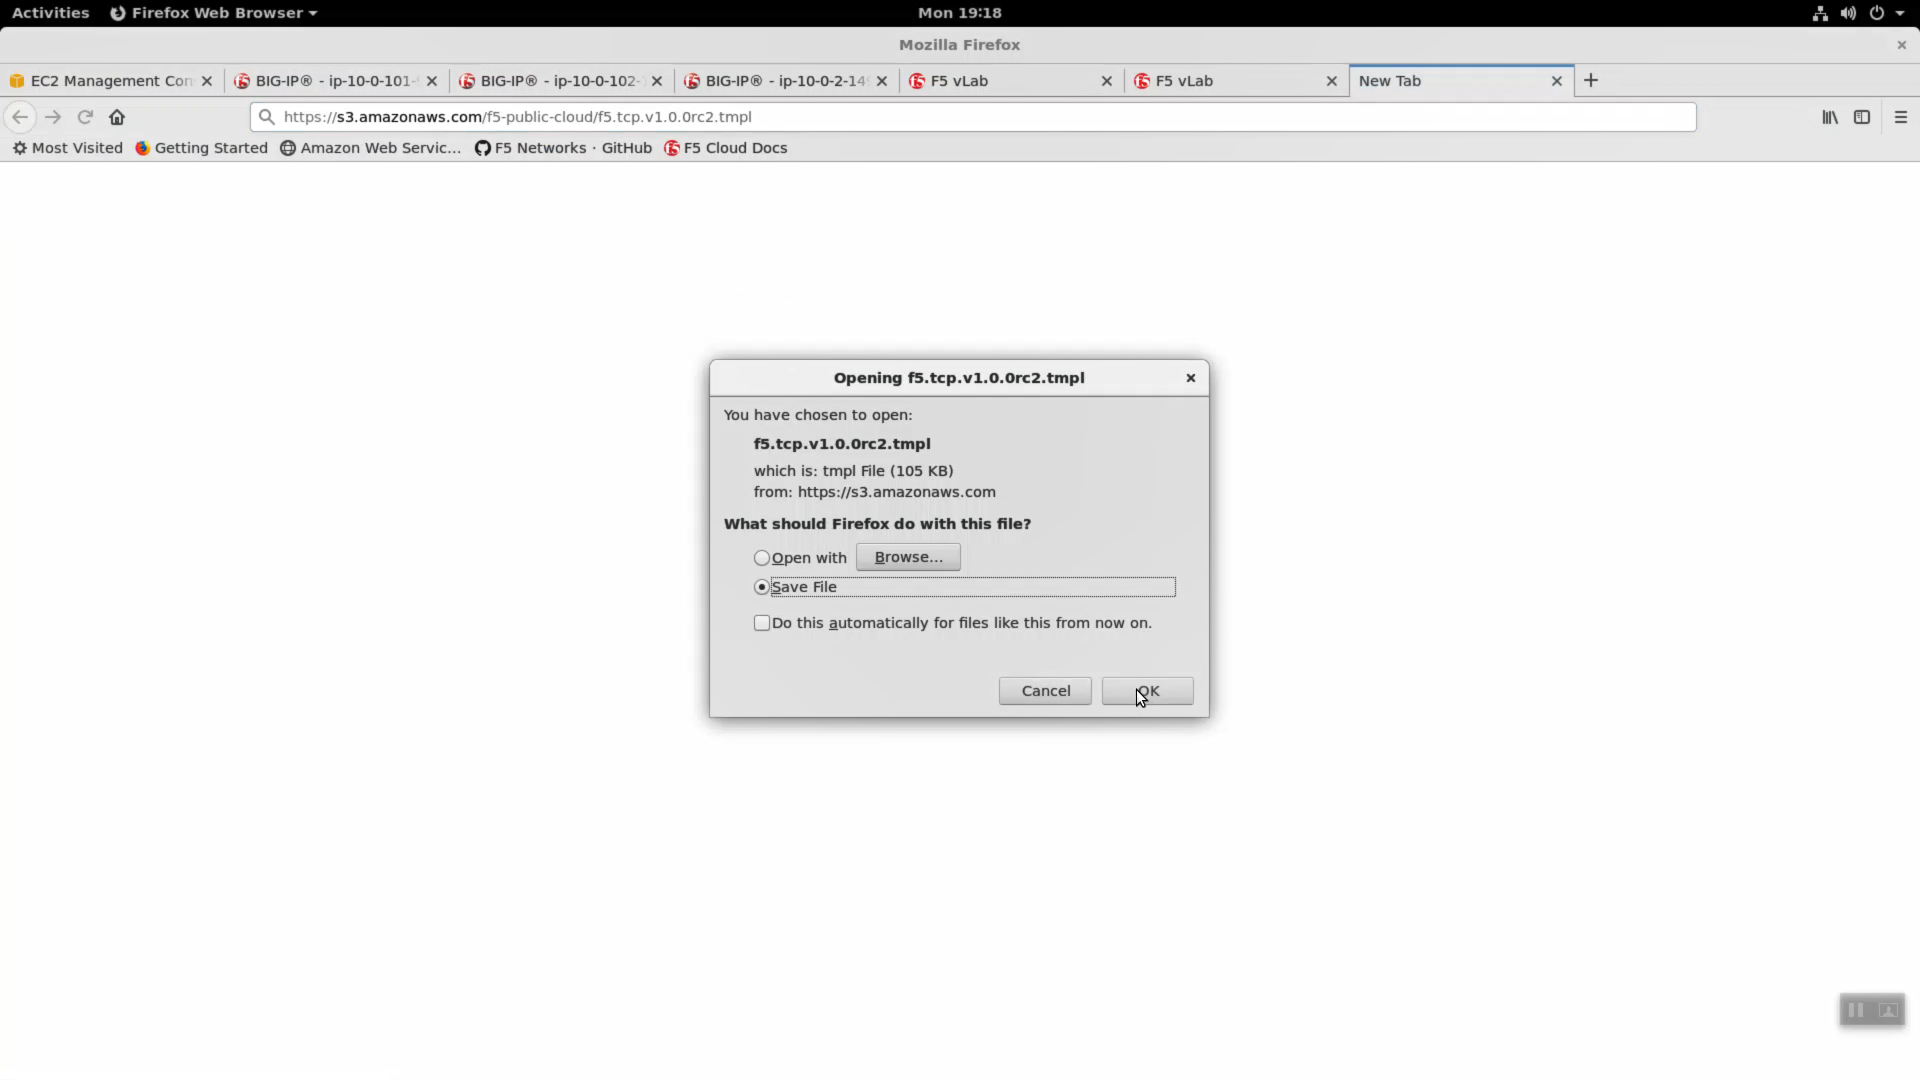
Download the latest tcp iApp template from https://s3.amazonaws.com/f5-public-cloud/f5.tcp.v1.0.0rc2.tmpl.
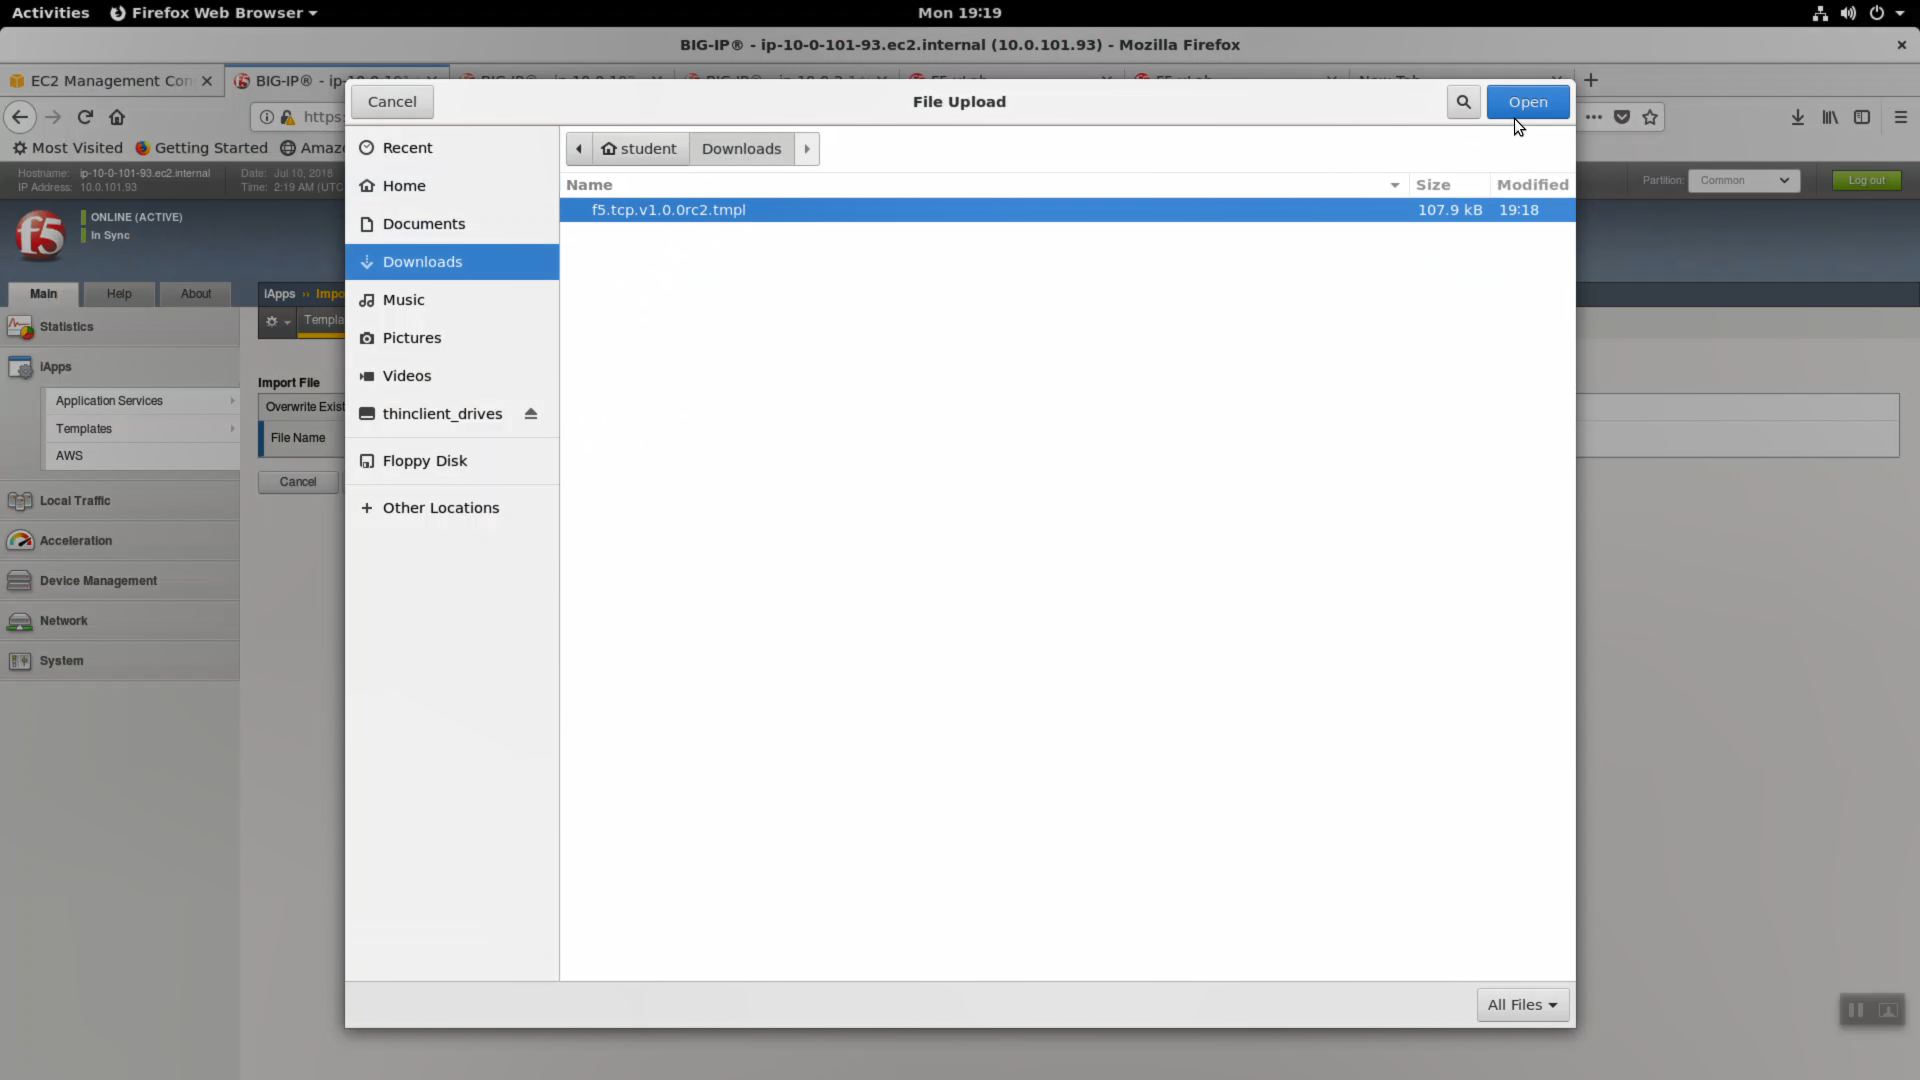
iApps -> Templates -> import. Import f5.tcp.v1.0.0rc2.tmpl to the primary BigIP. The secondary BigIP should pick up the configuration change automatically.
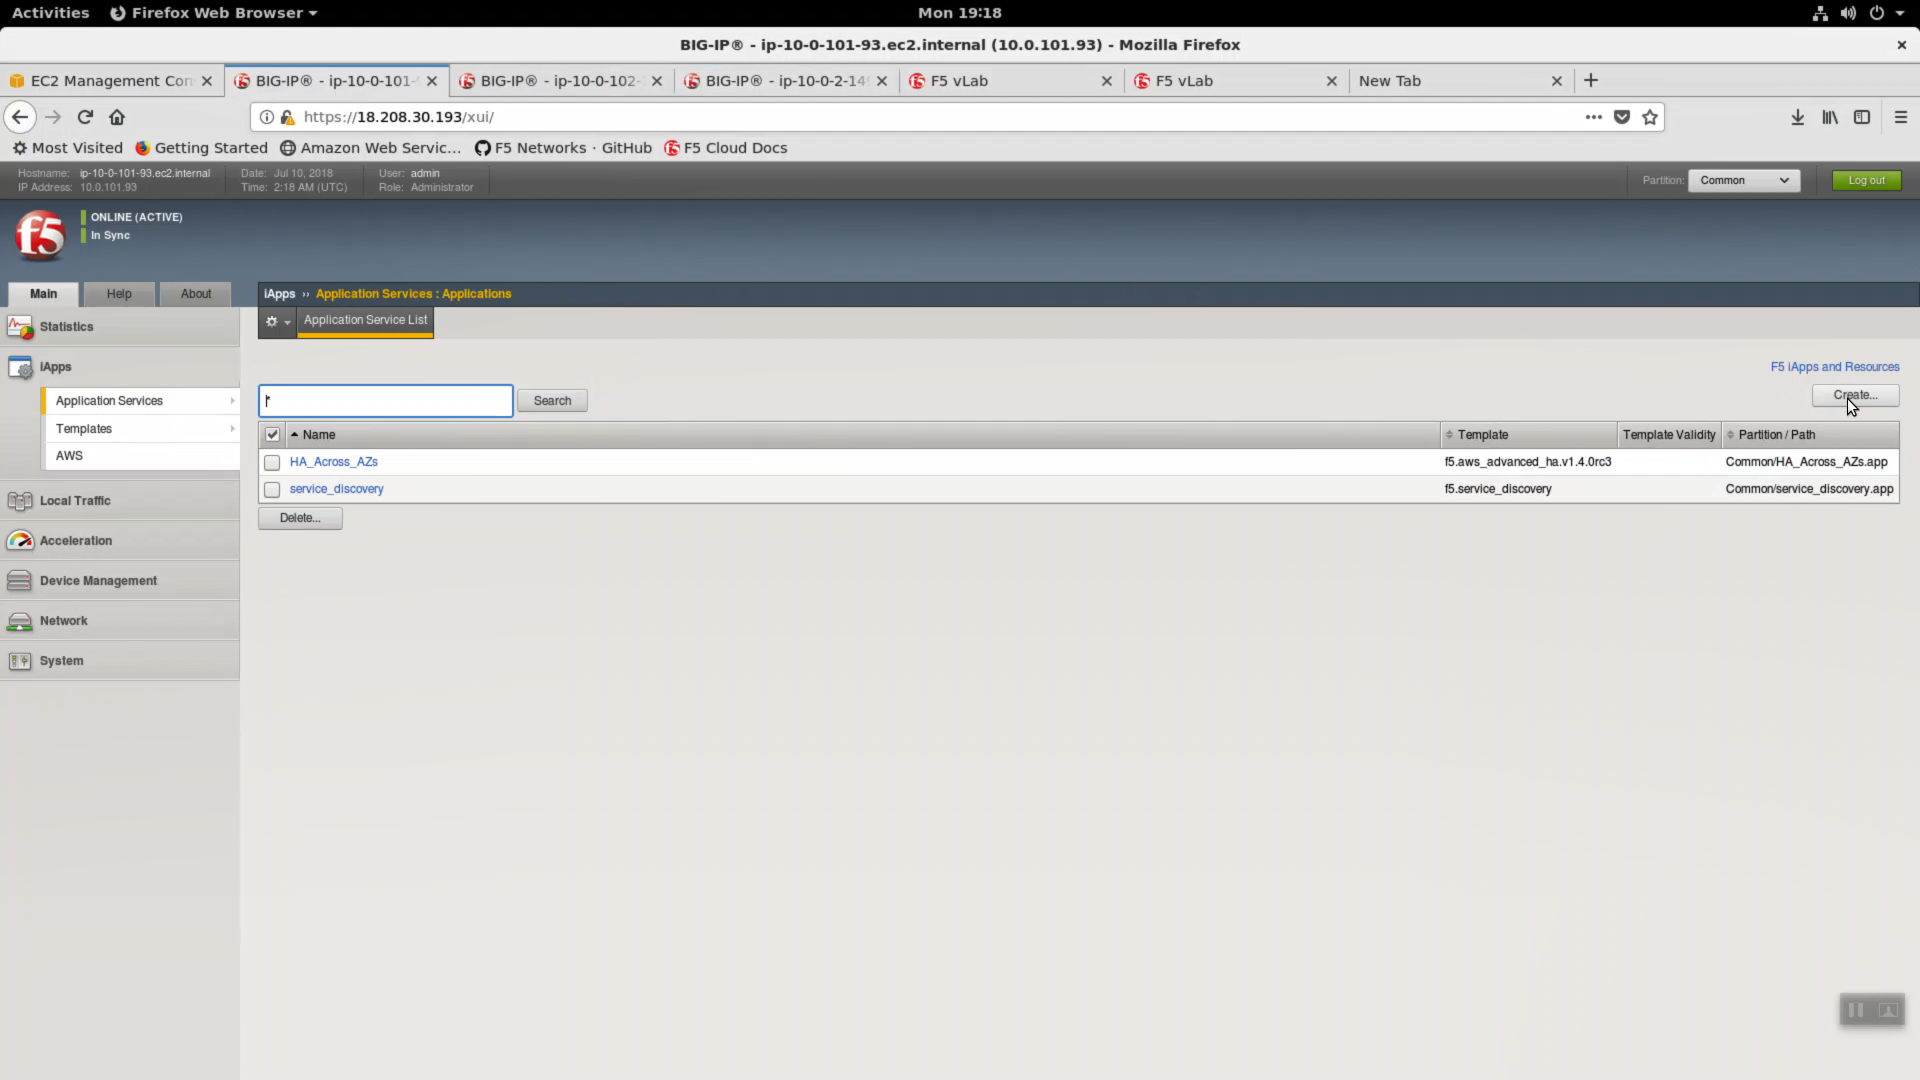
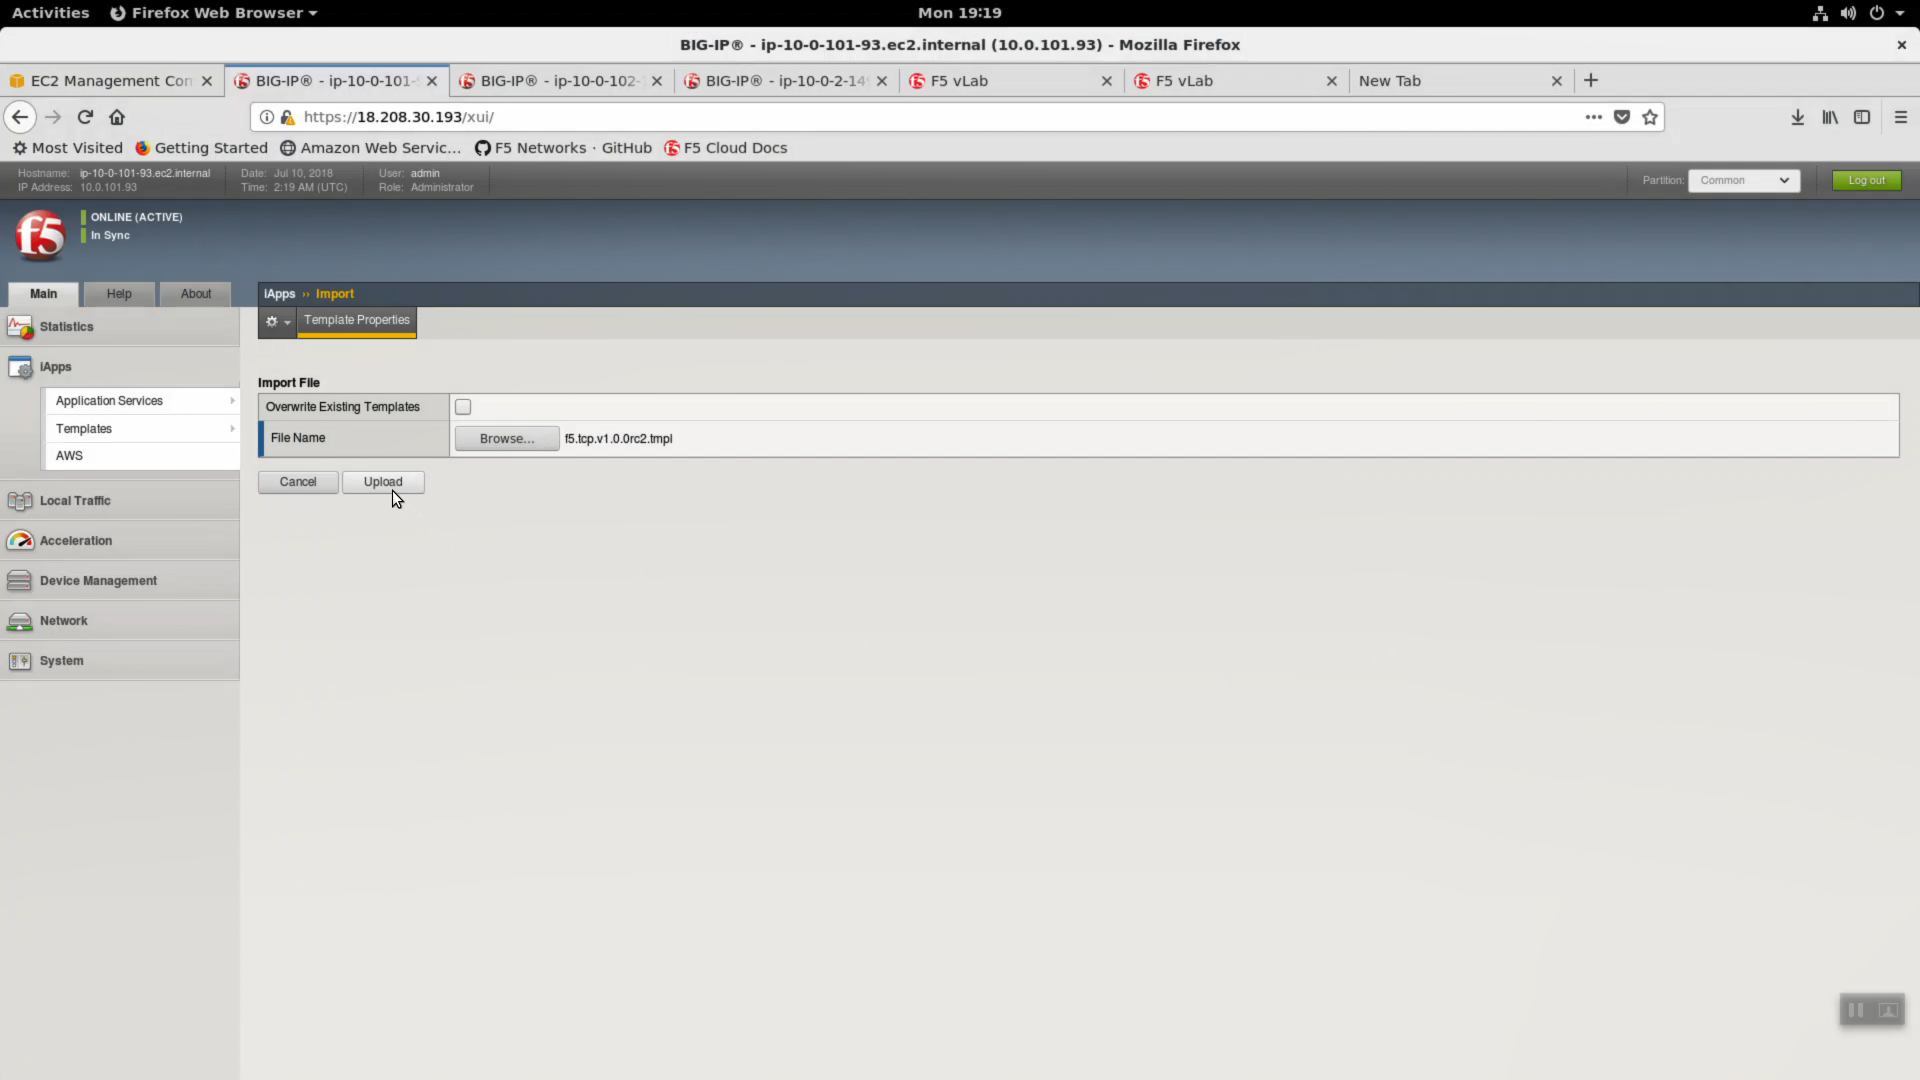
Deploy an iApp using the f5.tcp.v1.0.0rc2.tmpl template.
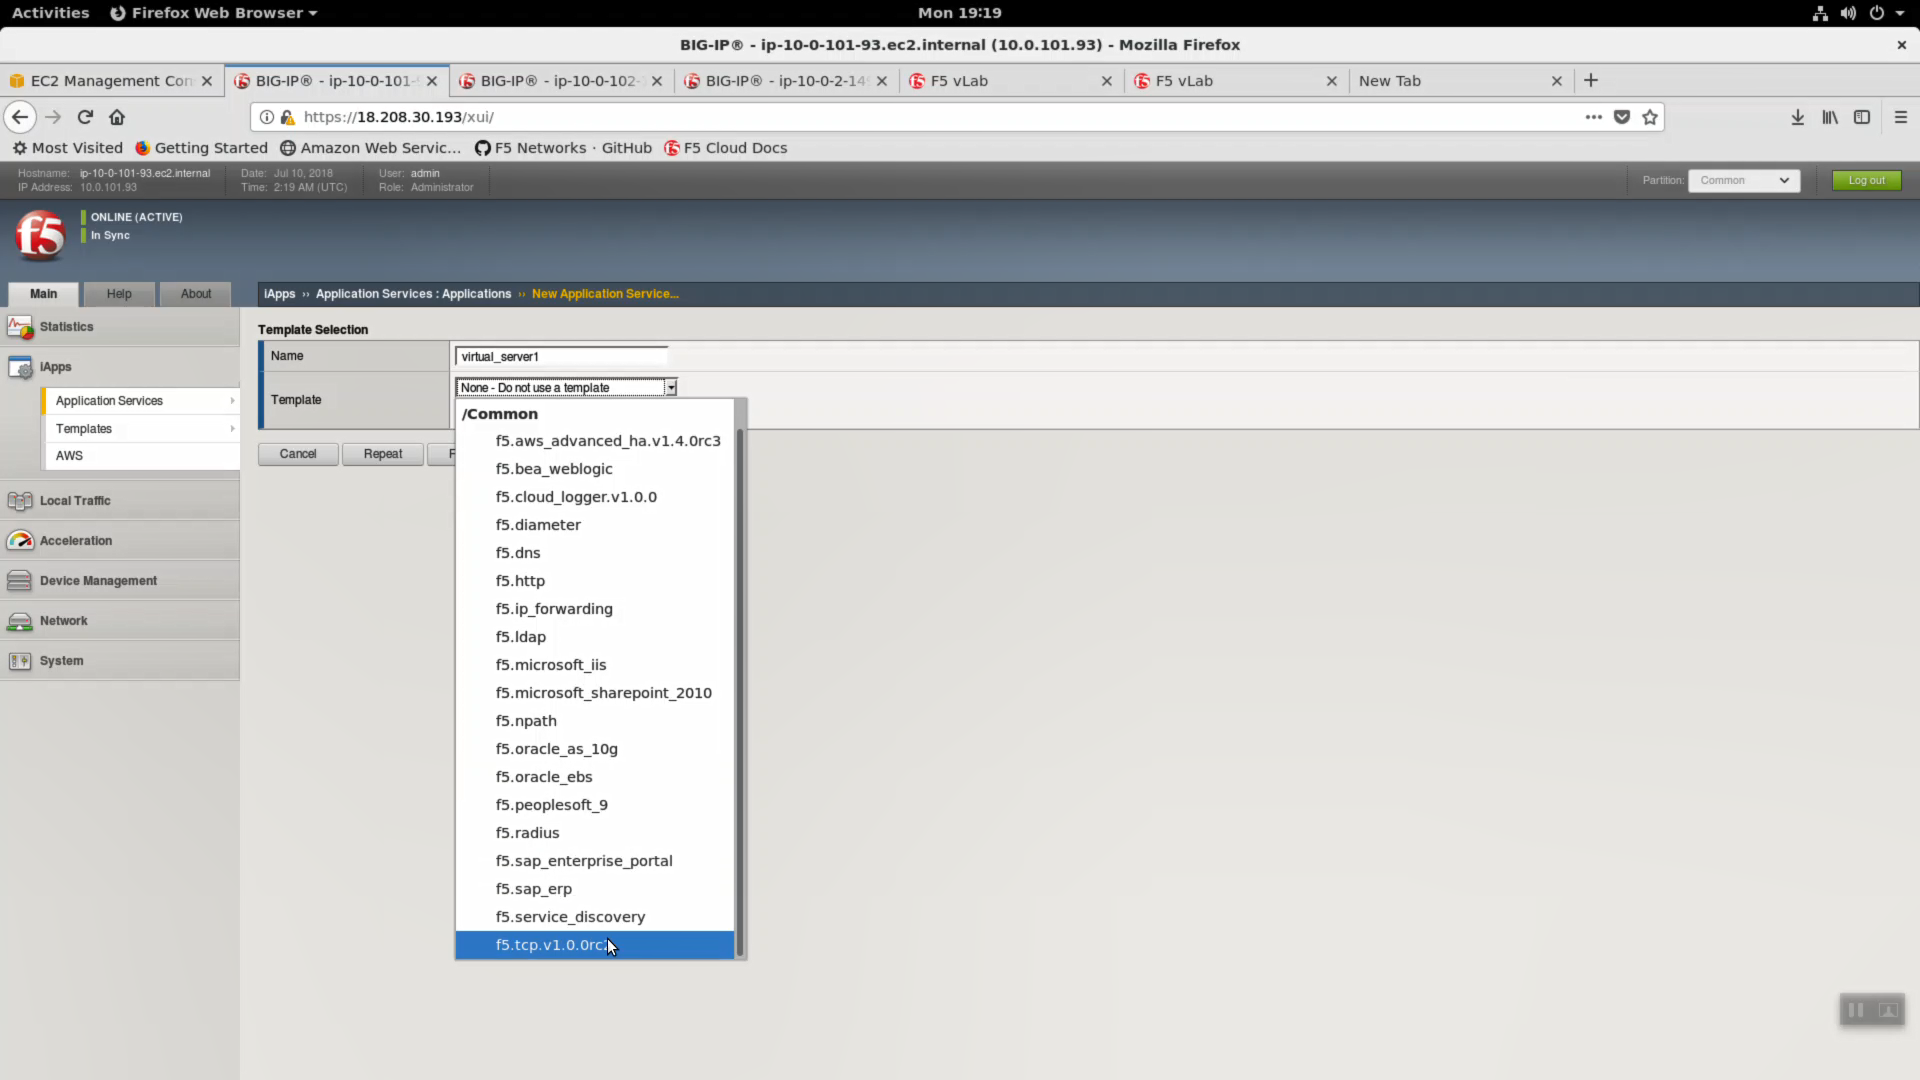
iApps => Application Serves => Select f5.tcp.v1.0.0rc2 template from the dropdown. Name: virtual_server_1.
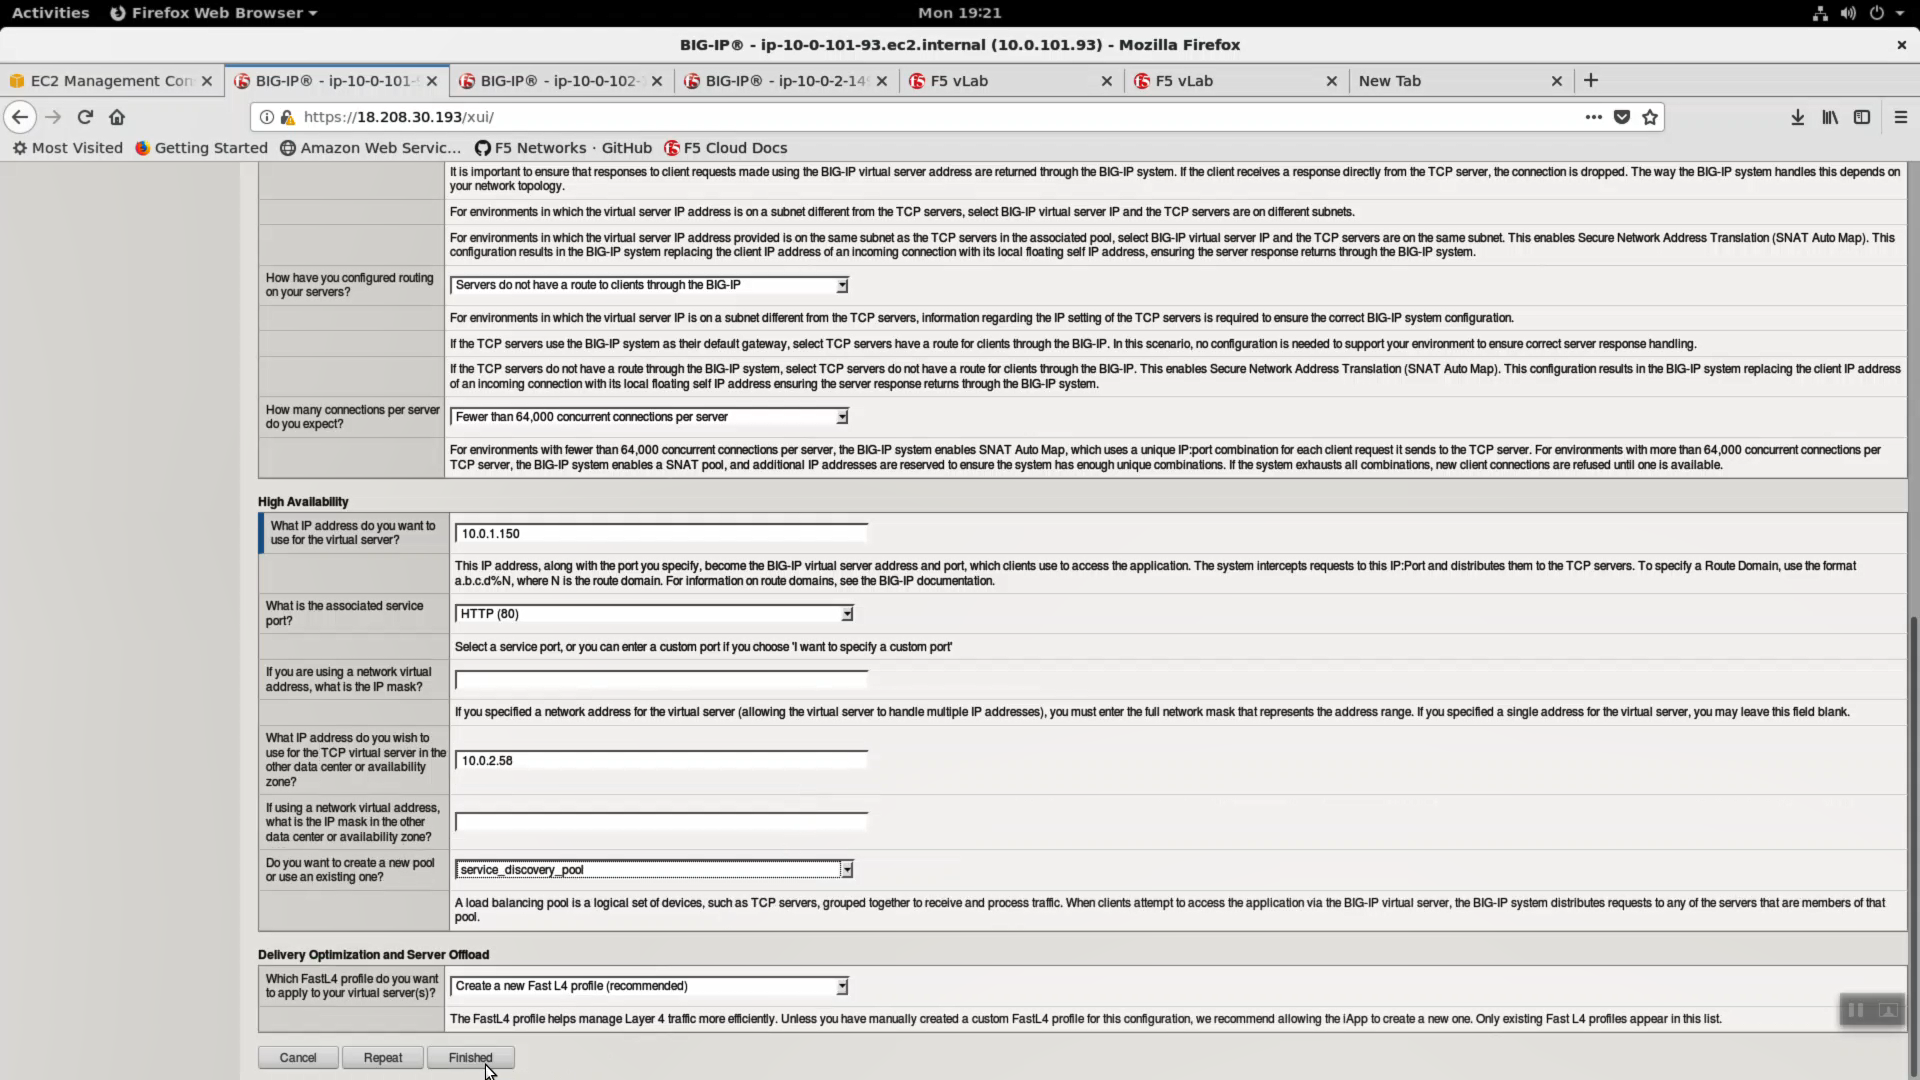
Configure iApp: Select “Advanced” from “Template Selection”.
Traffic Group: UNCHECK “Inherit traffic group from current partition / path”
| Question | value |
|---|---|
| Name: | virtual_server_1 |
| Inherit traffic group from current partition / path | uncheck |
| High Availability. What IP address do you want to use for the virtual server? | VIP IP of Big-IP1 |
| What is the associated service port? | HTTP (80) |
| What IP address do you wish to use for the TCP virtual server in the other data center or availability zone? | VIP IP of Big-IP2 |
| Do you want to create a new pool or use an existing one? | service_discovery_pool |
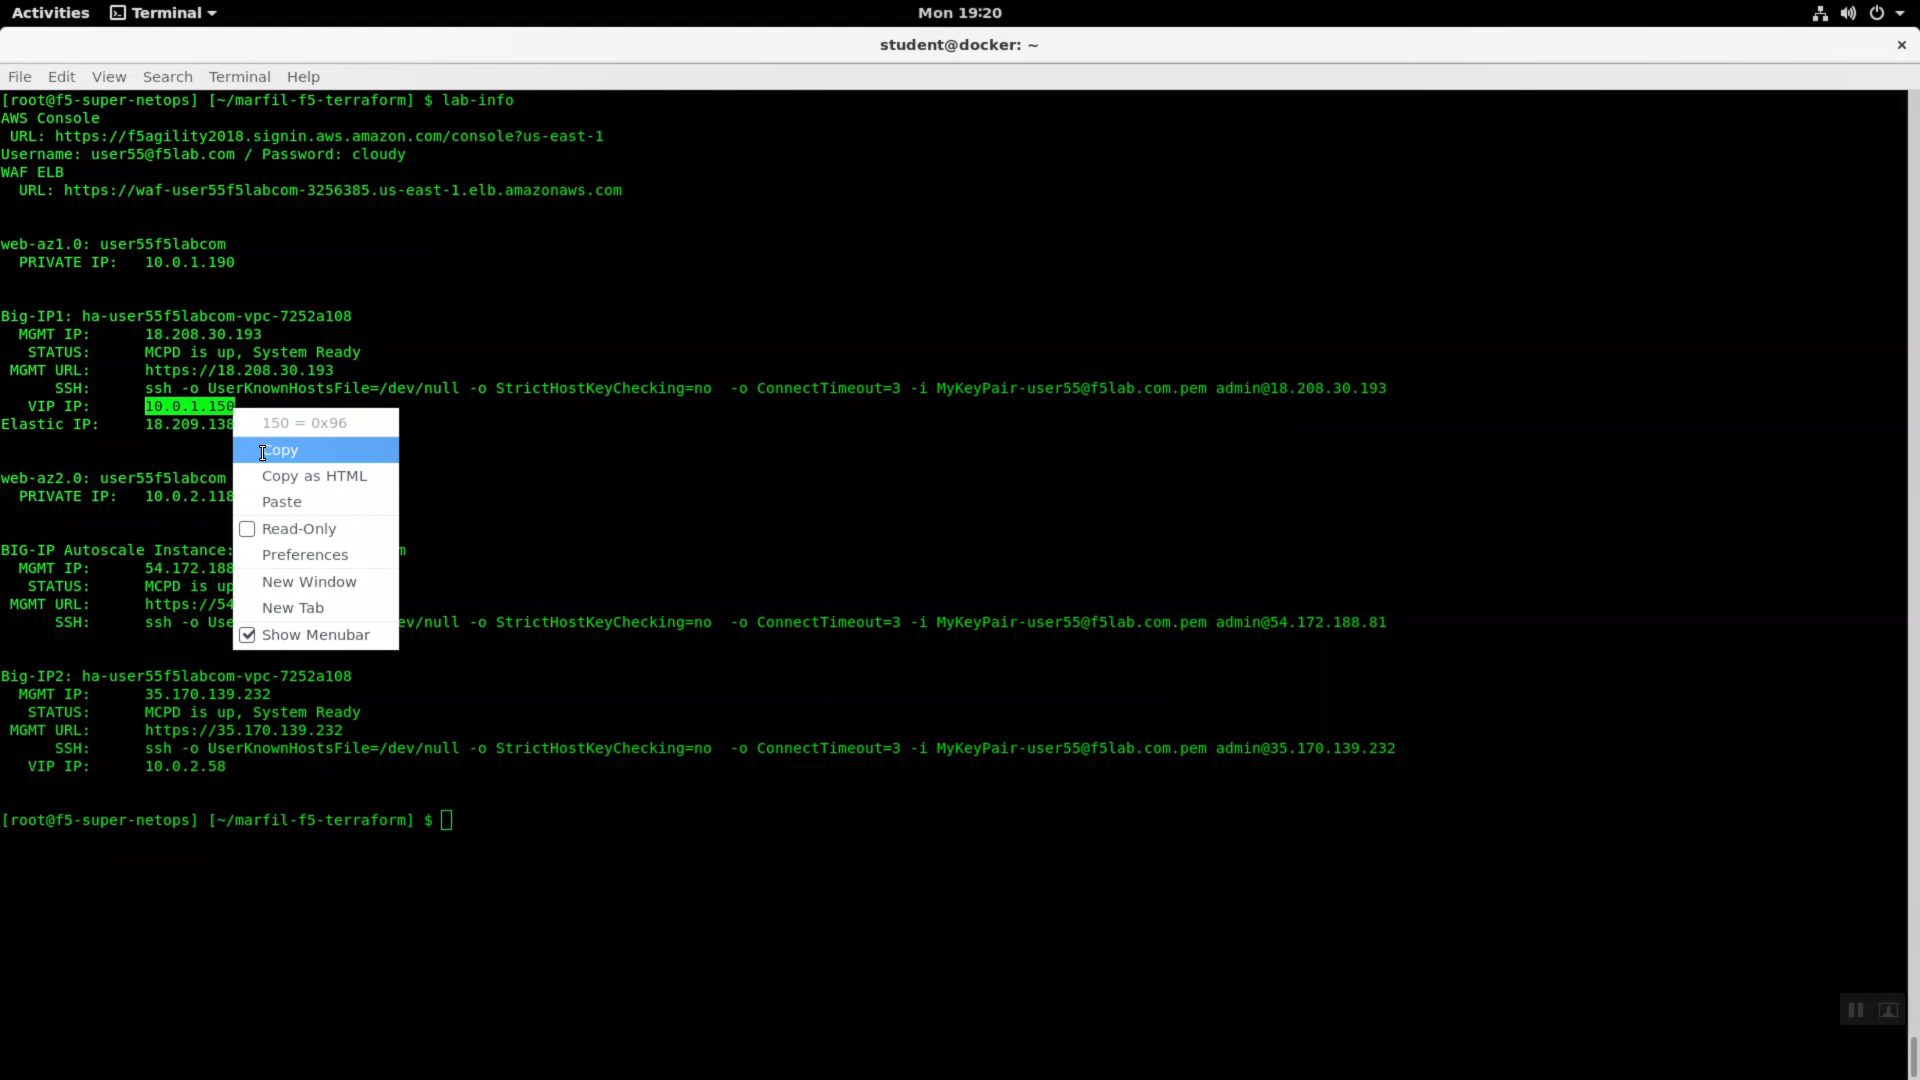
From the Super-NetOps terminal. Invoke terraform output and copy the value for Big-IP1 => VIP IP. Use this value in the iApp as explained in the chart above.
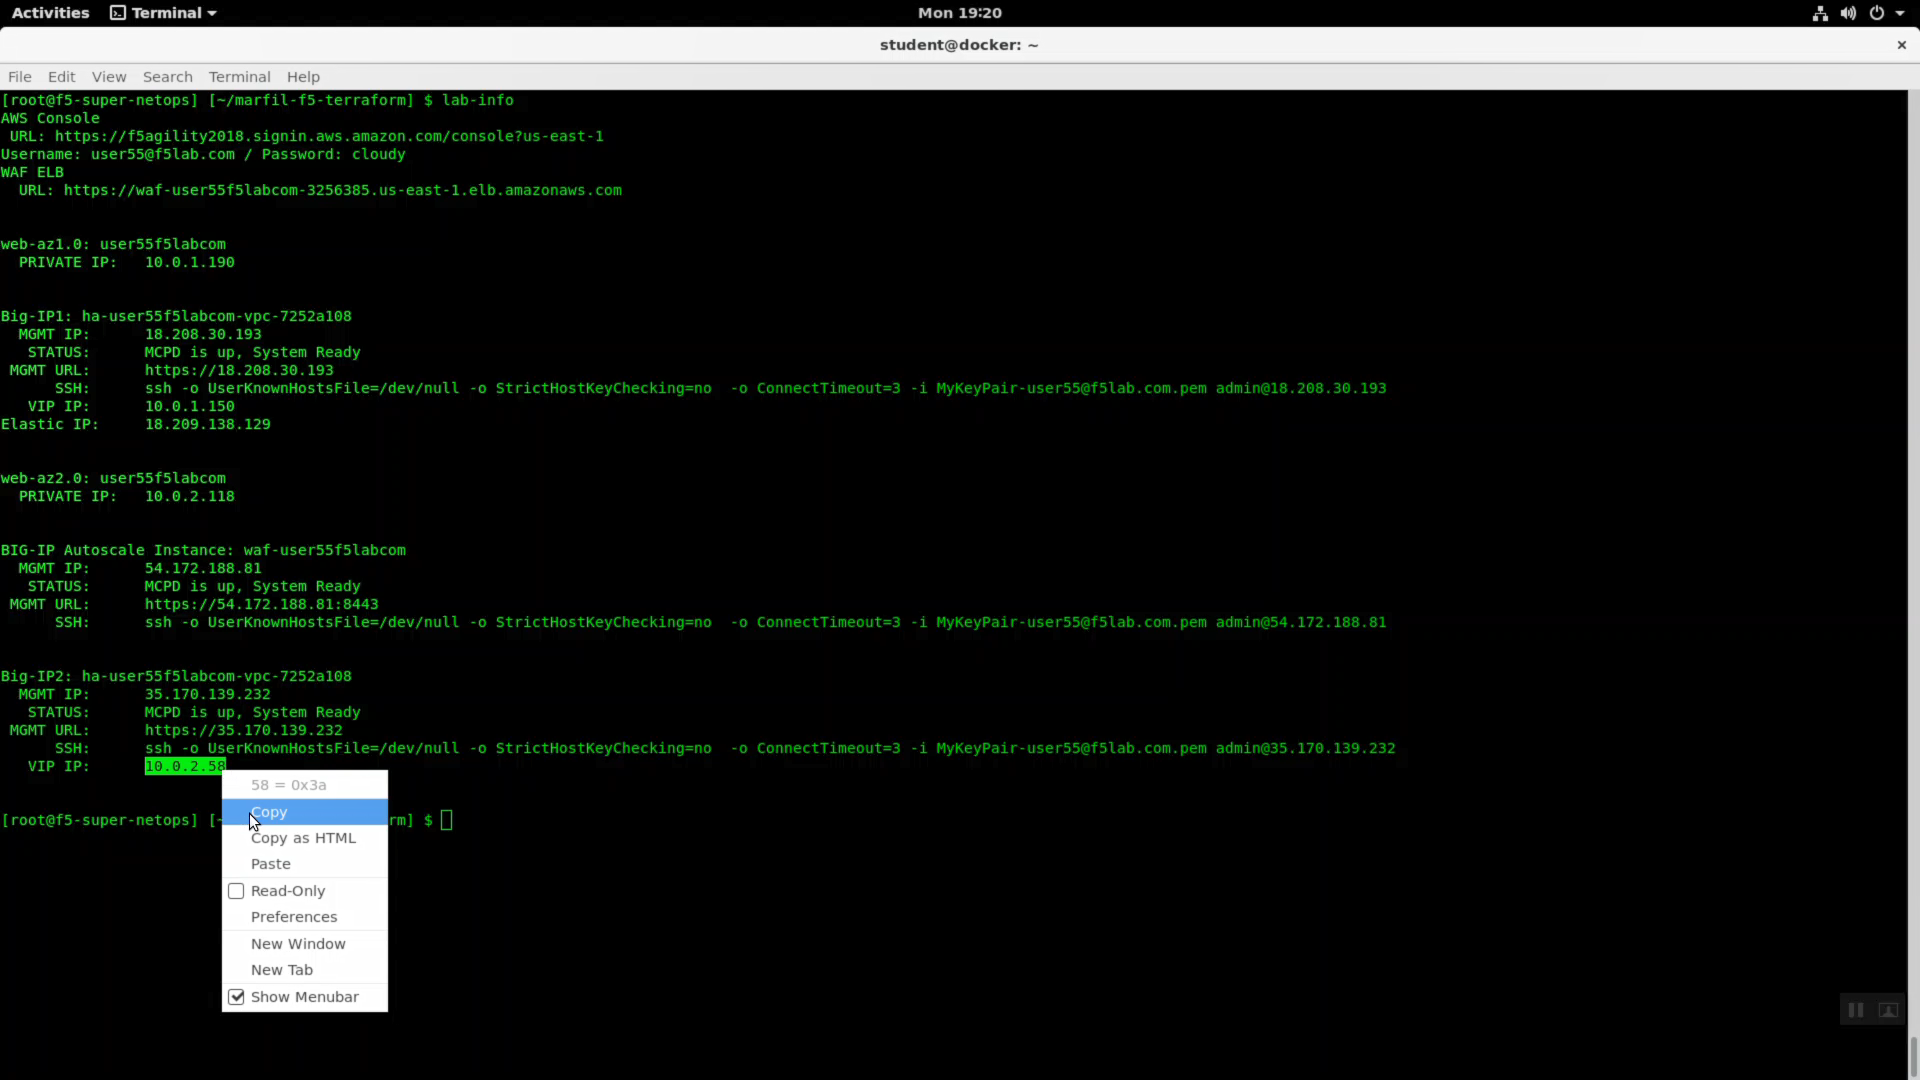
From the Super-NetOps terminal. Invoke terraform output and copy the value for Big-IP2 => VIP IP. Use this value in the iApp as explained in the chart above.
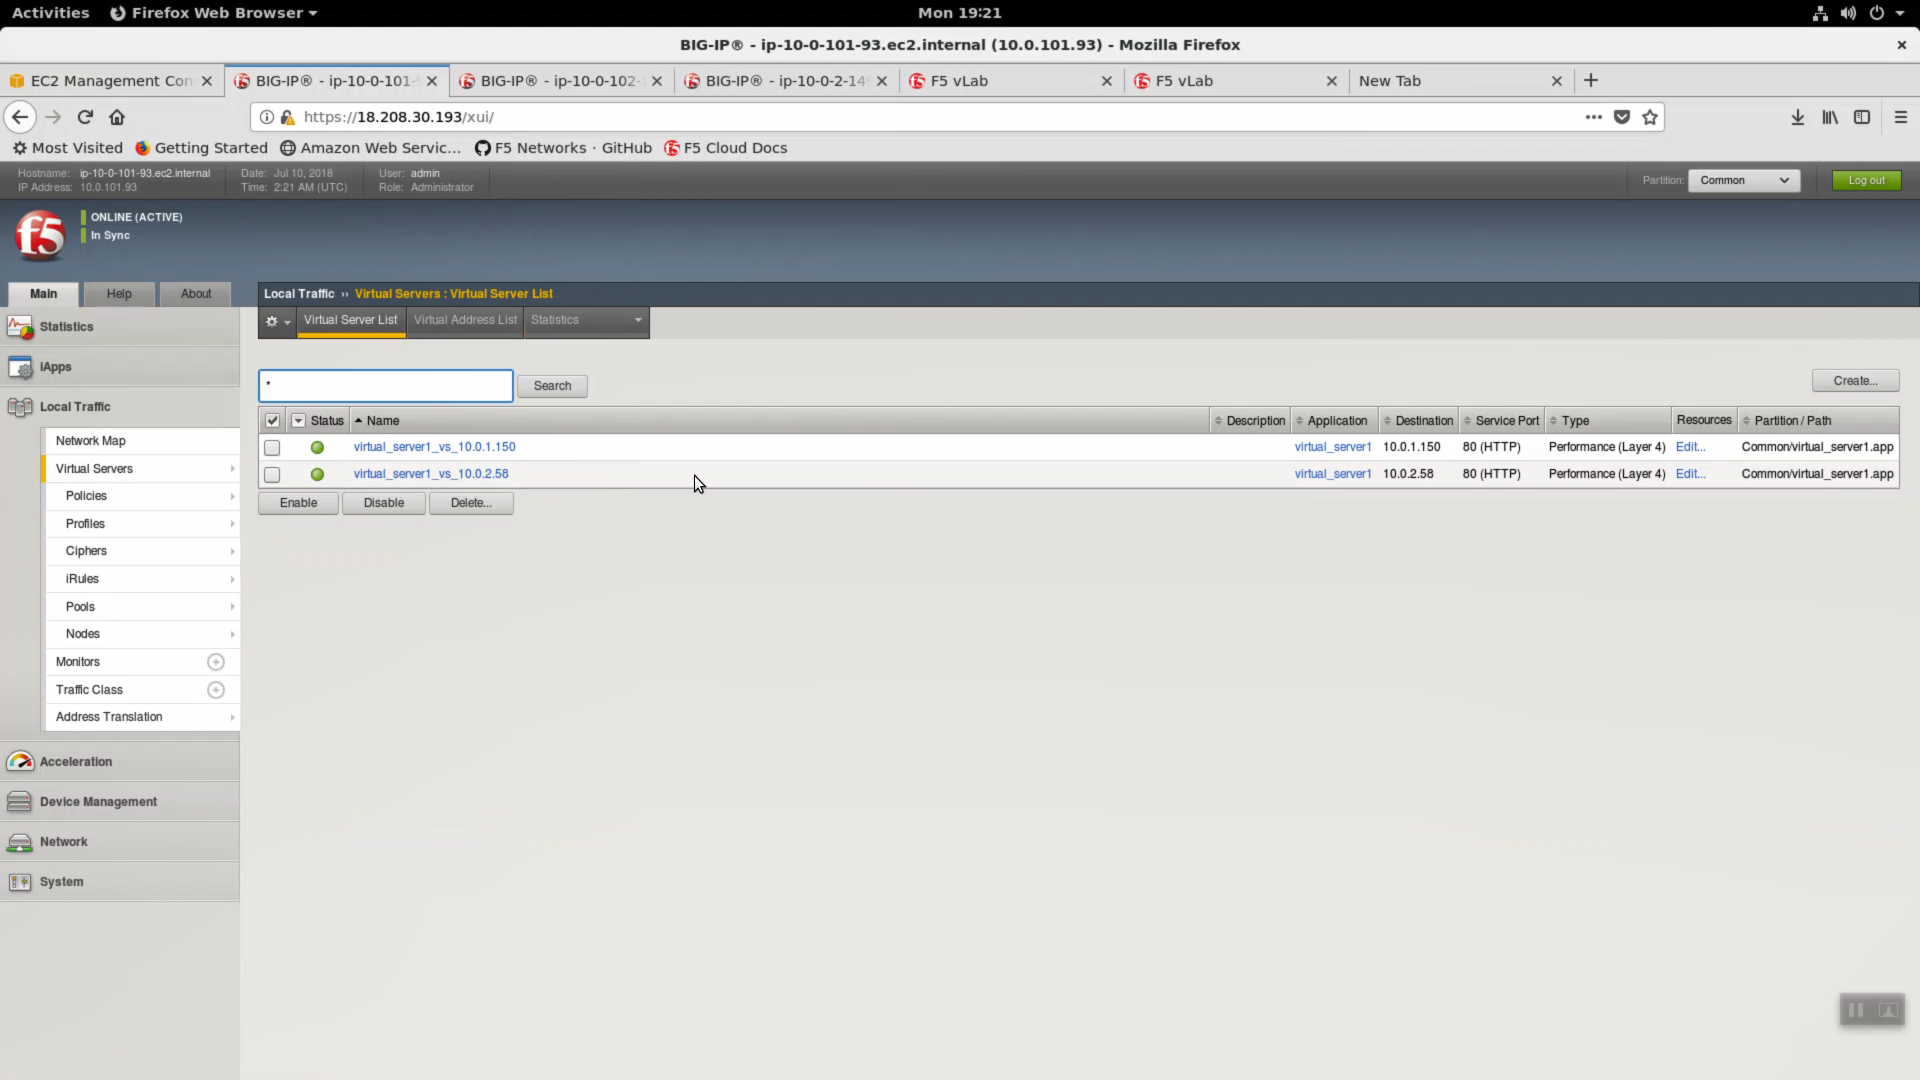
The iApp will create two virtual servers on both Big-IP’s. The iApp deployment on Big-IP1 will automatically and immediately sync to Big-IP2.
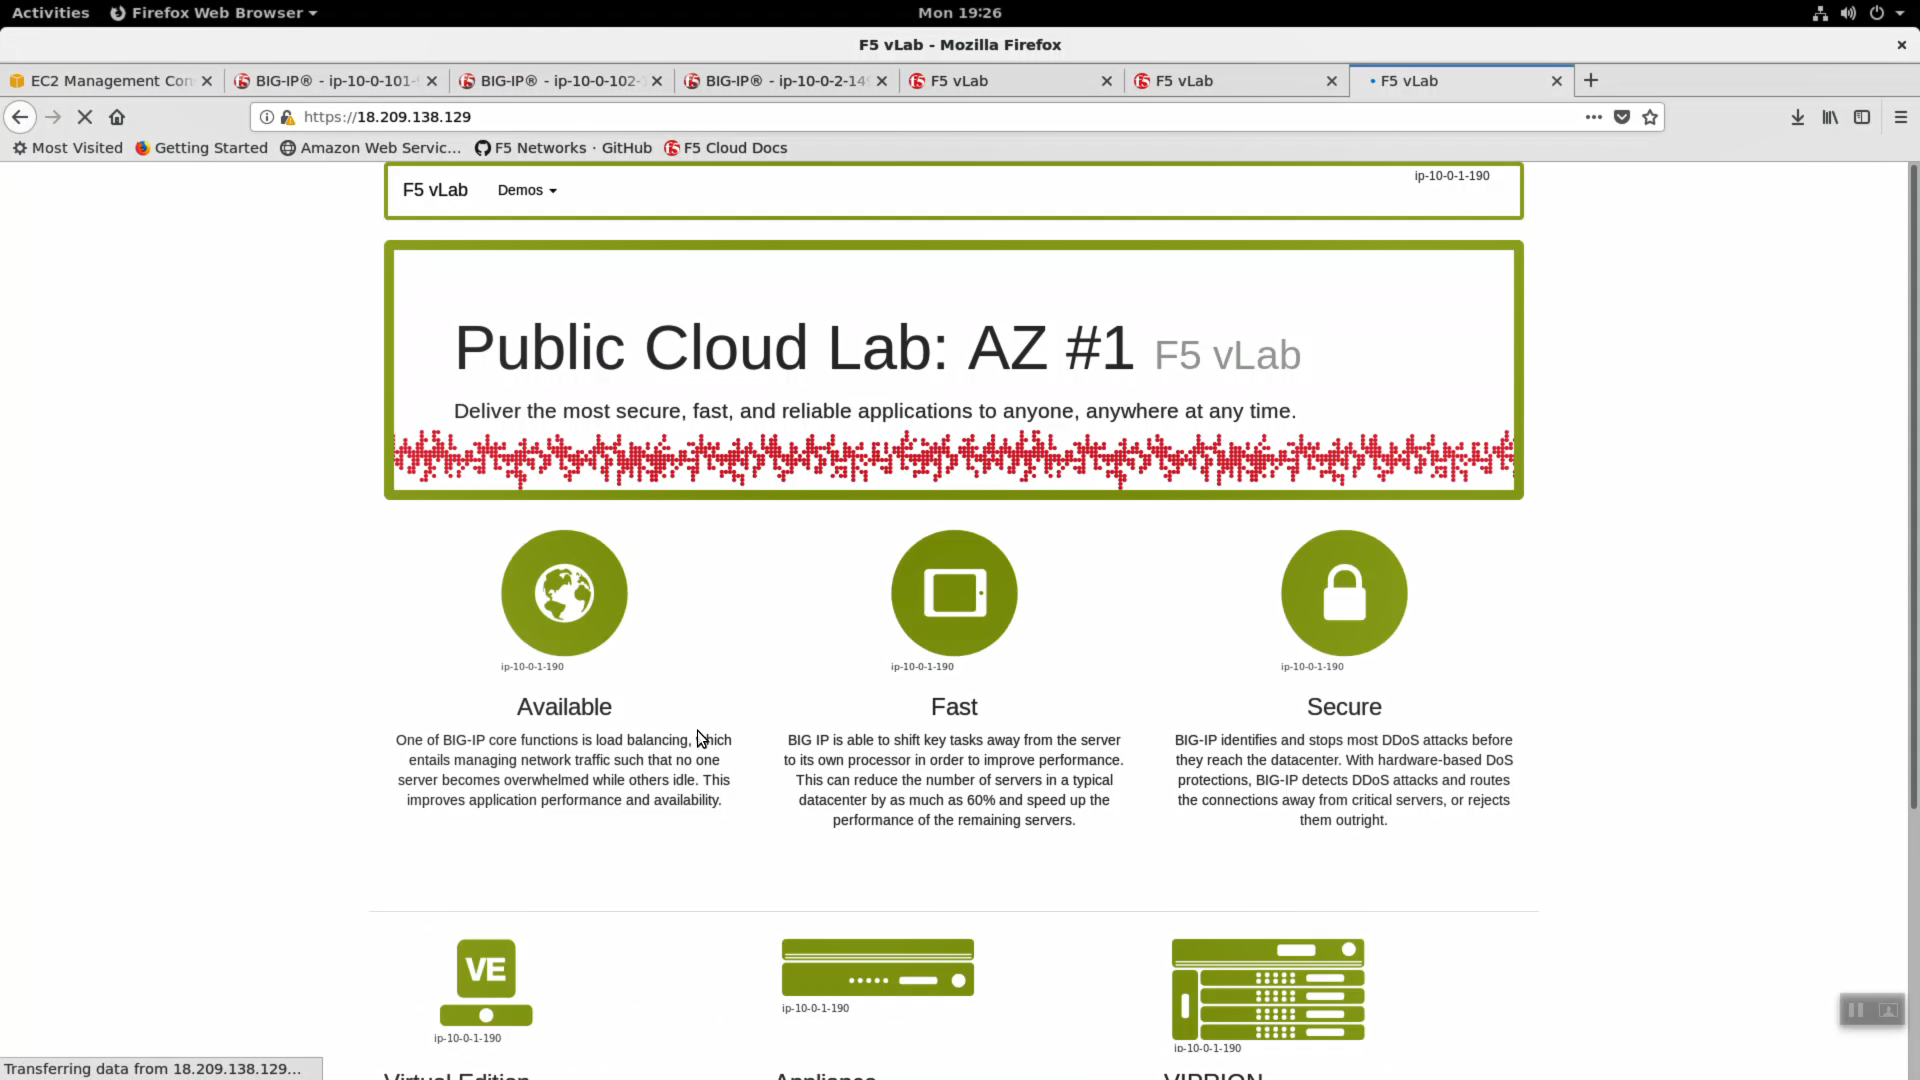
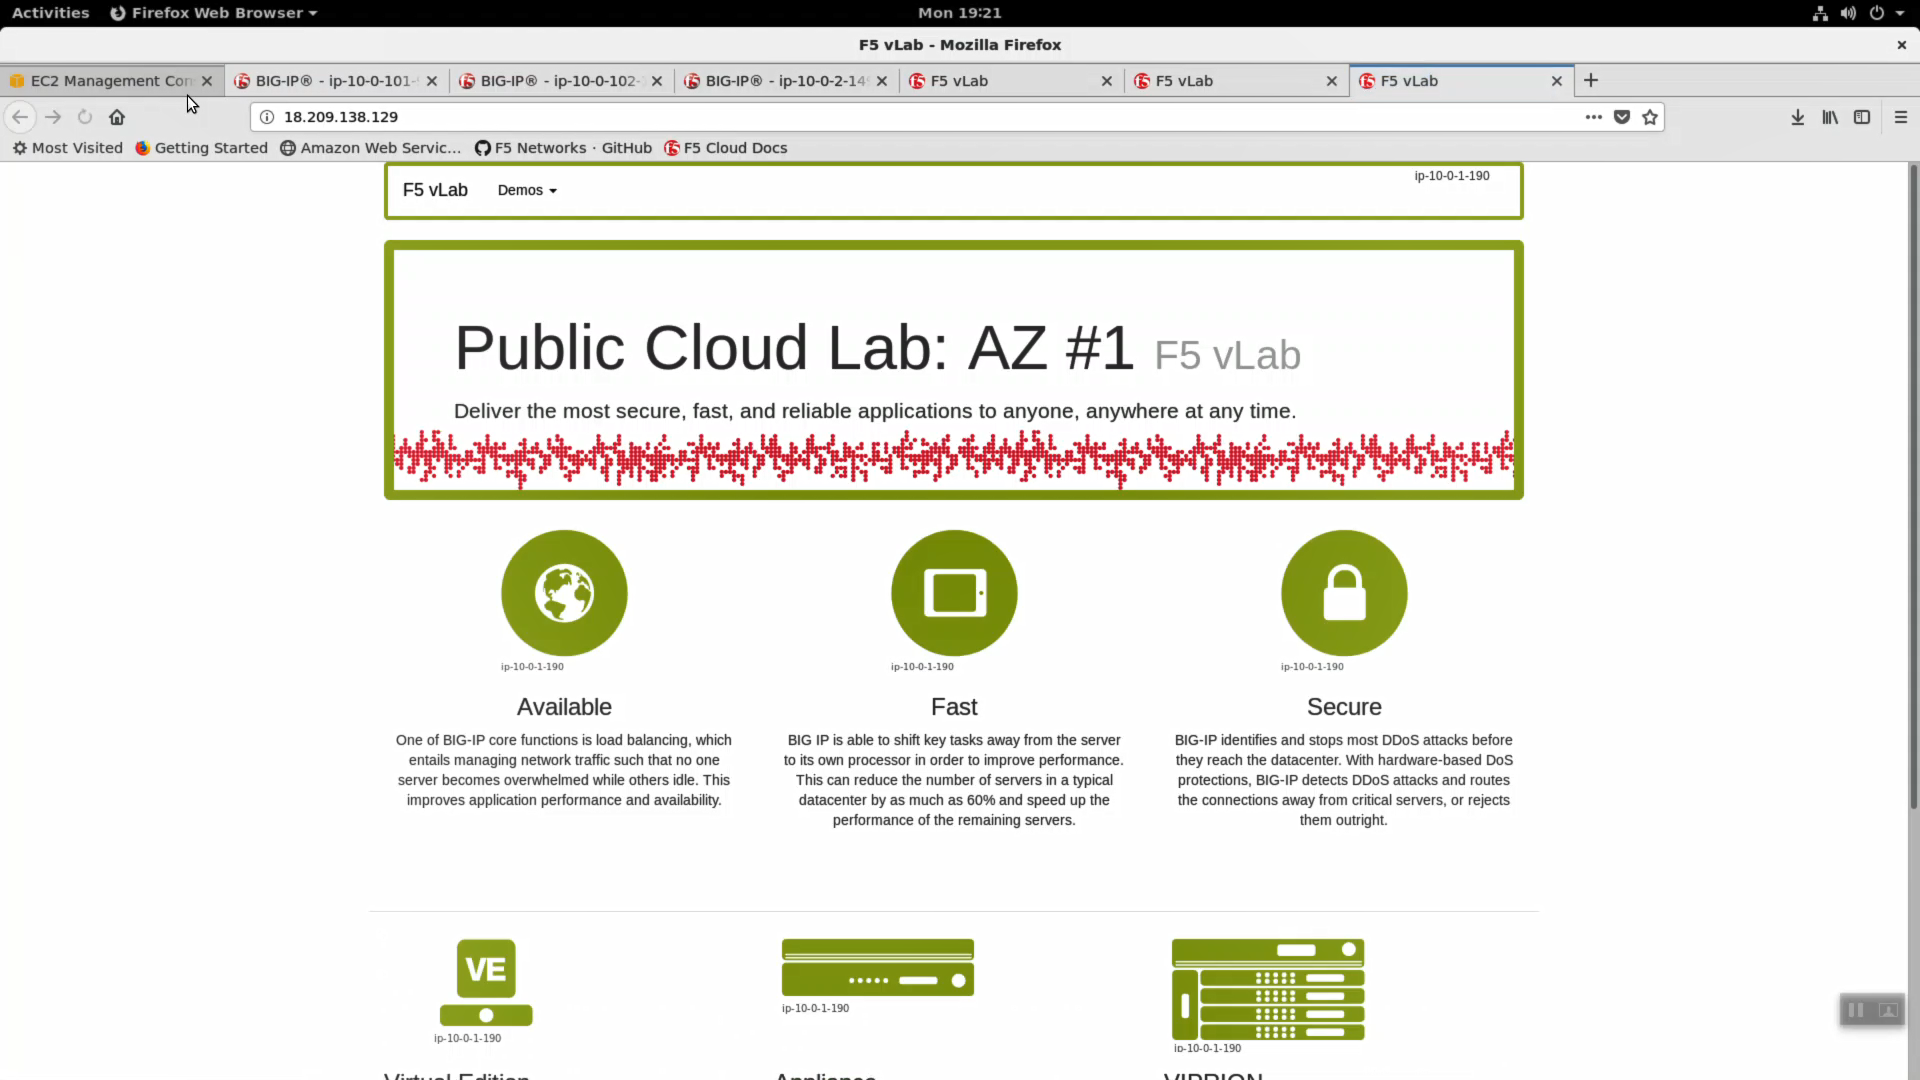
From the Super-NetOps terminal. Invoke terraform output and copy the value for the primary Big-IP’s Elastic IP. Open a browser tab and HTTP to this Elastic IP.
In order to enable request logging and apply a client SSL profile, let’s re-configure our TCP / Fast L4 virtual server to a Standard virtual server with an http profile applied.
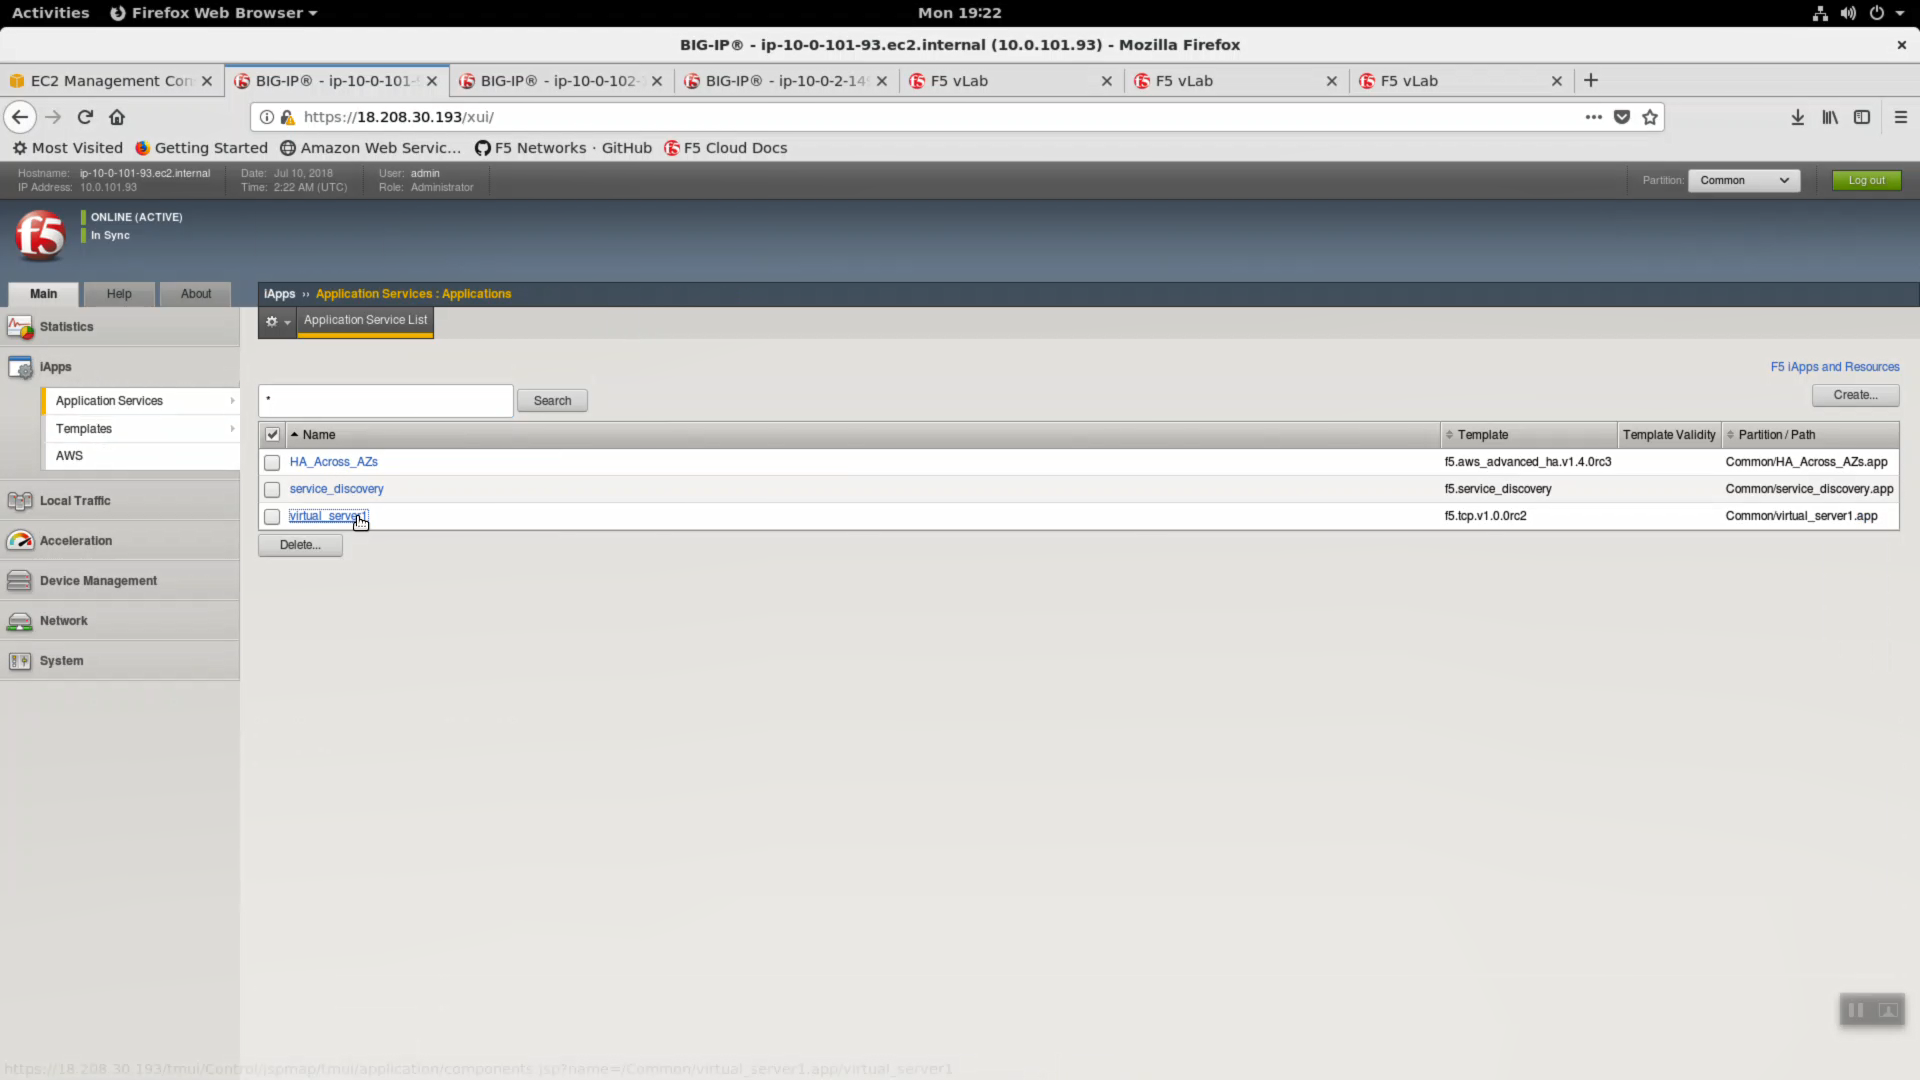
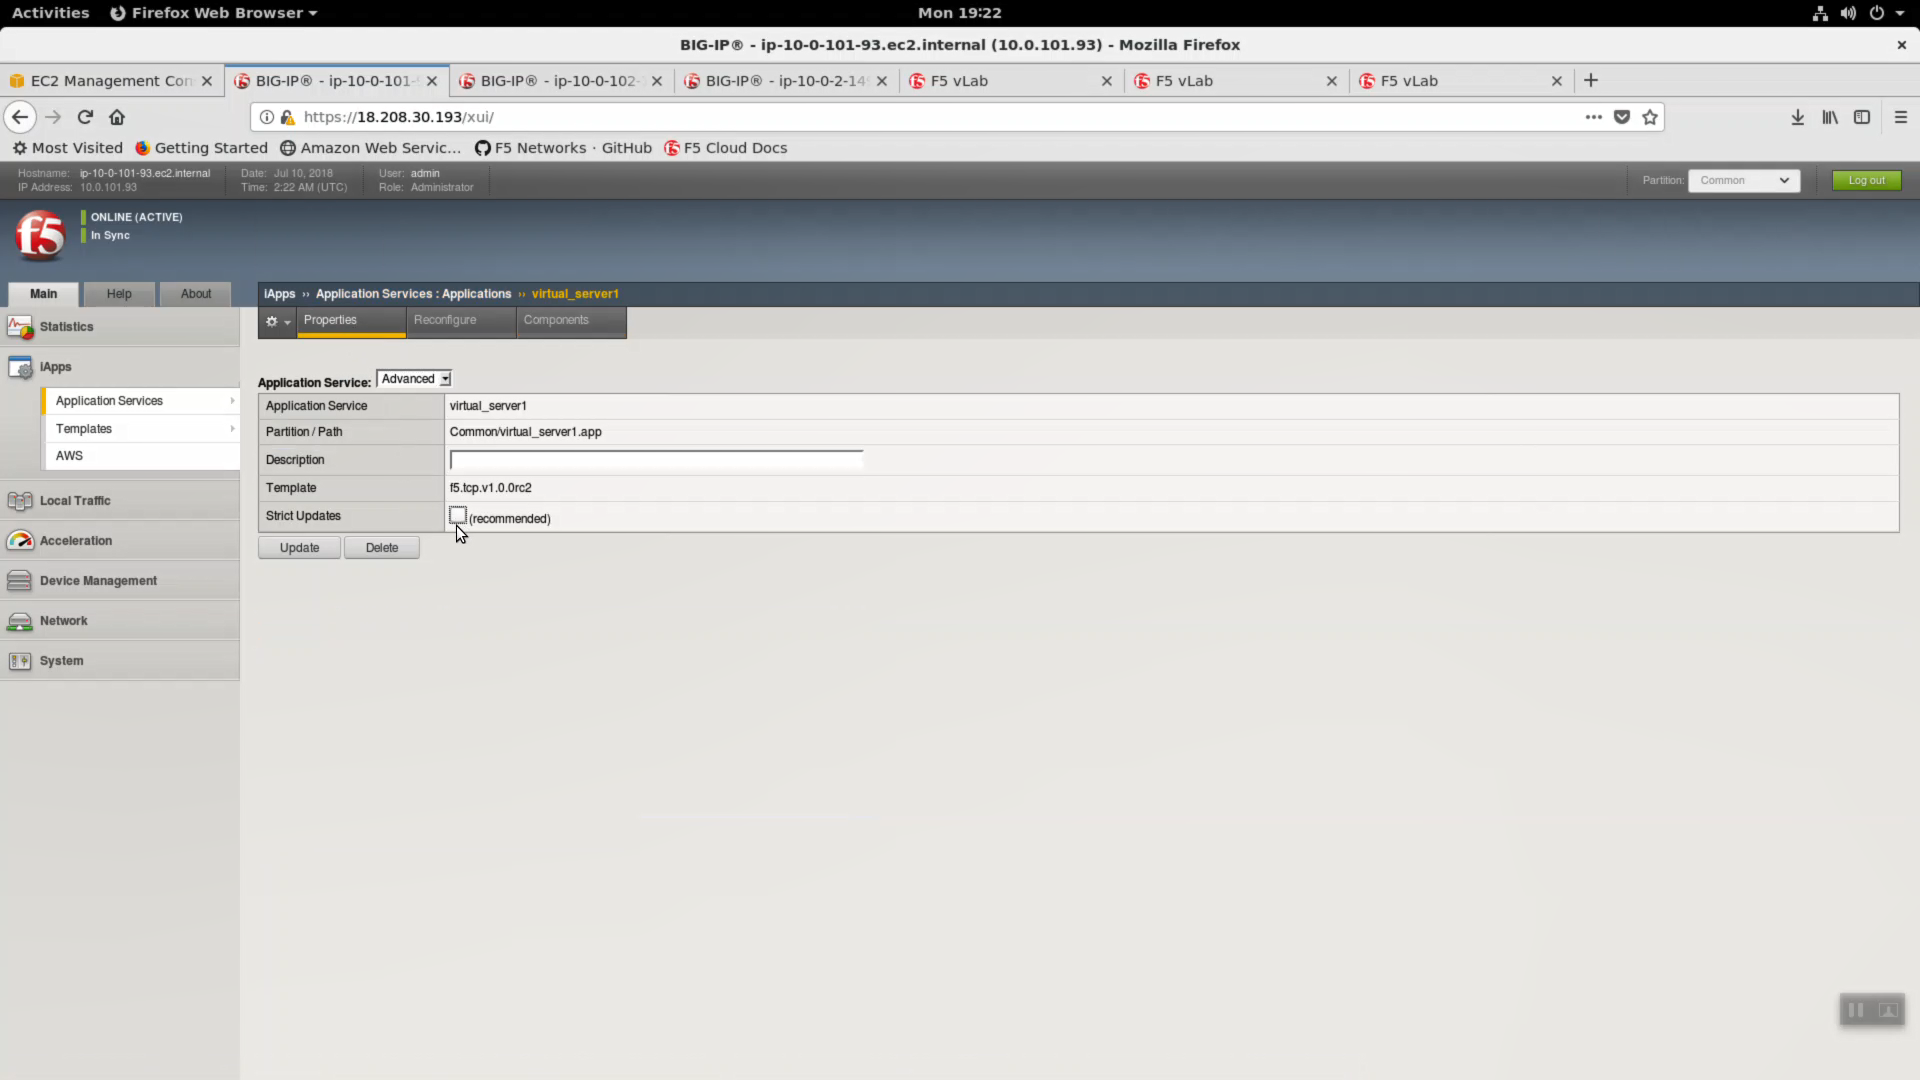
iApps => Application Services => select the “virtual_server_1” iApp we just deployed.
Properties => uncheck/disable “Strict Updates”
Local Traffic => Virtual Servers => virtual_server1. Change only the values below and leave the rest as they are.
| Question | value |
|---|---|
| Type | Standard |
| Service Port | 443 / HTTPS |
| HTTP Profile | http |
| SSL Profile (Client) | clientssl |
[Update]


From the Super-NetOps terminal. Invoke terraform output and copy the value for the primary Big-IP’s Elastic IP. Let’s test the http profile and clientssl profile are working. Open a browser tab and HTTPS (different than before, when we accessed our example application via HTTP) to this Elastic IP.