F5 Public Cloud Solutions > A&O Toolchain: BIG-IP HA in Public Cloud with Terraform (Agility Labs 2023) > 1. Lab Environment Access and Initial Setup Source | Edit on
1.1. Access the Jump Host
If you are not familiar with the process for joining a training course, refer to:
Your course registration email contains a link to the UDF course.
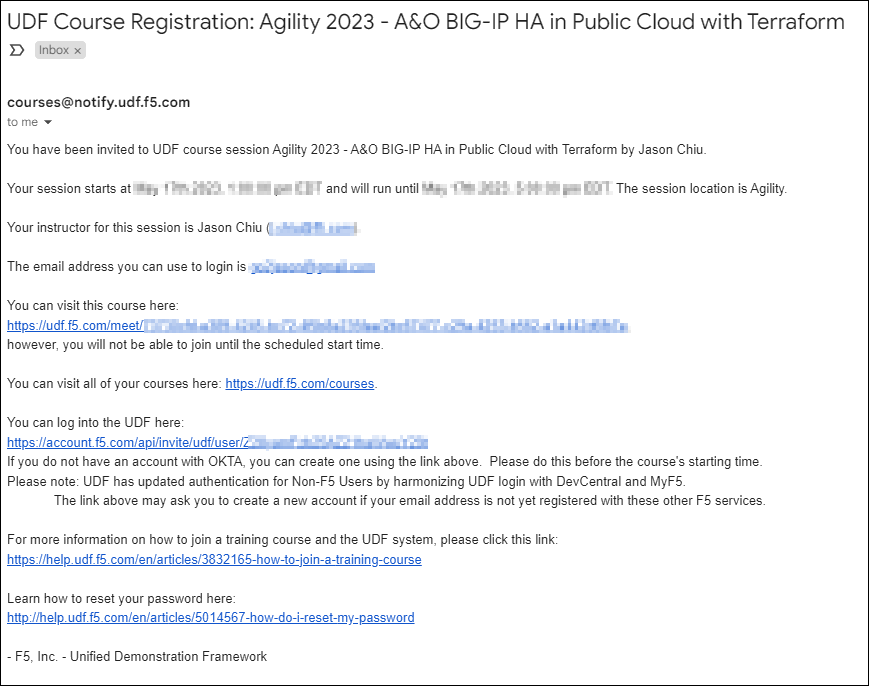
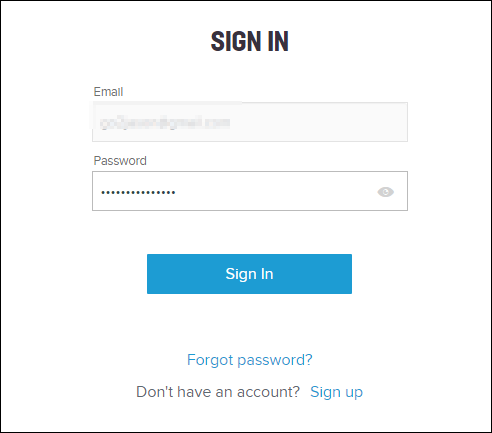
Click on the link and log into the student portal with your UDF credentials. If you do not remember your password, click on the Forgot your password? link.
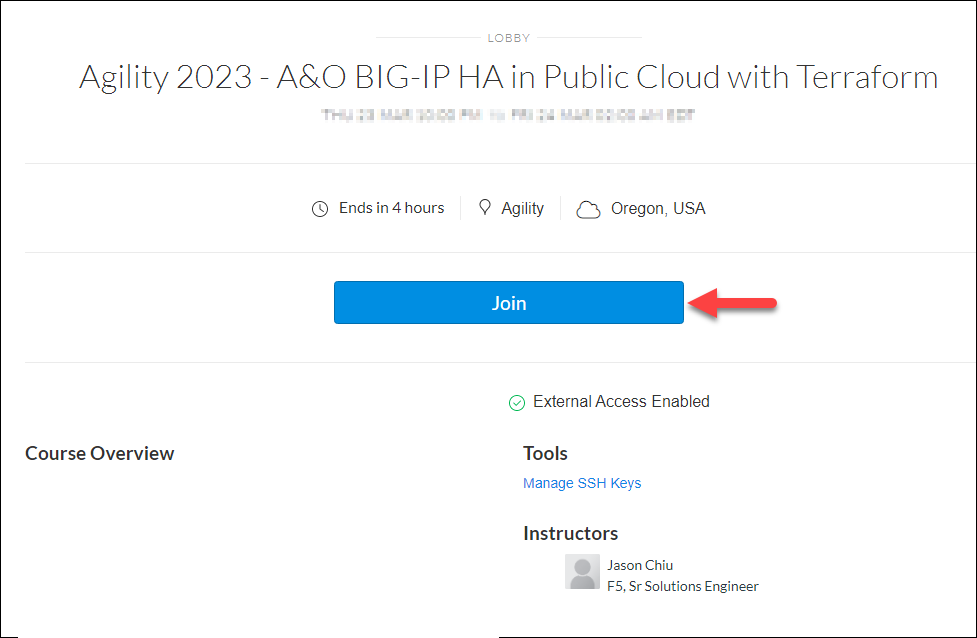
After signing in, click on the Join button.
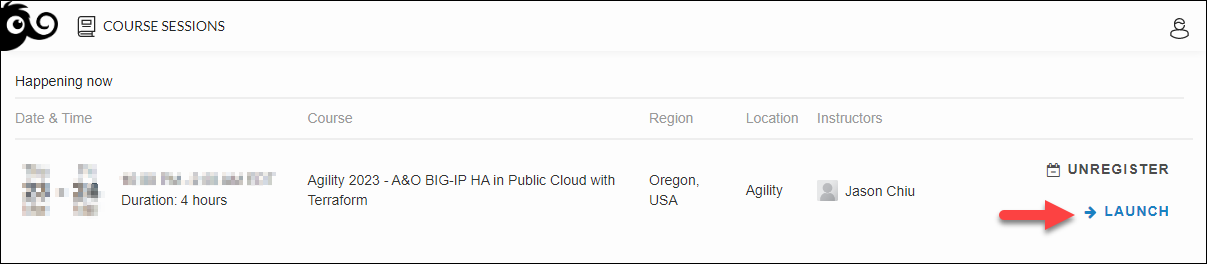
After joining the course, you will see the COURSE SESSIONS page. Click on the LAUNCH button for this course.
You will then see the DOCUMENTATION tab with some information about the lab resources and a link to the Lab Guide (this document).

Note
You will only need an RDP client to perform the lab exercises. SSH access to the lab environment is not required, so no SSH Key needs to be configured in UDF.
Click on the DEPLOYMENT tab to see all of your lab resources. You will only need to access the Windows jump host.
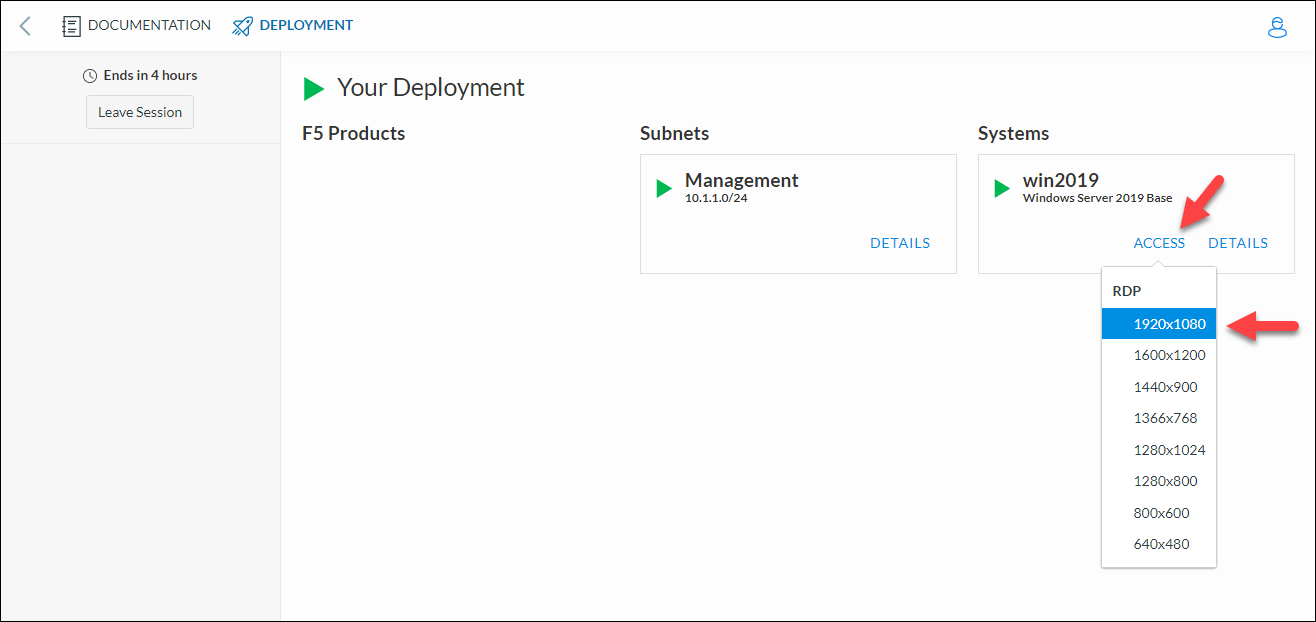
Under win2019, click on the ACCESS drop-down menu.
Note
If you cannot click on the ACCESS button, then the jump host has not finished booting. Wait until you see a green triangle beside the resource name.
Click on a resolution to use for your RDP session. This lab is best experienced in 1920x1080 resolution. An RDP file will be downloaded to your computer.
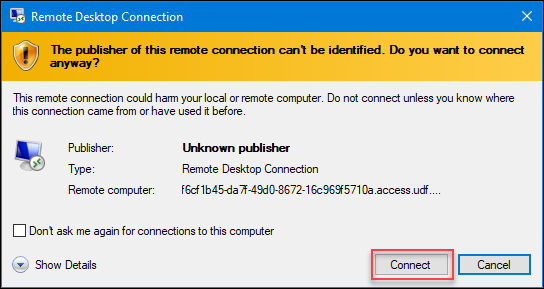
Launch the RDP file and accept the warning prompts.
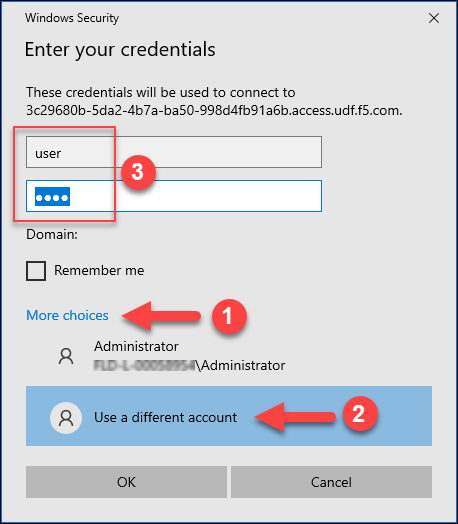
At the login prompt (Windows RDP client app), click on More choices, then Use a different account.
Login using the following credentials:
Username: user Password: user Don’t worry about the simple password, this resource is only accessible through your authenticated UDF session.
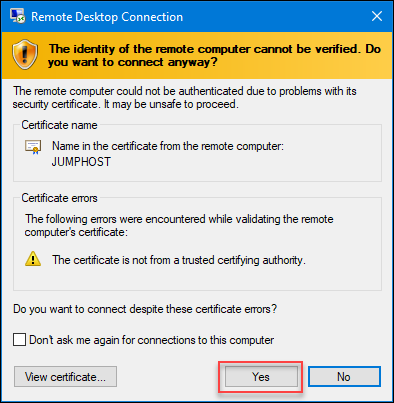
Accept the next warning prompt.
Please be patient. It might take a minute for the startup process to complete.
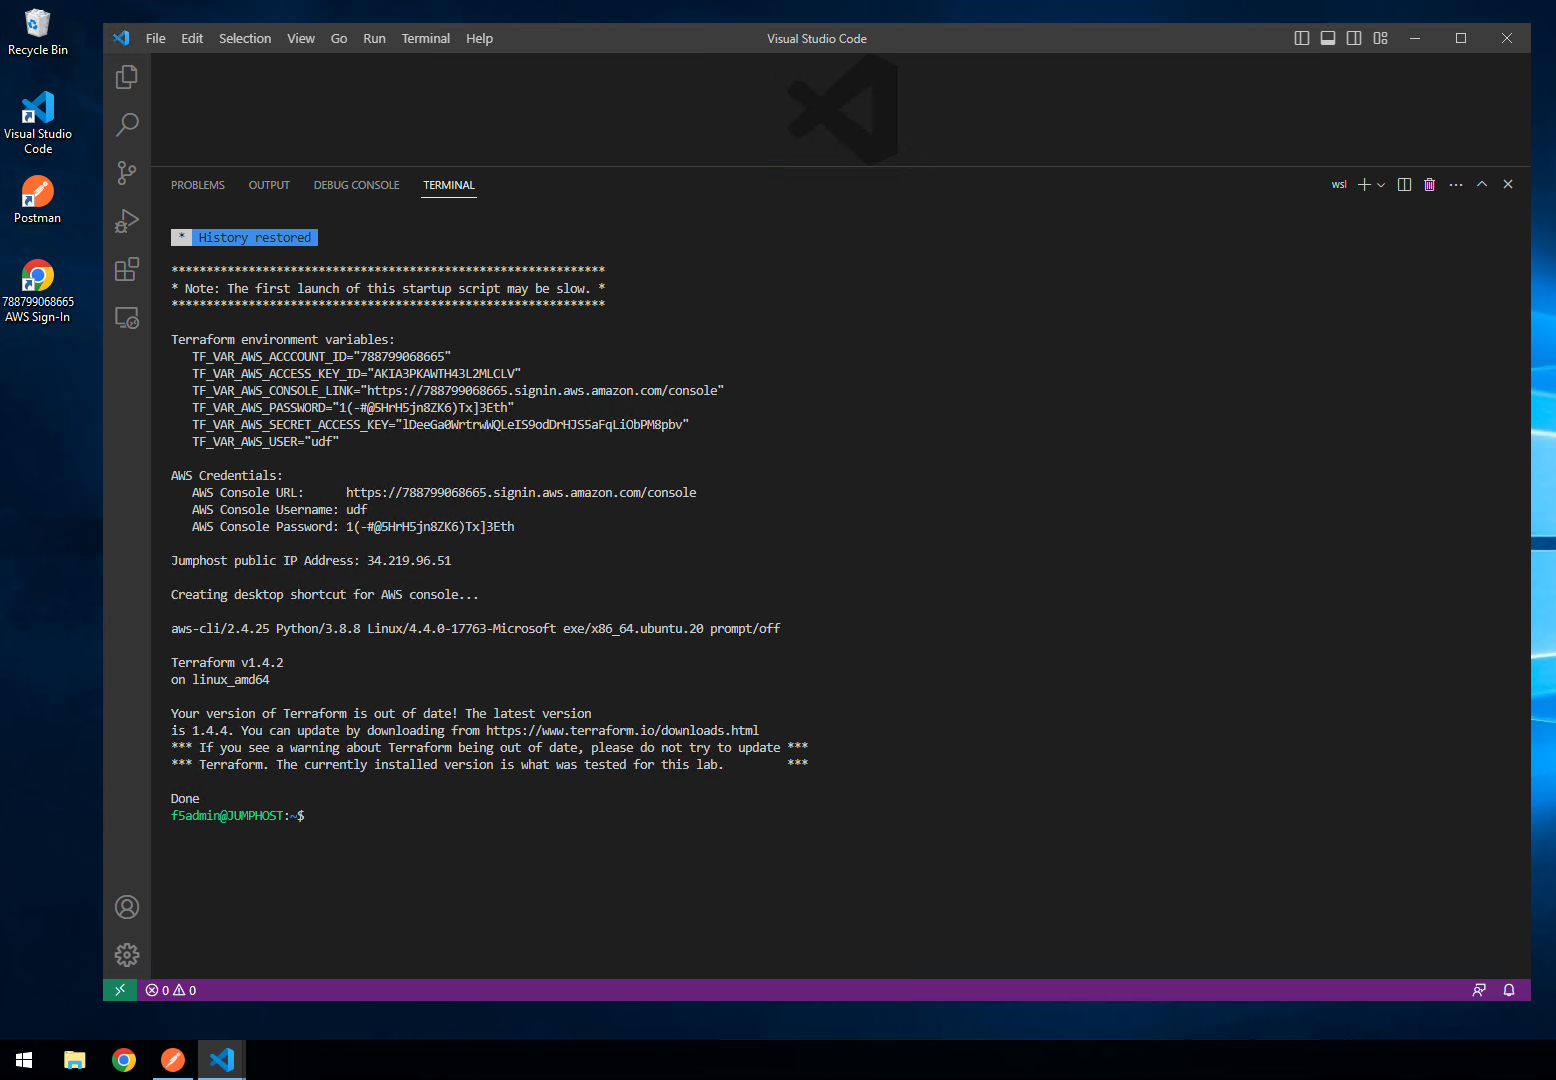
Visual Studio Code (vscode) will launch automatically and display the BASH terminal panel. When done, you will see the following information (some of which you will use later):
- Terraform environment variables
- AWS Console URL, Username (‘udf’), and Password (random)
- Public IP address of the jump host
- Installed versions for AWS CLI and Terraform
Postman will also launch automatically. If it appears in front of the VS Code window, just minimize it.
There will also be several shortcuts on the Windows desktop: Visual Studio Code, Postman, and an AWS Console Sign-In Link.
Note
The Windows jump host uses WSL (Windows Subsystem for Linux) to provide access to an Ubuntu Linux environment where Terraform is installed.
The UDF system automatically creates a temporary AWS cloud account for use in the lab. The credentials are displayed whenever you launch the BASH terminal or execute the start.sh script.
If you attempt to run through parts of this lab in your own environment (i.e., not using UDF), you will need to export your own AWS credentials for Terraform to use.
Launch Chrome from the taskbar at the bottom of the Windows desktop. The web browser contains a bookmark to the Lab Guide. You might find it easier to use this copy of the guide for the rest of the lab.