F5 Identity and Access Management Solutions > Archived Identity & Access Management Labs > Class 6: Federating Common Services Source | Edit on
Lab 4: oAuth and AzureAD Lab
The purpose of this lab is to familiarize the Student with the using APM in conjunction with Microsoft Azure AD. Microsoft Active Directory Domain Services is offered by Microsoft Azure as a cloud service. This can be used together with OpenID to log in to APM.
Objective:
- Gain an understanding of additional F5 OAuth features
- Deploy a working configuration using F5 APM and Microsoft Azure AD
Lab Requirements:
- All lab requirements will be noted in the tasks that follow
- Estimated completion time: 25 minutes
Lab 4 Tasks:
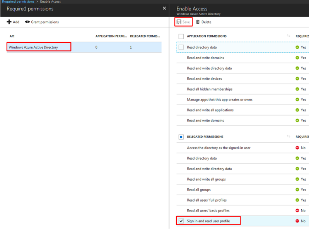
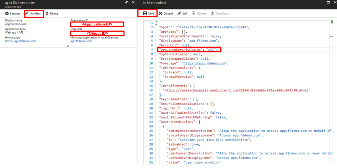
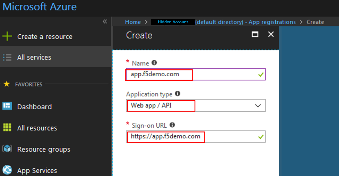
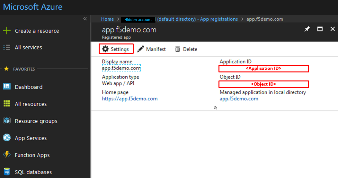
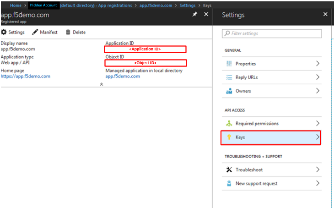
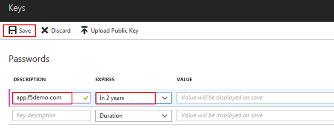
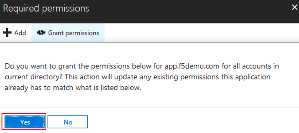
TASK 1: Create/Review New Application Registration
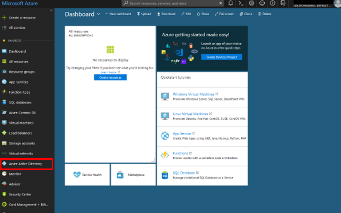
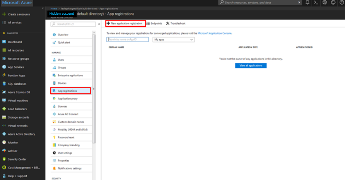
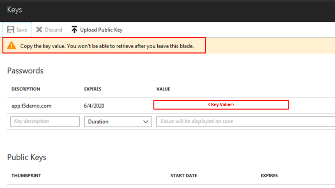
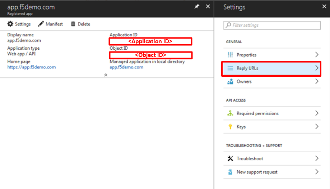
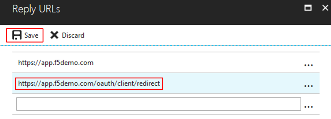
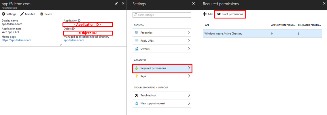
Refer to the instructions and screen shots below:
Note: The following steps in this task can just be “REVIEWED”. As setting up a free Azure account requires the entry of billing information, setting up an account and performing the steps below is a [REVIEW] task. For those desiring to set up an account refer to the “APPENDIX: Setting up an Azure Development Account”. For those with existing accounts these steps may be followed if desired. For all others, simply review the steps in Task1 and proceed to Task 2. |
[REVIEW]
|
 |
[REVIEW]
|
 |
[REVIEW]
|
 |
[REVIEW]
|
 |
[REVIEW]
|
 |
[REVIEW]
|
 |
[REVIEW]
|
 |
[REVIEW]
|
 |
[REVIEW]
|
 |
[REVIEW]
|
 |
[REVIEW]
|
 |
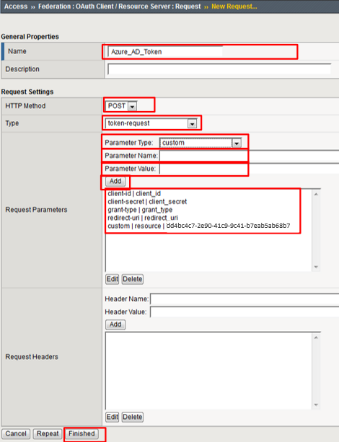
TASK 2: Create OAuth Request
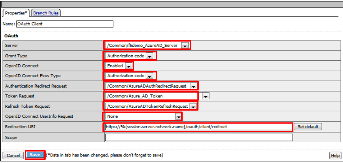
Refer to the instructions and screen shots below:
|
 |
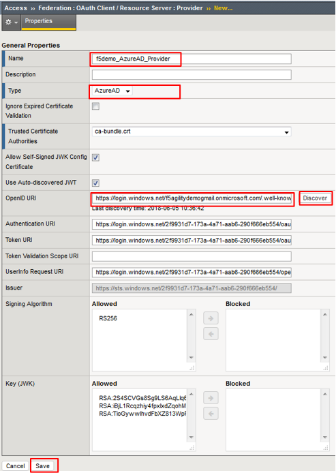
TASK 3: Create OAuth Provider
Refer to the instructions and screen shots below:
|
 |
Resulting URI should be as follows: https://login.windows.net/f5agilitydemogmail.onmicrosoft.com/.well-known/openid-configuration
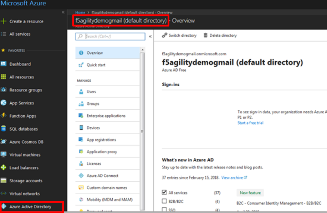
Note: if using another account you can find you TenantID by navigating to the “Azure Portal” and clicking “Azure Active Directory”. The tenant ID is the “default directory” as shown. The full name of the TenantID will be your “TenantID.onmicrosoft.com” |
TASK 4: Create OAuth Server
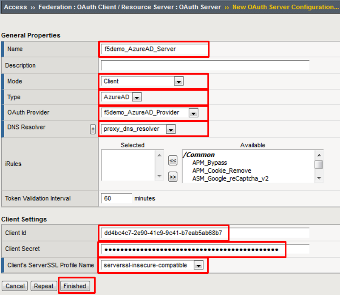
Refer to the instructions and screen shots below:
|
 |
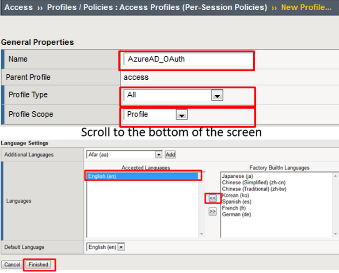
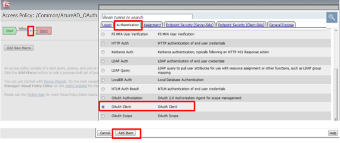
TASK 5: Setup F5 Per Session Policy (Access Policy)
Refer to the instructions and screen shots below:
|
 |
|
 |
|
 |
|
 |
|
 |
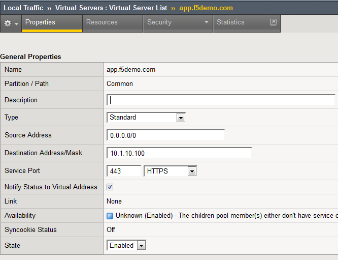
TASK 6: Associate Access Policy to Virtual Server
Refer to the instructions and screen shots below:
|
 |
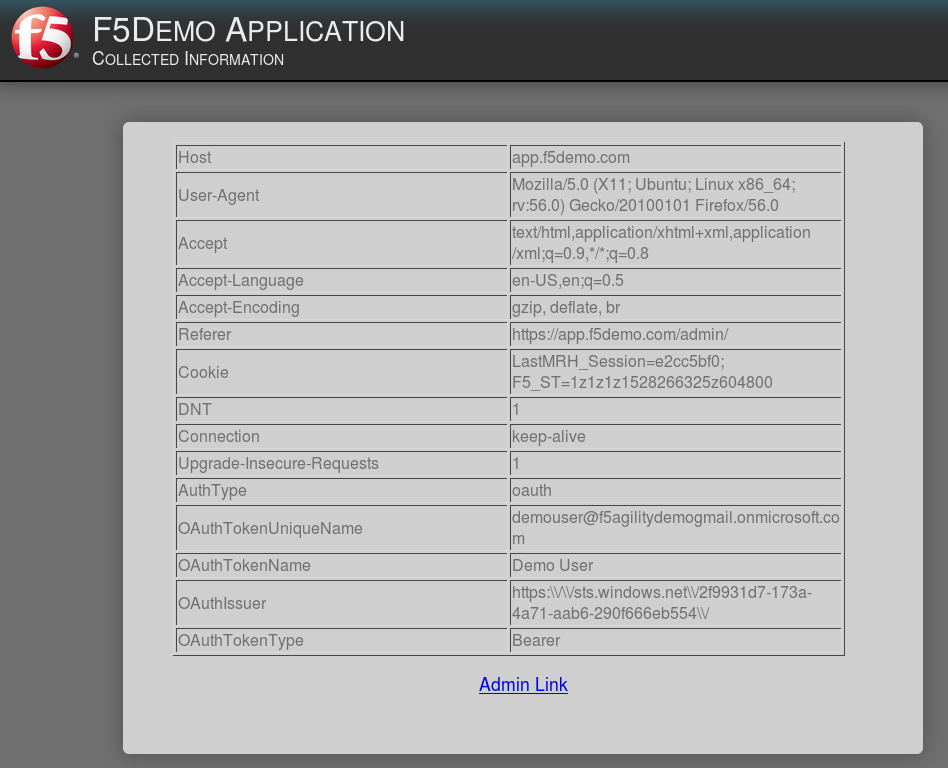
TASK 7: Test app.f5demo.com
Refer to the instructions and screen shots below:
|
 |
|
 |
|
 |
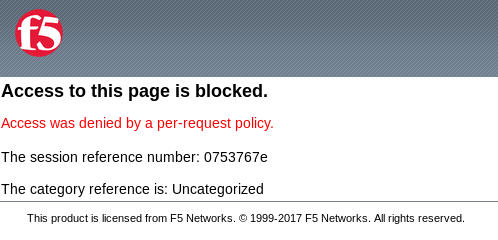
TASK 8: Per Request Policy Controls
Refer to the instructions and screen shots below:
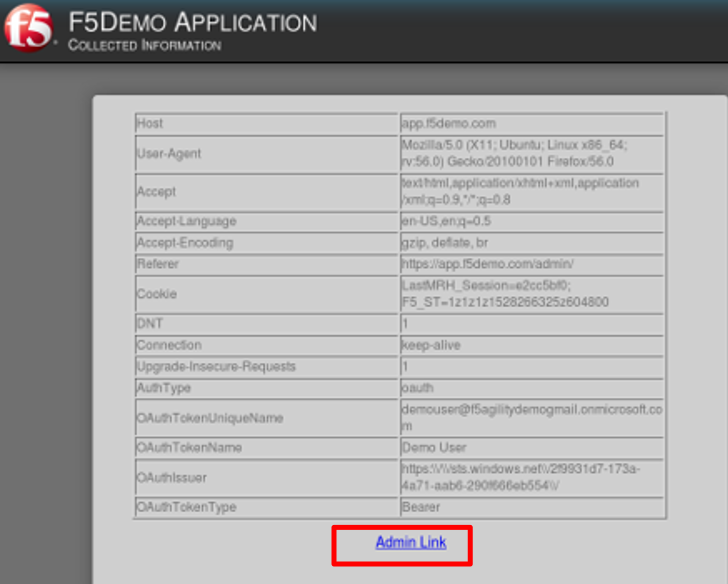
application page for https://app.f5demo.com click the Admin Link shown. |
 |
|
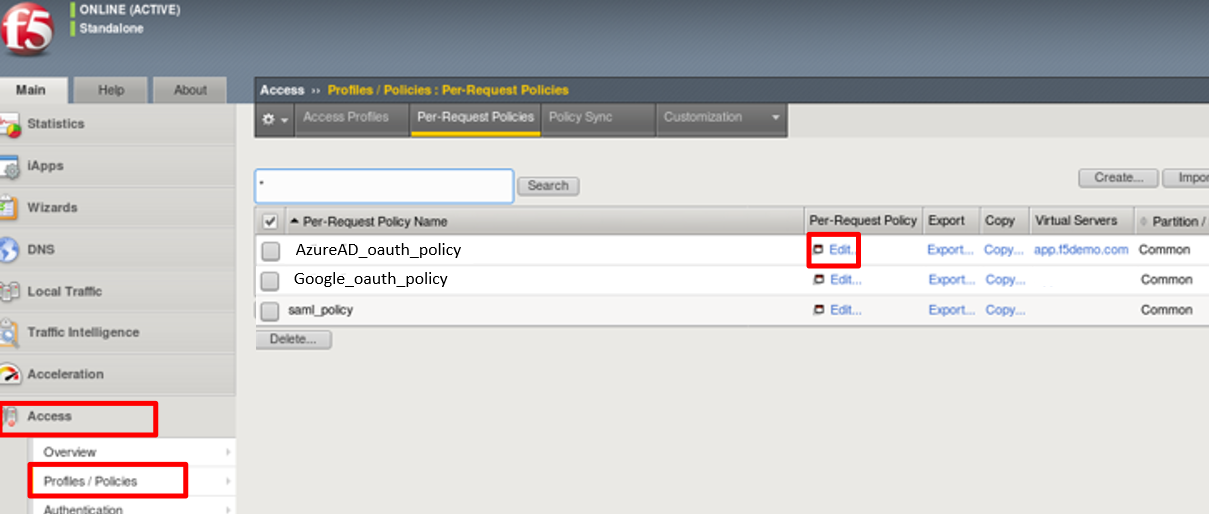 |
Note: Other actions like Step-Up Auth controls can be performed in a Per-Request Policy |
 |
TASK 9: Review OAuth Results
Refer to the instructions and screen shots below:
|
 |
|
 |
|
 |
|
 |
|
 |
