F5 Identity and Access Management Solutions > 300 Series: Advanced Use Cases & Solutions Source | Edit on
Lab 3: Deploy PUA with Multifactor Authentication
Overview
In the final lab of this lab series, we will focus on deploying F5’s Privileged User Access solution incorporating multi-factor authentication (MFA) using a one-time-password (OTP) with F5’s Access Policy Manager (APM).
This lab is similar to Lab 1. However, it will demonstrate the use of token-based MFA rather than smartcard/client certificate. We will begin the lab by accessing the PUA UI, then deploying PUA MFA.
The lab will conclude with testing and validating user access.
Expected time to complete: 15 minutes
Access PUA
Task 1 - Access PUA
In Chrome browser, Click the bookmark PUA UI
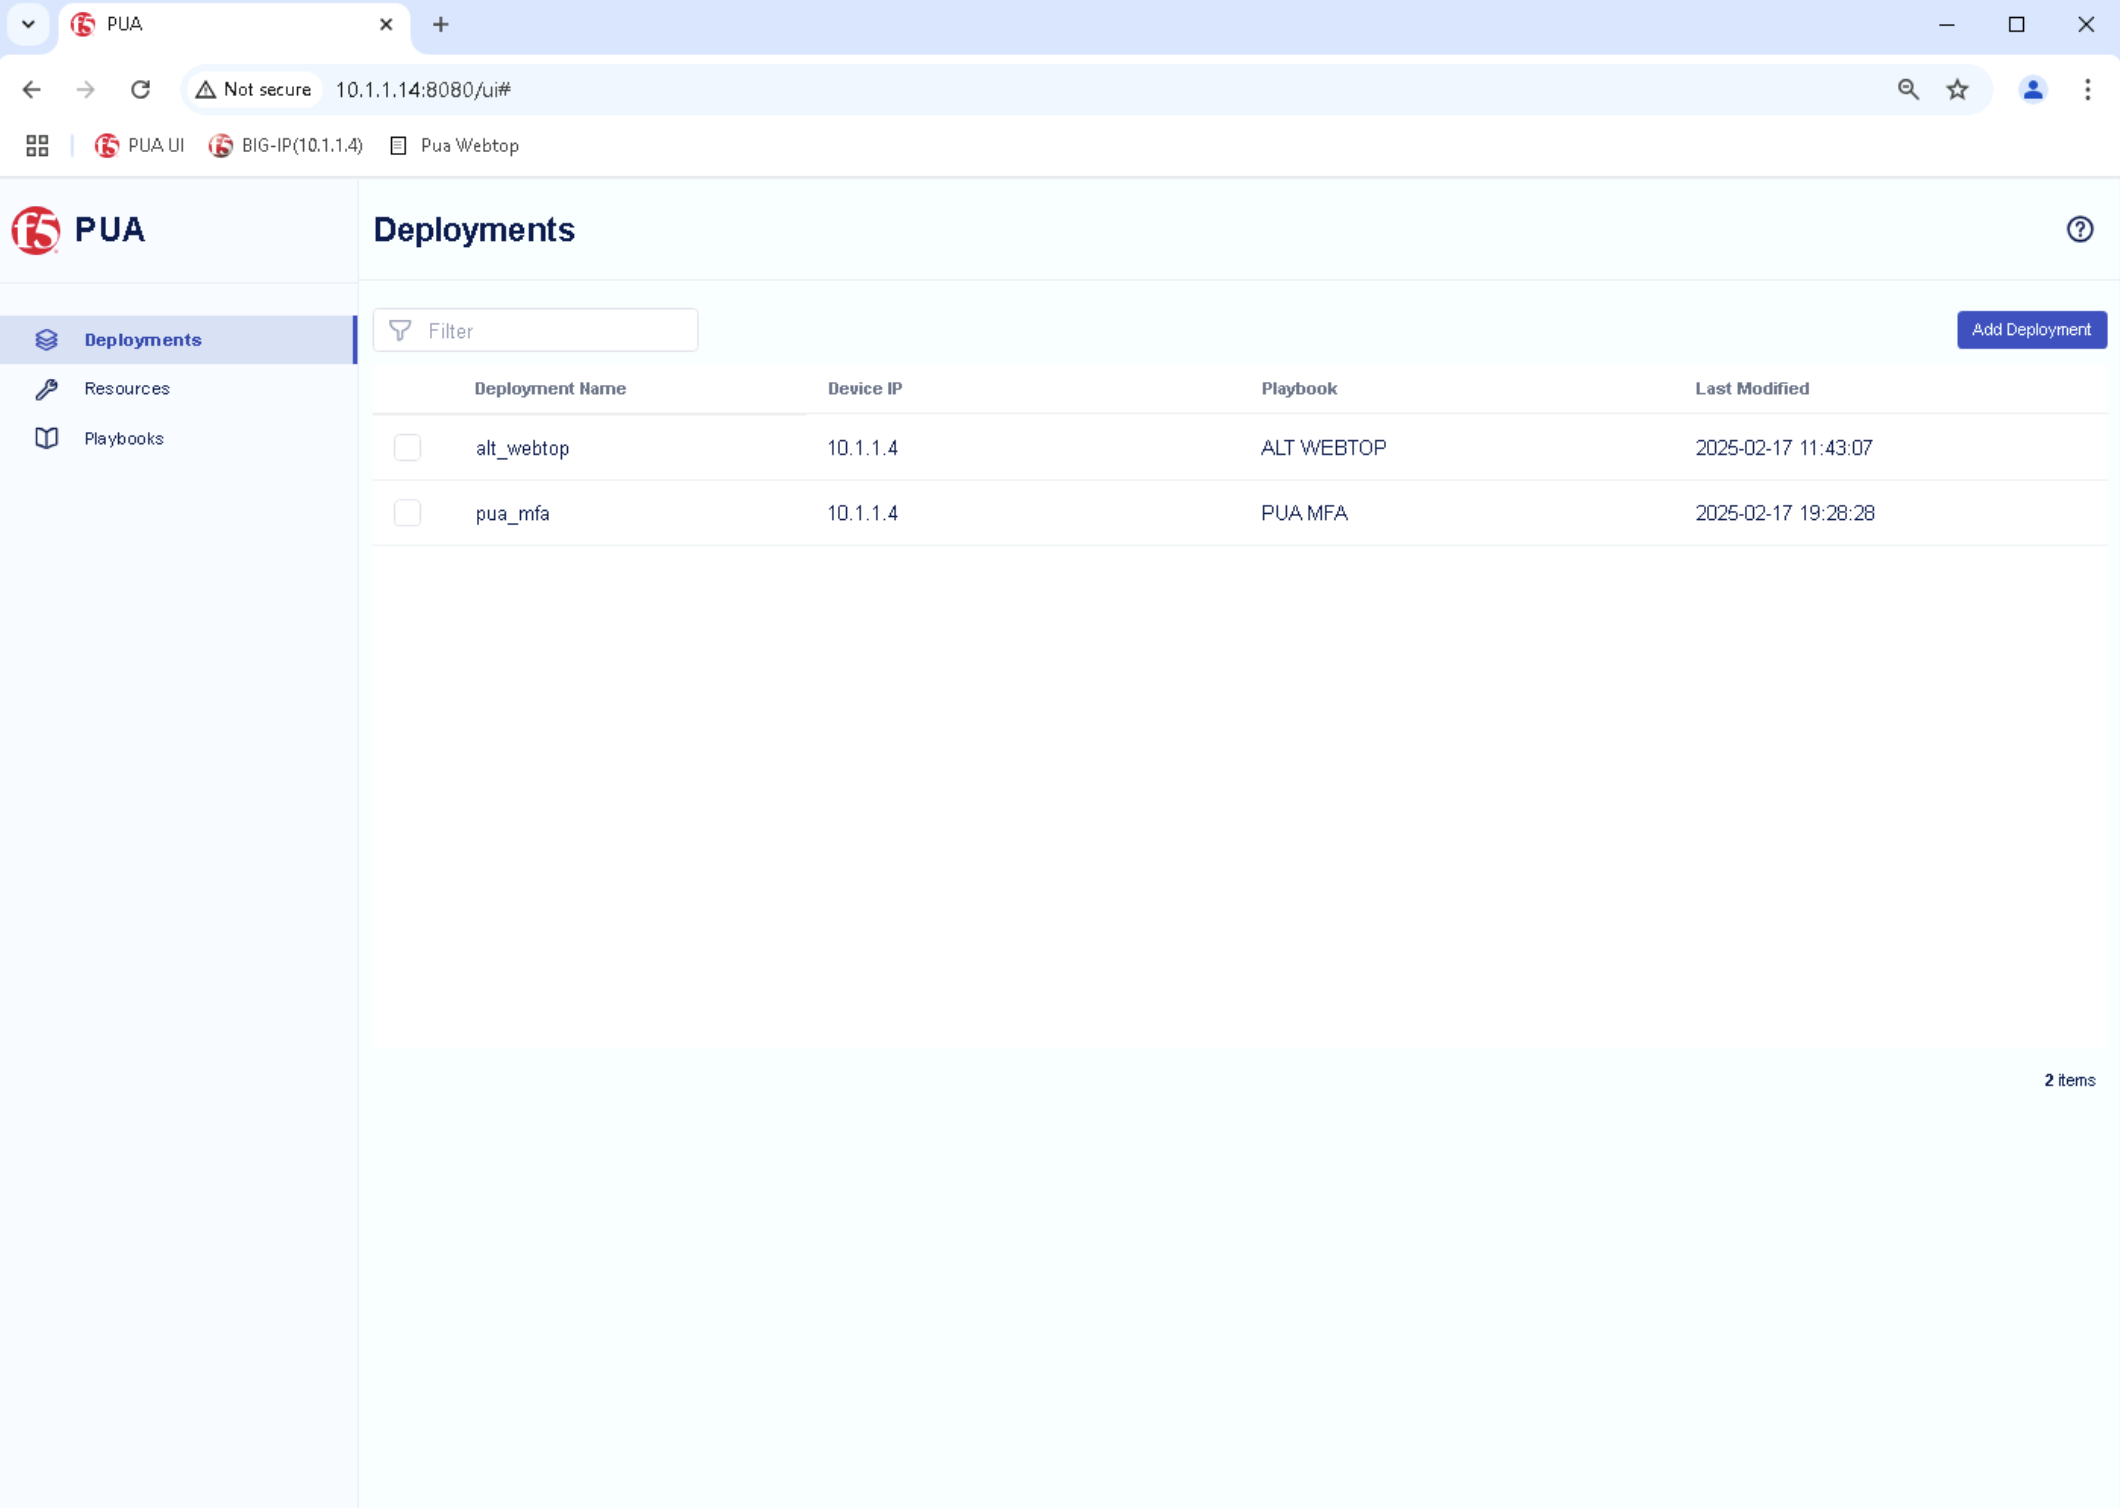
This should launch the PUA Web UI http://10.1.1.14:8080/ui
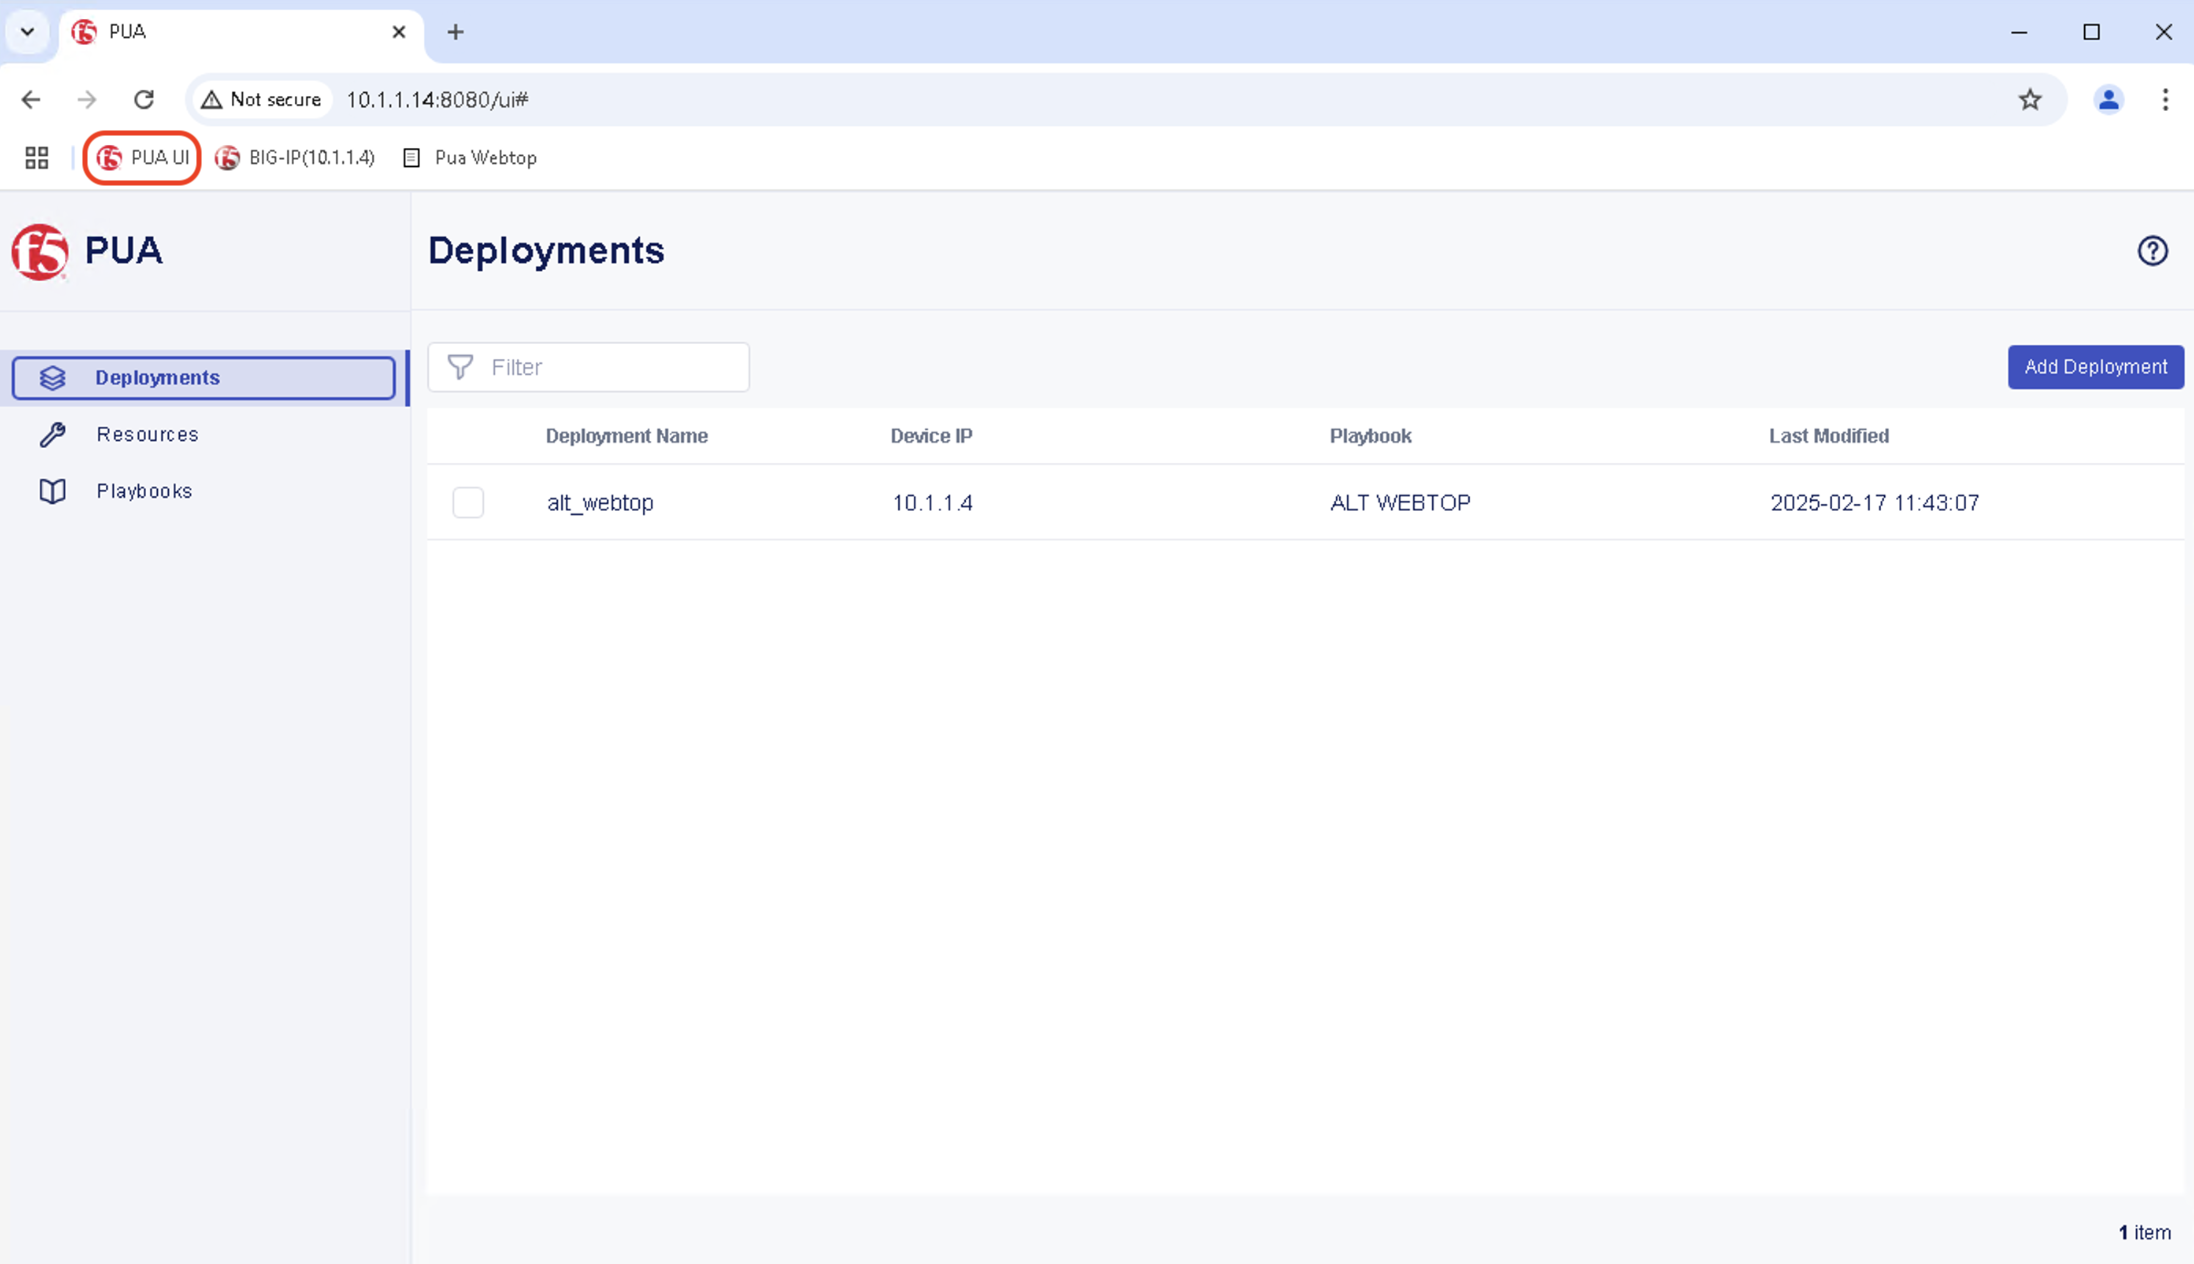
Warning
If your not seeing the PUA Web UI as shown, Please review Lab 1: Deploy PUA with Client Certificate Authentication (Task 1 - Start PUA)
Deploy PUA MFA OTP
Task 1 - Add Deployment
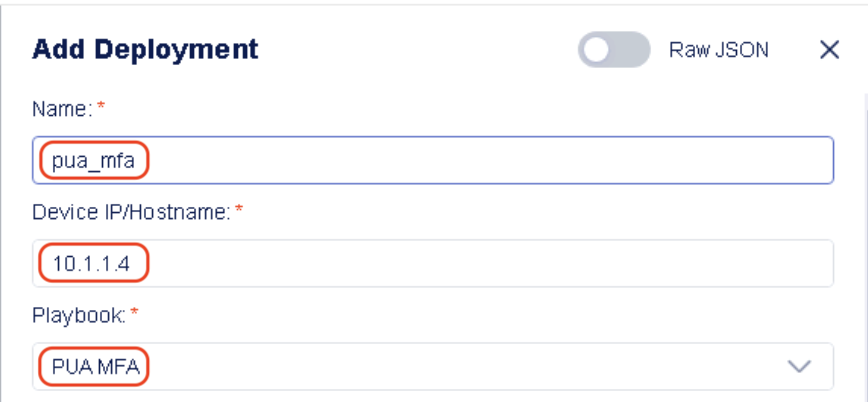
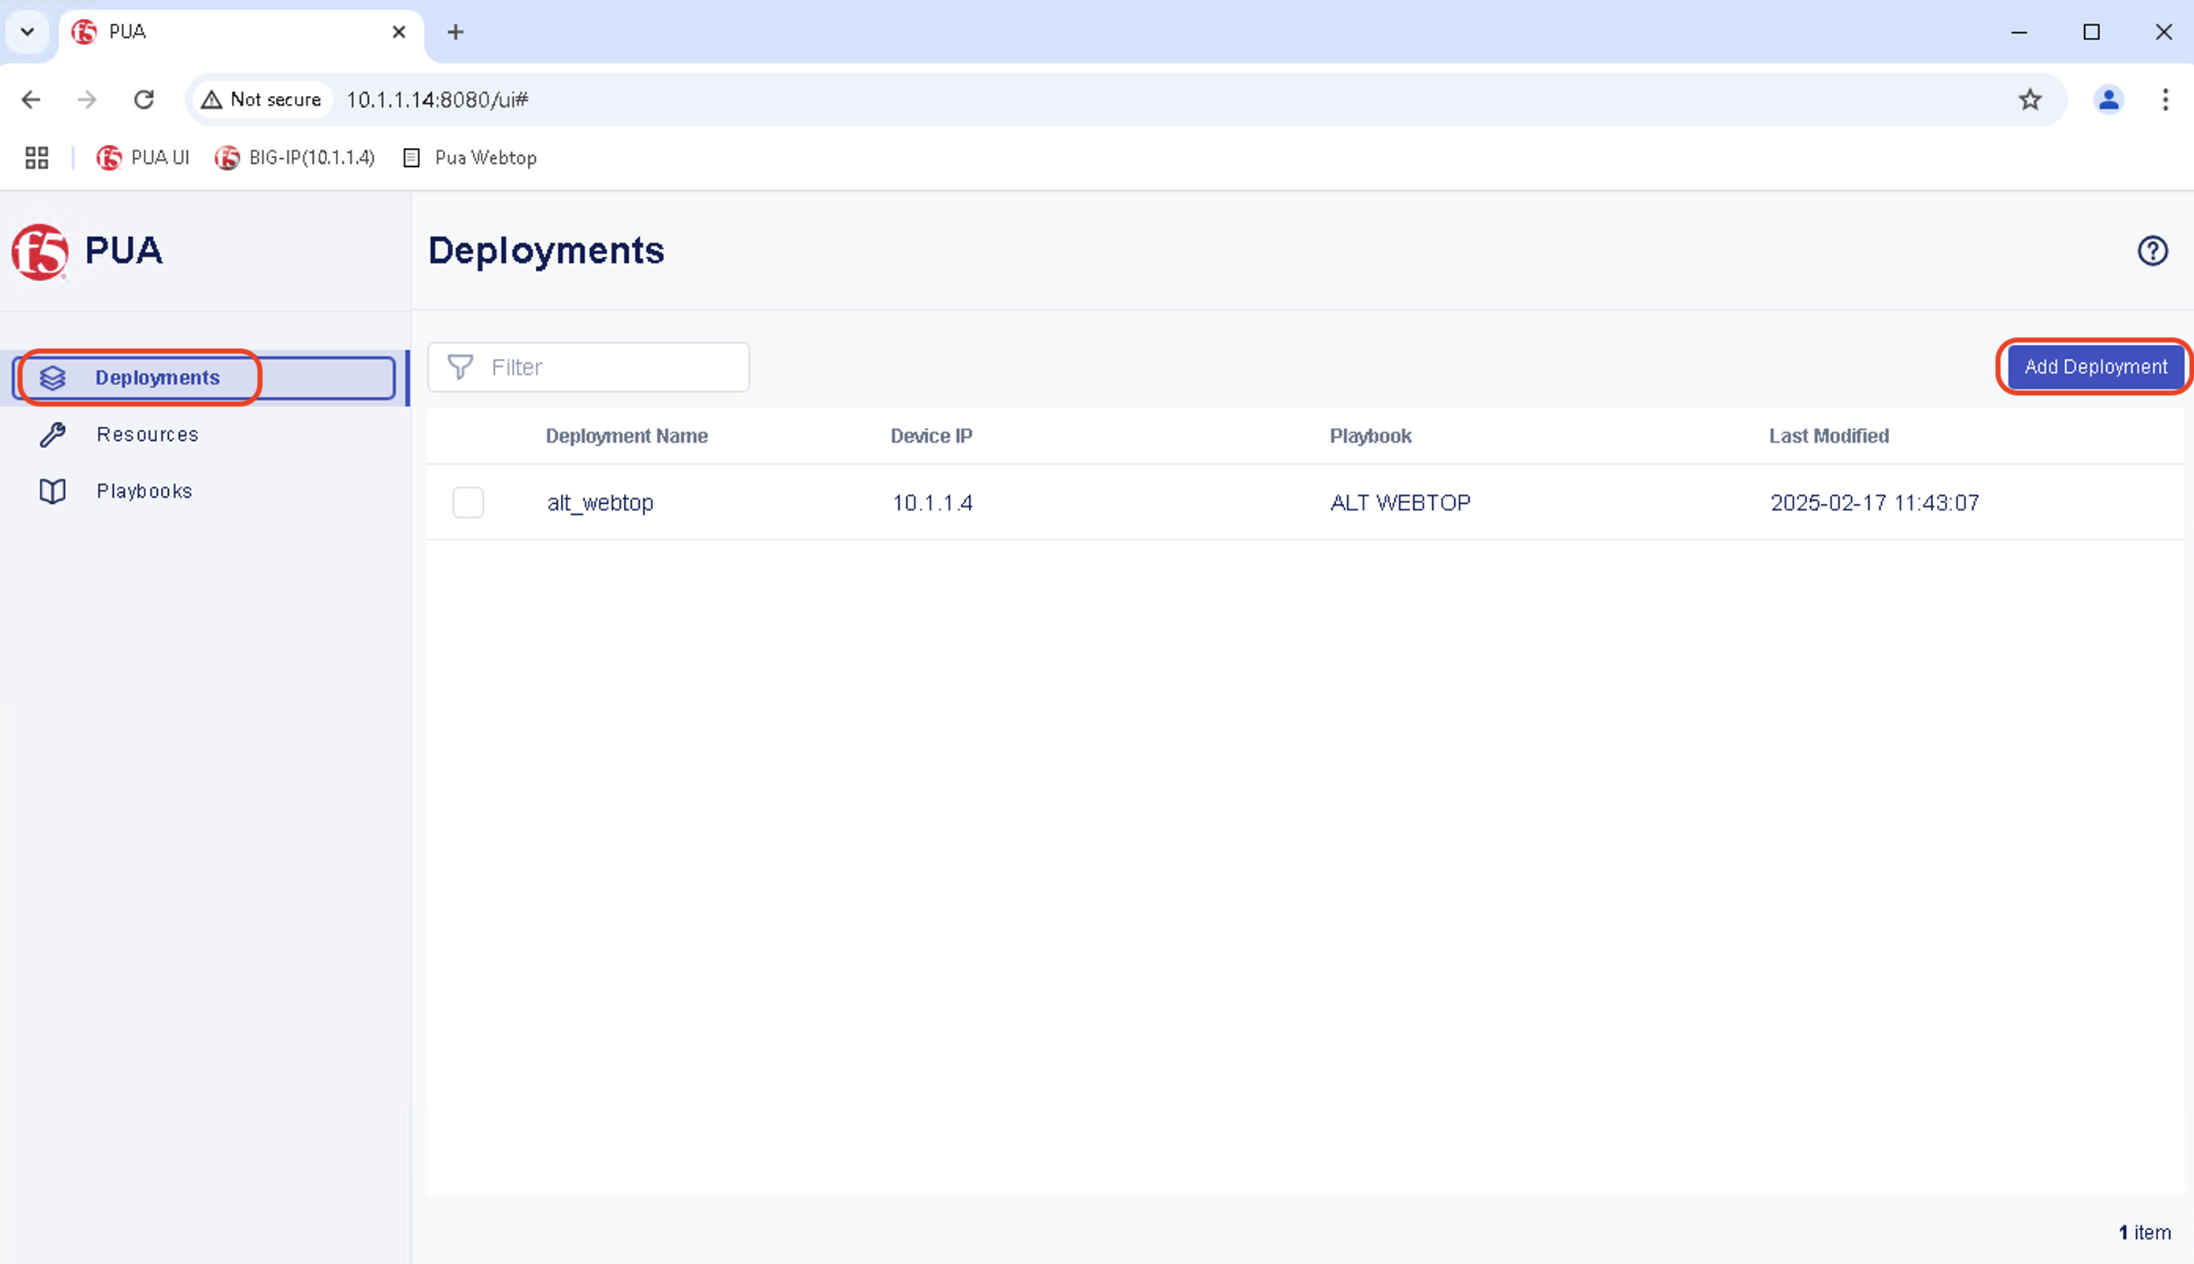
In PUA UI, Click Deployments in left hand navigation bar and in the main panel, Click Add Deployment button.
In the resulting window, enter the following data:
Task 2 - Enter Deployment details
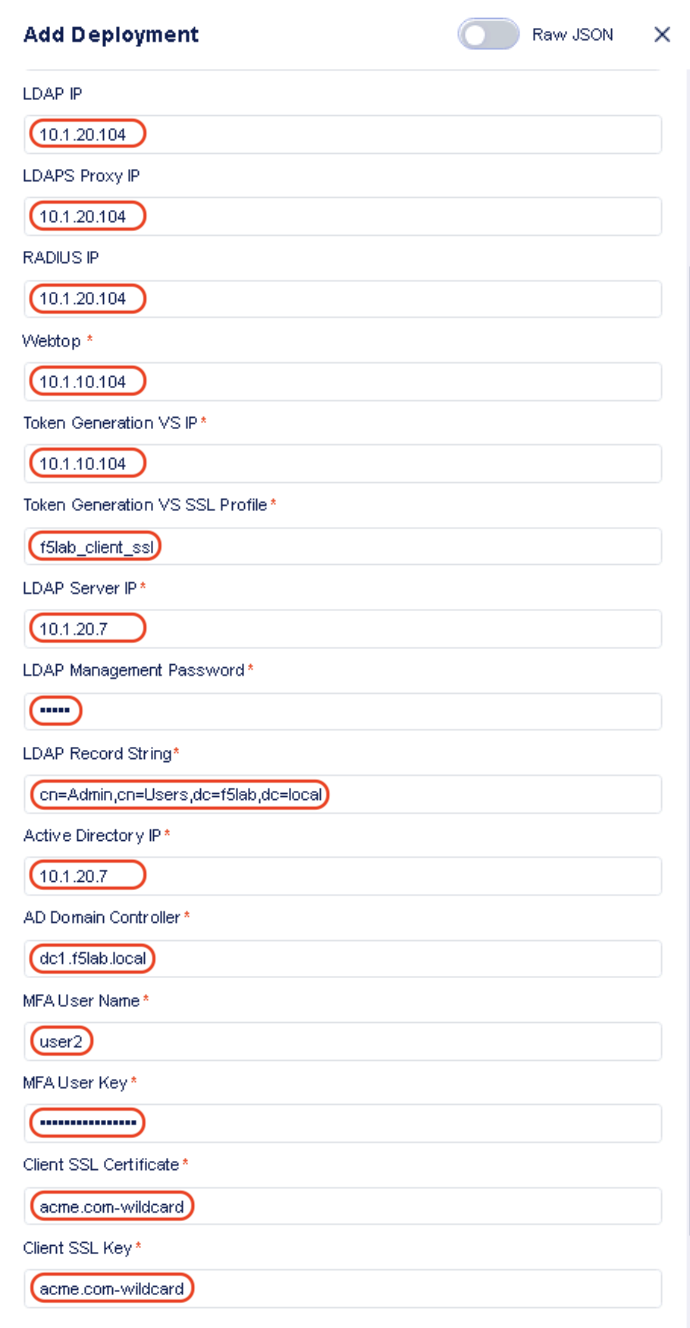
- When the PUA MFA playbook is selected, the editor values are updated to show the following inputs (Enter the associated values as specified below)
- Add Deployment
- LDAP IP: 10.1.20.104
- LDAPS Proxy IP: 10.1.20.104
- RADIUS IP: 10.1.20.104
- Webtop: 10.1.10.104
- Token Generation VS IP: 10.1.10.104
- Token Generation VS SSL Profile: f5lab_client_ssl
- LDAP Server IP: 10.1.20.7
- LDAP Management Password: admin
- LDAP Record String: cn=Admin,cn=Users,dc=f5lab,dc=local
- Active Directory IP: 10.1.20.7
- AD Domain Controller: dc1.f5lab.local
- MFA User Name: user2
- MFA User Key: JUZG2URUGQZU45RT
- Client SSL Certificate: acme.com-wildcard
- Client SSL Key: acme.com-wildcard
Note
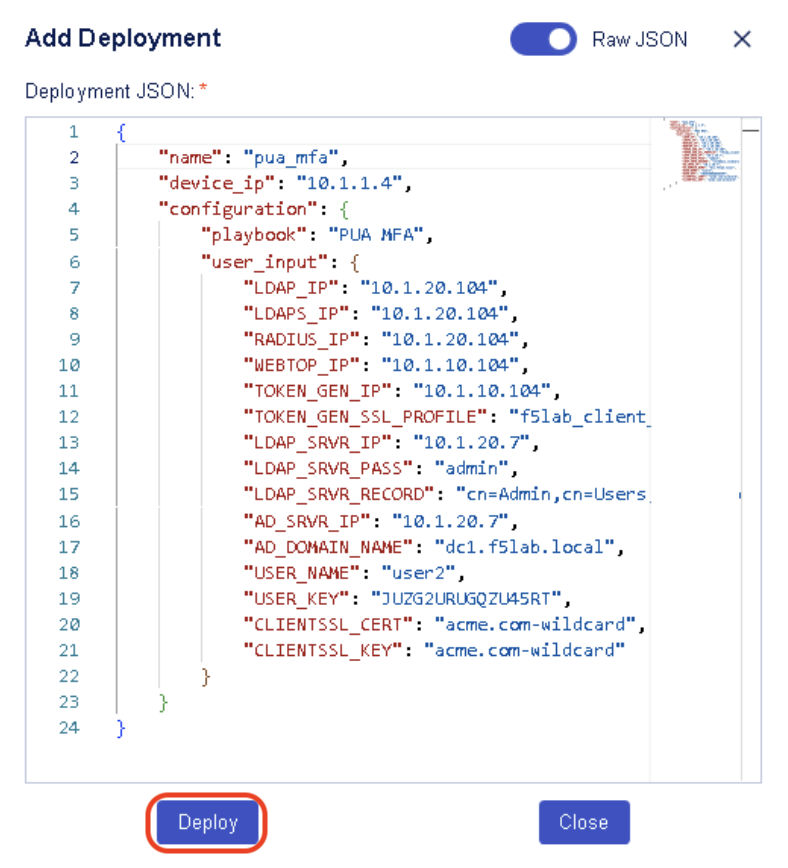
You can also switch to Raw JSON input and paste this JSON object to get the input fields populated.
{
   "name": "pua_mfa",
   "device_ip": "10.1.1.4",
   "configuration": {
      "playbook": "PUA MFA",
      "user_input": {
            "LDAP_IP": "10.1.20.104",
            "LDAPS_IP": "10.1.20.104",
            "RADIUS_IP": "10.1.20.104",
            "WEBTOP_IP": "10.1.10.104",
            "TOKEN_GEN_IP": "10.1.10.104",
            "TOKEN_GEN_SSL_PROFILE": "f5lab_client_ssl",
            "LDAP_SRVR_IP": "10.1.20.7",
            "LDAP_SRVR_PASS": "admin",
            "LDAP_SRVR_RECORD": "cn=Admin,cn=Users,dc=f5lab,dc=local",
            "AD_SRVR_IP": "10.1.20.7",
            "AD_DOMAIN_NAME": "dc1.f5lab.local",
            "USER_NAME": "user2",
            "USER_KEY": "JUZG2URUGQZU45RT",
            "CLIENTSSL_CERT": "acme.com-wildcard",
            "CLIENTSSL_KEY": "acme.com-wildcard"
      }
   }
}
Task 3 - Review Deployment details and Deploy
Task 4 - Track Deployment progress
If you go back to the PUA Deploy Agent WebSSH tab in your local browser, you should see the logs generated by the deployment of the PUA MFA Playbook.
Confirm that the deployment is successful by looking for Playbook deployed successfully log.
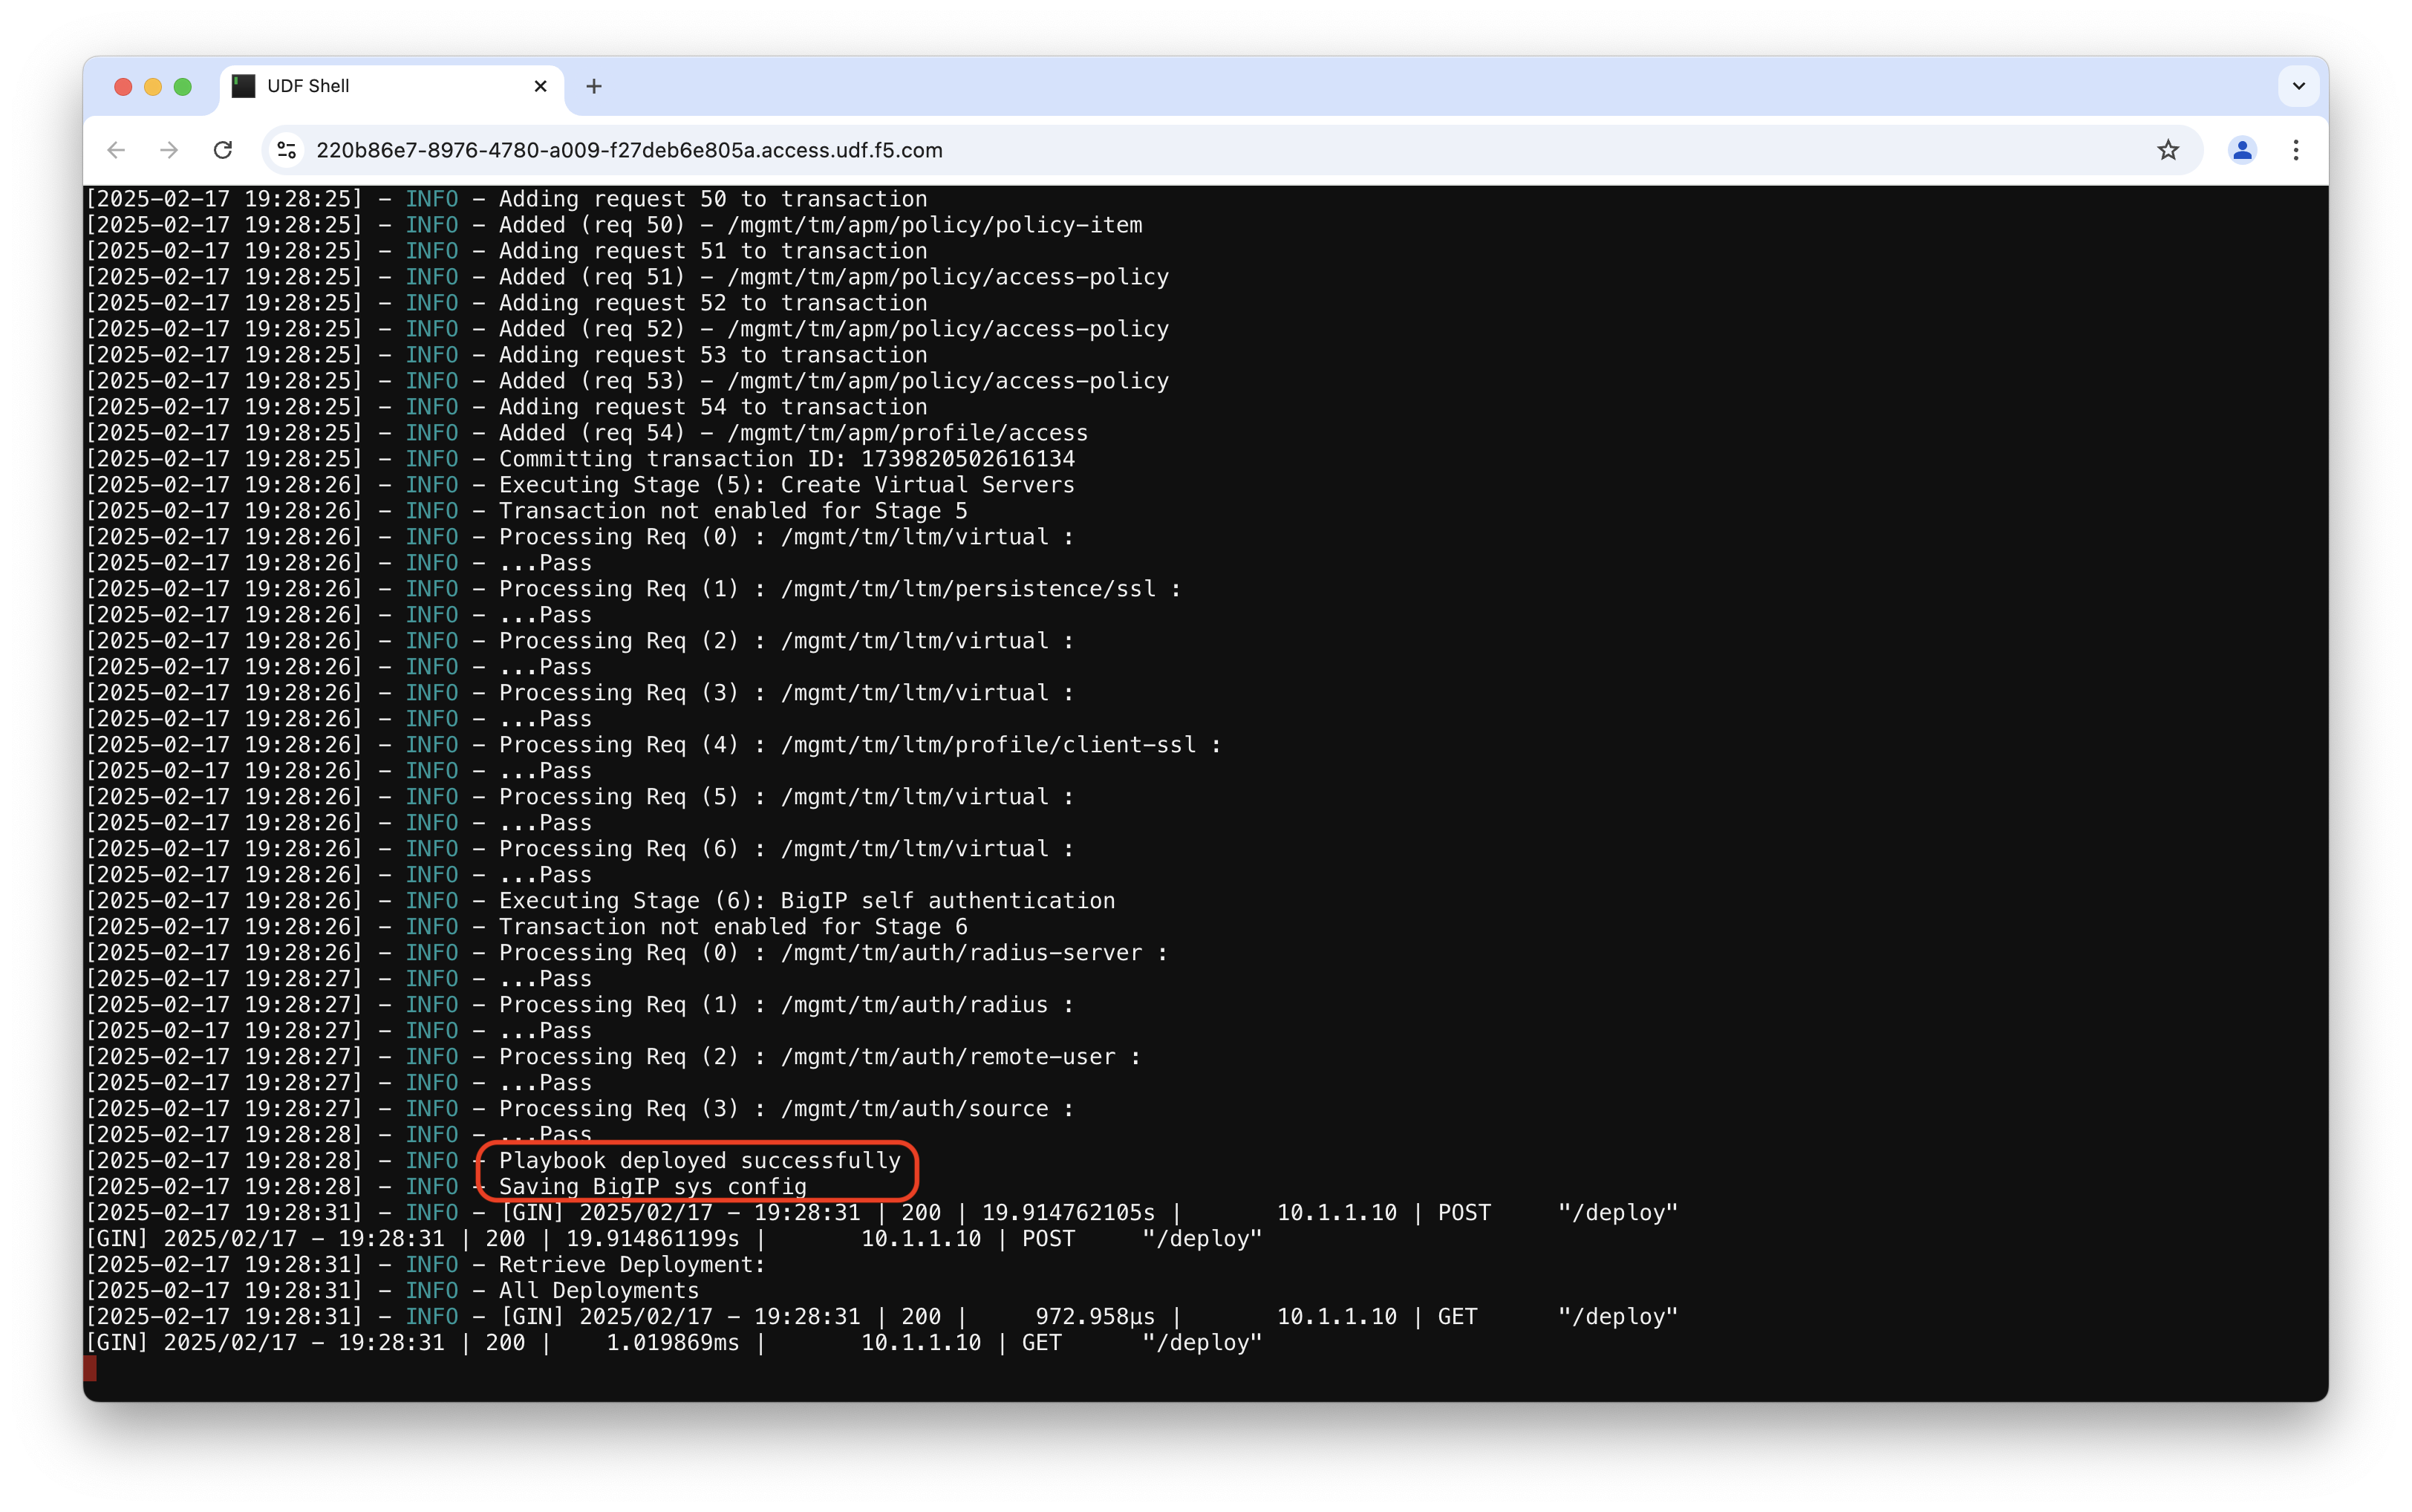
Confirm that pua_mfa is listed in the PUA UI Deployments.
Warning
If you don’t see the Playbook deployed successfully in the logs and the pua_mfa does not appear in PUA UI Deployments go back to Task 2 - Enter Deployment details.
Test PUA MFA
Task 1 - Acces PUA Webtop as user2
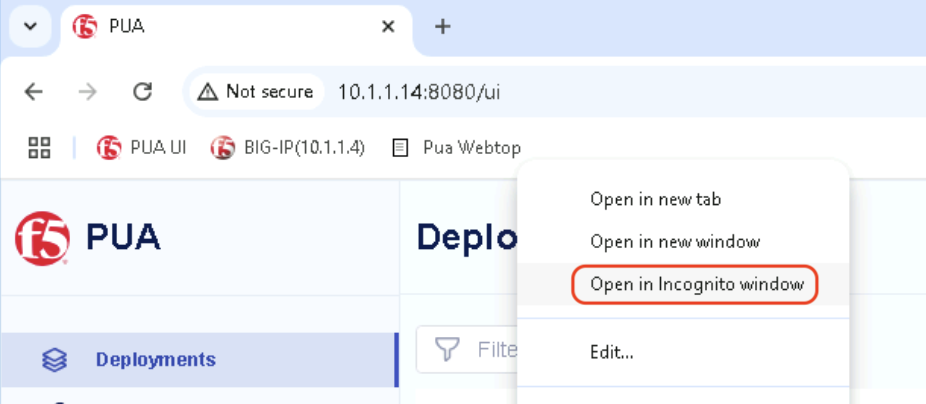
Right click on the PUA Webtop Bookmark and click on Open in Incognito window
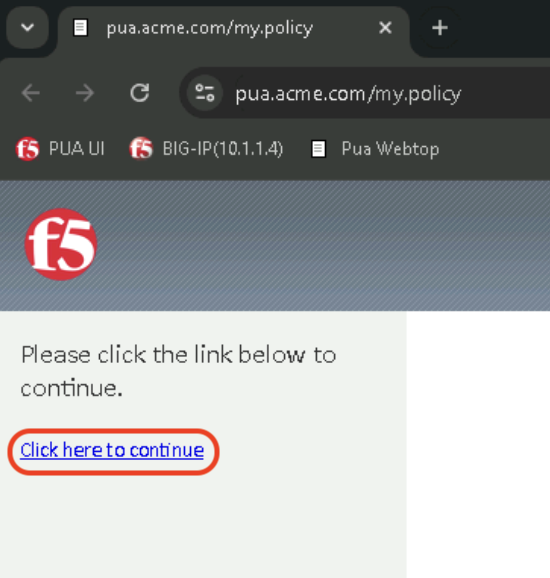
Click Click here to continue
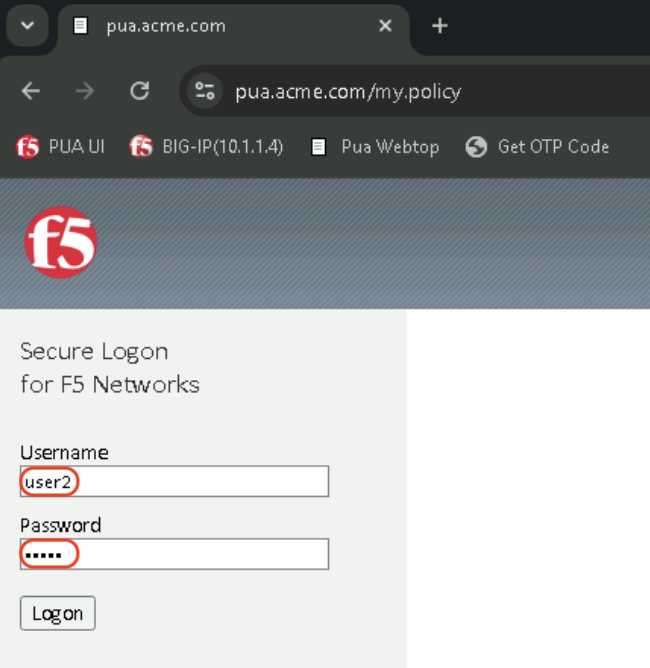
Login with the following credentials:
- User: user2
- Password: user2
Next step is to provide the TOTP Token.
Obtain the code using your mobile device
Note
You can use the Secret JUZG2URUGQZU45RT and add it to an authenticator application on your mobile device in order to get the OTP Code.
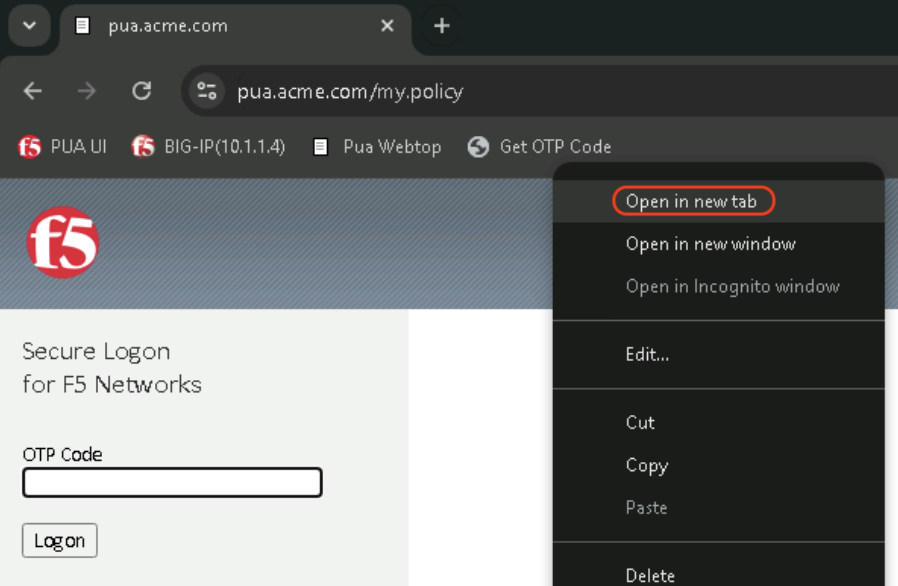
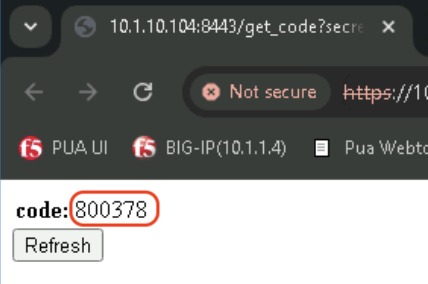
Obtain the code using the Get OTP Code
Right click on the Get OTP Code Bookmark and click on Open in new tab.
Enter your secret in the secret field or click Submit to use the predifined secret for user2.
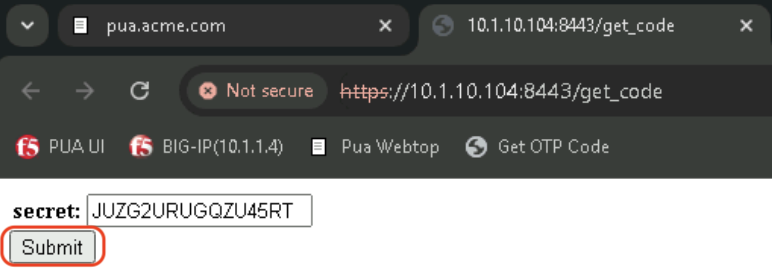
Copy the code display on the page.
Note
You might need to click Refresh to get a new code if the login failed because it had already expired.
Paste the previously obtain code and click Logon.
Webtop should now be available
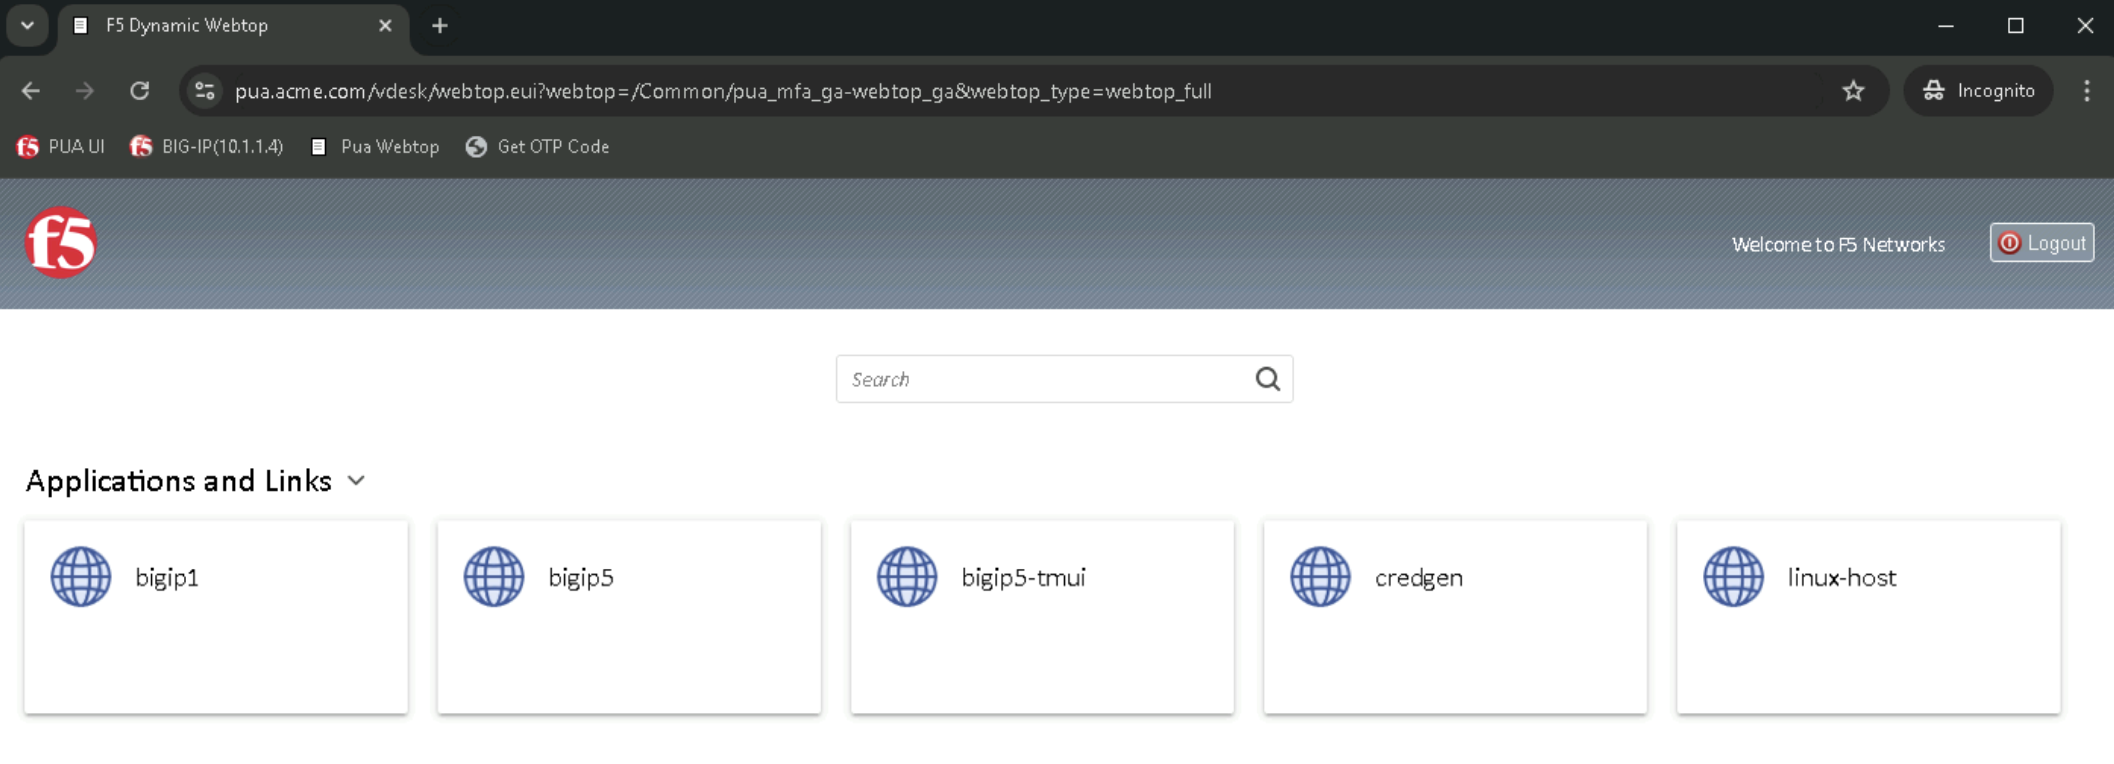
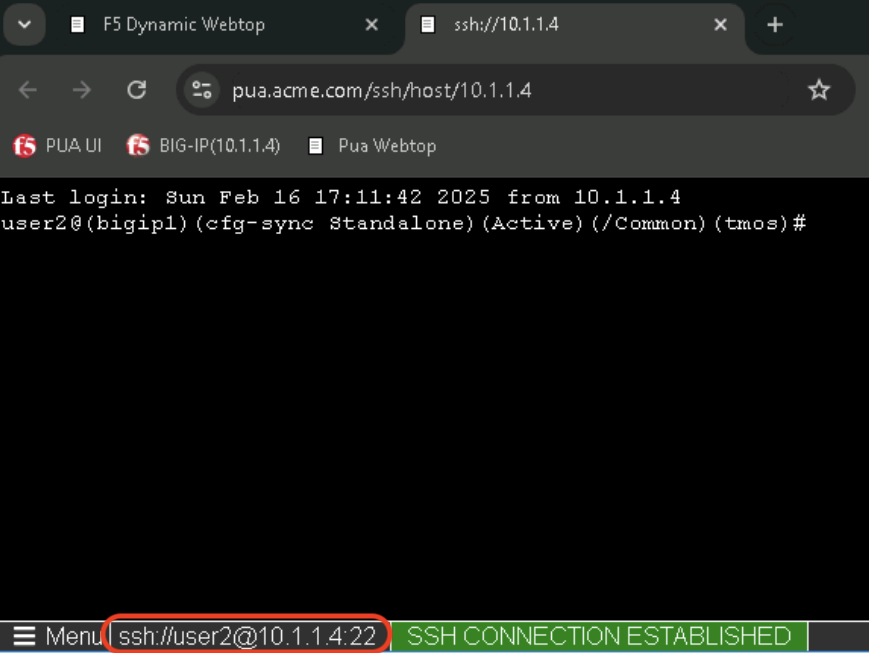
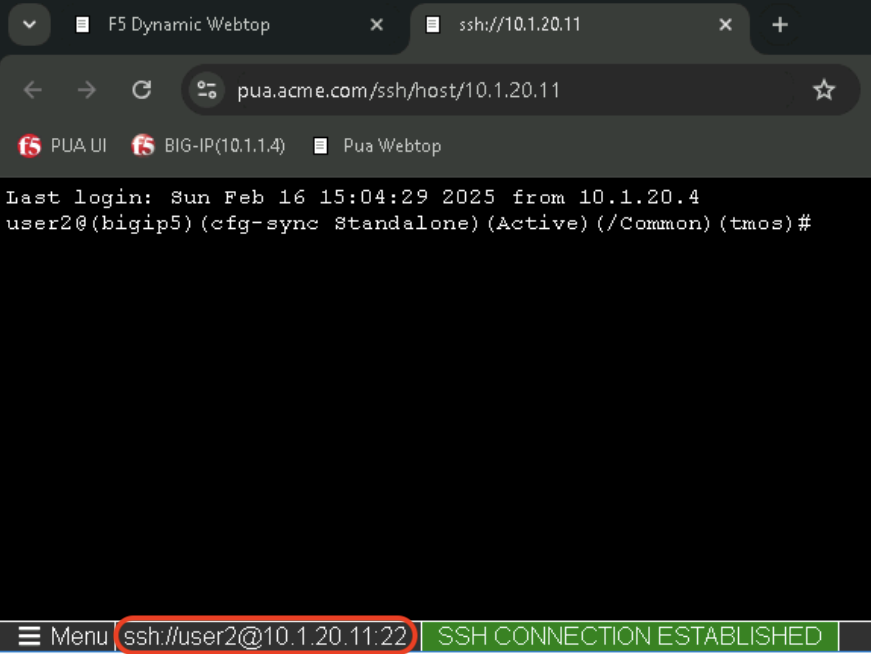
Task 2 - Validate user2 Access
In the Applications and Links section of the Webtop
Warning
You successfully completed this lab, Close the Incognito window.

