F5 Public Cloud Solutions > A&O Toolchain: BIG-IP HA in Public Cloud with Terraform (Agility Labs 2023) > 2. Automating BIG-IP Provisioning with Terraform Source | Edit on
2.6. Verify the BIG-IP Configurations
Each BIG-IP’s public management IP address was provided in the Terraform outputs. To show the Terraform output values again, execute
terraform outputin the BASH terminal and look for the bigip1_mgmt_public_ip and bigip2_mgmt_public_ip outputs.bigip1_mgmt_public_ip = "a.b.c.d" bigip2_mgmt_public_ip = "e.f.g.h" bigip1_password = "xxxxxxxxxxxxxxxx" bigip2_password = "xxxxxxxxxxxxxxxx" random_password = "xxxxxxxxxxxxxxxx"

Also note the values of bigip1_password and bigip2_password. They should be the same as random_password.
Open two new web browser tabs to connect to the BIG-IPs: https:// <bigip1_mgmt_public_ip> and https:// <bigip2_mgmt_public_ip>
Accept the SSL security warnings.
Log in using the following credentials:
Username: admin Password: <random_password> 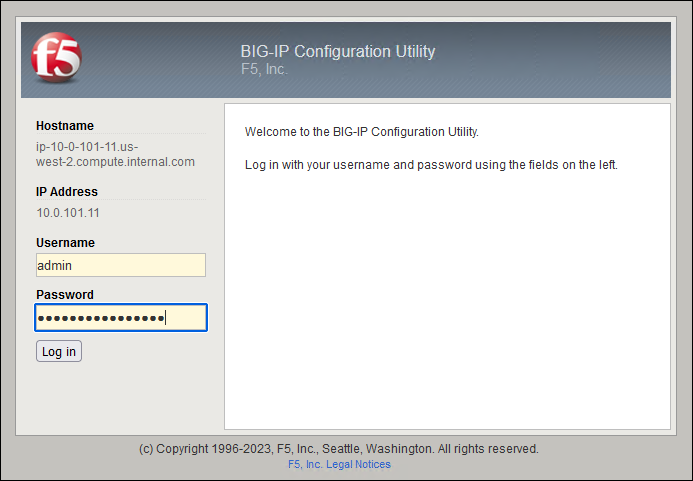
Attention
If you are unable to authenticate to the BIG-IP TMUI, then it is possible that the onboarding process has not completed yet. Wait a few minutes and try again.
If more than 10 minutes has elapsed since attempting to log in, consult your lab instructor for additional troubleshooting help. Some part of the onboarding process may have failed.
2.6.1. BIG-IP Device Cluster Status
BIG-IP Device Service Clustering and config-sync was configured during the onboarding process.
Confirm that one of the BIG-IPs is in the ONLINE (ACTIVE) state and the other is in the ONLINE (STANDBY) state.
Also confirm that both BIG-IPs have a sync status of In Sync.

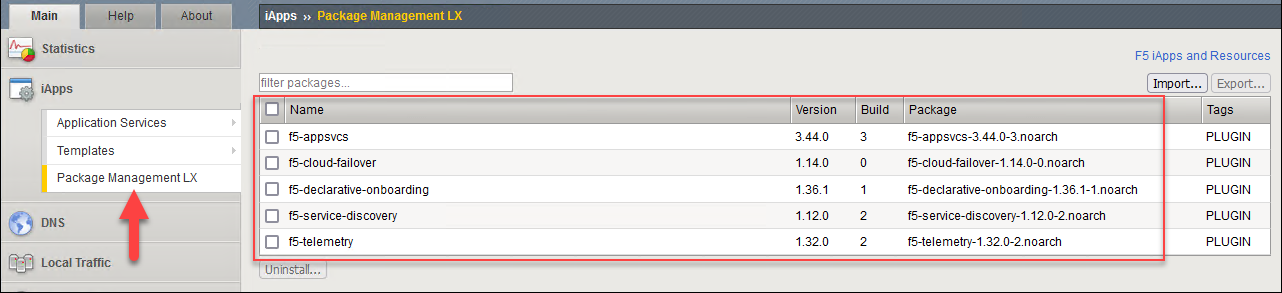
2.6.2. BIG-IP #1: F5 Automation Toolchain Extensions
Click on iApps > Package Management LX from the left panel menu. You will see the list of iControl LX packages that were installed by BIG-IP Runtime Init.
2.6.3. BIG-IP #1: VLANs
Click on Network > VLANs from the left panel menu and confirm that the following resources were created:
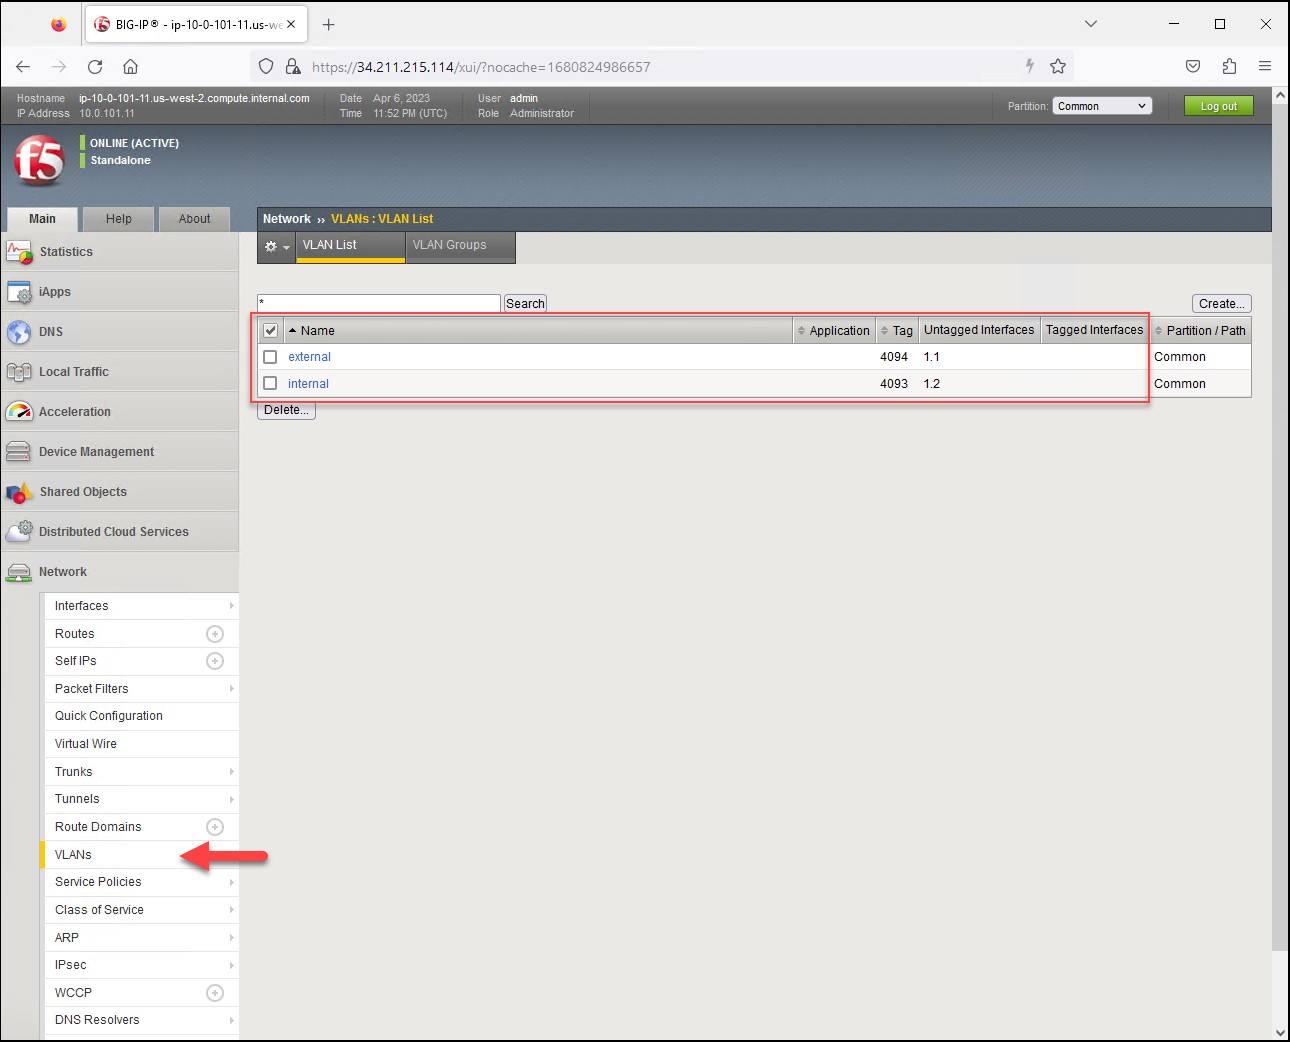
The ATC DO declaration configured the external and internal VLANs.
2.6.4. BIG-IP #1: Self IPs
Click on Network > Self IPs from the left panel menu and confirm that the following resources were created:
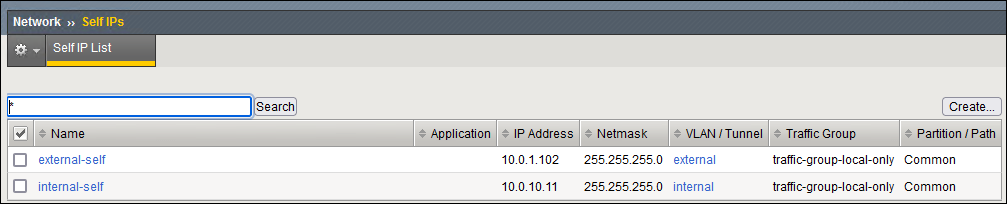
The ATC DO declaration configured self IPs on the external and internal VLANs.
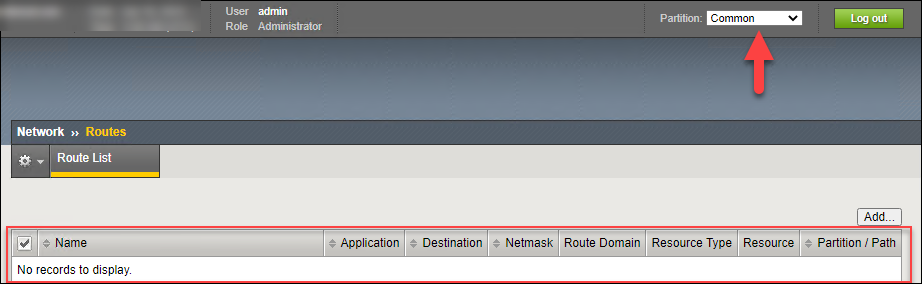
2.6.5. BIG-IP #1: Network > Routes
Click on Network > Routes from the left panel menu and confirm that no routes exist. Note that this is the Common partition.
In the Partition dropdown list (top-right), select LOCAL_ONLY and confirm that the following routes were created.
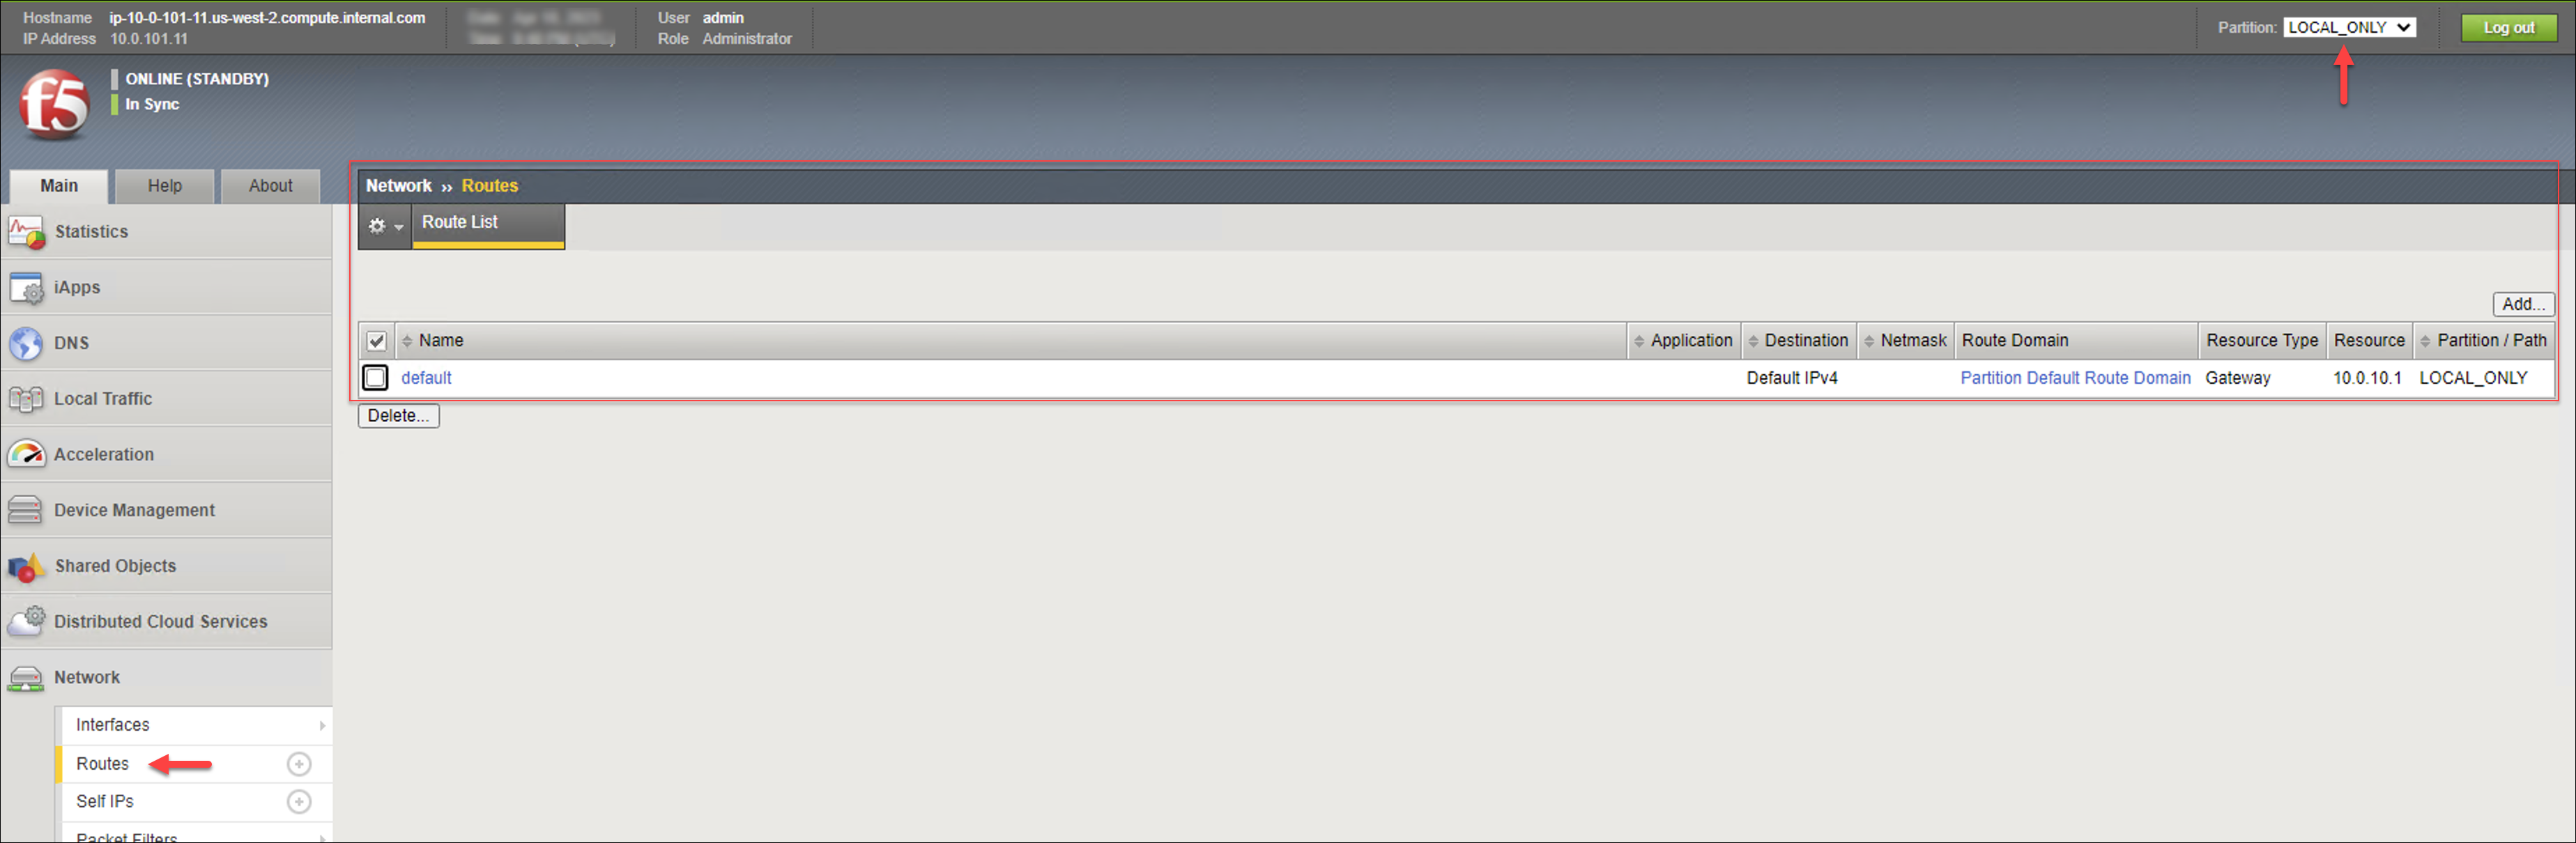
The default route is via the internal VLAN, which enables access to the app VPC (via the AWS Transit Gateway).
Note
The ATC DO declaration configured a default route in the LOCAL_ONLY partition instead of the Common partition. This is required to support config-sync in the BIG-IP HA across AWS availabilty zones use-case where each BIG-IP instance is connected to different subnets. In cloud providers that allow the same subnet across multiple availabilty zones, the default route (and other static routes) can be configured in the Common partition and synchronized between the BIG-IP instances.
2.6.6. BIG-IP #1: Local Traffic > Virtual Servers
In the Partition dropdown list, select Common to return to the main partition.
Click on Local Traffic > Virtual Servers from the left panel menu and confirm that there are no Virtual Servers configured.

2.6.7. BIG-IP #2
- Switch to the browser tab for BIG-IP #2 and review the same configuration settings:
- iApps > Package Management LX
- Network > VLANs
- Network > Self IPs
- Network > Routes (Common partition)
- Network > Routes (LOCAL_ONLY partition)
- Local Traffic > Virtual Servers