F5 BIG-IP SSL Orchestrator Training Lab > All SSL Orchestrator Lab Guides > SSLO 101: Essential SSL Visibility with SSL Orchestrator (Agility 2022 | 2 hours) > 3. Create a Transparent Forward Proxy SSLO Source | Edit on
3.6. Guided configuration Authentication¶

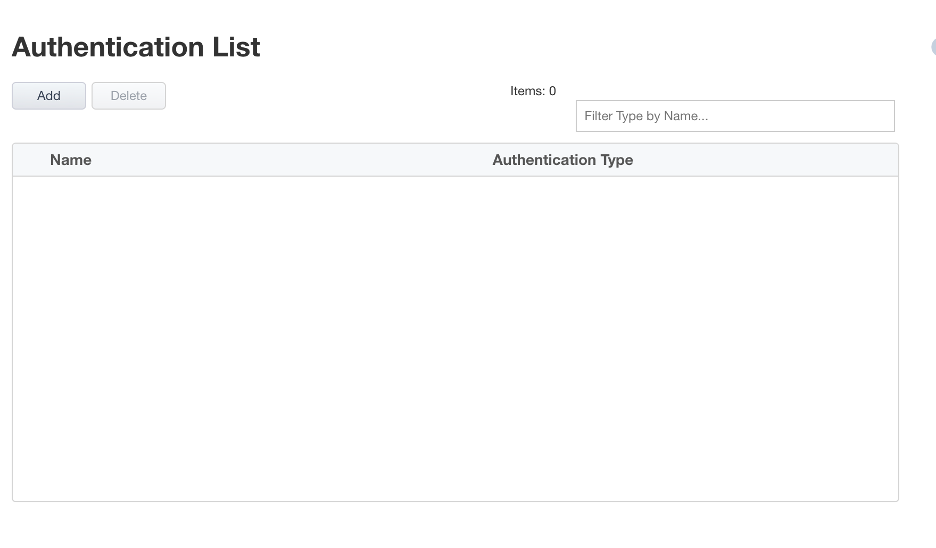
In 9.0 and above, a new Authentication List workflow exists to create authentication mechanisms for a topology. In this initial release, the Authentication List simply contains an OCSP Responder configuration. The list of authentication mechanisms will grow in subsequent versions.

Essentially, this OCSP Responder configuration creates an OCSP service on the client side. An iRule is then added to the interception rule VIP that inserts the FQDN into the forged server certificate that should resolve to the destination IP address defined in the setting, which is itself a separate virtual server with OCSP profile configuration.The applied SSL settings must also contain a valid server side OCSP configuration in order to report back actual revocation state to the OCSP profile.
For this lab:
Note
You can leave everything as default on this page.
Click Save & Next to continue to the next stage.

Note
There are no additional hands-on steps that need to be taken before proceeding to the next section. The information below is intended to provide additional context on the SSL Configurations.
OCSP Responder
You can configure a Local Online Certificate Status Protocol (OCSP) Responder and associate a Local OCSP Responder to a virtual server. OCSP is an Internet protocol used to obtain the revocation status of a digital certificate. When the validity of a certificate is requested, an OCSP request is sent to an OCSP Responder and checks the specific certificate with a trusted certificate authority. This results in an OCSP response being sent back of good, revoked, or unknown. To configure OCSP, you must select TCP or Any as your Protocol and either L2 Outbound, L3 Outbound, or L3 Explicit Proxy as your SSL Orchestrator topology from the Topology Properties screen. To create a new authentication, click Add. The Authentication Properties screen appears where you canselect OCSP Responder (for the Client). Click OCSP Responder and click Add. The Authentication Properties screen appears where you can configure a new OCSP Responder. Later when configuring the Interception Rule, you may select from the Authentication section OCSP Responder list to associate a Local OCSP Responder into the Interception Rule. This action adds a new iRule to the virtual server. In addition, you may configure authentication using the mini-flow Authentication tab without creating a topology and may utilize the existing iRule item-selector to select the OCSP iRule.
FQDN - Enter an FQDN that will be injected into the authorityInfoAccess (AIA) field of the forged server certificate. This should resolve to the virtual server address listed below.
Source - Enter a source address filter here, as required. Otherwise leave as 0.0.0.0%0/0 to allow access from any source.§Destination Address/Mask: Enter the destination address and mask here that will match the FQDN value in the forged AIA value.
Port - Enter the destination port here for the OCSP service. This will almost always be unencrypted HTTP on port 80.
VLANs - Select the client facing VLAN.§SSL Configuration: Select the SSL configuration previously created for this topology workflow.
OCSP Profile - Select Create Newor Use Existingas required.
Max Age in Seconds - Enter a value in seconds for max age of the OCSP response.§Nonce: Enable or disable OCSP response nonce, as required.
[Advanced] Client TCP Profile - Select an alternate client-side TCP profile, as required.§[Advanced] Server TCP Profile: Select an alternate server-side TCP profile, as required.
[Advanced] HTTP Profile - Select an alternate HTTP profile, as required.